Instrument cluster Hyundai Elantra 2010 User Guide
[x] Cancel search | Manufacturer: HYUNDAI, Model Year: 2010, Model line: Elantra, Model: Hyundai Elantra 2010Pages: 348, PDF Size: 5.78 MB
Page 218 of 348
Driving your vehicle
26
5
The cruise control system allows you to
program the vehicle to maintain a con-
stant speed without pressing the acceler-
ator pedal.
This system is designed to function
above approximately 25 mph (40 km/h).
✽ ✽
NOTICE
During normal cruise control operation,
when the SET switch is activated or
reactivated after applying the brakes,
the cruise control will energize after
approximately 3 seconds. This delay is
normal.
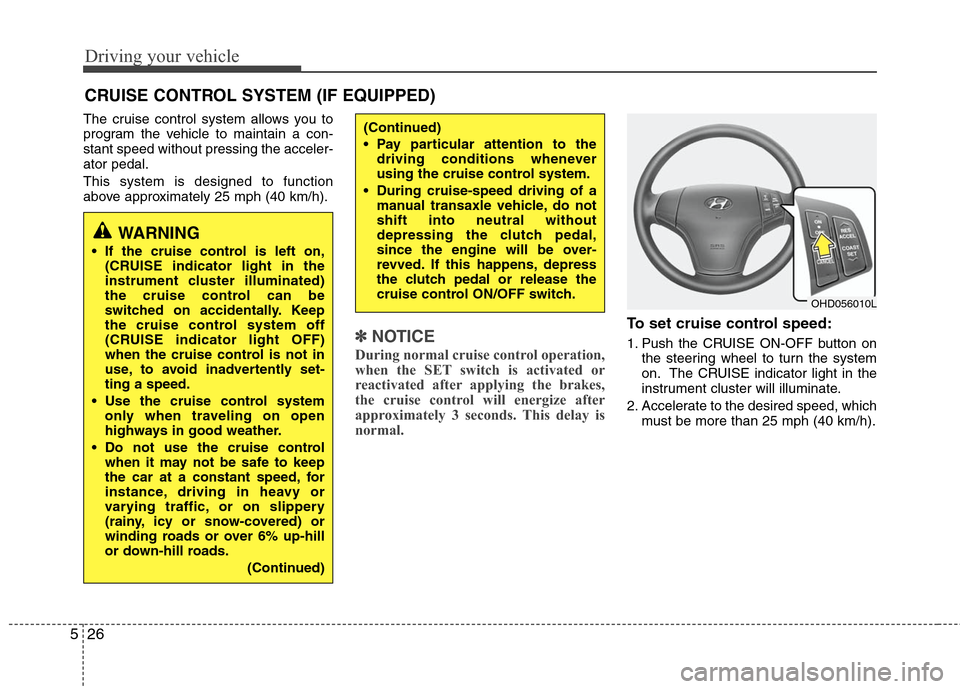
To set cruise control speed:
1. Push the CRUISE ON-OFF button on
the steering wheel to turn the system
on. The CRUISE indicator light in the
instrument cluster will illuminate.
2. Accelerate to the desired speed, which must be more than 25 mph (40 km/h).
CRUISE CONTROL SYSTEM (IF EQUIPPED)
WARNING
If the cruise control is left on,(CRUISE indicator light in the
instrument cluster illuminated)
the cruise control can be
switched on accidentally. Keep
the cruise control system off
(CRUISE indicator light OFF)
when the cruise control is not in
use, to avoid inadvertently set-
ting a speed.
Use the cruise control system only when traveling on open
highways in good weather.
Do not use the cruise control when it may not be safe to keep
the car at a constant speed, for
instance, driving in heavy or
varying traffic, or on slippery
(rainy, icy or snow-covered) or
winding roads or over 6% up-hill
or down-hill roads.
(Continued)
(Continued)
Pay particular attention to thedriving conditions whenever
using the cruise control system.
During cruise-speed driving of a manual transaxle vehicle, do not
shift into neutral without
depressing the clutch pedal,
since the engine will be over-
revved. If this happens, depress
the clutch pedal or release the
cruise control ON/OFF switch.
OHD056010L
Page 219 of 348
527
Driving your vehicle
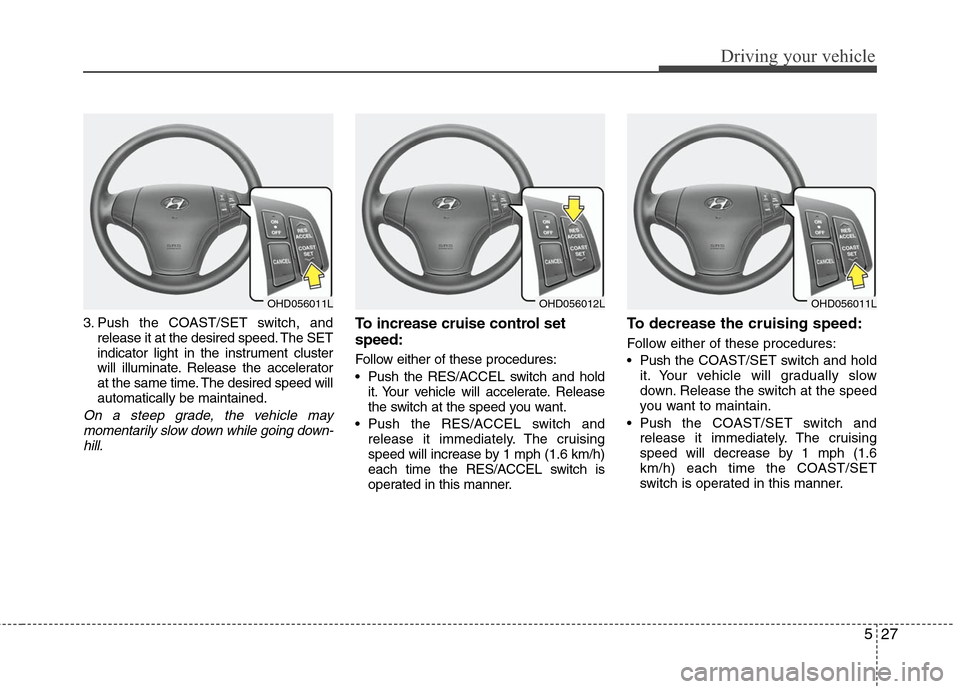
3. Push the COAST/SET switch, andrelease it at the desired speed. The SET
indicator light in the instrument cluster
will illuminate. Release the accelerator
at the same time. The desired speed will
automatically be maintained.
On a steep grade, the vehicle maymomentarily slow down while going down-hill.
To increase cruise control set
speed:
Follow either of these procedures:
Push the RES/A CCEL switch and hold
it. Your vehicle will accelerate. Release
the switch at the speed you want.
Push the RES/A CCEL switch and
release it immediately. The cruising
speed will increase by 1 mph (1.6 km/h)
each time the RES/ACCEL switch is
operated in this manner.
To decrease the cruising speed:
Follow either of these procedures:
Push the CO AST/SET switch and hold
it. Your vehicle will gradually slow
down. Release the switch at the speed
you want to maintain.
Push the COAST/SET switch and
release it immediately. The cruising
speed will decrease by 1 mph (1.6
km/h) each time the COAST/SET
switch is operated in this manner.
OHD056011L
OHD056012L
OHD056011L
Page 220 of 348
Driving your vehicle
28
5
To temporarily accelerate with the
cruise control on:
If you want to speed up temporarily when
the cruise control is on, depress the
accelerator pedal. Increased speed will
not interfere with cruise control operation
or change the set speed.
To return to the set speed, take your foot
off the accelerator.
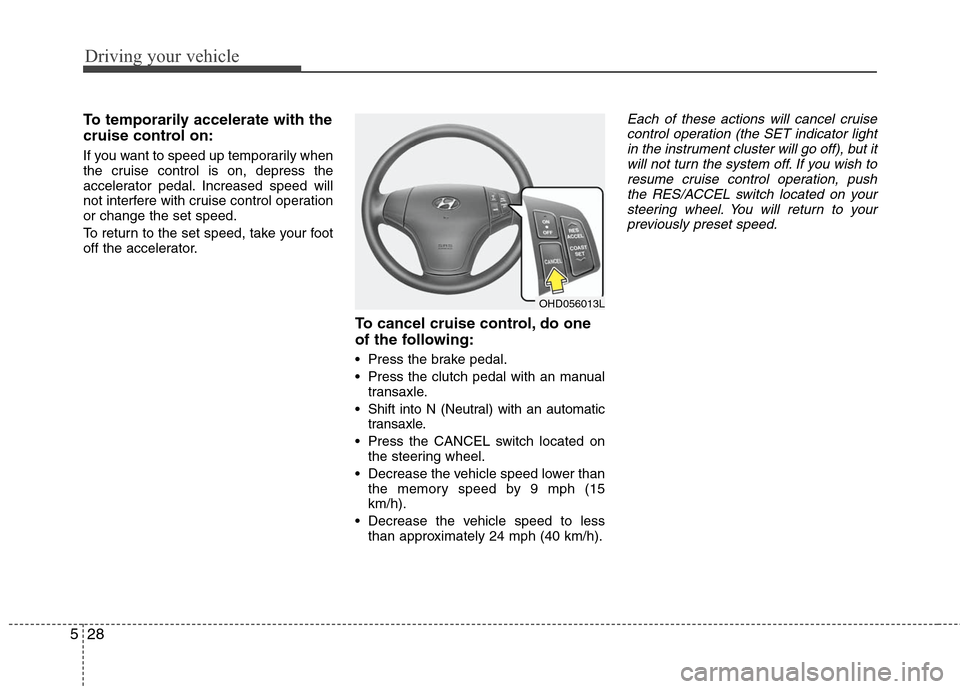
To cancel cruise control, do one
of the following:
Press the brake pedal.
Press the clutch pedal with an manual
transaxle.
Shift into N (Neutral) with an automatic transaxle.
Press the CANCEL switch located on the steering wheel.
Decrease the vehicle speed lower than the memory speed by 9 mph (15
km/h).
Decrease the vehicle speed to less than approximately 24 mph (40 km/h).
Each of these actions will cancel cruisecontrol operation (the SET indicator light in the instrument cluster will go off), but itwill not turn the system off. If you wish to resume cruise control operation, pushthe RES/ACCEL switch located on yoursteering wheel. You will return to yourpreviously preset speed.
OHD056013L
Page 317 of 348

Maintenance
50
7
Driver's side fuse panel
Description Fuse rating Protected component
START 10A Ignition lock switch, Antitheft alarm, Transaxle range switch
A/CON SW 10A A/C control module
HTD MIRR 10A Outside heated mirror motor
SEAT HTR 15A Seat warmer switch
A/CON 10A Blower relay, A/C control module, Sunroof control module
HEAD LAMP 10A Head lamp relay
FR WIPER 25A Front wiper relay
RR WIPER 15A (Spare)
DRL 15A Daytime running lamp unit
WCS 10A Occupant classification sensor
P/WDW DR 25A Power window main switch, Rear power window switch(LH)
CLOCK 10A Digital clock, Audio
C/LIGHTER 15A Power outlet
DR LOCK 20A Sunroof control module, Door unlock/lock relay
DEICER 15A -
STOP 15A Stop lamp switch
ROOM LP 15A Trunk room lamp, Dome lamp, Map lamp, Digital clock, Home link
AUDIO 15A Audio
T/LID 15A Trunk lid relay
AMP 25A Amplifier
SAFETY P/WDW 25A Safety power window module
P/WDW ASS 25A Front & rear power window switch(RH), Power window main switch
P/OUTLET 15A Power outlet
T/SIG 10A Hazard switch
A/BAG IND 10A Airbag indicator(instrument cluster)
Page 318 of 348
751
Maintenance
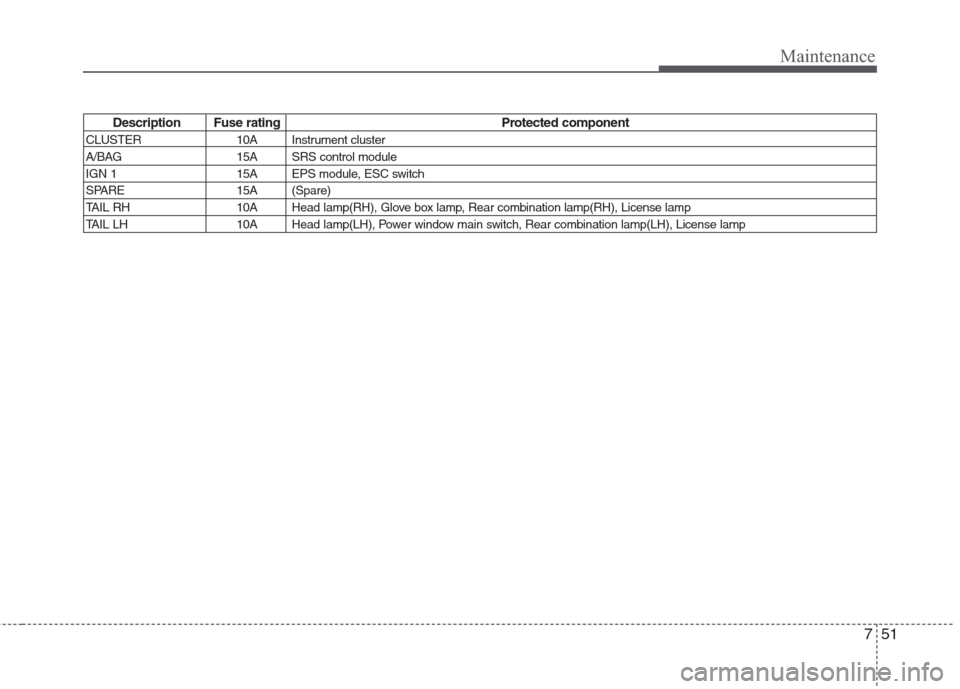
Description Fuse rating Protected component
CLUSTER 10A Instrument cluster
A/BAG 15A SRS control module
IGN 1 15A EPS module, ESC switch
SPARE 15A (Spare)
TAIL RH 10A Head lamp(RH), Glove box lamp, Rear combination lamp(RH), License lamp
TAIL LH 10A Head lamp(LH), Power window main switch, Rear combination lamp(LH), License lamp
Page 346 of 348
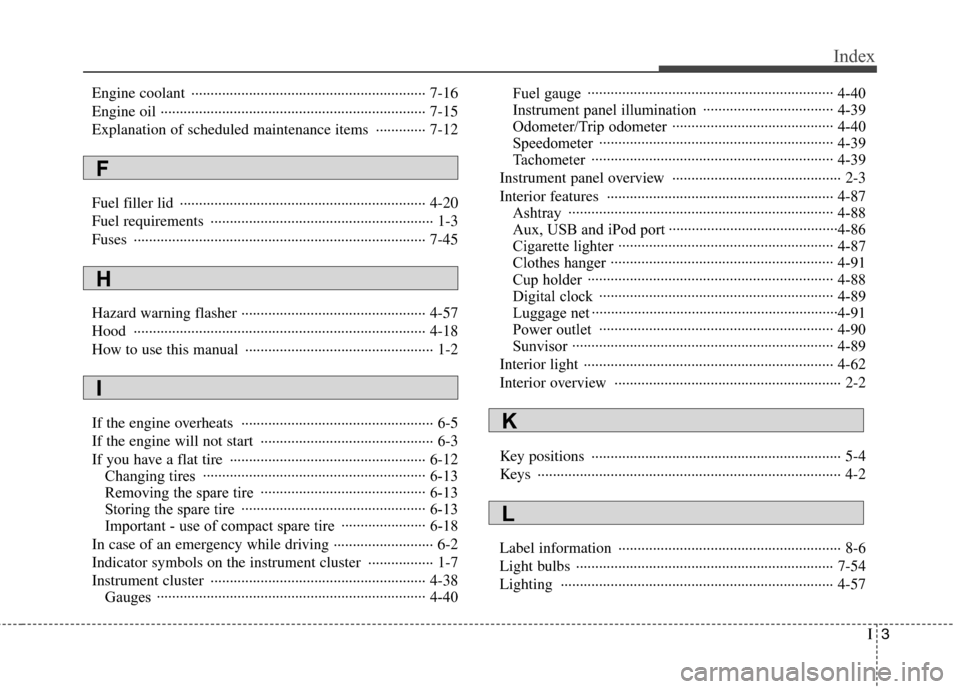
I3
Index
Engine coolant ··················\
··················\
··················\
······· 7-16
Engine oil ··················\
··················\
··················\
··············· 7-15
Explanation of scheduled maintenance items ············· 7-12
Fuel filler lid ··················\
··················\
··················\
·········· 4-20
Fuel requirements ··················\
··················\
··················\
···· 1-3
Fuses ·················\
··················\
··················\
··················\
····· 7-45
Hazard warning flasher ··················\
··················\
············ 4-57
Hood ·················\
··················\
··················\
··················\
····· 4-18
How to use this manual ··················\
··················\
············· 1-2
If the engine overheats ··················\
··················\
·············· 6-5
If the engine will not start ··················\
··················\
········· 6-3
If you have a flat tire ··················\
··················\
··············· 6-12Changing tires ··················\
··················\
··················\
···· 6-13
Removing the spare tire ··················\
··················\
······· 6-13
Storing the spare tire ··················\
··················\
············ 6-13
Important - use of compact spare tire ··················\
···· 6-18
In case of an emergency while driving ··················\
········ 6-2
Indicator symbols on the instrument cluster ················· 1-7
Instrument cluster ··················\
··················\
··················\
·· 4-38 Gauges ·················\
··················\
··················\
················· 4-40 Fuel gauge ··················\
··················\
··················\
·········· 4-40
Instrument panel illumination ··················\
················ 4-39
Odometer/Trip odometer ··················\
··················\
······ 4-40
Speedometer ···············\
··················\
··················\
·········· 4-39
Tachometer ················\
··················\
··················\
··········· 4-39
Instrument panel overview ··················\
··················\
········ 2-3
Interior features ··················\
··················\
··················\
····· 4-87 Ashtray ················\
··················\
··················\
················· 4-88
Aux, USB and iPod port ··················\
··················\
········4-86
Cigarette lighter ··················\
··················\
··················\
·· 4-87
Clothes hanger ··················\
··················\
··················\
···· 4-91
Cup holder ··················\
··················\
··················\
·········· 4-88
Digital clock ··················\
··················\
··················\
······· 4-89
Luggage net ··················\
··················\
··················\
··········4-91
Power outlet ··················\
··················\
··················\
······· 4-90
Sunvisor ················\
··················\
··················\
················ 4-89
Interior light ··················\
··················\
··················\
··········· 4-62
Interior overview ··················\
··················\
··················\
····· 2-2
Key positions ··················\
··················\
··················\
··········· 5-4
Keys ··················\
··················\
··················\
··················\
······· 4-2
Label information ··················\
··················\
··················\
···· 8-6
Light bulbs ··················\
··················\
··················\
············· 7-54
Lighting ················\
··················\
··················\
··················\
· 4-57
F
H
I
K
L