reset Hyundai Elantra 2016 Owner's Manual - RHD (UK. Australia)
[x] Cancel search | Manufacturer: HYUNDAI, Model Year: 2016, Model line: Elantra, Model: Hyundai Elantra 2016Pages: 498, PDF Size: 9.45 MB
Page 22 of 498
Safety features of your vehicle
4 3
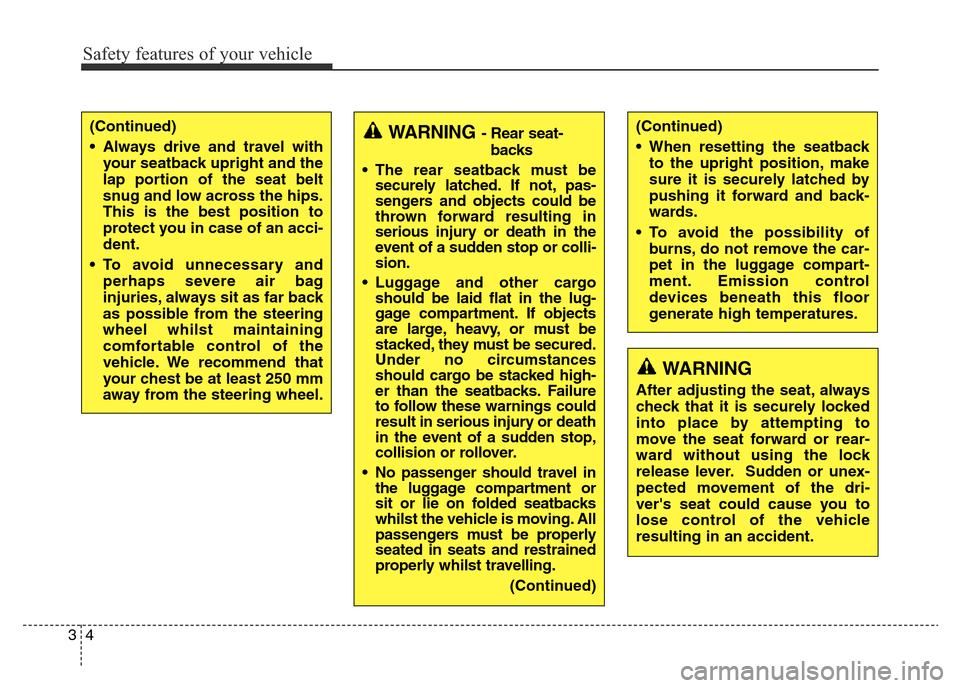
(Continued)
• Always drive and travel with
your seatback upright and the
lap portion of the seat belt
snug and low across the hips.
This is the best position to
protect you in case of an acci-
dent.
• To avoid unnecessary and
perhaps severe air bag
injuries, always sit as far back
as possible from the steering
wheel whilst maintaining
comfortable control of the
vehicle. We recommend that
your chest be at least 250 mm
away from the steering wheel.WARNING- Rear seat-
backs
• The rear seatback must be
securely latched. If not, pas-
sengers and objects could be
thrown forward resulting in
serious injury or death in the
event of a sudden stop or colli-
sion.
• Luggage and other cargo
should be laid flat in the lug-
gage compartment. If objects
are large, heavy, or must be
stacked, they must be secured.
Under no circumstances
should cargo be stacked high-
er than the seatbacks. Failure
to follow these warnings could
result in serious injury or death
in the event of a sudden stop,
collision or rollover.
• No passenger should travel in
the luggage compartment or
sit or lie on folded seatbacks
whilst the vehicle is moving. All
passengers must be properly
seated in seats and restrained
properly whilst travelling.
(Continued)(Continued)
• When resetting the seatback
to the upright position, make
sure it is securely latched by
pushing it forward and back-
wards.
• To avoid the possibility of
burns, do not remove the car-
pet in the luggage compart-
ment. Emission control
devices beneath this floor
generate high temperatures.
WARNING
After adjusting the seat, always
check that it is securely locked
into place by attempting to
move the seat forward or rear-
ward without using the lock
release lever. Sudden or unex-
pected movement of the dri-
ver's seat could cause you to
lose control of the vehicle
resulting in an accident.
Page 81 of 498
Features of your vehicle
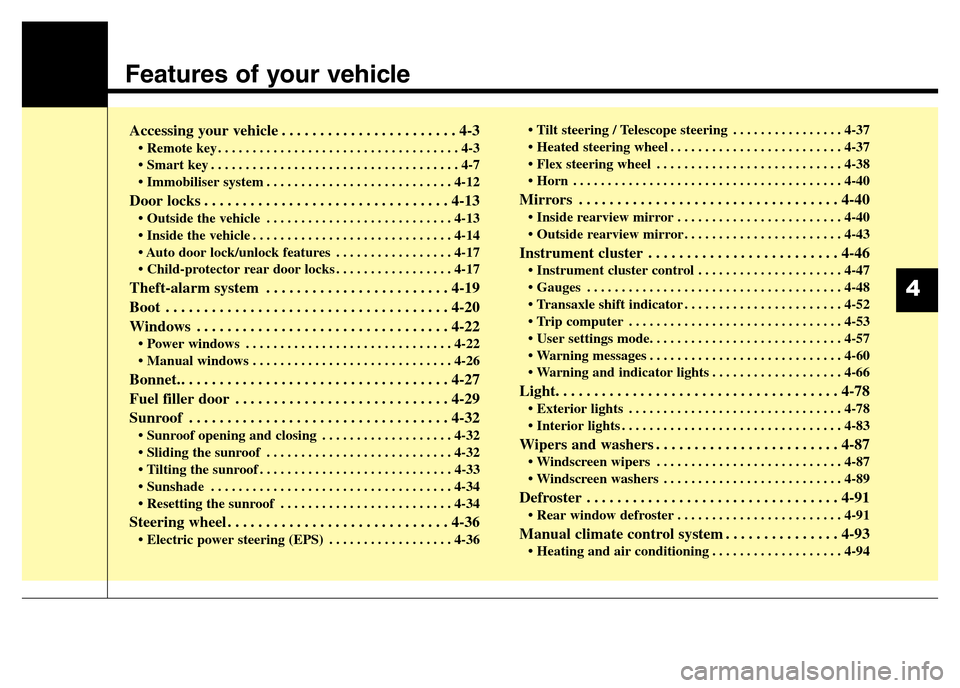
Accessing your vehicle . . . . . . . . . . . . . . . . . . . . . . . 4-3
• Remote key . . . . . . . . . . . . . . . . . . . . . . . . . . . . . . . . . . . 4-3
• Smart key . . . . . . . . . . . . . . . . . . . . . . . . . . . . . . . . . . . . 4-7
• Immobiliser system . . . . . . . . . . . . . . . . . . . . . . . . . . . 4-12
Door locks . . . . . . . . . . . . . . . . . . . . . . . . . . . . . . . . 4-13
• Outside the vehicle . . . . . . . . . . . . . . . . . . . . . . . . . . . 4-13
• Inside the vehicle . . . . . . . . . . . . . . . . . . . . . . . . . . . . . 4-14
• Auto door lock/unlock features . . . . . . . . . . . . . . . . . 4-17
• Child-protector rear door locks . . . . . . . . . . . . . . . . . 4-17
Theft-alarm system . . . . . . . . . . . . . . . . . . . . . . . . 4-19
Boot . . . . . . . . . . . . . . . . . . . . . . . . . . . . . . . . . . . . . 4-20
Windows . . . . . . . . . . . . . . . . . . . . . . . . . . . . . . . . . 4-22
• Power windows . . . . . . . . . . . . . . . . . . . . . . . . . . . . . . 4-22
• Manual windows . . . . . . . . . . . . . . . . . . . . . . . . . . . . . 4-26
Bonnet.. . . . . . . . . . . . . . . . . . . . . . . . . . . . . . . . . . . 4-27
Fuel filler door . . . . . . . . . . . . . . . . . . . . . . . . . . . . 4-29
Sunroof . . . . . . . . . . . . . . . . . . . . . . . . . . . . . . . . . . 4-32
• Sunroof opening and closing . . . . . . . . . . . . . . . . . . . 4-32
• Sliding the sunroof . . . . . . . . . . . . . . . . . . . . . . . . . . . 4-32
• Tilting the sunroof . . . . . . . . . . . . . . . . . . . . . . . . . . . . 4-33
• Sunshade . . . . . . . . . . . . . . . . . . . . . . . . . . . . . . . . . . . 4-34
• Resetting the sunroof . . . . . . . . . . . . . . . . . . . . . . . . . 4-34
Steering wheel . . . . . . . . . . . . . . . . . . . . . . . . . . . . . 4-36
• Electric power steering (EPS) . . . . . . . . . . . . . . . . . . 4-36• Tilt steering / Telescope steering . . . . . . . . . . . . . . . . 4-37
• Heated steering wheel . . . . . . . . . . . . . . . . . . . . . . . . . 4-37
• Flex steering wheel . . . . . . . . . . . . . . . . . . . . . . . . . . . 4-38
• Horn . . . . . . . . . . . . . . . . . . . . . . . . . . . . . . . . . . . . . . . 4-40
Mirrors . . . . . . . . . . . . . . . . . . . . . . . . . . . . . . . . . . 4-40
• Inside rearview mirror . . . . . . . . . . . . . . . . . . . . . . . . 4-40
• Outside rearview mirror . . . . . . . . . . . . . . . . . . . . . . . 4-43
Instrument cluster . . . . . . . . . . . . . . . . . . . . . . . . . 4-46
• Instrument cluster control . . . . . . . . . . . . . . . . . . . . . 4-47
• Gauges . . . . . . . . . . . . . . . . . . . . . . . . . . . . . . . . . . . . . 4-48
• Transaxle shift indicator . . . . . . . . . . . . . . . . . . . . . . . 4-52
• Trip computer . . . . . . . . . . . . . . . . . . . . . . . . . . . . . . . 4-53
• User settings mode. . . . . . . . . . . . . . . . . . . . . . . . . . . . 4-57
• Warning messages . . . . . . . . . . . . . . . . . . . . . . . . . . . . 4-60
• Warning and indicator lights . . . . . . . . . . . . . . . . . . . 4-66
Light. . . . . . . . . . . . . . . . . . . . . . . . . . . . . . . . . . . . . 4-78
• Exterior lights . . . . . . . . . . . . . . . . . . . . . . . . . . . . . . . 4-78
• Interior lights . . . . . . . . . . . . . . . . . . . . . . . . . . . . . . . . 4-83
Wipers and washers . . . . . . . . . . . . . . . . . . . . . . . . 4-87
• Windscreen wipers . . . . . . . . . . . . . . . . . . . . . . . . . . . 4-87
• Windscreen washers . . . . . . . . . . . . . . . . . . . . . . . . . . 4-89
Defroster . . . . . . . . . . . . . . . . . . . . . . . . . . . . . . . . . 4-91
• Rear window defroster . . . . . . . . . . . . . . . . . . . . . . . . 4-91
Manual climate control system . . . . . . . . . . . . . . . 4-93
• Heating and air conditioning . . . . . . . . . . . . . . . . . . . 4-94
4
Page 99 of 498
419
Features of your vehicle
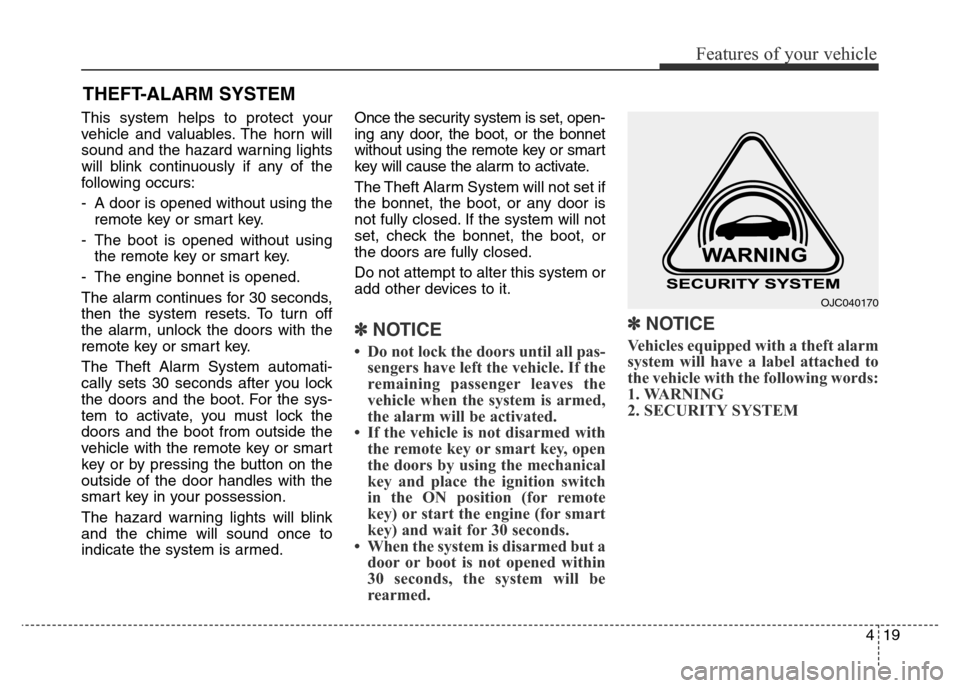
This system helps to protect your
vehicle and valuables. The horn will
sound and the hazard warning lights
will blink continuously if any of the
following occurs:
- A door is opened without using the
remote key or smart key.
- The boot is opened without using
the remote key or smart key.
- The engine bonnet is opened.
The alarm continues for 30 seconds,
then the system resets. To turn off
the alarm, unlock the doors with the
remote key or smart key.
The Theft Alarm System automati-
cally sets 30 seconds after you lock
the doors and the boot. For the sys-
tem to activate, you must lock the
doors and the boot from outside the
vehicle with the remote key or smart
key or by pressing the button on the
outside of the door handles with the
smart key in your possession.
The hazard warning lights will blink
and the chime will sound once to
indicate the system is armed.Once the security system is set, open-
ing any door, the boot, or the bonnet
without using the remote key or smart
key will cause the alarm to activate.
The Theft Alarm System will not set if
the bonnet, the boot, or any door is
not fully closed. If the system will not
set, check the bonnet, the boot, or
the doors are fully closed.
Do not attempt to alter this system or
add other devices to it.
✽NOTICE
• Do not lock the doors until all pas-
sengers have left the vehicle. If the
remaining passenger leaves the
vehicle when the system is armed,
the alarm will be activated.
• If the vehicle is not disarmed with
the remote key or smart key, open
the doors by using the mechanical
key and place the ignition switch
in the ON position (for remote
key) or start the engine (for smart
key) and wait for 30 seconds.
• When the system is disarmed but a
door or boot is not opened within
30 seconds, the system will be
rearmed.
✽NOTICE
Vehicles equipped with a theft alarm
system will have a label attached to
the vehicle with the following words:
1. WARNING
2. SECURITY SYSTEM
THEFT-ALARM SYSTEM
OJC040170
Page 104 of 498
Features of your vehicle
24 4
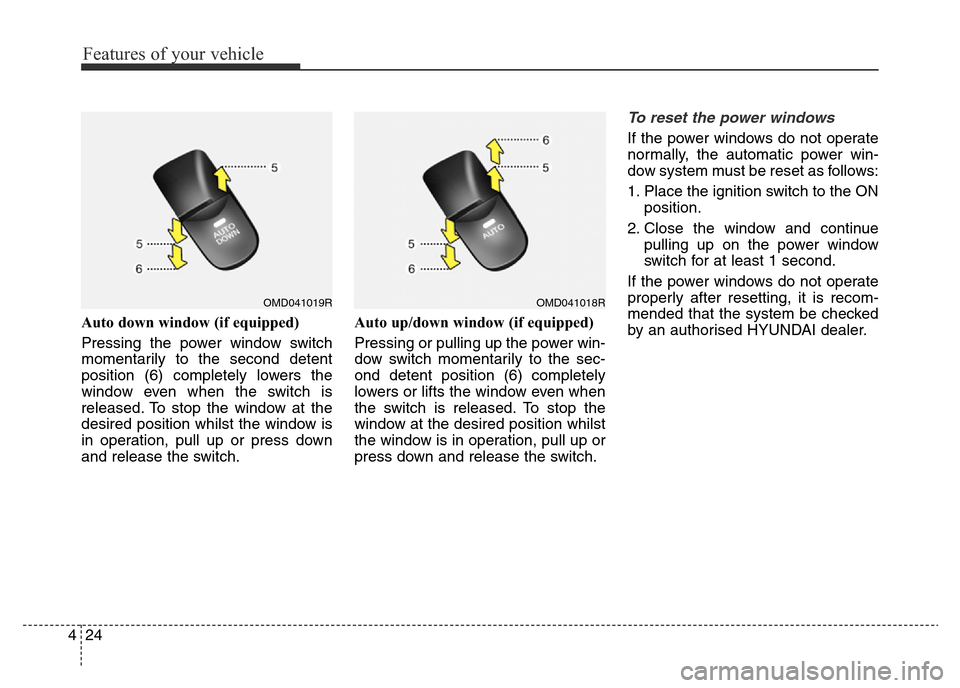
Auto down window (if equipped)
Pressing the power window switch
momentarily to the second detent
position (6) completely lowers the
window even when the switch is
released. To stop the window at the
desired position whilst the window is
in operation, pull up or press down
and release the switch.Auto up/down window (if equipped)
Pressing or pulling up the power win-
dow switch momentarily to the sec-
ond detent position (6) completely
lowers or lifts the window even when
the switch is released. To stop the
window at the desired position whilst
the window is in operation, pull up or
press down and release the switch.
To reset the power windows
If the power windows do not operate
normally, the automatic power win-
dow system must be reset as follows:
1. Place the ignition switch to the ON
position.
2. Close the window and continue
pulling up on the power window
switch for at least 1 second.
If the power windows do not operate
properly after resetting, it is recom-
mended that the system be checked
by an authorised HYUNDAI dealer.
OMD041019ROMD041018R
Page 114 of 498
Features of your vehicle
34 4
✽NOTICE
After washing the vehicle or after a
rain, be sure to wipe off the water on
the sunroof before operating the
sunroof.
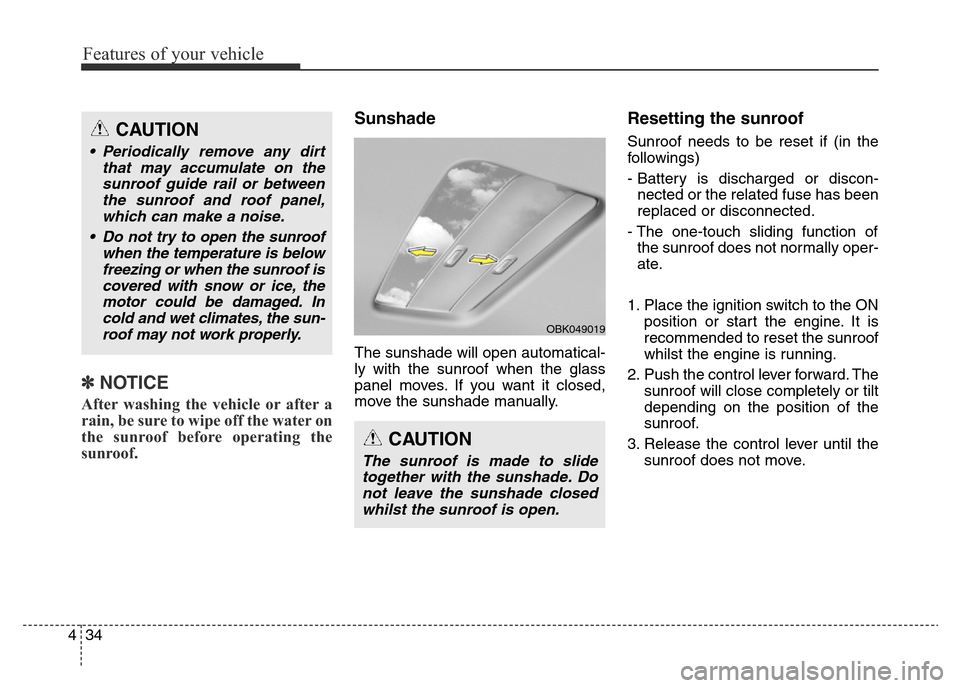
Sunshade
The sunshade will open automatical-
ly with the sunroof when the glass
panel moves. If you want it closed,
move the sunshade manually.
Resetting the sunroof
Sunroof needs to be reset if (in the
followings)
- Battery is discharged or discon-
nected or the related fuse has been
replaced or disconnected.
- The one-touch sliding function of
the sunroof does not normally oper-
ate.
1. Place the ignition switch to the ON
position or start the engine. It is
recommended to reset the sunroof
whilst the engine is running.
2. Push the control lever forward. The
sunroof will close completely or tilt
depending on the position of the
sunroof.
3. Release the control lever until the
sunroof does not move.
CAUTION
The sunroof is made to slide
together with the sunshade. Do
not leave the sunshade closed
whilst the sunroof is open.
OBK049019
CAUTION
• Periodically remove any dirt
that may accumulate on the
sunroof guide rail or between
the sunroof and roof panel,
which can make a noise.
• Do not try to open the sunroof
when the temperature is below
freezing or when the sunroof is
covered with snow or ice, the
motor could be damaged. In
cold and wet climates, the sun-
roof may not work properly.
Page 115 of 498
435
Features of your vehicle
4. Push the control lever forward
about 10 seconds.
- When the sunroof is in the closed
position :
The glass will tilt and slightly
move up and down.
- When the sunroof is in the tilt
position:
The glass will slightly move up
and down.
Do not release the lever until the
operation is completed.
If you release the lever during opera-
tion, try again from step 2.5. Within 3 seconds, push the control
lever forward until the sunroof
operates as follows:
Tilt down →Slide Open →Slide
Close.
Do not release the lever until the
operation is completed.
If you release the lever during opera-
tion, try again from step 2.
6. Release the sunroof control lever
after all operation has completed.
(The sunroof system has been
reset.)✽NOTICE
• If the sunroof does not reset when
the vehicle battery is disconnected
or discharged, or related fuse is
blown, the sunroof may not oper-
ate normally.
• For more detailed information, we
recommend that you contact an
authorised HYUNDAI dealer.
Page 133 of 498
453
Features of your vehicle
Trip computer (if equipped)
The trip computer is a microcomput-
er-controlled driver information sys-
tem that displays information related
to driving, when the ignition switch is
in the ON position. All stored driving
information (except odometer) resets
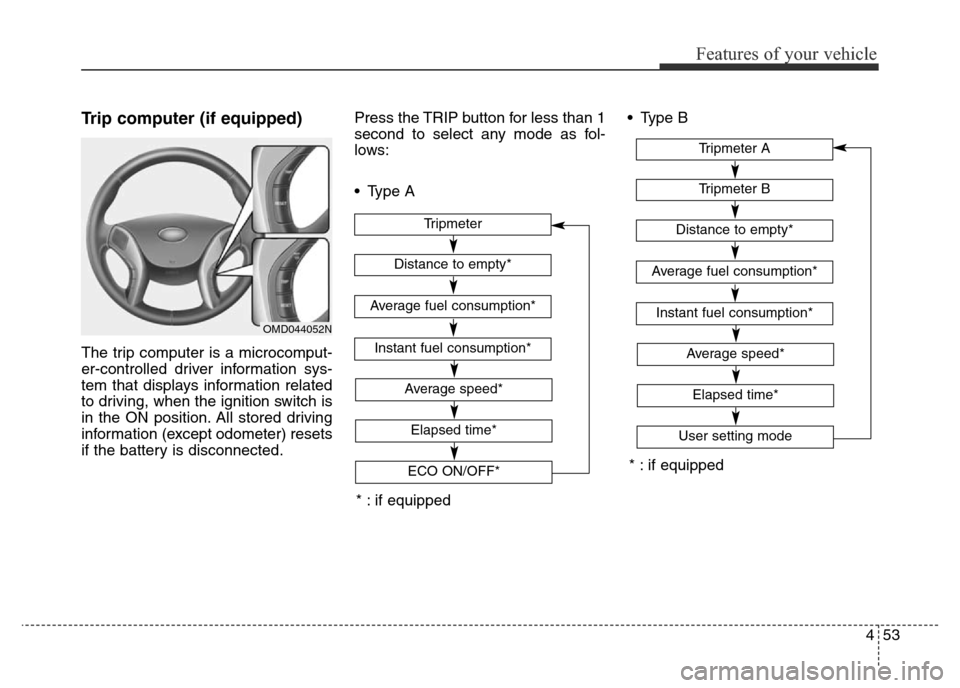
if the battery is disconnected.Press the TRIP button for less than 1
second to select any mode as fol-
lows:
• Type A• Type B
OMD044052N
* : if equipped
* : if equipped
Tripmeter B
Instant fuel consumption*
Tripmeter A
Distance to empty*
Average fuel consumption*
Elapsed time*
Average speed*
User setting mode
Tripmeter
Instant fuel consumption*
Distance to empty*
Average fuel consumption*
Elapsed time*
Average speed*
ECO ON/OFF*
Page 134 of 498
Features of your vehicle
54 4
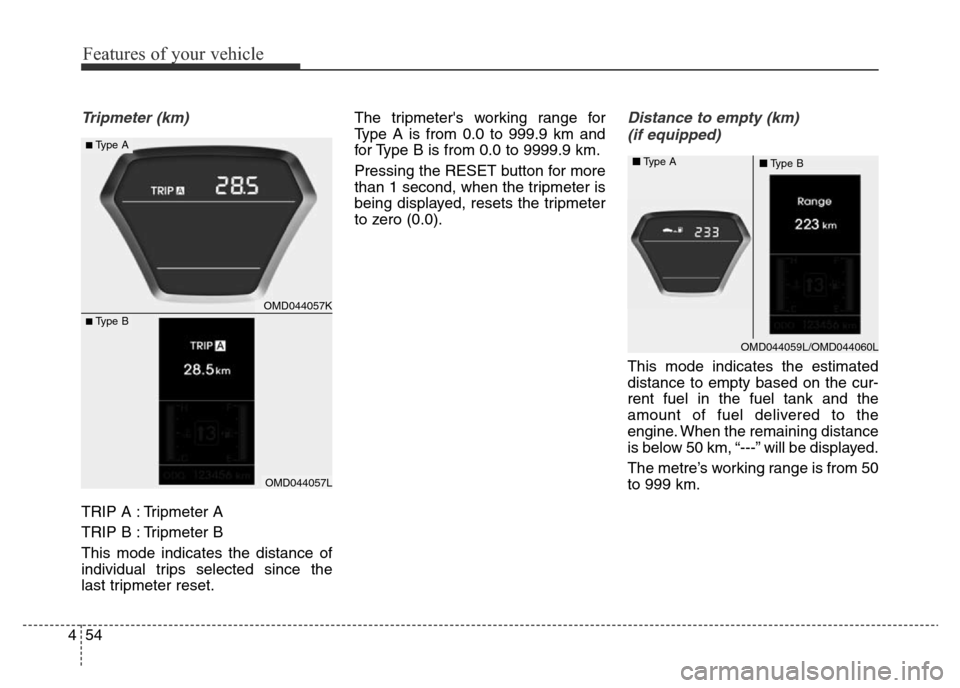
Tripmeter (km)
TRIP A : Tripmeter A
TRIP B : Tripmeter B
This mode indicates the distance of
individual trips selected since the
last tripmeter reset.The tripmeter's working range for
Type A is from 0.0 to 999.9 km and
for Type B is from 0.0 to 9999.9 km.
Pressing the RESET button for more
than 1 second, when the tripmeter is
being displayed, resets the tripmeter
to zero (0.0).
Distance to empty (km)
(if equipped)
This mode indicates the estimated
distance to empty based on the cur-
rent fuel in the fuel tank and the
amount of fuel delivered to the
engine. When the remaining distance
is below 50 km, “---” will be displayed.
The metre’s working range is from 50
to 999 km.
OMD044057K
OMD044057L
■Type A
■Type B
OMD044059L/OMD044060L ■Type A
■Type B
Page 135 of 498
455
Features of your vehicle
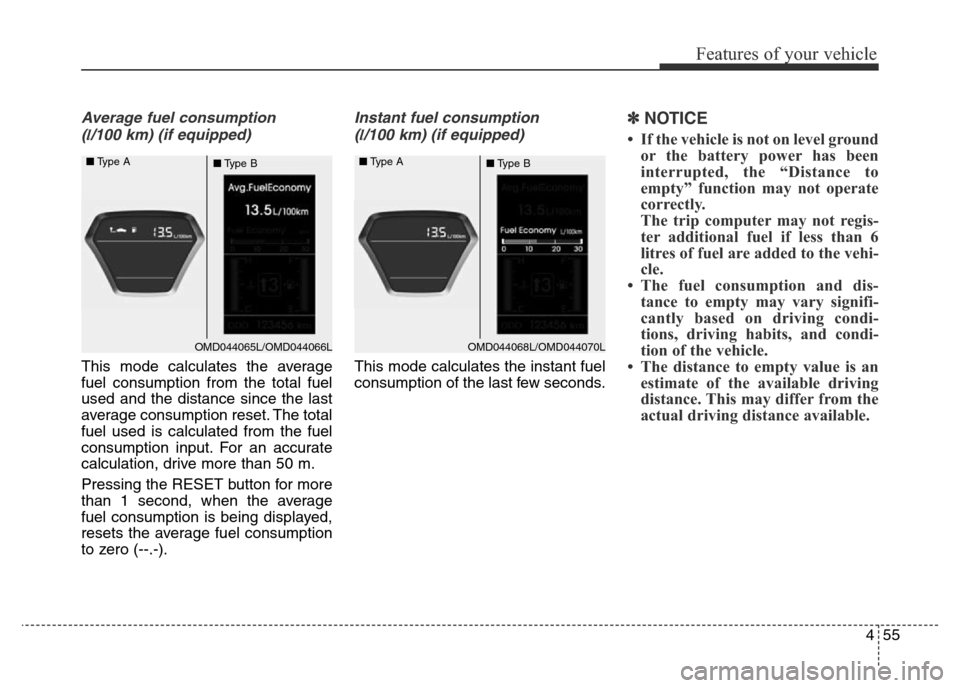
Average fuel consumption
(
l/100 km) (if equipped)
This mode calculates the average
fuel consumption from the total fuel
used and the distance since the last
average consumption reset. The total
fuel used is calculated from the fuel
consumption input. For an accurate
calculation, drive more than 50 m.
Pressing the RESET button for more
than 1 second, when the average
fuel consumption is being displayed,
resets the average fuel consumption
to zero (--.-).
Instant fuel consumption
(
l/100 km) (if equipped)
This mode calculates the instant fuel
consumption of the last few seconds.
✽NOTICE
• If the vehicle is not on level ground
or the battery power has been
interrupted, the “Distance to
empty” function may not operate
correctly.
The trip computer may not regis-
ter additional fuel if less than 6
litres of fuel are added to the vehi-
cle.
• The fuel consumption and dis-
tance to empty may vary signifi-
cantly based on driving condi-
tions, driving habits, and condi-
tion of the vehicle.
• The distance to empty value is an
estimate of the available driving
distance. This may differ from the
actual driving distance available.
OMD044065L/OMD044066L ■Type A
■Type BOMD044068L/OMD044070L ■Type A
■Type B
Page 136 of 498
Features of your vehicle
56 4
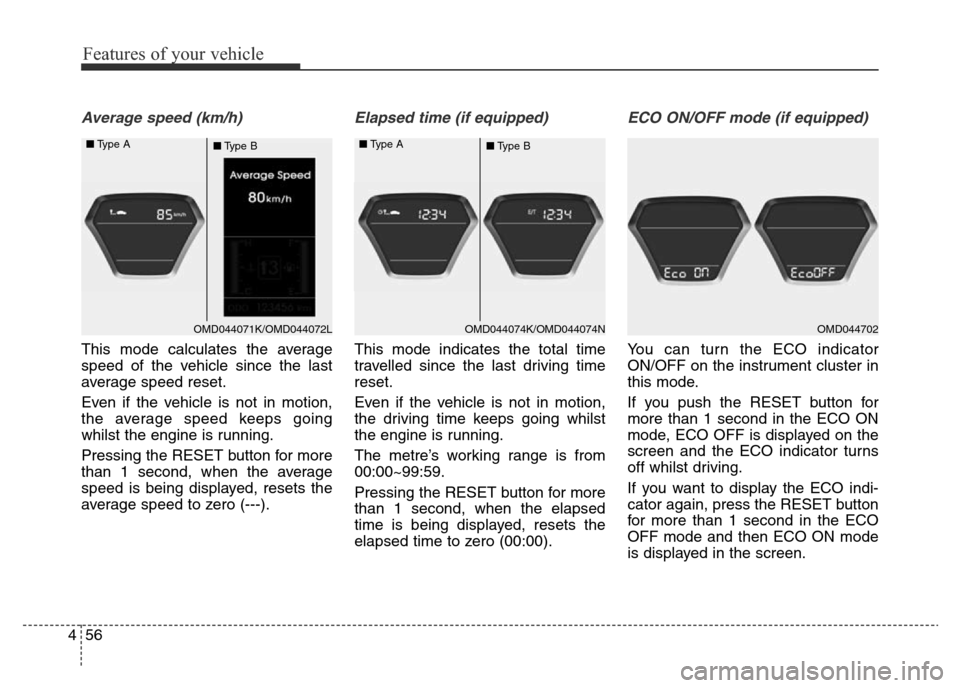
Average speed (km/h)
This mode calculates the average
speed of the vehicle since the last
average speed reset.
Even if the vehicle is not in motion,
the average speed keeps going
whilst the engine is running.
Pressing the RESET button for more
than 1 second, when the average
speed is being displayed, resets the
average speed to zero (---).
Elapsed time (if equipped)
This mode indicates the total time
travelled since the last driving time
reset.
Even if the vehicle is not in motion,
the driving time keeps going whilst
the engine is running.
The metre’s working range is from
00:00~99:59.
Pressing the RESET button for more
than 1 second, when the elapsed
time is being displayed, resets the
elapsed time to zero (00:00).
ECO ON/OFF mode (if equipped)
You can turn the ECO indicator
ON/OFF on the instrument cluster in
this mode.
If you push the RESET button for
more than 1 second in the ECO ON
mode, ECO OFF is displayed on the
screen and the ECO indicator turns
off whilst driving.
If you want to display the ECO indi-
cator again, press the RESET button
for more than 1 second in the ECO
OFF mode and then ECO ON mode
is displayed in the screen.
OMD044071K/OMD044072L ■Type A
■Type BOMD044074K/OMD044074N ■Type A
■Type BOMD044702