ECU Hyundai Elantra Coupe 2014 Owner's Guide
[x] Cancel search | Manufacturer: HYUNDAI, Model Year: 2014, Model line: Elantra Coupe, Model: Hyundai Elantra Coupe 2014Pages: 550, PDF Size: 45.11 MB
Page 119 of 550
433
Features of your vehicle
✽ ✽
NOTICE
• Make sure to refuel your
vehicle according to the "Fuel
Requirements" suggested in chap-
ter 1.
• Do not spill fuel on the exterior
surfaces of the vehicle. Any type of
fuel spilled on painted surfaces
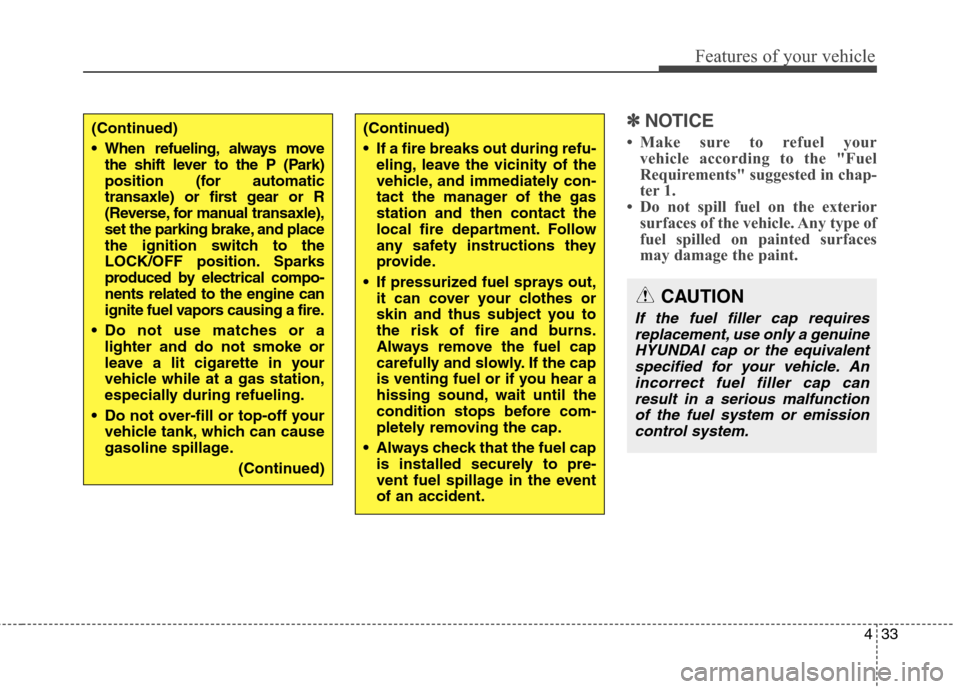
may damage the paint.(Continued)
When refueling, always move
the shift lever to the P (Park)
position (for automatic
transaxle) or first gear or R
(Reverse, for manual transaxle),
set the parking brake, and place
the ignition switch to the
LOCK/OFF position. Sparks
produced by electrical compo-
nents related to the engine can
ignite fuel vapors causing a fire.
Do not use matches or a
lighter and do not smoke or
leave a lit cigarette in your
vehicle while at a gas station,
especially during refueling.
Do not over-fill or top-off your
vehicle tank, which can cause
gasoline spillage.
(Continued)(Continued)
If a fire breaks out during refu-
eling, leave the vicinity of the
vehicle, and immediately con-
tact the manager of the gas
station and then contact the
local fire department. Follow
any safety instructions they
provide.
If pressurized fuel sprays out,
it can cover your clothes or
skin and thus subject you to
the risk of fire and burns.
Always remove the fuel cap
carefully and slowly. If the cap
is venting fuel or if you hear a
hissing sound, wait until the
condition stops before com-
pletely removing the cap.
Always check that the fuel cap
is installed securely to pre-
vent fuel spillage in the event
of an accident.
CAUTION
If the fuel filler cap requires
replacement, use only a genuine
HYUNDAI cap or the equivalent
specified for your vehicle. An
incorrect fuel filler cap can
result in a serious malfunction
of the fuel system or emission
control system.
Page 130 of 550
Features of your vehicle
44 4
The auto-dimming function can be
controlled by pressing the ON/OFF
button:
1. Pressing the OFF button (7) turns
the auto-dimming function off
which is indicated by the green
Status Indicator LED turning off.
2. Pressing the ON button (6) again
turns the auto-dimming function
on which is indicated by the green
Status Indicator LED turning on.
The mirror defaults to the ON posi-
tion each time the vehicle is started.Integrated HomeLink®Wireless
Control System
The HomeLink
®Wireless Control
System can replace up to three
hand-held radio-frequency (RF)
transmitters with a single built-in
device. This innovative feature will
learn the radio frequency codes of
most current transmitters to operate
devices such as gate operators,
garage door openers, entry door
locks, security systems, even home
lighting. Both standard and rolling
code-equipped transmitters can be
programmed by following the out-
lined procedures.
Additional HomeLink
®information
can be found at: www.homelink.com
or by calling 1-800-355-3515.
Retain the original transmitter of the
RF device you are programming for
use in other vehicles as well as for
future HomeLink
®programming. It is
also suggested that upon the sale of
the vehicle, the programmed
HomeLink
®buttons be erased for
security purposes.
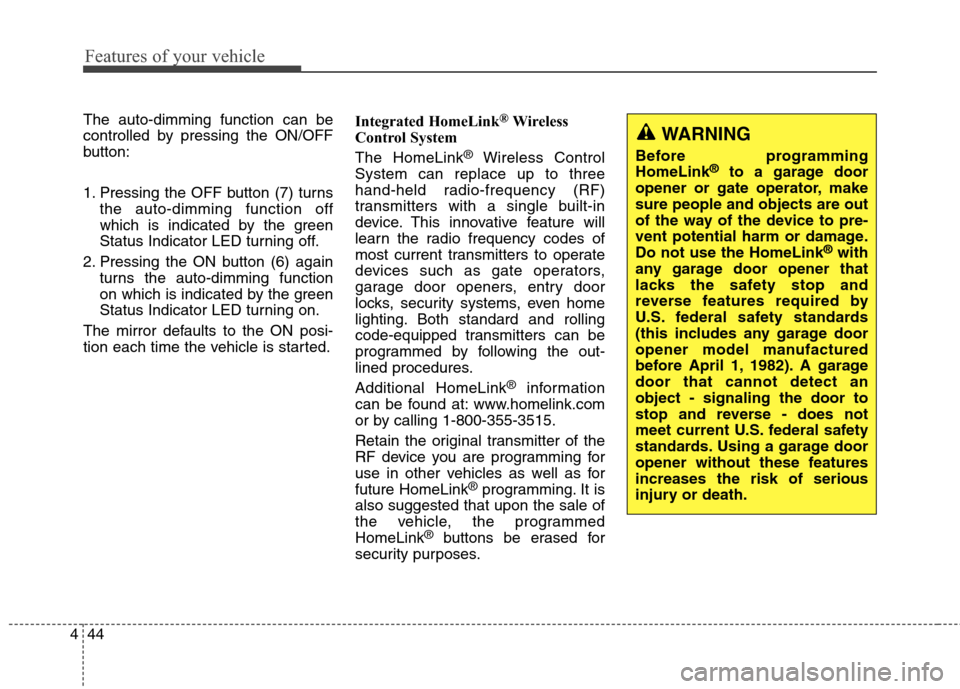
WARNING
Before programming
HomeLink®to a garage door
opener or gate operator, make
sure people and objects are out
of the way of the device to pre-
vent potential harm or damage.
Do not use the HomeLink
®with
any garage door opener that
lacks the safety stop and
reverse features required by
U.S. federal safety standards
(this includes any garage door
opener model manufactured
before April 1, 1982). A garage
door that cannot detect an
object - signaling the door to
stop and reverse - does not
meet current U.S. federal safety
standards. Using a garage door
opener without these features
increases the risk of serious
injury or death.
Page 133 of 550
447
Features of your vehicle
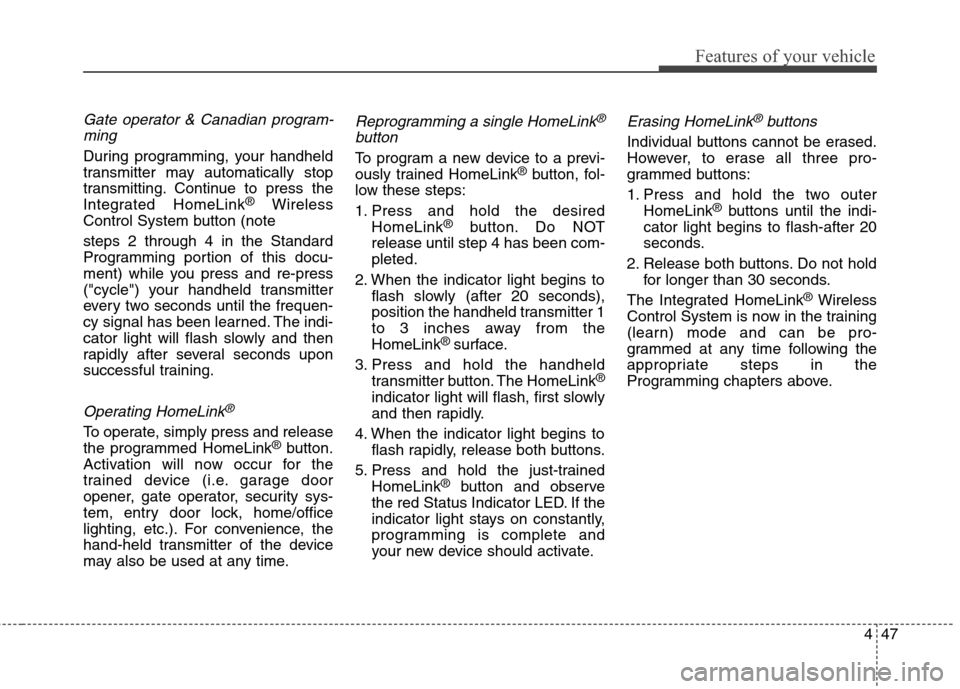
Gate operator & Canadian program-
ming
During programming, your handheld
transmitter may automatically stop
transmitting. Continue to press the
Integrated HomeLink
®Wireless
Control System button (note
steps 2 through 4 in the Standard
Programming portion of this docu-
ment) while you press and re-press
("cycle") your handheld transmitter
every two seconds until the frequen-
cy signal has been learned. The indi-
cator light will flash slowly and then
rapidly after several seconds upon
successful training.
Operating HomeLink®
To operate, simply press and release
the programmed HomeLink®button.
Activation will now occur for the
trained device (i.e. garage door
opener, gate operator, security sys-
tem, entry door lock, home/office
lighting, etc.). For convenience, the
hand-held transmitter of the device
may also be used at any time.
Reprogramming a single HomeLink®
button
To program a new device to a previ-
ously trained HomeLink®button, fol-
low these steps:
1. Press and hold the desired
HomeLink
®button. Do NOT
release until step 4 has been com-
pleted.
2. When the indicator light begins to
flash slowly (after 20 seconds),
position the handheld transmitter 1
to 3 inches away from the
HomeLink
® surface.
3. Press and hold the handheld
transmitter button. The HomeLink
®
indicator light will flash, first slowly
and then rapidly.
4. When the indicator light begins to
flash rapidly, release both buttons.
5. Press and hold the just-trained
HomeLink
®button and observe
the red Status Indicator LED. If the
indicator light stays on constantly,
programming is complete and
your new device should activate.
Erasing HomeLink®buttons
Individual buttons cannot be erased.
However, to erase all three pro-
grammed buttons:
1. Press and hold the two outer
HomeLink
®buttons until the indi-
cator light begins to flash-after 20
seconds.
2. Release both buttons. Do not hold
for longer than 30 seconds.
The Integrated HomeLink
®Wireless
Control System is now in the training
(learn) mode and can be pro-
grammed at any time following the
appropriate steps in the
Programming chapters above.
Page 153 of 550
467
Features of your vehicle
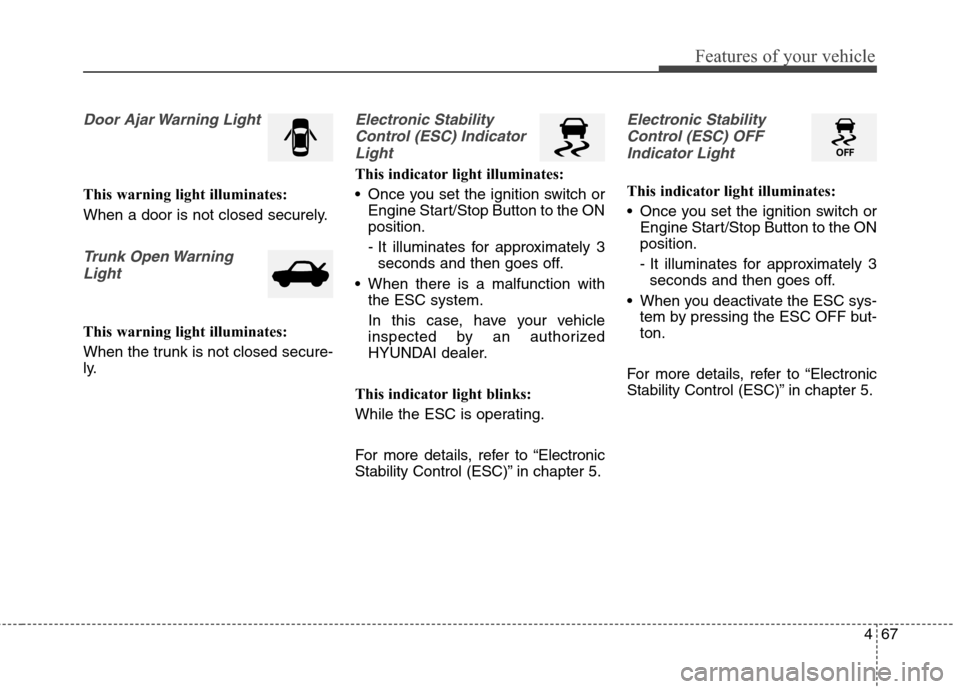
Door Ajar Warning Light
This warning light illuminates:
When a door is not closed securely.
Trunk Open Warning
Light
This warning light illuminates:
When the trunk is not closed secure-
ly.
Electronic Stability
Control (ESC) Indicator
Light
This indicator light illuminates:
Once you set the ignition switch or
Engine Start/Stop Button to the ON
position.
- It illuminates for approximately 3
seconds and then goes off.
When there is a malfunction with
the ESC system.
In this case, have your vehicle
inspected by an authorized
HYUNDAI dealer.
This indicator light blinks:
While the ESC is operating.
For more details, refer to “Electronic
Stability Control (ESC)” in chapter 5.
Electronic Stability
Control (ESC) OFF
Indicator Light
This indicator light illuminates:
Once you set the ignition switch or
Engine Start/Stop Button to the ON
position.
- It illuminates for approximately 3
seconds and then goes off.
When you deactivate the ESC sys-
tem by pressing the ESC OFF but-
ton.
For more details, refer to “Electronic
Stability Control (ESC)” in chapter 5.
Page 166 of 550
Features of your vehicle
80 4
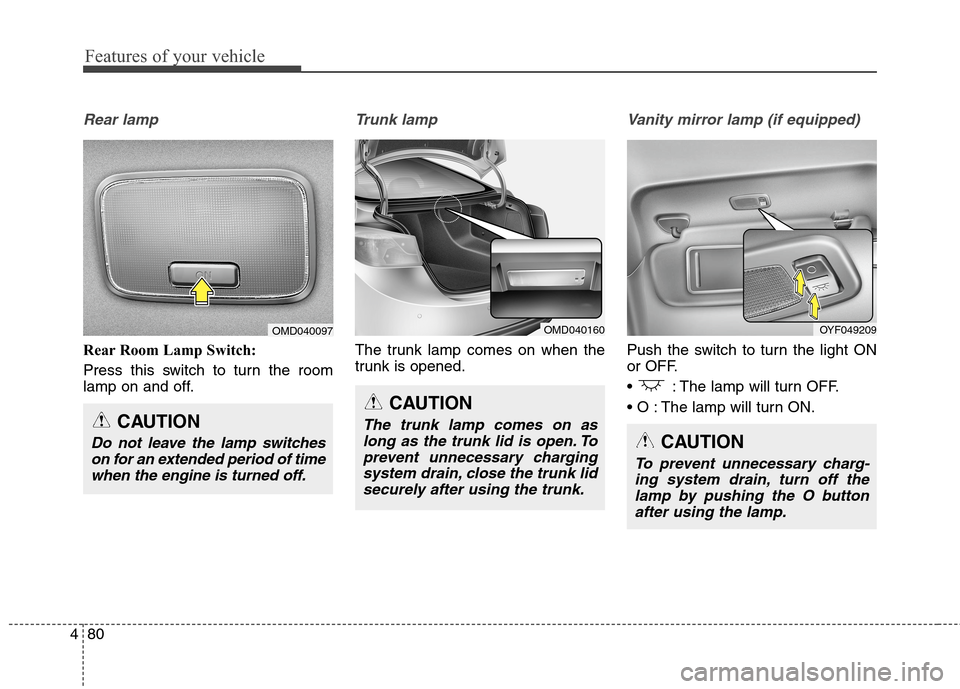
Rear lamp
Rear Room Lamp Switch:
Press this switch to turn the room
lamp on and off.
Trunk lamp
The trunk lamp comes on when the
trunk is opened.
Vanity mirror lamp (if equipped)
Push the switch to turn the light ON
or OFF.
: The lamp will turn OFF.
The lamp will turn ON.
CAUTION
Do not leave the lamp switches
on for an extended period of time
when the engine is turned off.
OMD040097
CAUTION
The trunk lamp comes on as
long as the trunk lid is open. To
prevent unnecessary charging
system drain, close the trunk lid
securely after using the trunk.
OMD040160OYF049209
CAUTION
To prevent unnecessary charg-
ing system drain, turn off the
lamp by pushing the O button
after using the lamp.
Page 196 of 550
Features of your vehicle
110 4
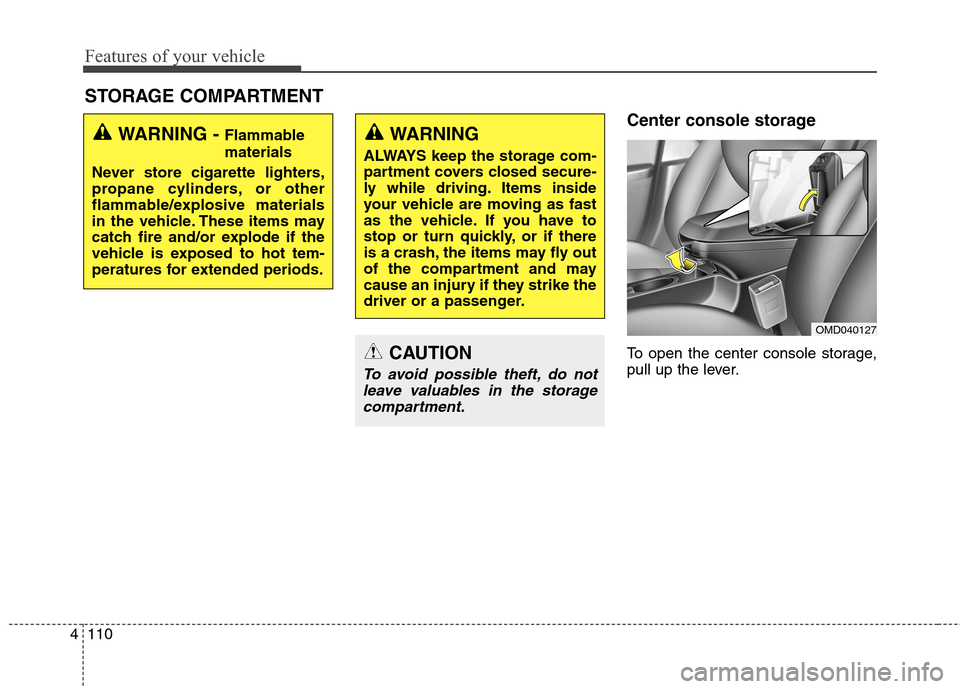
Center console storage
To open the center console storage,
pull up the lever.
STORAGE COMPARTMENT
WARNING - Flammable
materials
Never store cigarette lighters,
propane cylinders, or other
flammable/explosive materials
in the vehicle. These items may
catch fire and/or explode if the
vehicle is exposed to hot tem-
peratures for extended periods.WARNING
ALWAYS keep the storage com-
partment covers closed secure-
ly while driving. Items inside
your vehicle are moving as fast
as the vehicle. If you have to
stop or turn quickly, or if there
is a crash, the items may fly out
of the compartment and may
cause an injury if they strike the
driver or a passenger.
CAUTION
To avoid possible theft, do not
leave valuables in the storage
compartment.
OMD040127
Page 202 of 550
Features of your vehicle
116 4
Sunvisor
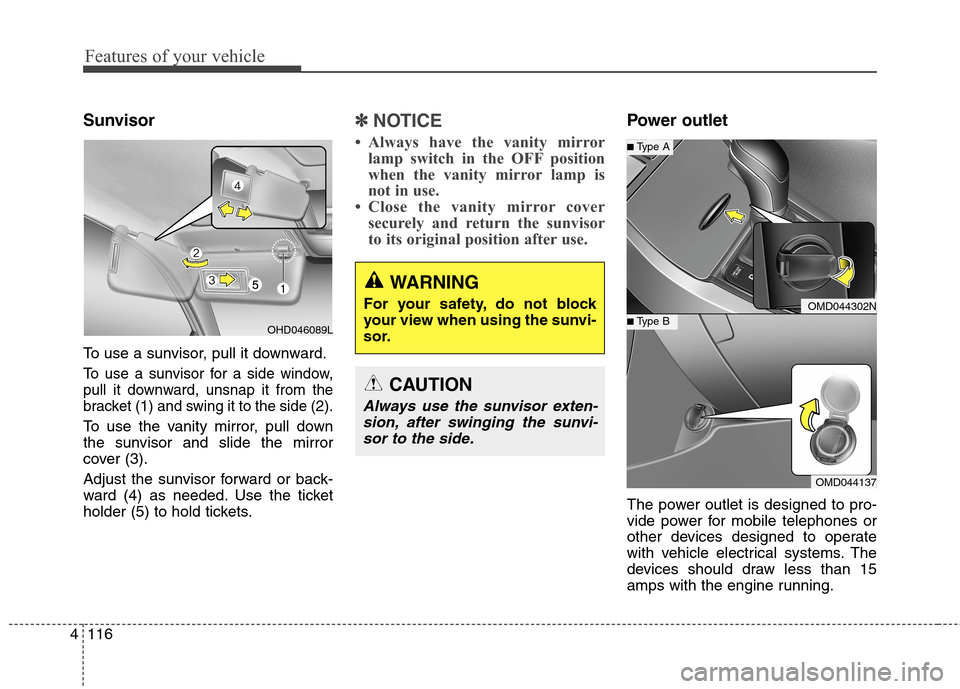
To use a sunvisor, pull it downward.
To use a sunvisor for a side window,
pull it downward, unsnap it from the
bracket (1) and swing it to the side (2).
To use the vanity mirror, pull down
the sunvisor and slide the mirror
cover (3).
Adjust the sunvisor forward or back-
ward (4) as needed. Use the ticket
holder (5) to hold tickets.
✽ ✽
NOTICE
• Always have the vanity mirror
lamp switch in the OFF position
when the vanity mirror lamp is
not in use.
• Close the vanity mirror cover
securely and return the sunvisor
to its original position after use.
Power outlet
The power outlet is designed to pro-
vide power for mobile telephones or
other devices designed to operate
with vehicle electrical systems. The
devices should draw less than 15
amps with the engine running.
WARNING
For your safety, do not block
your view when using the sunvi-
sor.
CAUTION
Always use the sunvisor exten-
sion, after swinging the sunvi-
sor to the side.
OMD044302N
OMD044137
■Type B
■Type A
OHD046089L
Page 204 of 550
Features of your vehicle
118 4
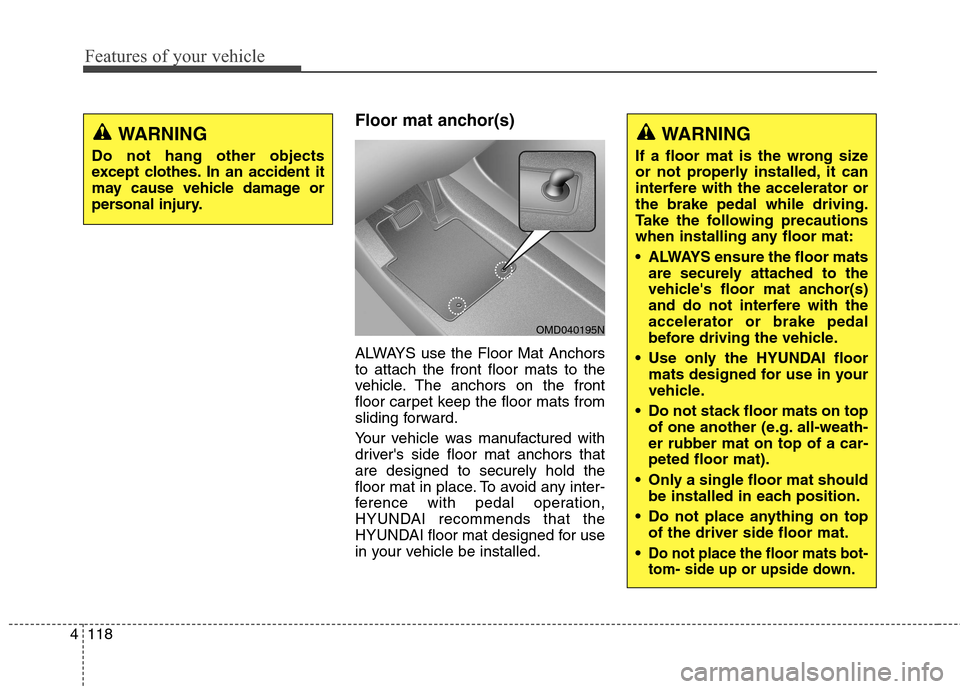
Floor mat anchor(s)
ALWAYS use the Floor Mat Anchors
to attach the front floor mats to the
vehicle. The anchors on the front
floor carpet keep the floor mats from
sliding forward.
Your vehicle was manufactured with
driver's side floor mat anchors that
are designed to securely hold the
floor mat in place. To avoid any inter-
ference with pedal operation,
HYUNDAI recommends that the
HYUNDAI floor mat designed for use
in your vehicle be installed.
WARNING
Do not hang other objects
except clothes. In an accident it
may cause vehicle damage or
personal injury.
OMD040195N
WARNING
If a floor mat is the wrong size
or not properly installed, it can
interfere with the accelerator or
the brake pedal while driving.
Take the following precautions
when installing any floor mat:
ALWAYS ensure the floor mats
are securely attached to the
vehicle's floor mat anchor(s)
and do not interfere with the
accelerator or brake pedal
before driving the vehicle.
Use only the HYUNDAI floor
mats designed for use in your
vehicle.
Do not stack floor mats on top
of one another (e.g. all-weath-
er rubber mat on top of a car-
peted floor mat).
Only a single floor mat should
be installed in each position.
Do not place anything on top
of the driver side floor mat.
Do not place the floor mats bot-
tom- side up or upside down.
Page 205 of 550
4119
Features of your vehicle
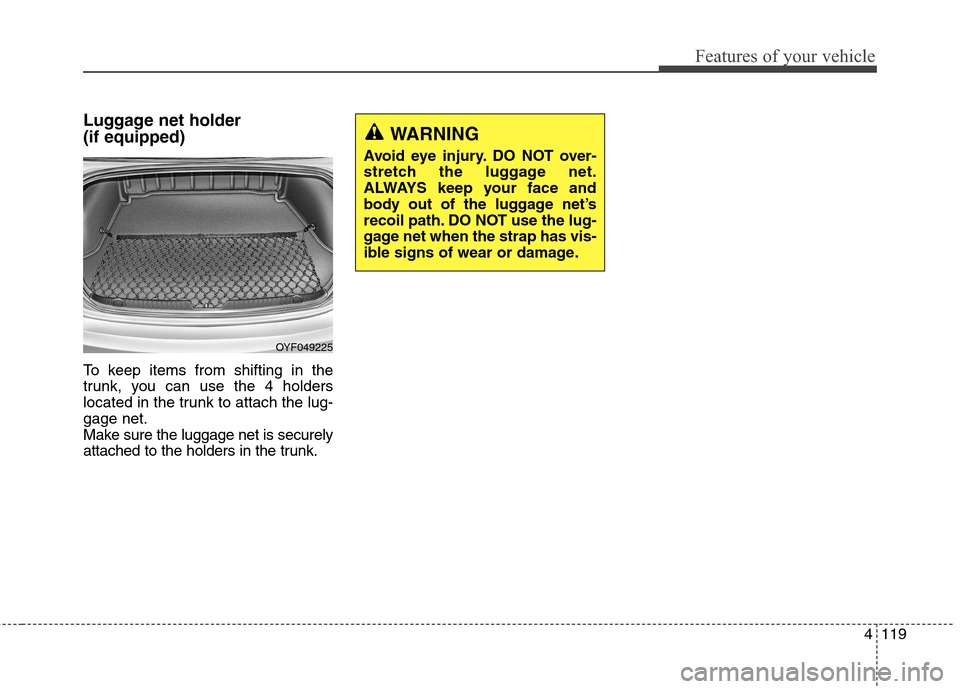
Luggage net holder
(if equipped)
To keep items from shifting in the
trunk, you can use the 4 holders
located in the trunk to attach the lug-
gage net.
Make sure the luggage net is securely
attached to the holders in the trunk.
OYF049225
WARNING
Avoid eye injury. DO NOT over-
stretch the luggage net.
ALWAYS keep your face and
body out of the luggage net’s
recoil path. DO NOT use the lug-
gage net when the strap has vis-
ible signs of wear or damage.
Page 248 of 550
Features of your vehicle
162 4
Pairing Key / Key
on the Steering Remote
Controller
When No Devices have been
Paired
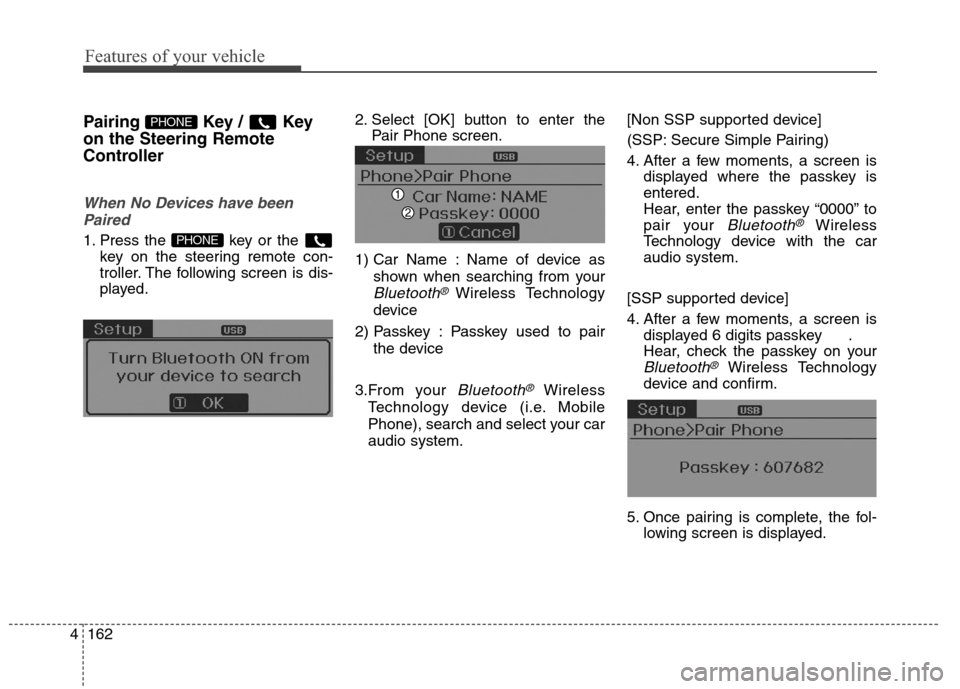
1. Press the key or the
key on the steering remote con-
troller. The following screen is dis-
played.2. Select [OK] button to enter the
Pair Phone screen.
1) Car Name : Name of device as
shown when searching from your
Bluetooth® Wireless Technology
device
2) Passkey : Passkey used to pair
the device
3.From your
Bluetooth®Wireless
Technology device (i.e. Mobile
Phone), search and select your car
audio system.[Non SSP supported device]
(SSP: Secure Simple Pairing)
4. After a few moments, a screen is
displayed where the passkey is
entered.
Hear, enter the passkey “0000” to
pair your
Bluetooth®Wireless
Technology device with the car
audio system.
[SSP supported device]
4. After a few moments, a screen is
displayed 6 digits passkey .
Hear, check the passkey on your
Bluetooth®Wireless Technology
device and confirm.
5. Once pairing is complete, the fol-
lowing screen is displayed.
PHONE
PHONE