Hyundai Elantra GT 2018 Owner's Manual
Manufacturer: HYUNDAI, Model Year: 2018, Model line: Elantra GT, Model: Hyundai Elantra GT 2018Pages: 478, PDF Size: 13.64 MB
Page 161 of 478
3-76
Convenient features of your vehicle
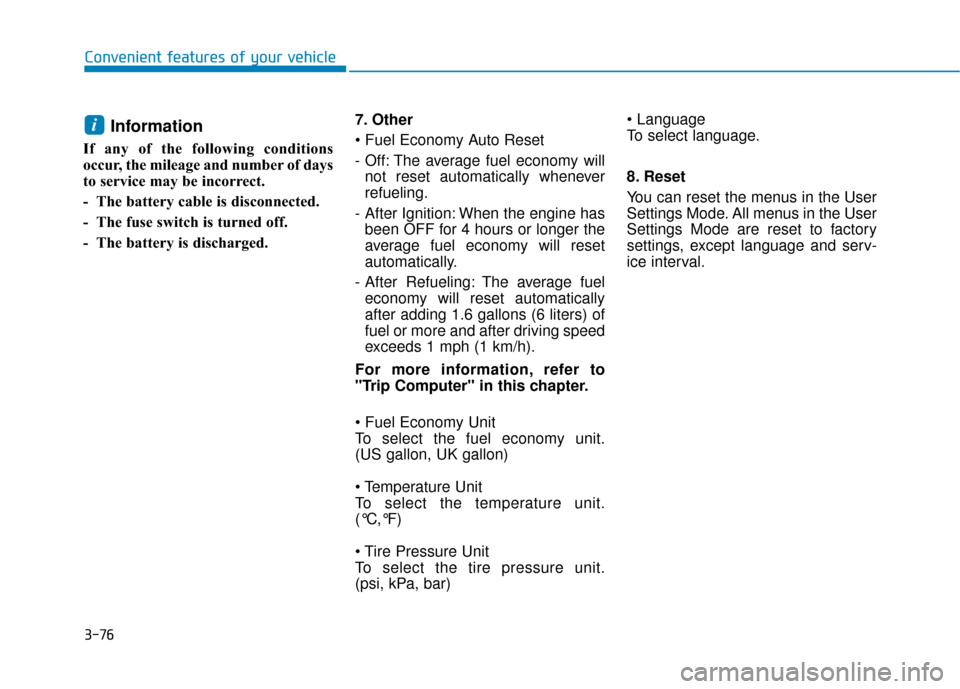
Information
If any of the following conditions
occur, the mileage and number of days
to service may be incorrect.
- The battery cable is disconnected.
- The fuse switch is turned off.
- The battery is discharged.7. Other
- Off: The average fuel economy will
not reset automatically whenever
refueling.
- After Ignition: When the engine has been OFF for 4 hours or longer the
average fuel economy will reset
automatically.
- After Refueling: The average fuel economy will reset automatically
after adding 1.6 gallons (6 liters) of
fuel or more and after driving speed
exceeds 1 mph (1 km/h).
For more information, refer to
"Trip Computer" in this chapter.
To select the fuel economy unit.
(US gallon, UK gallon)
To select the temperature unit.
(°C,°F)
To select the tire pressure unit.
(psi, kPa, bar)
To select language.
8. Reset
You can reset the menus in the User
Settings Mode. All menus in the User
Settings Mode are reset to factory
settings, except language and serv-
ice interval.
i
Page 162 of 478
3-77
Convenient features of your vehicle
3
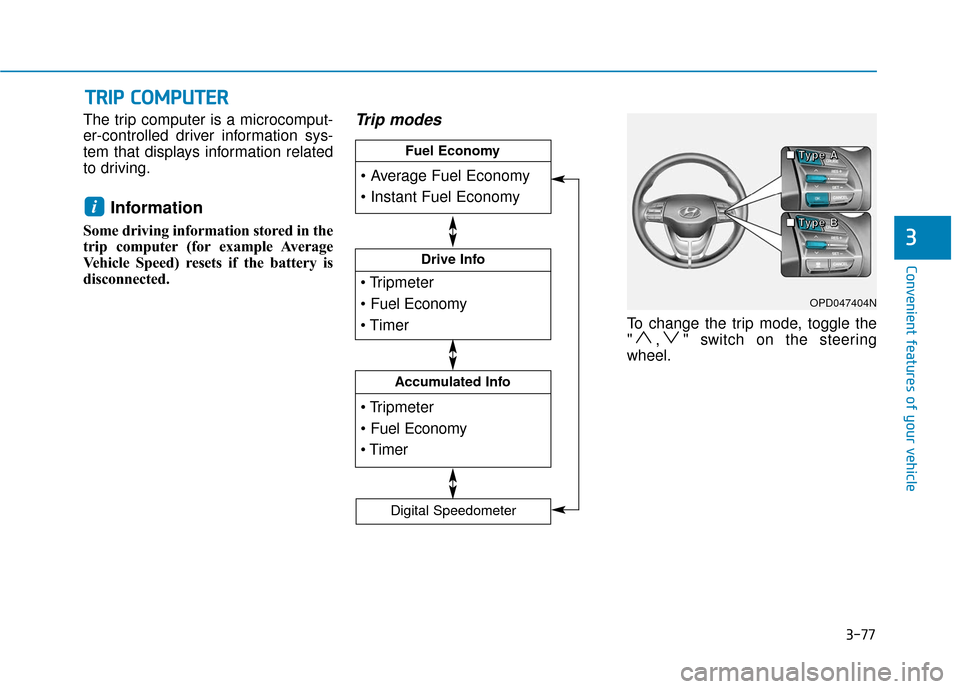
The trip computer is a microcomput-
er-controlled driver information sys-
tem that displays information related
to driving.
Information
Some driving information stored in the
trip computer (for example Average
Vehicle Speed) resets if the battery is
disconnected.
Trip modes
To change the trip mode, toggle the
" , " switch on the steering
wheel.
i
T
TR
R I
IP
P
C
C O
O M
M P
PU
U T
TE
ER
R
OPD047404N
■
■
■
■
T
T
T
T
y
y
y
y
p
p
p
p
e
e
e
e
A
A
A
A
■
■
■
■
T
T
T
T
y
y
y
y
p
p
p
p
e
e
e
e
B
B
B
B
Drive Info
Accumulated Info
Fuel Economy
Digital Speedometer
Page 163 of 478
3-78
Convenient features of your vehicle
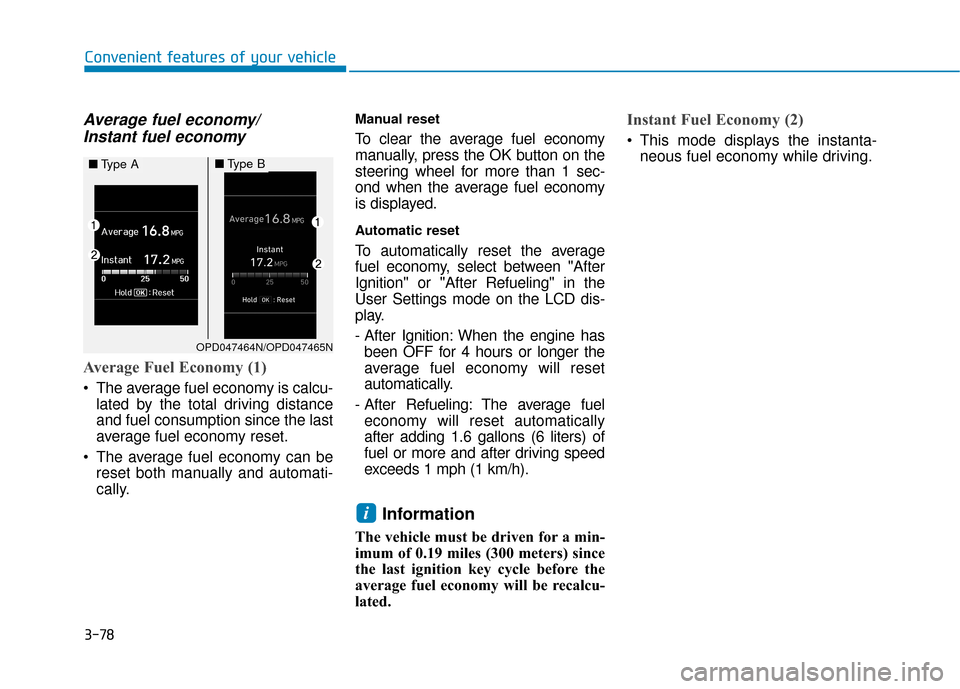
Average fuel economy/Instant fuel economy
Average Fuel Economy (1)
The average fuel economy is calcu-
lated by the total driving distance
and fuel consumption since the last
average fuel economy reset.
The average fuel economy can be reset both manually and automati-
cally.
Manual reset
To clear the average fuel economy
manually, press the OK button on the
steering wheel for more than 1 sec-
ond when the average fuel economy
is displayed.
Automatic reset
To automatically reset the average
fuel economy, select between "After
Ignition" or "After Refueling" in the
User Settings mode on the LCD dis-
play.
- After Ignition: When the engine hasbeen OFF for 4 hours or longer the
average fuel economy will reset
automatically.
- After Refueling: The average fuel economy will reset automatically
after adding 1.6 gallons (6 liters) of
fuel or more and after driving speed
exceeds 1 mph (1 km/h).
Information
The vehicle must be driven for a min-
imum of 0.19 miles (300 meters) since
the last ignition key cycle before the
average fuel economy will be recalcu-
lated.
Instant Fuel Economy (2)
This mode displays the instanta- neous fuel economy while driving.
i
OPD047464N/OPD047465N
■ Type A■Type B
Page 164 of 478
3-79
Convenient features of your vehicle
3
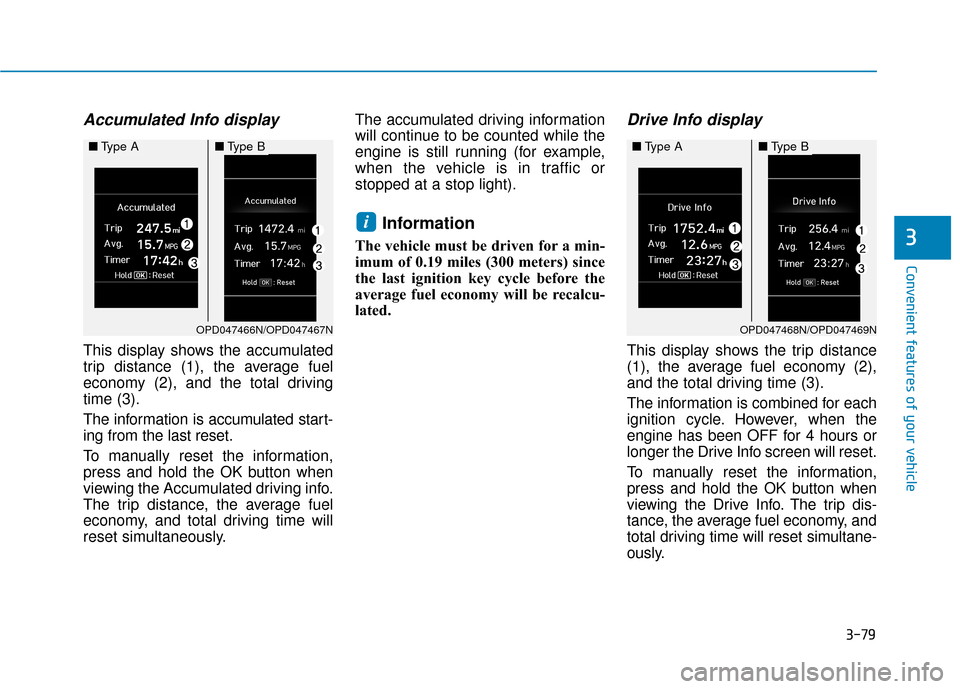
Accumulated Info display
This display shows the accumulated
trip distance (1), the average fuel
economy (2), and the total driving
time (3).
The information is accumulated start-
ing from the last reset.
To manually reset the information,
press and hold the OK button when
viewing the Accumulated driving info.
The trip distance, the average fuel
economy, and total driving time will
reset simultaneously.The accumulated driving information
will continue to be counted while the
engine is still running (for example,
when the vehicle is in traffic or
stopped at a stop light).
Information
The vehicle must be driven for a min-
imum of 0.19 miles (300 meters) since
the last ignition key cycle before the
average fuel economy will be recalcu-
lated.
Drive Info display
This display shows the trip distance
(1), the average fuel economy (2),
and the total driving time (3).
The information is combined for each
ignition cycle. However, when the
engine has been OFF for 4 hours or
longer the Drive Info screen will reset.
To manually reset the information,
press and hold the OK button when
viewing the Drive Info. The trip dis-
tance, the average fuel economy, and
total driving time will reset simultane-
ously.
i
OPD047468N/OPD047469N
■
Type A■Type B
OPD047466N/OPD047467N
■Type A■Type B
Page 165 of 478
3-80
Convenient features of your vehicle
The driving information will continue to
be counted while the engine is still run-
ning (for example, when the vehicle is
in traffic or stopped at a stop light).
Information
The vehicle must be driven for a mini-
mum of 0.19 miles (300 meters) since the
last ignition key cycle before the average
fuel economy will be recalculated.
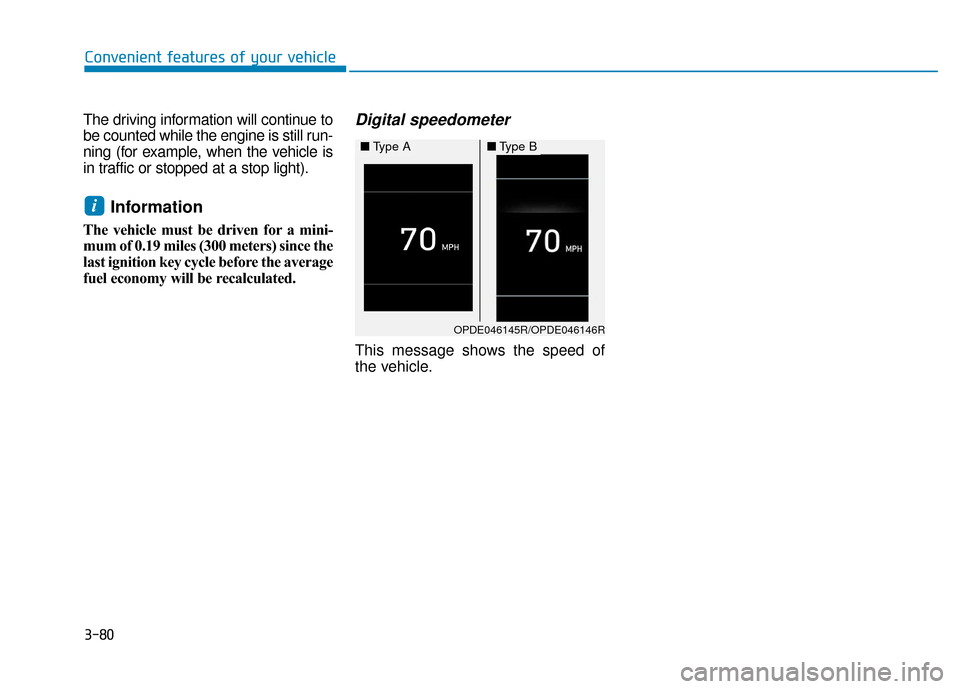
Digital speedometer
This message shows the speed of
the vehicle.
i
OPDE046145R/OPDE046146R
■ Type A■Type B
Page 166 of 478
3-81
Convenient features of your vehicle
3
L
LI
IG
G H
H T
TI
IN
N G
G
Exterior Lights
Lighting control
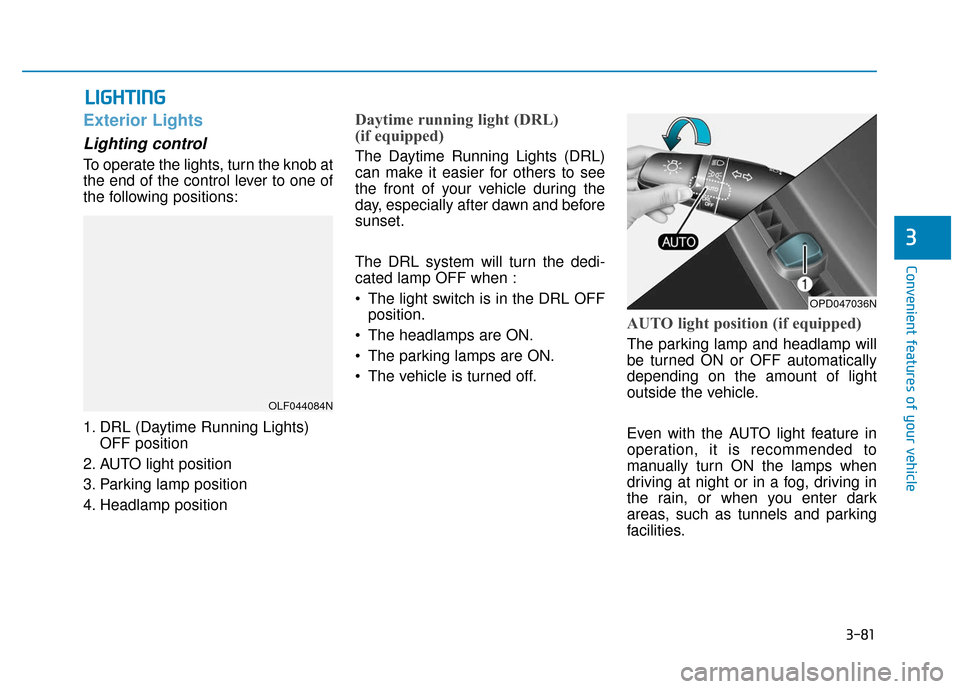
To operate the lights, turn the knob at
the end of the control lever to one of
the following positions:
1. DRL (Daytime Running Lights)
OFF position
2. AUTO light position
3. Parking lamp position
4. Headlamp position
Daytime running light (DRL)
(if equipped)
The Daytime Running Lights (DRL)
can make it easier for others to see
the front of your vehicle during the
day, especially after dawn and before
sunset.
The DRL system will turn the dedi-
cated lamp OFF when :
• The light switch is in the DRL OFF position.
The headlamps are ON.
The parking lamps are ON.
The vehicle is turned off.
AUTO light position (if equipped)
The parking lamp and headlamp will
be turned ON or OFF automatically
depending on the amount of light
outside the vehicle.
Even with the AUTO light feature in
operation, it is recommended to
manually turn ON the lamps when
driving at night or in a fog, driving in
the rain, or when you enter dark
areas, such as tunnels and parking
facilities.
OLF044084N
OPD047036N
Page 167 of 478
3-82
Convenient features of your vehicle
• Do not cover or spill anything on the sensor (1) located in front of
the instrument panel.
Do not clean the sensor using a window cleaner, the cleanser may
leave a light film which could
interfere with sensor operation.
If your vehicle has window tint or other types of metallic coat-
ing on the front windshield, the
AUTO light system may not work
properly.
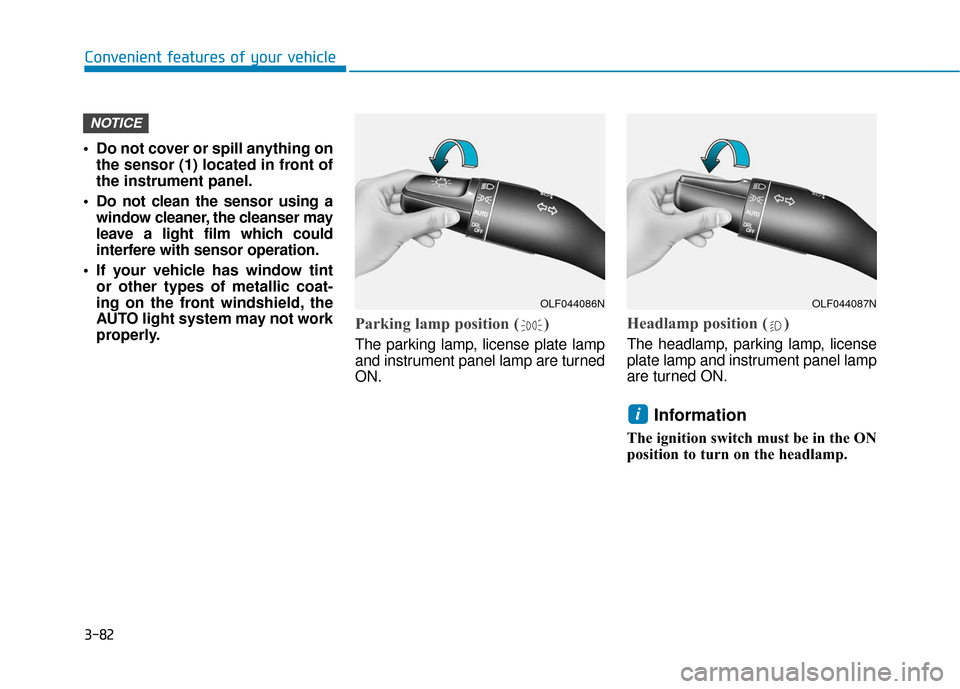
Parking lamp position ( )
The parking lamp, license plate lamp
and instrument panel lamp are turned
ON.
Headlamp position ( )
The headlamp, parking lamp, license
plate lamp and instrument panel lamp
are turned ON.
Information
The ignition switch must be in the ON
position to turn on the headlamp.
i
NOTICE
OLF044086NOLF044087N
Page 168 of 478
3-83
Convenient features of your vehicle
3
High beam operation
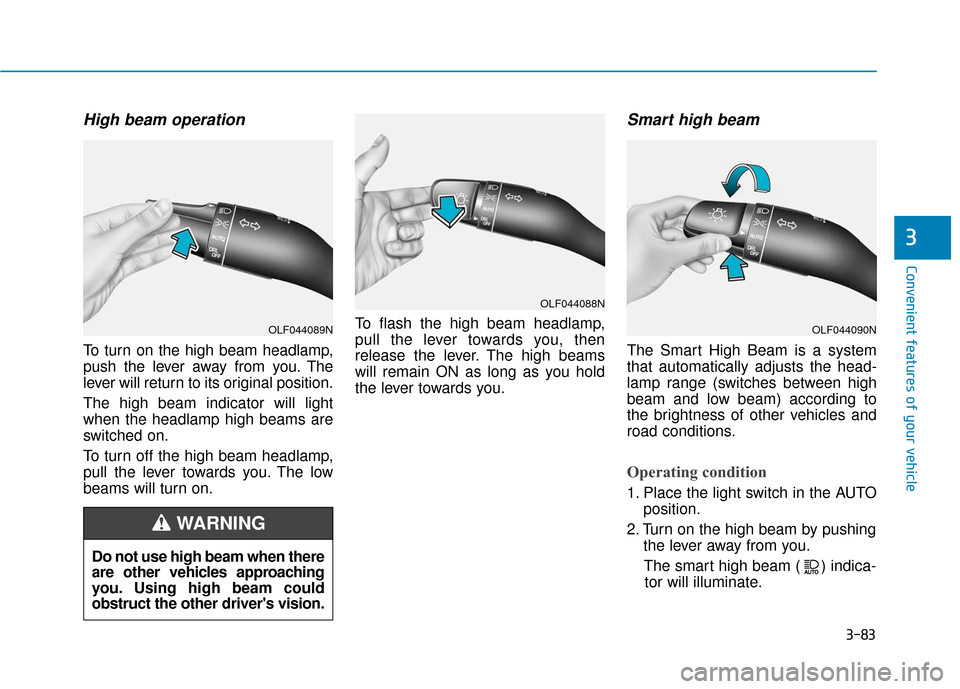
To turn on the high beam headlamp,
push the lever away from you. The
lever will return to its original position.
The high beam indicator will light
when the headlamp high beams are
switched on.
To turn off the high beam headlamp,
pull the lever towards you. The low
beams will turn on.To flash the high beam headlamp,
pull the lever towards you, then
release the lever. The high beams
will remain ON as long as you hold
the lever towards you.
Smart high beam
The Smart High Beam is a system
that automatically adjusts the head-
lamp range (switches between high
beam and low beam) according to
the brightness of other vehicles and
road conditions.
Operating condition
1. Place the light switch in the AUTO
position.
2. Turn on the high beam by pushing the lever away from you.
The smart high beam ( ) indica- tor will illuminate.
Do not use high beam when there
are other vehicles approaching
you. Using high beam could
obstruct the other driver's vision.
WARNING
OLF044089N
OLF044088N
OLF044090N
Page 169 of 478
3-84
3. The Smart High Beam will turn onwhen vehicle speed is above
25 mph (40 km/h).
when the Smart High Beam is
operating, the Smart High Beam
will turn off and the high beam will
be on continuously.
you when the high beam is off, the
high beam will turn on without the
Smart High Beam canceled.
When you let go of the light switch,
the lever will move to the middle
and the high beam will turn off.
you when the high beam is on by
the Smart High Beam, the low
beam will be on and the Smart
High Beam will turn off.
headlamp position, the Smart
High Beam will turn off and the
low beam will be on continuously. When the Smart High Beam is oper-
ating, the high beam switches to low
beam in the below conditions.
- When the headlamp of an on-com-
ing vehicle is detected.
- When the tail lamp of a vehicle in front is detected.
- When headlamp/tail lamp of bicy- cle/motorcycle is detected.
- When the surrounding is bright enough high beams are not needed.
- When streetlights or other lights are detected.
- When the light switch is not in the AUTO position.
- When the Smart High Beam is off.
- When vehicle speed is below 15 mph (24 km/h).
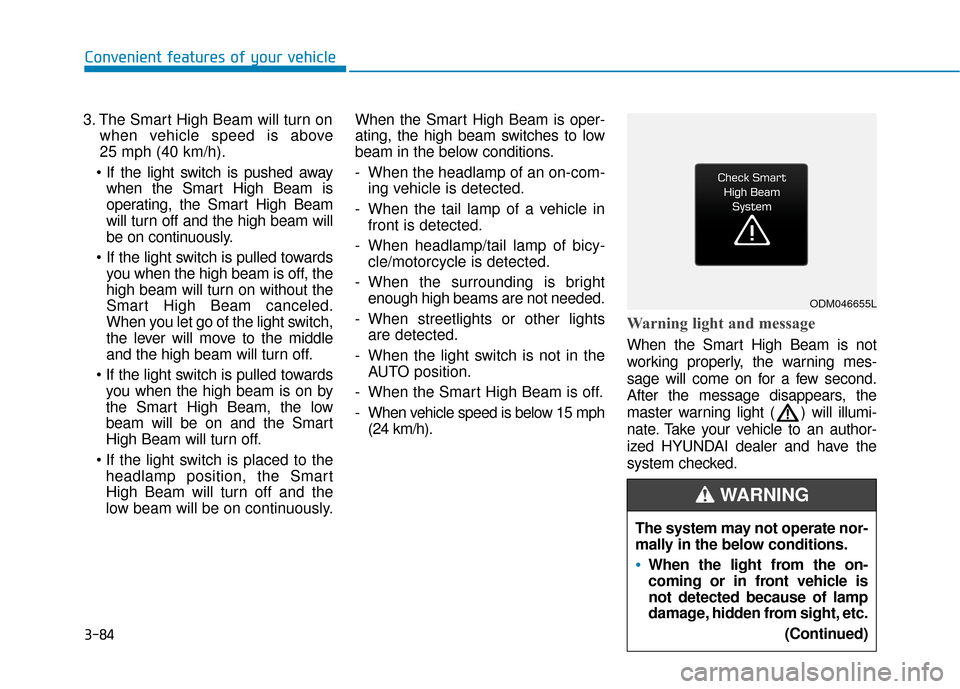
Warning light and message
When the Smart High Beam is not
working properly, the warning mes-
sage will come on for a few second.
After the message disappears, the
master warning light ( ) will illumi-
nate. Take your vehicle to an author-
ized HYUNDAI dealer and have the
system checked.
Convenient features of your vehicle
ODM046655L
The system may not operate nor-
mally in the below conditions.
When the light from the on-
coming or in front vehicle is
not detected because of lamp
damage, hidden from sight, etc.
(Continued)
WARNING
Page 170 of 478
3-85
Convenient features of your vehicle
Information
When you replace or reinstall the wind-
shield glass/LKAS camera (if equipped),
take your vehicle to an authorized
HYUNDAI dealer and have the system
checked.
i
3
(Continued)
When the lamp of the on-com-
ing or front vehicle is covered
with dust, snow or water.
When the light from the on-
coming or front vehicle is not
detected because of exhaust
fume, smoke, fog, snow, etc.
When the front window is cov-
ered with foreign matters such
as ice, dust, fog, or is damaged.
When there is a similar shape
lamp with the front vehicle’s
lamps.
When it is hard to see because
of fog, heavy rain or snow.
When the headlamp is not
repaired or replaced at an
authorized dealer.
When headlamp aiming is not
properly adjusted.
When driving on a narrow
curved road or rough road.
When driving downhill or uphill.
When only part of the vehicle in
front is visible on a crossroad
or curved road.(Continued)
(Continued)
When there is a traffic light,
reflecting sign, flashing sign or
mirror.
When the road conditions are
bad such as being wet or cov-
ered with snow.
When the front vehicle's head-
lamps are off but the fog lamps
on.
When a vehicle suddenly
appears from a curve.
When the vehicle is tilted from
a flat tire or being towed.
When the LKAS (Lane Keeping
Assist System) warning light
illuminates.
Do not place any accessories,
stickers or tint on the wind-
shield.
Have the windshield glass
replaced from an authorized
dealer.
Be careful that water doesn't
get into the Smart High Beam
unit.
Do not remove or impact relat-
ed parts of the Smart High
Beam system.
Do not place objects on the
dashboard that reflects light
such as mirrors, white paper,
etc. The system may malfunc-
tion if sunlight is reflected.
At times, the Smart High
Beam system may not work
properly, always check the
road conditions for your safe-
ty. When the system does not
operate normally, manually
change between the high
beam and low beam.
WARNING