battery Hyundai Elantra GT 2018 User Guide
[x] Cancel search | Manufacturer: HYUNDAI, Model Year: 2018, Model line: Elantra GT, Model: Hyundai Elantra GT 2018Pages: 478, PDF Size: 13.64 MB
Page 135 of 478
3-50
Convenient features of your vehicle
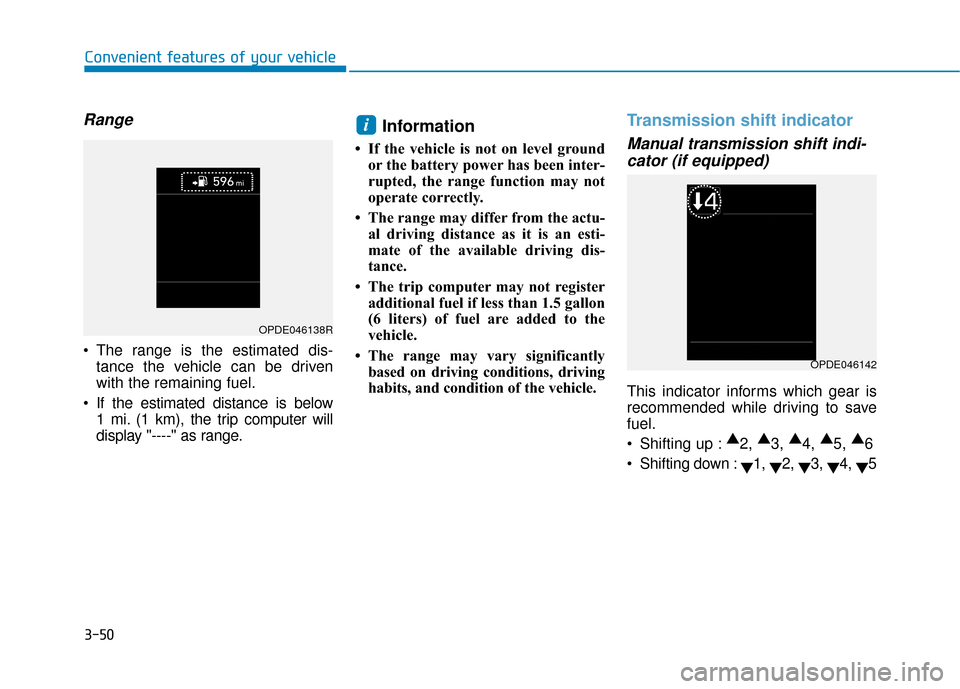
Range
The range is the estimated dis-tance the vehicle can be driven
with the remaining fuel.
If the estimated distance is below 1 mi. (1 km), the trip computer will
display "----" as range.
Information
• If the vehicle is not on level groundor the battery power has been inter-
rupted, the range function may not
operate correctly.
• The range may differ from the actu- al driving distance as it is an esti-
mate of the available driving dis-
tance.
• The trip computer may not register additional fuel if less than 1.5 gallon
(6 liters) of fuel are added to the
vehicle.
• The range may vary significantly based on driving conditions, driving
habits, and condition of the vehicle.
Transmission shift indicator
Manual transmission shift indi-cator (if equipped)
This indicator informs which gear is
recommended while driving to save
fuel.
Shifting up : ▲
2, ▲
3, ▲
4, ▲
5, ▲
6
Shifting down : ▼1,
▼2,
▼3,
▼4,
▼5
i
OPDE046138R
OPDE046142
Page 140 of 478
3-55
Convenient features of your vehicle
3
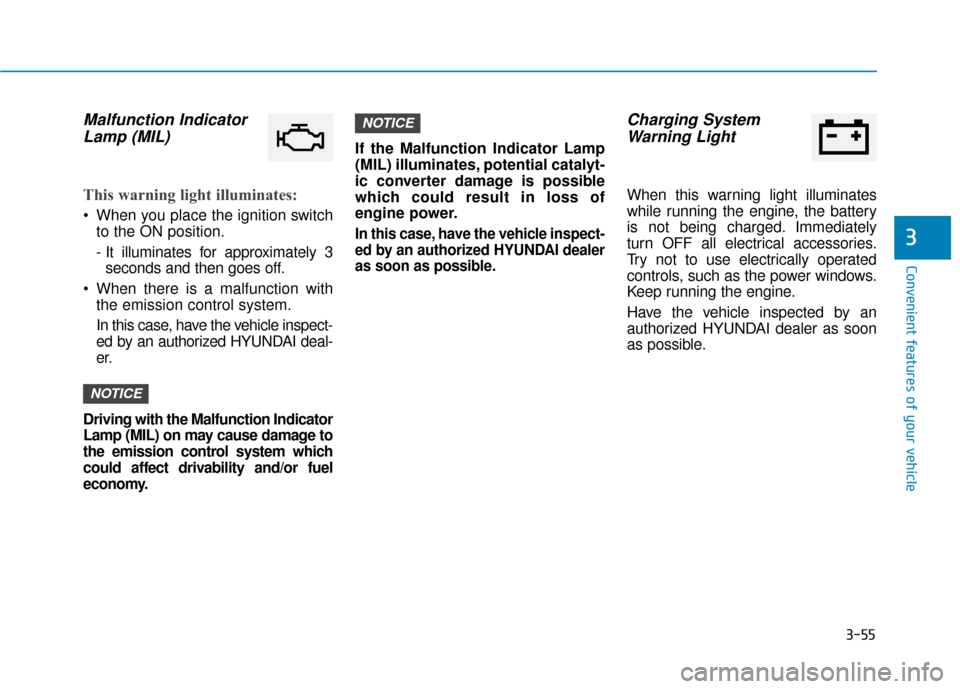
Malfunction IndicatorLamp (MIL)
This warning light illuminates:
When you place the ignition switch
to the ON position.
- It illuminates for approximately 3seconds and then goes off.
When there is a malfunction with the emission control system.
In this case, have the vehicle inspect-
ed by an authorized HYUNDAI deal-
er.
Driving with the Malfunction Indicator
Lamp (MIL) on may cause damage to
the emission control system which
could affect drivability and/or fuel
economy.
If the Malfunction Indicator Lamp
(MIL) illuminates, potential catalyt-
ic converter damage is possible
which could result in loss of
engine power.
In this case, have the vehicle inspect-
ed by an authorized HYUNDAI dealer
as soon as possible.
Charging SystemWarning Light
When this warning light illuminates
while running the engine, the battery
is not being charged. Immediately
turn OFF all electrical accessories.
Try not to use electrically operated
controls, such as the power windows.
Keep running the engine.
Have the vehicle inspected by an
authorized HYUNDAI dealer as soon
as possible.
NOTICE
NOTICE
Page 145 of 478
3-60
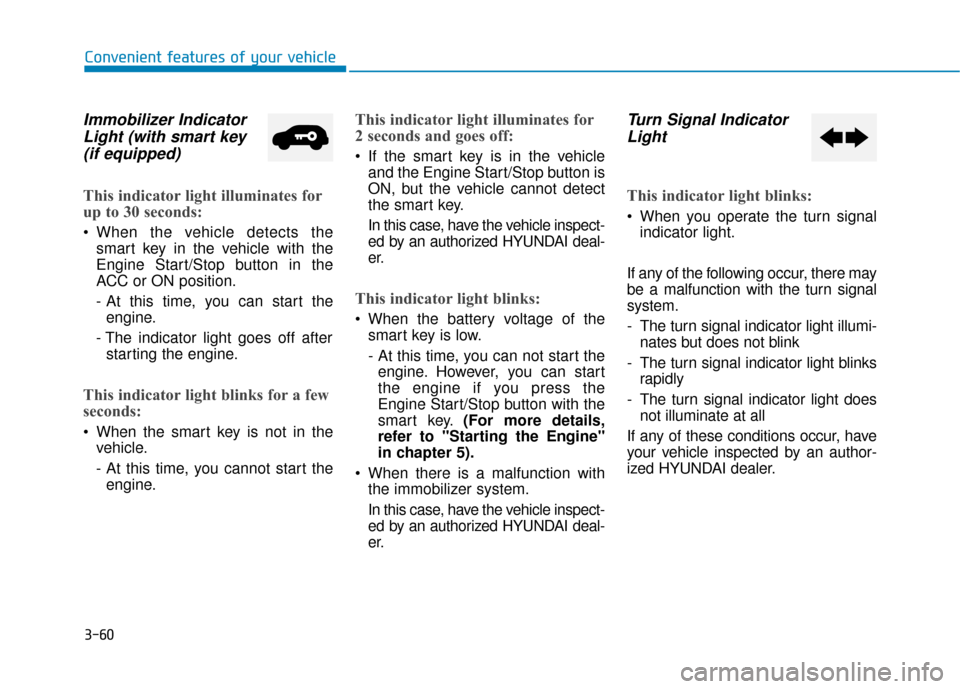
Immobilizer IndicatorLight (with smart key(if equipped)
This indicator light illuminates for
up to 30 seconds:
When the vehicle detects the
smart key in the vehicle with the
Engine Start/Stop button in the
ACC or ON position.
- At this time, you can start theengine.
- The indicator light goes off after starting the engine.
This indicator light blinks for a few
seconds:
When the smart key is not in the vehicle.
- At this time, you cannot start theengine.
This indicator light illuminates for
2 seconds and goes off:
If the smart key is in the vehicle and the Engine Start/Stop button is
ON, but the vehicle cannot detect
the smart key.
In this case, have the vehicle inspect-
ed by an authorized HYUNDAI deal-
er.
This indicator light blinks:
When the battery voltage of thesmart key is low.
- At this time, you can not start theengine. However, you can start
the engine if you press the
Engine Start/Stop button with the
smart key. (For more details,
refer to "Starting the Engine"
in chapter 5).
When there is a malfunction with the immobilizer system.
In this case, have the vehicle inspect-
ed by an authorized HYUNDAI deal-
er.
Turn Signal IndicatorLight
This indicator light blinks:
When you operate the turn signal
indicator light.
If any of the following occur, there may
be a malfunction with the turn signal
system.
- The turn signal indicator light illumi- nates but does not blink
- The turn signal indicator light blinks rapidly
- The turn signal indicator light does not illuminate at all
If any of these conditions occur, have
your vehicle inspected by an author-
ized HYUNDAI dealer.
Convenient features of your vehicle
Page 149 of 478
3-64
Convenient features of your vehicle
Shift to P (for smart key system)
This message is displayed if you try
to turn off the engine without the shift
lever in P (Park) position.
At this time, the Engine Start/Stop
button turns to the ACC position (If
you press the Engine Start/Stop but-
ton once more, it will turn to the ON
position).
Low key battery (for smart key system)
This warning message is displayed if
the battery of the smart key is dis-
charged while changing the Engine
Start/Stop button to the OFF position.
Press brake pedal to start engine(for smart key system and auto-matic transmission/dual clutchtransmission)
This warning message is displayed if
the Engine Start/Stop button changes
to the ACC position twice by pressing
the button repeatedly without depress-
ing the brake pedal.
You can start the vehicle by depressing
the brake pedal.
Press clutch pedal to startengine (for smart key systemand manual transmission)
This warning message is displayed if
the Engine Start/Stop button
changes to the ACC position twice
by pressing the button repeatedly
without depressing the clutch pedal.
You can start the engine by depress-
ing the clutch pedal to.
Key not in vehicle(for smart key system)
This warning message is displayed if
the smart key is not in the vehicle
when you press the Engine Start/Stop
button.
When attempting to start the vehicle,
always have the smart key with you.
Key not detected (for smart key system)
This warning message is displayed if
the smart key is not detected when you
press the Engine Start/Stop button.
Press START button again(for smart key system)
This message is displayed if you were
unable to start the vehicle when the
Engine Start/Stop button was
pressed.
If this occurs, attempt to start the
engine by pressing the Engine Start/
Stop button again.
If the warning message appears each
time you press the Engine Start/Stop
button, have your vehicle inspected by
an authorized HYUNDAI dealer.
Page 161 of 478
3-76
Convenient features of your vehicle
Information
If any of the following conditions
occur, the mileage and number of days
to service may be incorrect.
- The battery cable is disconnected.
- The fuse switch is turned off.
- The battery is discharged.7. Other
- Off: The average fuel economy will
not reset automatically whenever
refueling.
- After Ignition: When the engine has been OFF for 4 hours or longer the
average fuel economy will reset
automatically.
- After Refueling: The average fuel economy will reset automatically
after adding 1.6 gallons (6 liters) of
fuel or more and after driving speed
exceeds 1 mph (1 km/h).
For more information, refer to
"Trip Computer" in this chapter.
To select the fuel economy unit.
(US gallon, UK gallon)
To select the temperature unit.
(°C,°F)
To select the tire pressure unit.
(psi, kPa, bar)
To select language.
8. Reset
You can reset the menus in the User
Settings Mode. All menus in the User
Settings Mode are reset to factory
settings, except language and serv-
ice interval.
i
Page 162 of 478
3-77
Convenient features of your vehicle
3
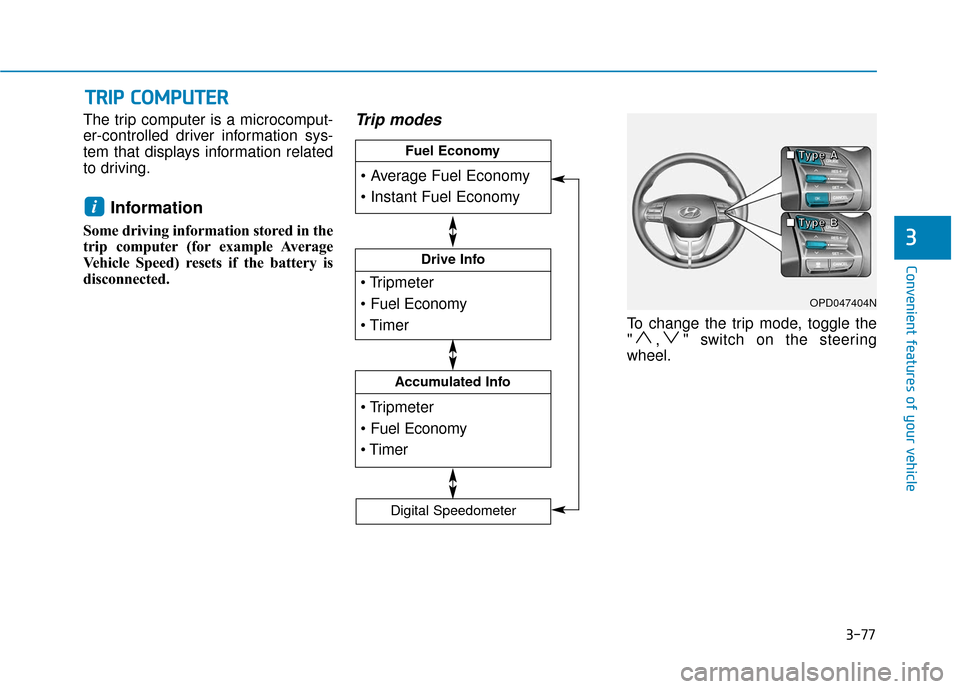
The trip computer is a microcomput-
er-controlled driver information sys-
tem that displays information related
to driving.
Information
Some driving information stored in the
trip computer (for example Average
Vehicle Speed) resets if the battery is
disconnected.
Trip modes
To change the trip mode, toggle the
" , " switch on the steering
wheel.
i
T
TR
R I
IP
P
C
C O
O M
M P
PU
U T
TE
ER
R
OPD047404N
■
■
■
■
T
T
T
T
y
y
y
y
p
p
p
p
e
e
e
e
A
A
A
A
■
■
■
■
T
T
T
T
y
y
y
y
p
p
p
p
e
e
e
e
B
B
B
B
Drive Info
Accumulated Info
Fuel Economy
Digital Speedometer
Page 171 of 478
3-86
Convenient features of your vehicle
Turn signals and lane changesignals
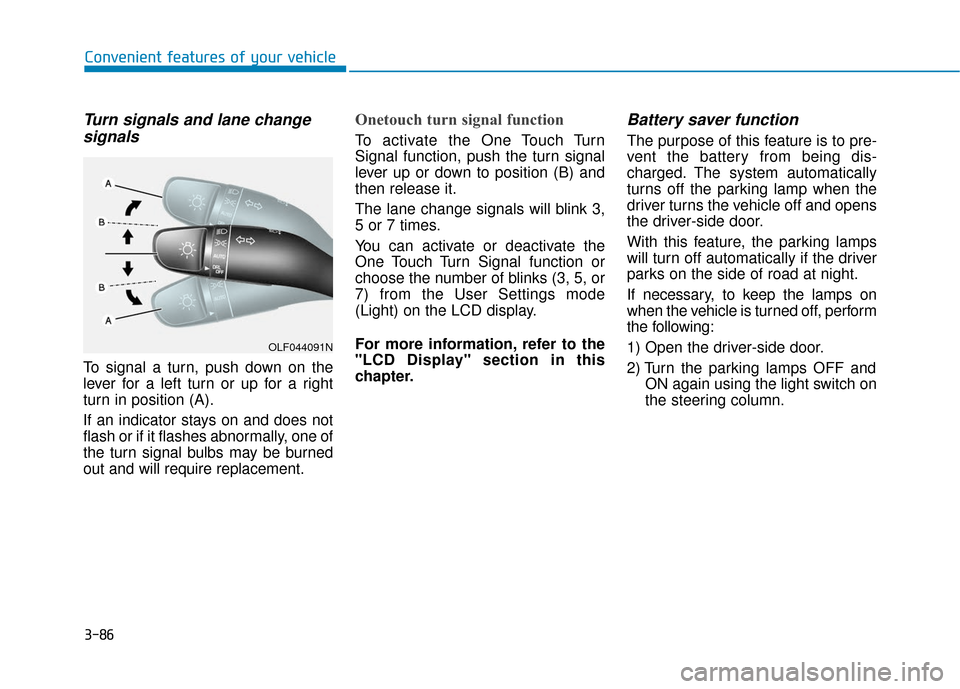
To signal a turn, push down on the
lever for a left turn or up for a right
turn in position (A).
If an indicator stays on and does not
flash or if it flashes abnormally, one of
the turn signal bulbs may be burned
out and will require replacement.
Onetouch turn signal function
To activate the One Touch Turn
Signal function, push the turn signal
lever up or down to position (B) and
then release it.
The lane change signals will blink 3,
5 or 7 times.
You can activate or deactivate the
One Touch Turn Signal function or
choose the number of blinks (3, 5, or
7) from the User Settings mode
(Light) on the LCD display.
For more information, refer to the
"LCD Display" section in this
chapter.
Battery saver function
The purpose of this feature is to pre-
vent the battery from being dis-
charged. The system automatically
turns off the parking lamp when the
driver turns the vehicle off and opens
the driver-side door.
With this feature, the parking lamps
will turn off automatically if the driver
parks on the side of road at night.
If necessary, to keep the lamps on
when the vehicle is turned off, perform
the following:
1) Open the driver-side door.
2) Turn the parking lamps OFF and
ON again using the light switch on
the steering column.
OLF044091N
Page 172 of 478
3-87
Convenient features of your vehicle
3
Headlamp delay function (if equipped)
If the key is removed from the ignition
switch or placed in the ACC position
or the LOCK/OFF position with the
headlamps ON, the headlamps
(and/or parking lamps) remain on for
about 5 minutes. However, if the dri-
ver’s door is opened and closed, the
headlights are turned off after 15
seconds. Also, with the engine off if
the driver's door is opened and
closed, the headlamps (and/or park-
ing lamps) are turned off after 15
seconds.
The headlamps (and/or parking
lamps) can be turned off by pressing
the lock button on the remote key or
smart key twice or turning the light
switch to the OFF or AUTO position.
You can activate or deactivate the
Headlamp Delay function from the
User Settings Mode (Light) on the
LCD display.
For more information, refer to the
"LCD Display" section in this
chapter. If the driver gets out of the vehicle
through other doors (except dri-
ver's door), the battery saver func-
tion does not operate and the
headlamp delay function does not
turn off automatically. Therefore, It
causes the battery to be dis-
charged. In this case, make sure
to turn off the lamp before getting
out of the vehicle.
Interior Lights
Do not use the interior lights for
extended periods when the vehi-
cle is turned off or the battery will
discharge.
Interior lamp AUTO cut
The interior lamps will automatically
go off approximately 20 minutes after
the engine is turned off and the
doors are closed. If a door is opened,
the lamp will go off 40 minutes after
the engine is turned off. If the doors
are locked by the remote key or
smart key and the vehicle enters the
armed stage of the theft alarm sys-
tem, the lamps will go off five sec-
onds later.
NOTICE
NOTICE
Do not use the interior lights
when driving in the dark. The inte-
rior lights may obscure your view
and cause an accident.
WARNING
Page 174 of 478
3-89
Convenient features of your vehicle
3
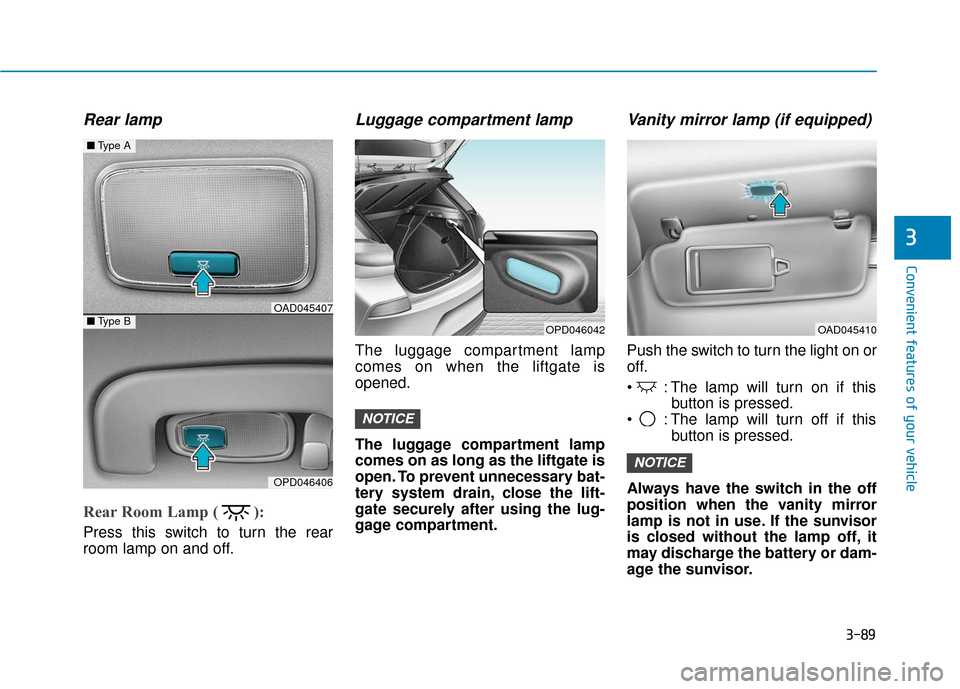
Rear lamp
Rear Room Lamp ( ):
Press this switch to turn the rear
room lamp on and off.
Luggage compartment lamp
The luggage compartment lamp
comes on when the liftgate is
opened.
The luggage compartment lamp
comes on as long as the liftgate is
open. To prevent unnecessary bat-
tery system drain, close the lift-
gate securely after using the lug-
gage compartment.
Vanity mirror lamp (if equipped)
Push the switch to turn the light on or
off.
: The lamp will turn on if thisbutton is pressed.
: The lamp will turn off if this button is pressed.
Always have the switch in the off
position when the vanity mirror
lamp is not in use. If the sunvisor
is closed without the lamp off, it
may discharge the battery or dam-
age the sunvisor.
NOTICE
NOTICE
■ Type A
■Type BOAD045407
OPD046406
OPD046042OAD045410
Page 185 of 478
3-100
Convenient features of your vehicle
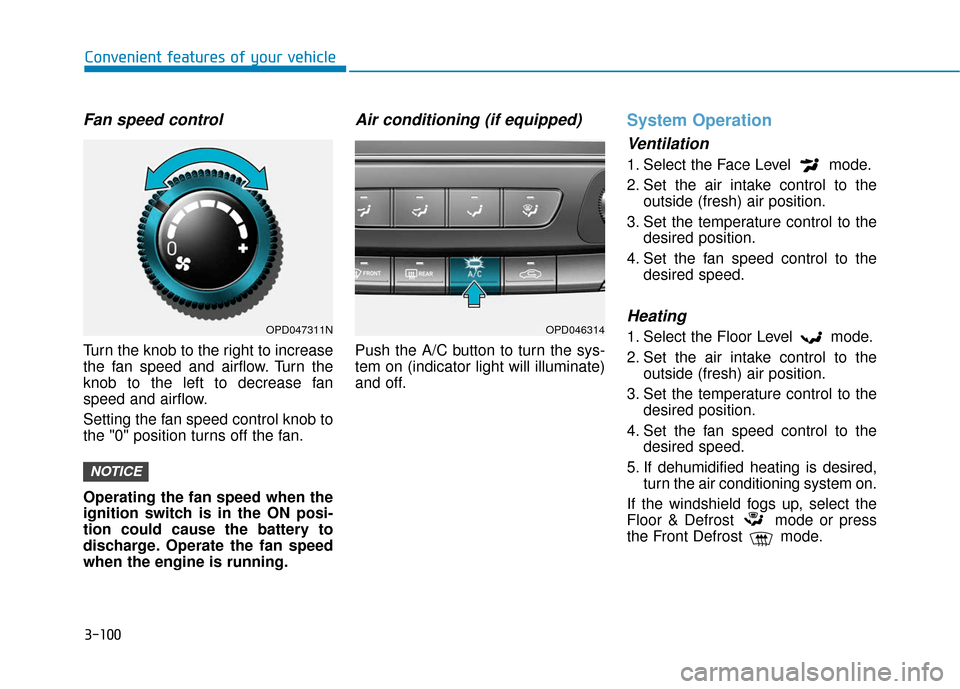
Fan speed control
Turn the knob to the right to increase
the fan speed and airflow. Turn the
knob to the left to decrease fan
speed and airflow.
Setting the fan speed control knob to
the "0" position turns off the fan.
Operating the fan speed when the
ignition switch is in the ON posi-
tion could cause the battery to
discharge. Operate the fan speed
when the engine is running.
Air conditioning (if equipped)
Push the A/C button to turn the sys-
tem on (indicator light will illuminate)
and off.
System Operation
Ventilation
1. Select the Face Level mode.
2. Set the air intake control to theoutside (fresh) air position.
3. Set the temperature control to the desired position.
4. Set the fan speed control to the desired speed.
Heating
1. Select the Floor Level mode.
2. Set the air intake control to theoutside (fresh) air position.
3. Set the temperature control to the desired position.
4. Set the fan speed control to the desired speed.
5. If dehumidified heating is desired, turn the air conditioning system on.
If the windshield fogs up, select the
Floor & Defrost mode or press
the Front Defrost mode.
NOTICE
OPD047311NOPD046314