boot Hyundai Getz 2009 Owner's Manual - RHD (UK, Australia)
[x] Cancel search | Manufacturer: HYUNDAI, Model Year: 2009, Model line: Getz, Model: Hyundai Getz 2009Pages: 191, PDF Size: 6.3 MB
Page 98 of 191

DRIVING YOUR HYUNDAI 2- 3
!
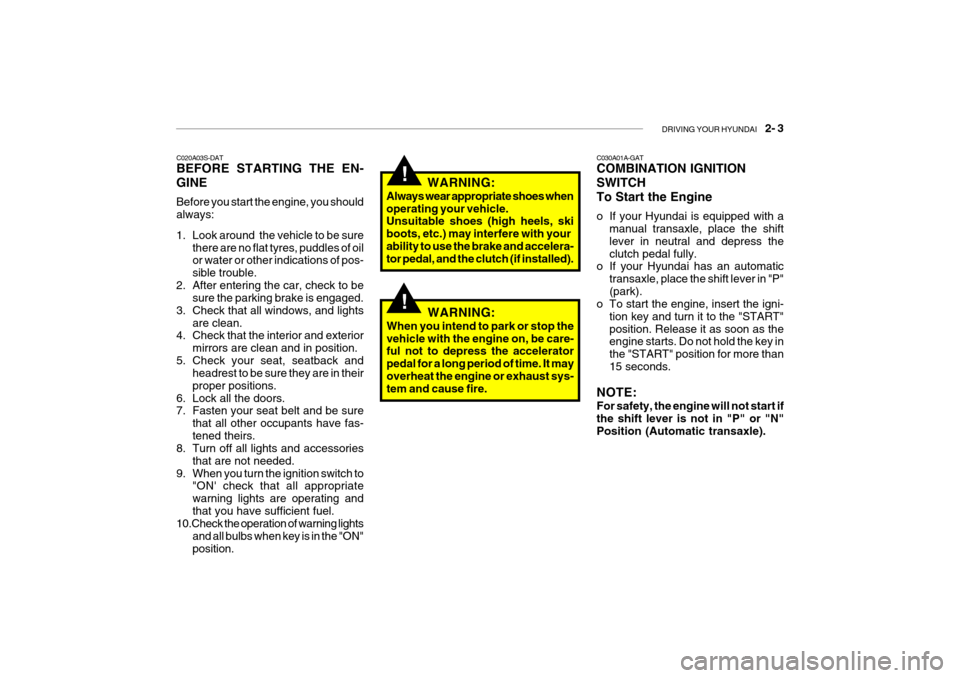
C020A03S-DAT BEFORE STARTING THE EN- GINE Before you start the engine, you should always:
1. Look around the vehicle to be sure
there are no flat tyres, puddles of oil or water or other indications of pos- sible trouble.
2. After entering the car, check to be sure the parking brake is engaged.
3. Check that all windows, and lights are clean.
4. Check that the interior and exterior
mirrors are clean and in position.
5. Check your seat, seatback and headrest to be sure they are in theirproper positions.
6. Lock all the doors.
7. Fasten your seat belt and be sure
that all other occupants have fas- tened theirs.
8. Turn off all lights and accessories
that are not needed.
9. When you turn the ignition switch to "ON' check that all appropriatewarning lights are operating andthat you have sufficient fuel.
10.Check the operation of warning lights
and all bulbs when key is in the "ON"position. WARNING:
Always wear appropriate shoes whenoperating your vehicle. Unsuitable shoes (high heels, ski boots, etc.) may interfere with yourability to use the brake and accelera- tor pedal, and the clutch (if installed). C030A01A-GAT COMBINATION IGNITION SWITCHTo Start the Engine
o If your Hyundai is equipped with a
manual transaxle, place the shift lever in neutral and depress theclutch pedal fully.
o If your Hyundai has an automatic
transaxle, place the shift lever in "P"(park).
o To start the engine, insert the igni-
tion key and turn it to the "START"position. Release it as soon as the engine starts. Do not hold the key in the "START" position for more than15 seconds.
NOTE: For safety, the engine will not start if the shift lever is not in "P" or "N"Position (Automatic transaxle).
!WARNING:
When you intend to park or stop the vehicle with the engine on, be care- ful not to depress the accelerator pedal for a long period of time. It mayoverheat the engine or exhaust sys- tem and cause fire.
Page 131 of 191

CORROSION PREVENTION AND APPEARANCE CARE 4- 5
E030D01A-AAT When to Wax Again You should polish and wax the car again when water no longer beads ona clean surface but spreads out over a larger area. E030E01A-AAT Maintaining Bumpers Special precautions must be observed to preserve the appearance of the bumpers on your Hyundai. They are:
o Be careful not to spill battery elec-
trolyte or hydraulic brake fluid on the bumpers. If you do, wash it off im- mediately with clear water.
o Be gentle when cleaning the bumper
surfaces. They are made of softplastic and the surface can be dam- aged if mistreated. Do not use abra-sive cleaners. Use warm water and mild soap or car-washing solution.
o Do not expose the bumpers to high
temperatures. For example, if youhave your car repainted, do not leave the bumpers on the car if thecar is going to be placed in a high- temperature paint booth.
E030B01A-AAT Spot Cleaning Don't use petrol, strong solvents or corrosive cleaning agents. These candamage the finish of the car. To re- move road tar, use turpentine on a clean, soft cloth or commercially avail-able bug and tar remover. Be gentle. To remove dead insects or tree sap, use warm water and mild soap or car-washing solution. Soak the spot and rub gently. If the paint has lost its luster, use a commercial car-cleaningpolish. E030C01A-AAT Polishing and Waxing Always wash and dry the car before polishing or waxing or using a combi- nation cleaner and wax. Use a goodquality commercial product and follow the manufacturer's directions on the container. Polish and wax the brighttrim pieces as well as the paint.
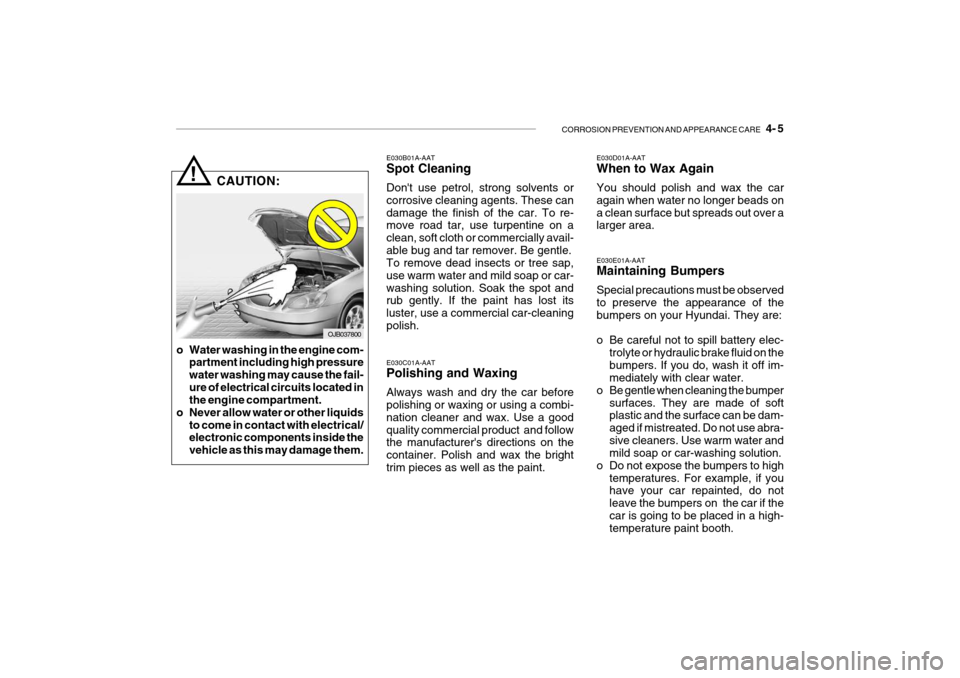
CAUTION:
!
o Water washing in the engine com- partment including high pressure water washing may cause the fail-ure of electrical circuits located in the engine compartment.
o Never allow water or other liquids to come in contact with electrical/electronic components inside the vehicle as this may damage them.
OJB037800
Page 138 of 191

VEHICLE MAINTENANCE REQUIREMENTS 5- 5
1 23456789
101112131415
Note : FOR THE FIRST TIME, REPLACE THE COOLANT AT 96,000 KM OR 60 MONTHS.
AFTER THAT, REPLACE IT EVERY 45,000 KM OR 24 MONTHS.
F030C06TB-DAT R : Replace I : Inspect and, after inspection, clean, adjust, repair or replace if necessary
GENERAL MAINTENANCE COOLING SYSTEMCOOLANTMANUAL TRANSAXLE OILAUTOMATIC TRANSAXLE FLUIDBRAKE HOSES AND LINESBRAKE FLUIDREAR BRAKE DRUMS/LININGS, PARKING BRAKEBRAKE PADS, CALIPERS AND ROTORSEXHAUST PIPE AND MUFFLERSUSPENSION MOUNTING BOLTSSTEERING GEAR BOX, LINKAGE & BOOTS/LOWER ARM BALL JOINTPOWER STEERING PUMP, BELT AND HOSESDRIVE SHAFTS AND BOOTSAIR CONDITIONING REFRIGERANT
AIR CONDITIONER FILTER (FOR EVAPORATOR AND BLOWER UNIT)
120
96
I I IIII I IIIII I
R
105
84
I I II I IIII I
R
90 72
75 60
6048
I I
R I II I IIIII I
R
I I I I I I I II I
R
II I IIIII I IIII
R
45 36
3024
I I II I IIII I
R
II IIII I IIII I I
R
15 12
I I II I IIII I
R
KILOMETERS X 1000 MONTHS
NO. DESCRIPTION
See Note
Page 139 of 191

5- 6 VEHICLE MAINTENANCE REQUIREMENTS
SEVERE DRIVING CONDITIONS
A - Repeatly driving short distance of less than 8km in normal
temperature or less than 16km in freezing temperature
B - Extensive engine idling or low speed driving for long dis- tances
C - Driving on rough, dusty, muddy, unpaved, graveled or salt- spread roads
D - Driving in areas using salt or other corrosive materials or in
very cold weather R R RR
I I I I
R RR
ENGINE OIL AND FILTER AIR CLEANER FILTER SPARK PLUGSTIMING BELT BRAKE PADS, CALIPERS AND ROTORS REAR BRAKE DRUMS/LININGS/PADS,PARKING BRAKE STEERING GEAR BOX, LINKAGE & BOOTS/LOWER ARM BALL JOINTDRIVESHAFTS AND BOOTS MANUAL TRANSAXLE OIL AUTOMATIC TRANSAXLE FLUID
AIR CONDITIONER FILTER (For Evaporator and Blower unit)
F040A01TB-DAT
MAINTENANCE UNDER SEVERE USAGE CONDITIONS
The following items must be serviced more frequently on cars normally used under severe driving conditions. Refer tothe chart below for the appropriate maintenance intervals. R : Replace I : Inspect and, after inspection, clean, adjust, repair or replace if necessary
MAINTENANCE ITEM
EVERY 7,500 KM OR 6 MONTHS MORE FREQUENTLY MORE FREQUENTLYEVERY 60,000 KM OR 48 MONTHS MORE FREQUENTLY MORE FREQUENTLY MORE FREQUENTLY EVERY 15,000 KM OR 12 MONTHS EVERY 100,000 KM EVERY 40,000 KMMORE FREQUENTLY A, B, C, D, E, F, G, H, I, K C, E B, HD, E, F, G, I C, D, G, H C, D, G, H C, D, E, F C, D, E, F C, D, E, G, H, I, J A, C, E, F, G, H, IC, E
MAINTENANCE
INTERVALS DRIVING
CONDITION
MAINTENANCE
OPERATION
E - Driving in sandy areas
F - Driving in heavy traffic area over 32°C
G - Driving on uphill, downhill, or mountain road
H - Towing a Trailer, or using a camper, or roof rack
I - Driving as a patrol car, taxi, other commercial use
or vehicle towing
J - Driving over 170 Km/h
K - Frequently driving in stop-and-go conditions
Page 142 of 191

VEHICLE MAINTENANCE REQUIREMENTS 5- 9
F070L01A-AAT
o Suspension Mounting Bolts
Check the suspension connections
for looseness or damage. Retighten to the specified torque. F070M01Y-AAT
o Steering Gear Box, Linkage &
Boots / Lower Arm Ball Joint, Upper Arm Ball Joint
With the vehicle stopped and engine off, check for excessive free-play inthe steering wheel.Check the linkage for bends or dam-age. Check the dust boots and balljoints for deterioration, cracks, or dam- age. Replace any damaged parts. F070N01A-AAT
o Power Steering Pump, Belt
and Hoses
Check the power steering pump and
hoses for leakage and damage. Re- place any damaged or leaking partsimmediately. Inspect the power steer- ing belt for evidence of cuts, cracks, excessive wear, oiliness and propertension. Replace or adjust it if neces- sary. F070P01A-AAT
o Driveshafts and Boots
Check the drive shafts, boots and clamps for cracks, deterioration, or damage. Replace any damaged parts and, if necessary, repack the grease. F070Q01A-AAT
o Air Conditioning Refrigerant Check the air conditioning lines and connections for leakage and damage. Check air conditioning performance according to the relevant shop manualif necessary.
F070J01A-AAT
o Brake Pads, Calipers and
Rotors
Check the pads for excessive wear,
discs for run out and wear, and cali-pers for fluid leakage.
F070K01A-AAT
o Exhaust Pipe and Muffler
Visually inspect the exhaust pipes,
muffler and hangers for cracks, dete-rioration, or damage. Start the engineand listen carefully for any exhaust gas leakage. Tighten connections or replace parts as necessary.