Rate Hyundai Grand i10 2015 Owner's Guide
[x] Cancel search | Manufacturer: HYUNDAI, Model Year: 2015, Model line: Grand i10, Model: Hyundai Grand i10 2015Pages: 343, PDF Size: 29.47 MB
Page 89 of 343
433
Features of your vehicle
Closing the fuel filler lid
1. To install the cap, turn it clockwise untilit “clicks”. This indicates that the cap is securely tightened.
2. Close the fuel filler lid and push it light- ly and make sure that it is securelyclosed.WARNING - Refueling
dangers
Automotive fuels are flammable
materials. When refueling, please
note the following guidelines care-
fully. Failure to follow these guide-
lines may result in severe personal
injury, severe burns or death by fire
or explosion.
Read and follow all warning at the gas station facility.
Before refueling note the location of the Emergency Gasoline Shut-
Off, if available, at the gas station
facility.
Before touching the fuel nozzle, you should eliminate potentially
dangerous static electricity dis-
charge by touching another metal
part of the vehicle, a safe dis-
tance away from the fuel filler
neck, nozzle, or other gas source.
(Continued)
WARNING - Refueling
If pressurized fuel sprays out, it can cover your clothes or skin
and subject you to the risk of fire
and burns. Always remove the
fuel cap carefully and slowly. If
the cap is venting fuel or if you
hear a hissing sound, wait until
the condition stops before com-
pletely removing the cap.
Do not "top off" after the nozzle automatically shuts off whenrefueling.
Always check that the fuel cap is installed securely to prevent fuel
spillage in the event of an acci-dent.
(Continued)
Do not get back into a vehicle once
you have begun refueling since
you can generate static electricity
by touching, rubbing or sliding
against any item or fabric (poly-
ester, satin, nylon, etc.) capable of
producing static electricity. Static
electricity discharge can ignite
fuel vapors resulting in rapid burn-
ing. If you must re-enter the vehi-
cle, you should once again elimi-
nate potentially dangerous static
electricity discharge by touching a
metal part of the vehicle, away
from the fuel filler neck, nozzle or
other gasoline source.
When using an approved portable fuel container be sure toplace the container on the
ground prior to refueling. Static
electricity discharge from the
container can ignite fuel vapors
causing a fire. Once refueling
has begun, contact with the vehi-
cle should be maintained until
the filling is complete.
(Continued)
Page 92 of 343
Features of your vehicle
36
4
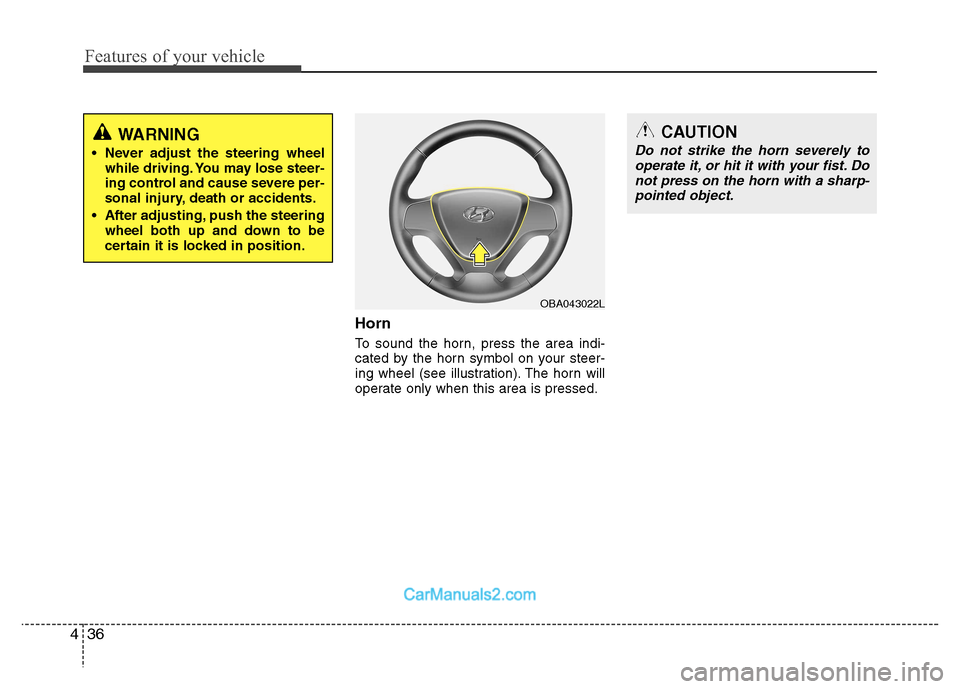
Horn
To sound the horn, press the area indi-
cated by the horn symbol on your steer-
ing wheel (see illustration). The horn will
operate only when this area is pressed.
CAUTION
Do not strike the horn severely to
operate it, or hit it with your fist. Do
not press on the horn with a sharp- pointed object.
OBA043022L
WARNING
Never adjust the steering wheel while driving. You may lose steer-
ing control and cause severe per-
sonal injury, death or accidents.
After adjusting, push the steering wheel both up and down to be
certain it is locked in position.
Page 95 of 343
439
Features of your vehicle
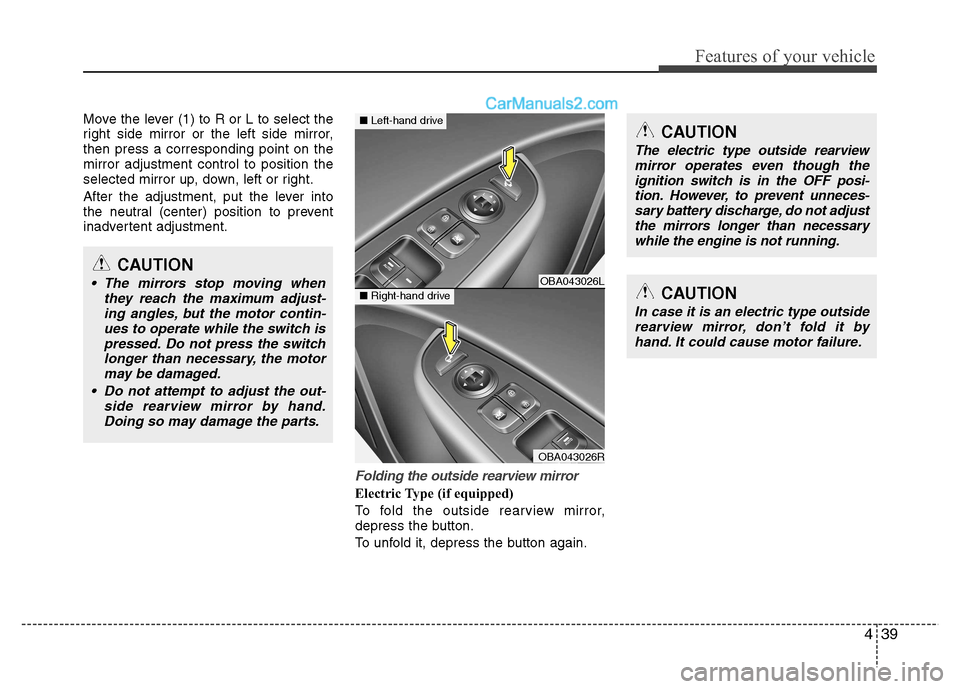
Move the lever (1) to R or L to select the
right side mirror or the left side mirror,then press a corresponding point on themirror adjustment control to position the
selected mirror up, down, left or right.
After the adjustment, put the lever into
the neutral (center) position to prevent
inadvertent adjustment.
Folding the outside rearview mirror
Electric Type (if equipped)
To fold the outside rearview mirror,
depress the button.
To unfold it, depress the button again.
CAUTION
The mirrors stop moving whenthey reach the maximum adjust-ing angles, but the motor contin-ues to operate while the switch ispressed. Do not press the switch
longer than necessary, the motor may be damaged.
Do not attempt to adjust the out- side rearview mirror by hand.Doing so may damage the parts.OBA043026L
OBA043026R
■ Left-hand drive
■Right-hand driveCAUTION
In case it is an electric type outside
rearview mirror, don’t fold it byhand. It could cause motor failure.
CAUTION
The electric type outside rearview mirror operates even though the
ignition switch is in the OFF posi- tion. However, to prevent unneces-sary battery discharge, do not adjust the mirrors longer than necessary
while the engine is not running.
Page 98 of 343
Features of your vehicle
42
4
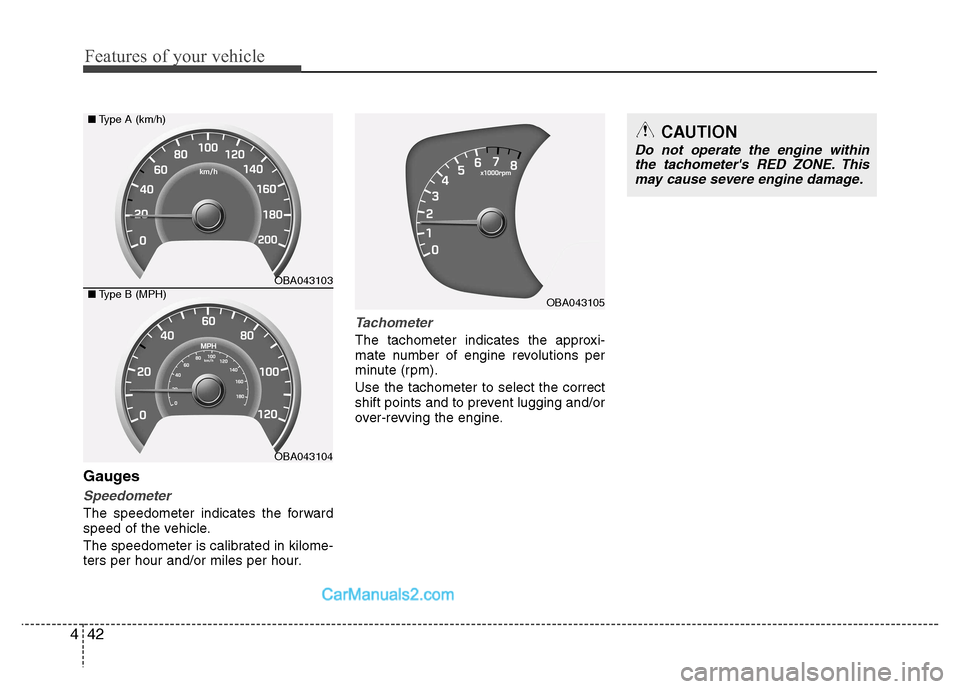
Gauges
Speedometer
The speedometer indicates the forward
speed of the vehicle.
The speedometer is calibrated in kilome-
ters per hour and/or miles per hour.
Tachometer
The tachometer indicates the approxi-
mate number of engine revolutions per
minute (rpm). Use the tachometer to select the correct
shift points and to prevent lugging and/or
over-revving the engine.
OBA043103
OBA043104
■
Type A (km/h)
■ Type B (MPH)
OBA043105
CAUTION
Do not operate the engine within
the tachometer's RED ZONE. Thismay cause severe engine damage.
Page 102 of 343
Features of your vehicle
46
4
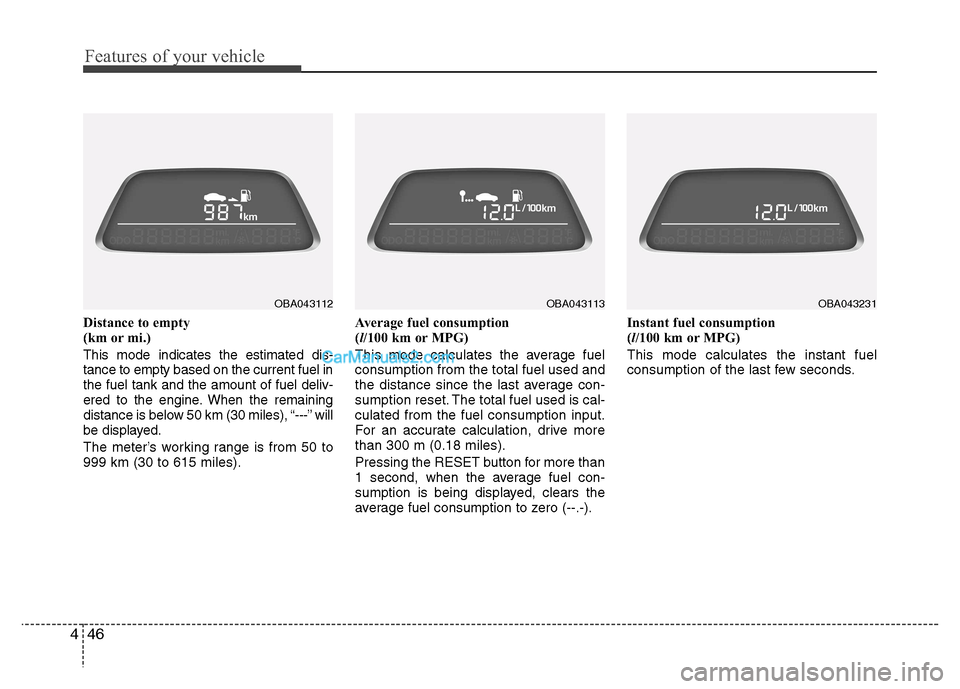
Distance to empty
(km or mi.) This mode indicates the estimated dis- tance to empty based on the current fuel inthe fuel tank and the amount of fuel deliv-
ered to the engine. When the remaining
distance is below 50 km (30 miles), “---” will
be displayed.
The meter’s working range is from 50 to 999 km (30 to 615 miles). Average fuel consumption (
l/100 km or MPG)
This mode calculates the average fuelconsumption from the total fuel used and
the distance since the last average con-
sumption reset. The total fuel used is cal-culated from the fuel consumption input.
For an accurate calculation, drive morethan 300 m (0.18 miles).
Pressing the RESET button for more than
1 second, when the average fuel con-
sumption is being displayed, clears the
average fuel consumption to zero (--.-). Instant fuel consumption (
l/100 km or MPG)
This mode calculates the instant fuel
consumption of the last few seconds.
OBA043112OBA043113OBA043231
Page 103 of 343
447
Features of your vehicle
✽✽NOTICE
If the vehicle is not on level ground or the battery power has been interrupt-
ed, the “Distance to empty” function
may not operate correctly.
The trip computer may not register
additional fuel if less than 6 liters (1.6
gallons) of fuel are added to the vehicle.
The fuel consumption and distance to empty may vary significantly based
on driving conditions, driving habits,
and condition of the vehicle.
The distance to empty is an estimate of the available driving distance. This
may differ from the actual driving dis-
tance available.
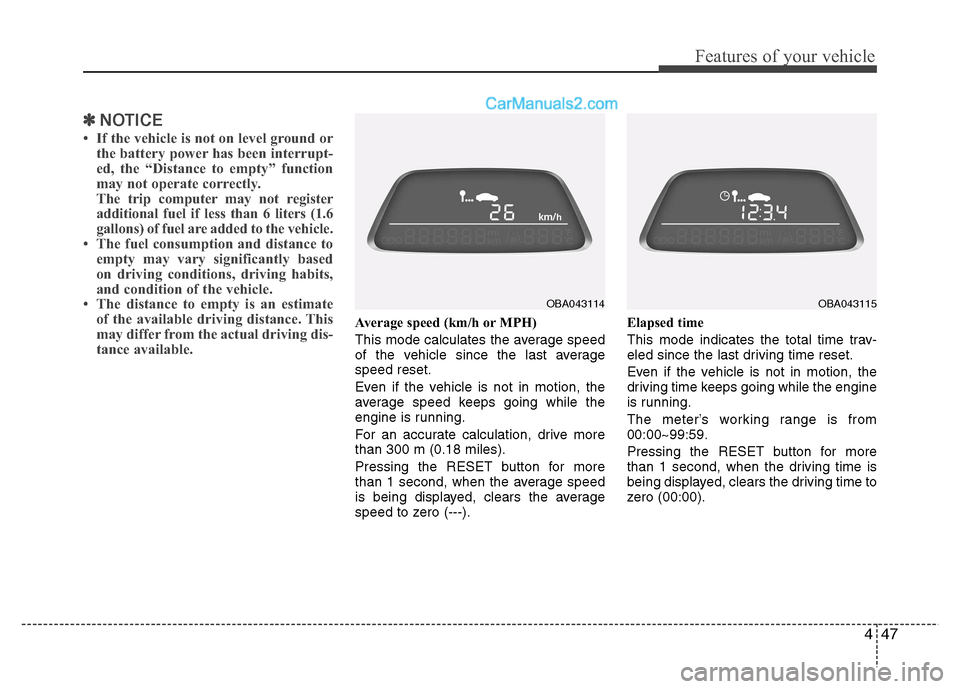
Average speed (km/h or MPH)
This mode calculates the average speed
of the vehicle since the last averagespeed reset.
Even if the vehicle is not in motion, the
average speed keeps going while the
engine is running.
For an accurate calculation, drive more than 300 m (0.18 miles).
Pressing the RESET button for more
than 1 second, when the average speed
is being displayed, clears the average
speed to zero (---). Elapsed time
This mode indicates the total time trav-
eled since the last driving time reset.
Even if the vehicle is not in motion, the
driving time keeps going while the engine
is running.
The meter’s working range is from 00:00~99:59.
Pressing the RESET button for more
than 1 second, when the driving time is
being displayed, clears the driving time to
zero (00:00).
OBA043114OBA043115
Page 107 of 343
451
Features of your vehicle
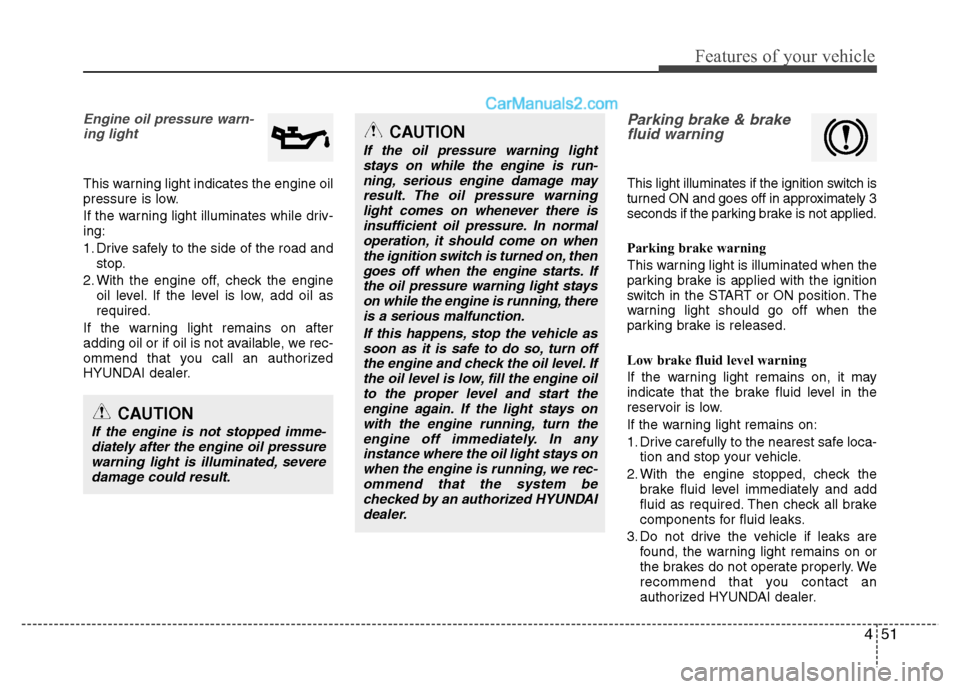
Engine oil pressure warn-ing light
This warning light indicates the engine oil
pressure is low.
If the warning light illuminates while driv- ing:
1. Drive safely to the side of the road and stop.
2. With the engine off, check the engine oil level. If the level is low, add oil as required.
If the warning light remains on after
adding oil or if oil is not available, we rec-
ommend that you call an authorized
HYUNDAI dealer.
Parking brake & brake fluid warning
This light illuminates if the ignition switch is
turned ON and goes off in approximately 3
seconds if the parking brake is not applied.
Parking brake warning
This warning light is illuminated when the
parking brake is applied with the ignition
switch in the START or ON position. The
warning light should go off when the
parking brake is released.
Low brake fluid level warning
If the warning light remains on, it may
indicate that the brake fluid level in the
reservoir is low.
If the warning light remains on:
1. Drive carefully to the nearest safe loca-
tion and stop your vehicle.
2. With the engine stopped, check the brake fluid level immediately and add
fluid as required. Then check all brake
components for fluid leaks.
3. Do not drive the vehicle if leaks are found, the warning light remains on or
the brakes do not operate properly. We
recommend that you contact an
authorized HYUNDAI dealer.
CAUTION
If the engine is not stopped imme-
diately after the engine oil pressure
warning light is illuminated, severedamage could result.
CAUTION
If the oil pressure warning lightstays on while the engine is run-
ning, serious engine damage mayresult. The oil pressure warninglight comes on whenever there is insufficient oil pressure. In normal
operation, it should come on whenthe ignition switch is turned on, thengoes off when the engine starts. If
the oil pressure warning light stayson while the engine is running, thereis a serious malfunction.
If this happens, stop the vehicle assoon as it is safe to do so, turn off
the engine and check the oil level. If the oil level is low, fill the engine oilto the proper level and start theengine again. If the light stays on
with the engine running, turn theengine off immediately. In anyinstance where the oil light stays onwhen the engine is running, we rec-
ommend that the system bechecked by an authorized HYUNDAIdealer.
Page 111 of 343
455
Features of your vehicle
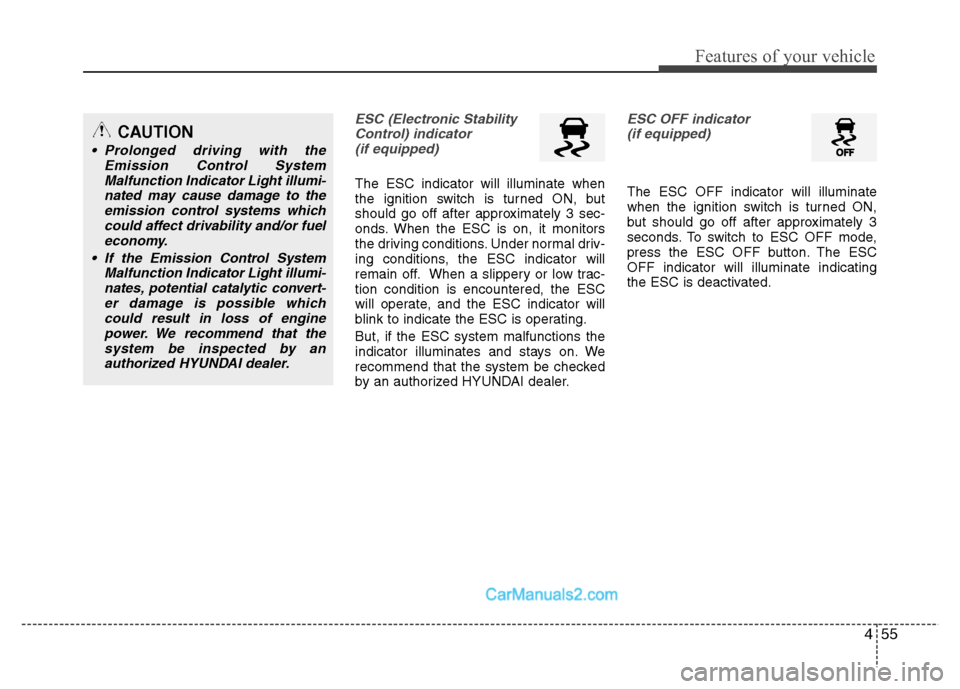
ESC (Electronic StabilityControl) indicator(if equipped)
The ESC indicator will illuminate when
the ignition switch is turned ON, but
should go off after approximately 3 sec-
onds. When the ESC is on, it monitors
the driving conditions. Under normal driv-
ing conditions, the ESC indicator will
remain off. When a slippery or low trac-tion condition is encountered, the ESC
will operate, and the ESC indicator will
blink to indicate the ESC is operating. But, if the ESC system malfunctions the
indicator illuminates and stays on. We
recommend that the system be checked
by an authorized HYUNDAI dealer.
ESC OFF indicator (if equipped)
The ESC OFF indicator will illuminate
when the ignition switch is turned ON,
but should go off after approximately 3
seconds. To switch to ESC OFF mode,
press the ESC OFF button. The ESCOFF indicator will illuminate indicating
the ESC is deactivated.
CAUTION
Prolonged driving with the
Emission Control System
Malfunction Indicator Light illumi-nated may cause damage to theemission control systems which could affect drivability and/or fuel
economy.
If the Emission Control System Malfunction Indicator Light illumi-nates, potential catalytic convert-
er damage is possible whichcould result in loss of enginepower. We recommend that the system be inspected by an
authorized HYUNDAI dealer.
Page 114 of 343
Features of your vehicle
58
4
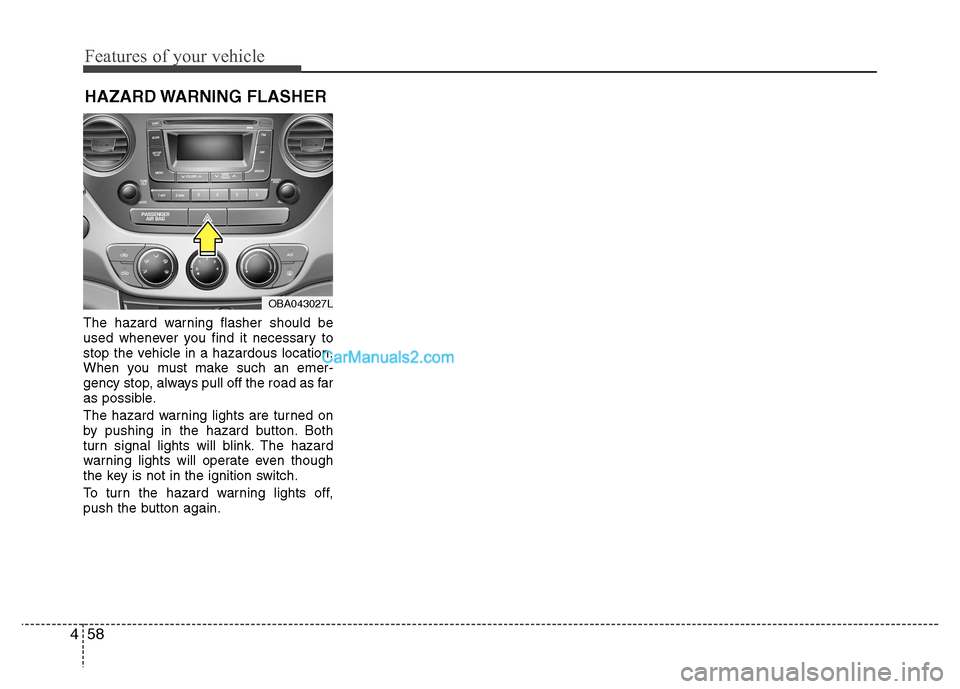
The hazard warning flasher should be
used whenever you find it necessary to
stop the vehicle in a hazardous location.
When you must make such an emer-
gency stop, always pull off the road as far
as possible.
The hazard warning lights are turned on
by pushing in the hazard button. Both
turn signal lights will blink. The hazard
warning lights will operate even though
the key is not in the ignition switch.
To turn the hazard warning lights off,
push the button again. HAZARD WARNING FLASHER
OBA043027L
Page 115 of 343
459
Features of your vehicle
Battery saver function (if equipped)
The purpose of this feature is to pre-vent the battery from being dis-
charged. The system automatically
turns off the exterior lights when the
driver removes the ignition key and
opens the driver-side door.
With this feature, the parking lights will turn off automatically if the driver parkson the side of road at night.
If necessary, to keep the lights on
when the ignition key is removed, per-
form the following :
1) Open the driver-side door.
2) Turn the parking lights OFF and ON again using the light switch on the
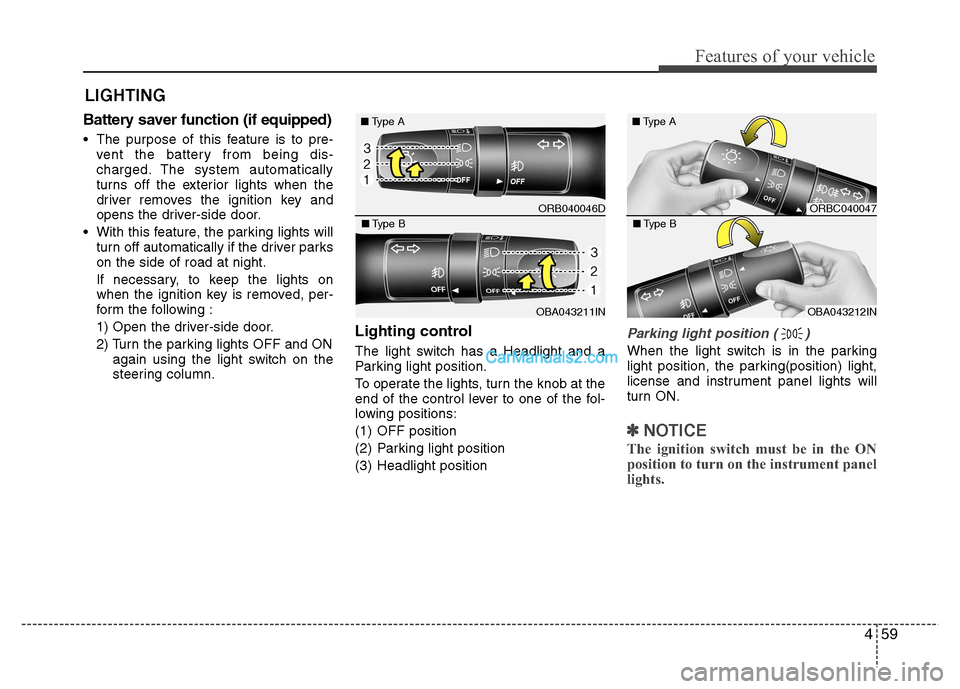
steering column. Lighting control
The light switch has a Headlight and a
Parking light position.
To operate the lights, turn the knob at the
end of the control lever to one of the fol-
lowing positions:
(1) OFF position
(2) Parking light position
(3) Headlight position
Parking light position ( )
When the light switch is in the parking
light position, the parking(position) light,
license and instrument panel lights will
turn ON.
✽✽
NOTICE
The ignition switch must be in the ON
position to turn on the instrument panel
lights.
LIGHTING
ORB040046D
■
Type A
OBA043211IN
■
Type B
ORBC040047
■
Type A
OBA043212IN
■
Type B