ESP Hyundai Grand i10 2015 Owner's Manual
[x] Cancel search | Manufacturer: HYUNDAI, Model Year: 2015, Model line: Grand i10, Model: Hyundai Grand i10 2015Pages: 343, PDF Size: 29.47 MB
Page 15 of 343
Safety features of your vehicle
4
3
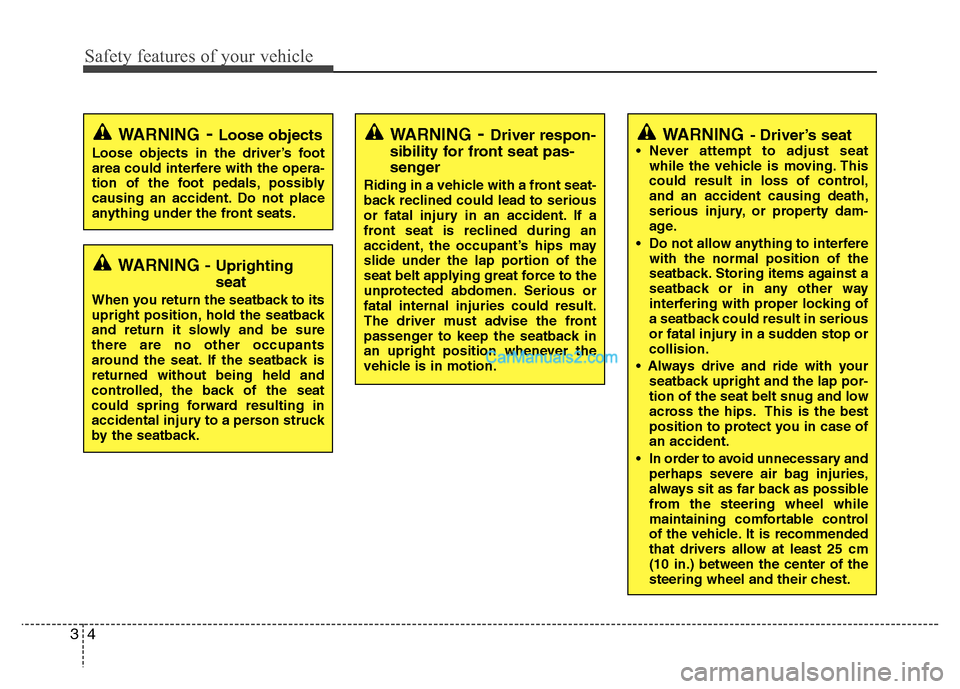
WARNING - Driver’s seat
Never attempt to adjust seat while the vehicle is moving. This
could result in loss of control,and an accident causing death,
serious injury, or property dam-
age.
Do not allow anything to interfere with the normal position of the
seatback. Storing items against a
seatback or in any other way
interfering with proper locking of
a seatback could result in serious
or fatal injury in a sudden stop orcollision.
seatback upright and the lap por-
tion of the seat belt snug and low
across the hips. This is the best
position to protect you in case ofan accident.
In order to avoid unnecessary and perhaps severe air bag injuries,
always sit as far back as possible
from the steering wheel while
maintaining comfortable control
of the vehicle. It is recommended
that drivers allow at least 25 cm(10 in.) between the center of the
steering wheel and their chest.
WARNING - Uprighting seat
When you return the seatback to its
upright position, hold the seatback
and return it slowly and be surethere are no other occupants
around the seat. If the seatback isreturned without being held and
controlled, the back of the seat
could spring forward resulting in
accidental injury to a person struck
by the seatback.
WARNING - Loose objects
Loose objects in the driver’s foot
area could interfere with the opera-
tion of the foot pedals, possibly
causing an accident. Do not place
anything under the front seats.WARNING - Driver respon-
sibility for front seat pas-
senger
Riding in a vehicle with a front seat-
back reclined could lead to serious
or fatal injury in an accident. If a
front seat is reclined during an
accident, the occupant’s hips may
slide under the lap portion of the
seat belt applying great force to the
unprotected abdomen. Serious orfatal internal injuries could result.
The driver must advise the front
passenger to keep the seatback in
an upright position whenever the
vehicle is in motion.
Page 43 of 343
Safety system of your vehicle
32
3
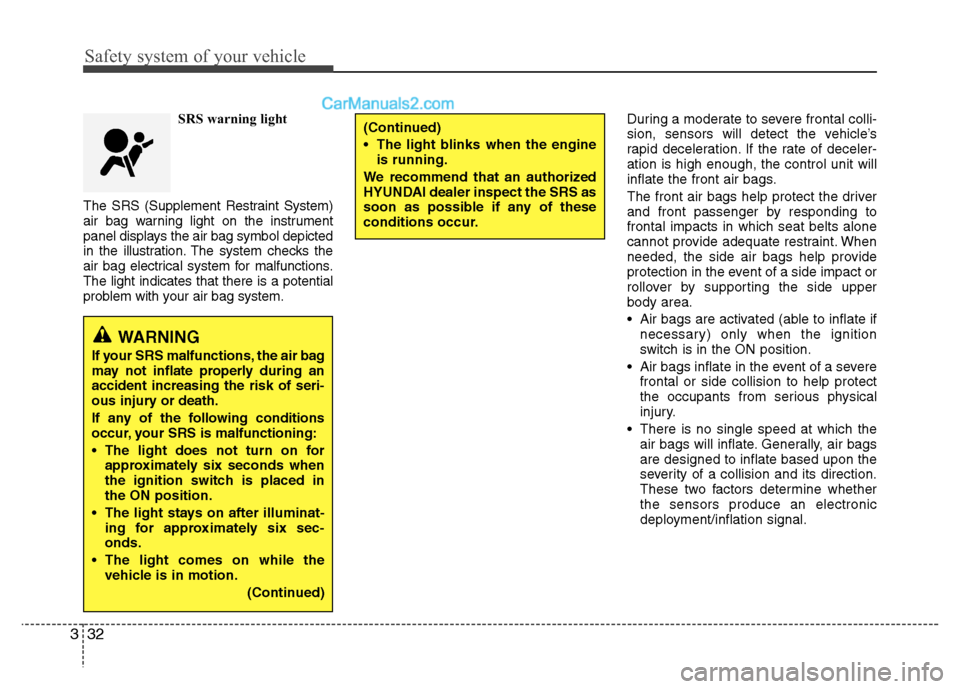
SRS warning light
The SRS (Supplement Restraint System)
air bag warning light on the instrument
panel displays the air bag symbol depicted
in the illustration. The system checks the
air bag electrical system for malfunctions.The light indicates that there is a potential
problem with your air bag system. During a moderate to severe frontal colli-
sion, sensors will detect the vehicle’s
rapid deceleration. If the rate of deceler-ation is high enough, the control unit will
inflate the front air bags.
The front air bags help protect the driver
and front passenger by responding tofrontal impacts in which seat belts alone
cannot provide adequate restraint. When
needed, the side air bags help provide
protection in the event of a side impact or
rollover by supporting the side upperbody area.
Air bags are activated (able to inflate if
necessary) only when the ignition
switch is in the ON position.
Air bags inflate in the event of a severe frontal or side collision to help protect
the occupants from serious physical
injury.
There is no single speed at which the air bags will inflate. Generally, air bagsare designed to inflate based upon the
severity of a collision and its direction.
These two factors determine whetherthe sensors produce an electronic
deployment/inflation signal.
WARNING
If your SRS malfunctions, the air bag
may not inflate properly during anaccident increasing the risk of seri-
ous injury or death.
If any of the following conditions
occur, your SRS is malfunctioning:
The light does not turn on for approximately six seconds when
the ignition switch is placed inthe ON position.
The light stays on after illuminat- ing for approximately six sec-onds.
The light comes on while the vehicle is in motion.
(Continued)
(Continued)
The light blinks when the engineis running.
We recommend that an authorized
HYUNDAI dealer inspect the SRS as
soon as possible if any of these
conditions occur.
Page 44 of 343
333
Safety system of your vehicle
Air bag deployment depends on anumber of factors including vehicle speed, angles of impact and the densi-
ty and stiffness of the vehicles or
objects which your vehicle impacts
during a collision. The determining fac-tors are not limited to those mentioned
above.
The front air bags will completely inflate and deflate in an instant. It is vir-
tually impossible for you to see the air
bags inflate during an accident. It is
much more likely that you will simplysee the deflated air bags hanging out
of their storage compartments after thecollision.
To help provide protection, the air bags must inflate rapidly. The speed of airbag inflation is a consequence of
extremely short time in which to inflate
the air bag between the occupant and
the vehicle structures before the occu-
pant impacts those structures. This
speed of inflation reduces the risk of
serious or life-threatening injuries and
is thus a necessary part of air bagdesign.
However, the rapid air bag inflation can
also cause injuries which can include
facial abrasions, bruises and brokenbones because the inflation speed also
causes the air bags to expand with a
great deal of force. There are even circumstances under
which contact with the air bag can
cause fatal injuries, especially if the
occupant is positioned excessivelyclose to the air bag.
You can take steps to reduce the risk of
being injured by an inflating air bag. The
greatest risk is sitting too close to the air
bag. An air bag needs about 25 cm (10
inches) of space to inflate. It is recom-
mended that drivers allow at least 25 cm
(10 inches) between the center of the
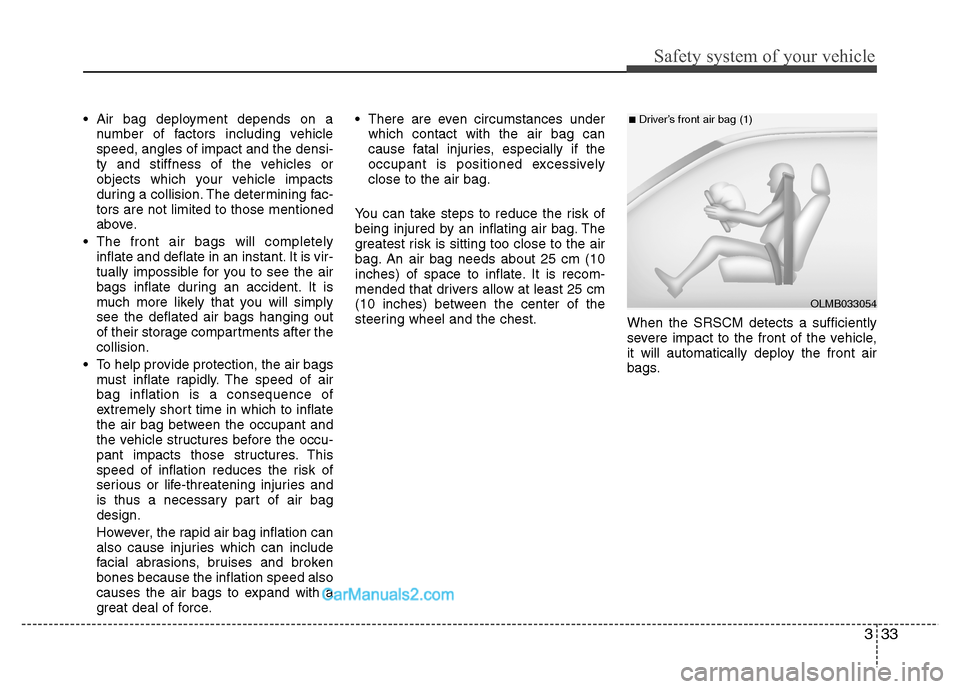
steering wheel and the chest. When the SRSCM detects a sufficiently
severe impact to the front of the vehicle,
it will automatically deploy the front air
bags.
OLMB033054
■Driver’s front air bag (1)
Page 64 of 343
Features of your vehicle
8
4
✽✽
NOTICE
The doors will not lock if a door is
opened.
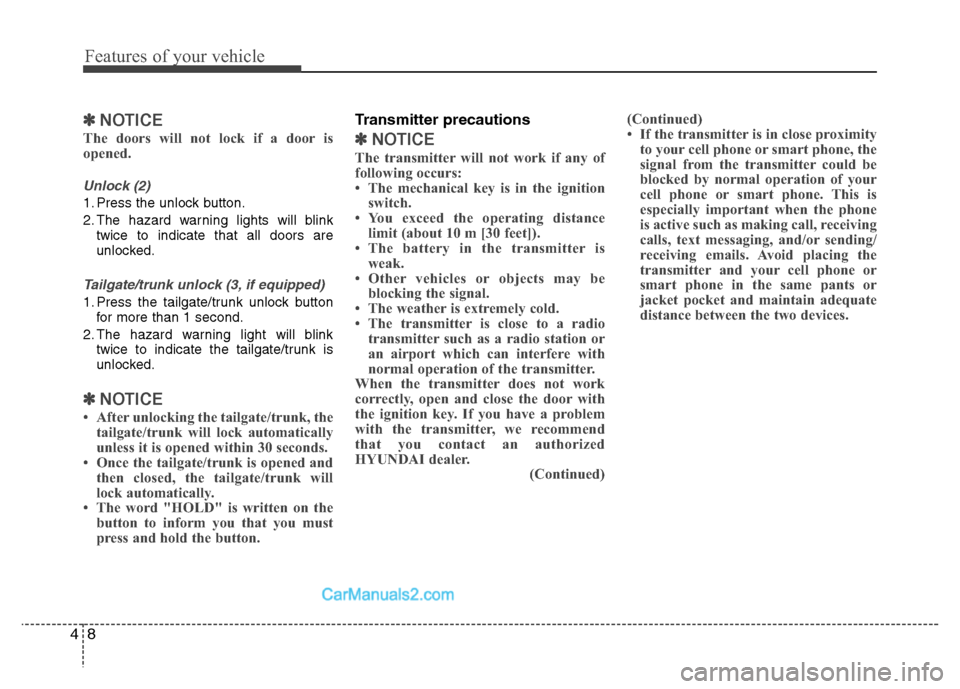
Unlock (2)
1. Press the unlock button.
2. The hazard warning lights will blink twice to indicate that all doors are
unlocked.
Tailgate/trunk unlock (3, if equipped)
1. Press the tailgate/trunk unlock buttonfor more than 1 second.
2. The hazard warning light will blink twice to indicate the tailgate/trunk is
unlocked.
✽✽ NOTICE
After unlocking the tailgate/trunk, the tailgate/trunk will lock automatically
unless it is opened within 30 seconds.
Once the tailgate/trunk is opened and then closed, the tailgate/trunk will
lock automatically.
The word "HOLD" is written on the
button to inform you that you must
press and hold the button.
Transmitter precautions
✽✽ NOTICE
The transmitter will not work if any of
following occurs:
The mechanical key is in the ignition switch.
You exceed the operating distance
limit (about 10 m [30 feet]).
The battery in the transmitter is
weak.
Other vehicles or objects may be
blocking the signal.
The weather is extremely cold.
The transmitter is close to a radio transmitter such as a radio station or
an airport which can interfere with
normal operation of the transmitter.
When the transmitter does not work
correctly, open and close the door with
the ignition key. If you have a problem
with the transmitter, we recommend
that you contact an authorized
HYUNDAI dealer. (Continued)(Continued)
If the transmitter is in close proximity
to your cell phone or smart phone, the
signal from the transmitter could be
blocked by normal operation of your
cell phone or smart phone. This is
especially important when the phone
is active such as making call, receiving
calls, text messaging, and/or sending/
receiving emails. Avoid placing the
transmitter and your cell phone or
smart phone in the same pants or
jacket pocket and maintain adequate
distance between the two devices.
Page 65 of 343
49
Features of your vehicle
Battery replacement
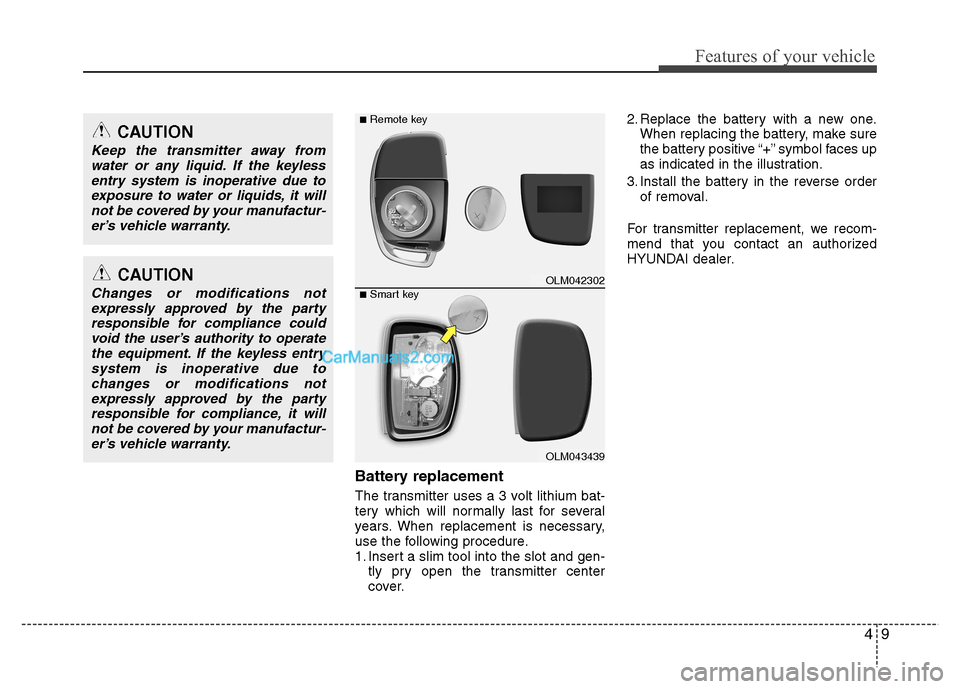
The transmitter uses a 3 volt lithium bat-
tery which will normally last for several
years. When replacement is necessary,
use the following procedure.
1. Insert a slim tool into the slot and gen-tly pry open the transmitter center
cover. 2. Replace the battery with a new one.
When replacing the battery, make sure
the battery positive “+” symbol faces up
as indicated in the illustration.
3. Install the battery in the reverse order of removal.
For transmitter replacement, we recom-
mend that you contact an authorized
HYUNDAI dealer.
CAUTION
Changes or modifications not expressly approved by the partyresponsible for compliance could
void the user’s authority to operatethe equipment. If the keyless entrysystem is inoperative due tochanges or modifications not
expressly approved by the partyresponsible for compliance, it willnot be covered by your manufactur-er’s vehicle warranty.
CAUTION
Keep the transmitter away from water or any liquid. If the keyless
entry system is inoperative due toexposure to water or liquids, it willnot be covered by your manufactur- er’s vehicle warranty.
OLM042302
OLM043439
■
Remote key
■ Smart key
Page 69 of 343
413
Features of your vehicle
(Continued)
If the smart key is in close proximityto your cell phone or smart phone, the
signal from the smart key could be
blocked by normal operation of your
cell phone or smart phone. This is
especially important when the phone
is active such as making call, receiving
calls, text messaging, and/or send-
ing/receiving emails. Avoid placing the
smart key and your cell phone or
smart phone in the same pants or
jacket pocket and maintain adequate
distance between the two devices.
Door lock/unlock in an emer-
gency situation
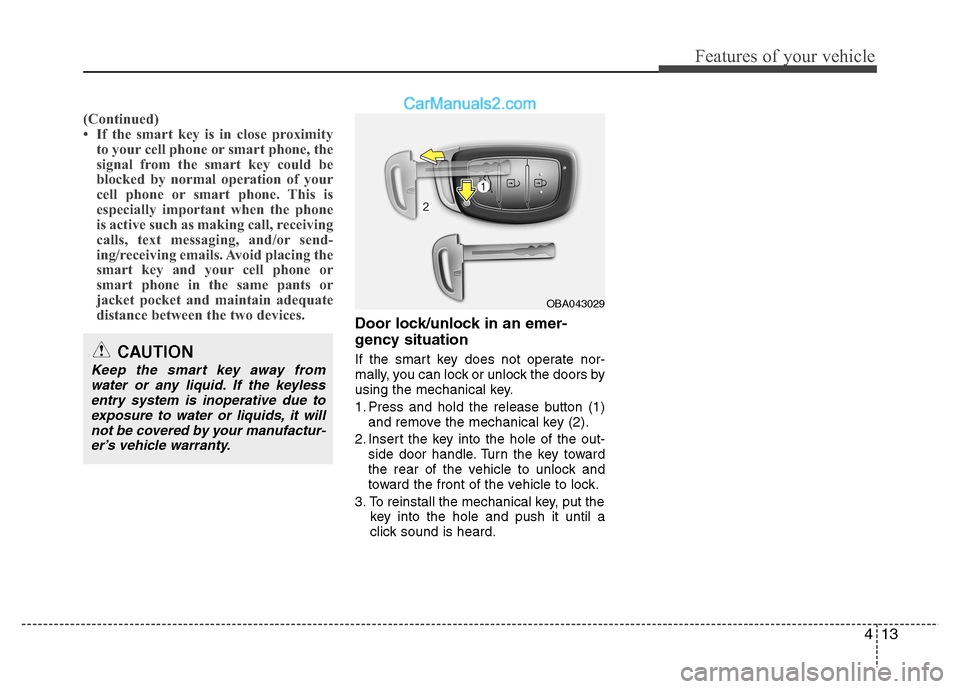
If the smart key does not operate nor-
mally, you can lock or unlock the doors by
using the mechanical key.
1. Press and hold the release button (1)and remove the mechanical key (2).
2. Insert the key into the hole of the out- side door handle. Turn the key toward
the rear of the vehicle to unlock and
toward the front of the vehicle to lock.
3. To reinstall the mechanical key, put the key into the hole and push it until a
click sound is heard.
CAUTION
Keep the smart key away from
water or any liquid. If the keylessentry system is inoperative due to exposure to water or liquids, it will
not be covered by your manufactur-er’s vehicle warranty.
OBA043029
Page 90 of 343
Features of your vehicle
34
4
(Continued)
Use only approved portable plas-
tic fuel containers designed to
carry and store gasoline.
Do not use cellular phones while refueling. Electric current and/or
electronic interference from cel-
lular phones can potentially
ignite fuel vapors causing a fire.
When refueling, always shut the engine off. Sparks produced byelectrical components related to
the engine can ignite fuel vapors
causing a fire. Once refueling is
complete, check to make sure thefiller cap and filler door are
securely closed, before starting
the engine.
DO NOT use matches or a lighter and DO NOT SMOKE or leave a lit
cigarette in your vehicle while at
a gas station especially during
refueling. Automotive fuel is
highly flammable and can, when
ignited, result in fire.
(Continued)(Continued)
If a fire breaks out during refuel-ing, leave the vicinity of the vehi-
cle, and immediately contact the
manager of the gas station and
then contact the local fire depart-
ment. Follow any safety instruc-
tions they provide.CAUTION
Make sure to refuel with unleaded
(or leaded for some countries)
fuel only. (Gasoline engine only)
If the fuel filler cap requires replacement, we recommend thatyou use parts for replacement
from an authorized HYUNDAI dealer. An incorrect fuel filler capcan result in a serious malfunc- tion of the fuel system or emis-
sion control system.
Do not spill fuel on the exterior surfaces of the vehicle. Any typeof fuel spilled on painted surfaces may damage the paint.
After refueling, make sure the fuel cap is installed securely to pre-vent fuel spillage in the event of an accident.
Page 95 of 343
439
Features of your vehicle
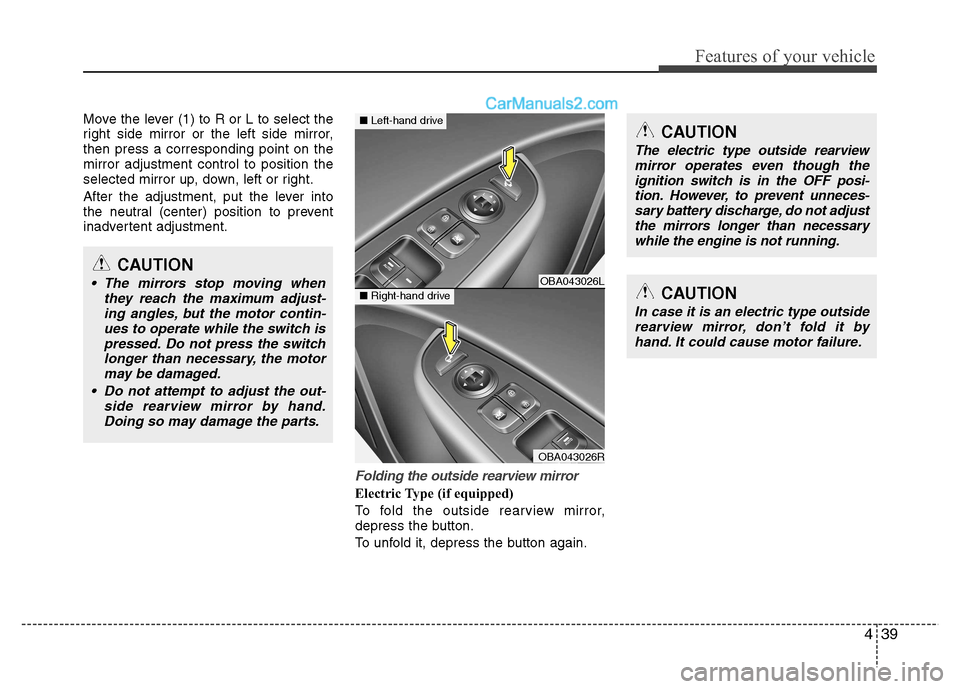
Move the lever (1) to R or L to select the
right side mirror or the left side mirror,then press a corresponding point on themirror adjustment control to position the
selected mirror up, down, left or right.
After the adjustment, put the lever into
the neutral (center) position to prevent
inadvertent adjustment.
Folding the outside rearview mirror
Electric Type (if equipped)
To fold the outside rearview mirror,
depress the button.
To unfold it, depress the button again.
CAUTION
The mirrors stop moving whenthey reach the maximum adjust-ing angles, but the motor contin-ues to operate while the switch ispressed. Do not press the switch
longer than necessary, the motor may be damaged.
Do not attempt to adjust the out- side rearview mirror by hand.Doing so may damage the parts.OBA043026L
OBA043026R
■ Left-hand drive
■Right-hand driveCAUTION
In case it is an electric type outside
rearview mirror, don’t fold it byhand. It could cause motor failure.
CAUTION
The electric type outside rearview mirror operates even though the
ignition switch is in the OFF posi- tion. However, to prevent unneces-sary battery discharge, do not adjust the mirrors longer than necessary
while the engine is not running.
Page 103 of 343
447
Features of your vehicle
✽✽NOTICE
If the vehicle is not on level ground or the battery power has been interrupt-
ed, the “Distance to empty” function
may not operate correctly.
The trip computer may not register
additional fuel if less than 6 liters (1.6
gallons) of fuel are added to the vehicle.
The fuel consumption and distance to empty may vary significantly based
on driving conditions, driving habits,
and condition of the vehicle.
The distance to empty is an estimate of the available driving distance. This
may differ from the actual driving dis-
tance available.
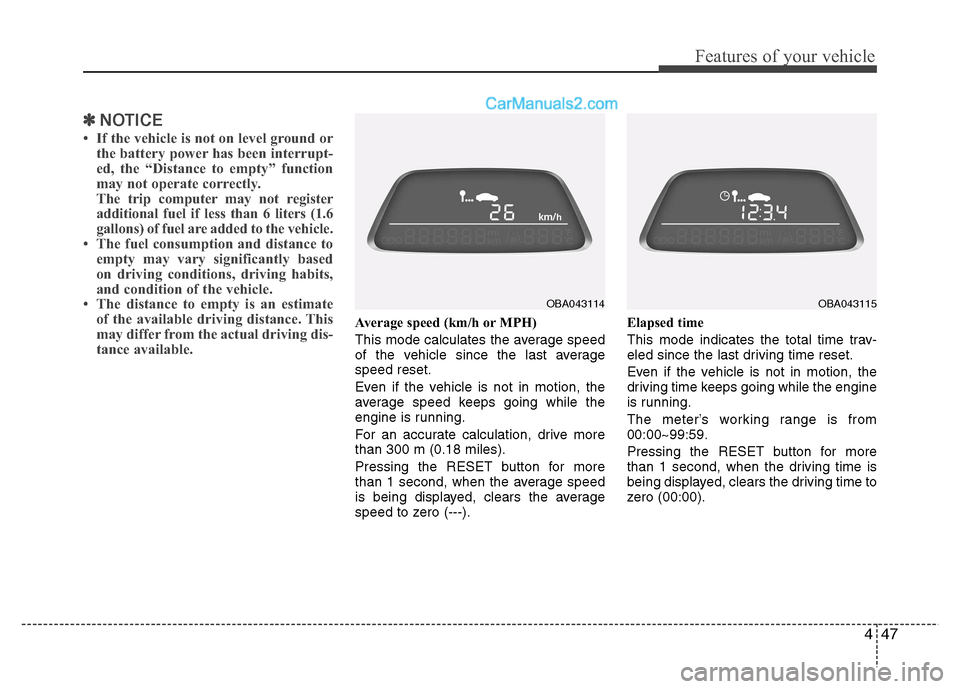
Average speed (km/h or MPH)
This mode calculates the average speed
of the vehicle since the last averagespeed reset.
Even if the vehicle is not in motion, the
average speed keeps going while the
engine is running.
For an accurate calculation, drive more than 300 m (0.18 miles).
Pressing the RESET button for more
than 1 second, when the average speed
is being displayed, clears the average
speed to zero (---). Elapsed time
This mode indicates the total time trav-
eled since the last driving time reset.
Even if the vehicle is not in motion, the
driving time keeps going while the engine
is running.
The meter’s working range is from 00:00~99:59.
Pressing the RESET button for more
than 1 second, when the driving time is
being displayed, clears the driving time to
zero (00:00).
OBA043114OBA043115
Page 120 of 343
Features of your vehicle
64
4
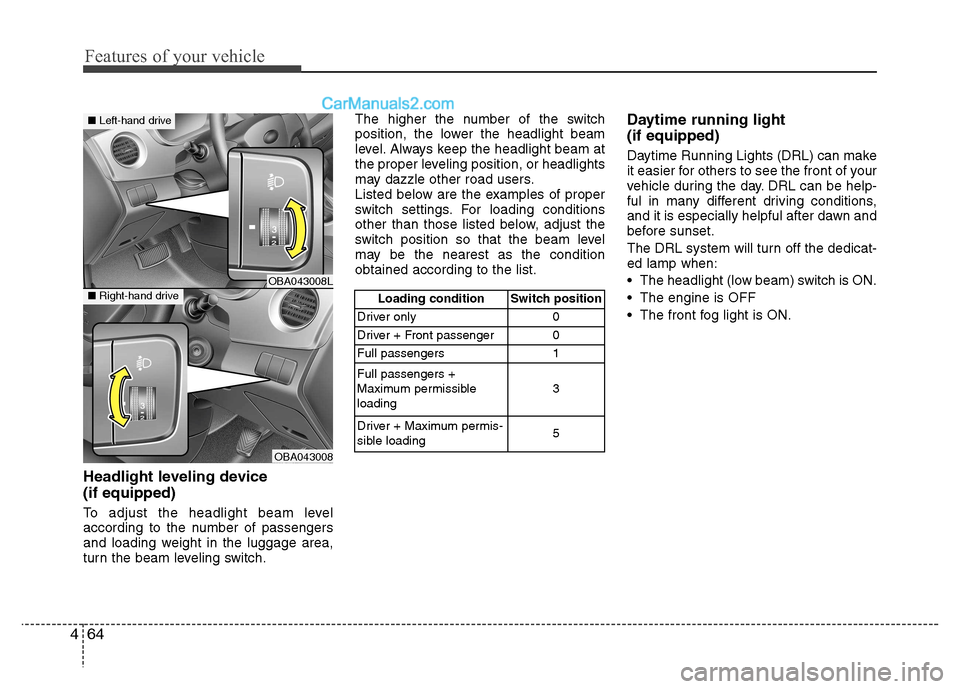
Headlight leveling device (if equipped)
To adjust the headlight beam level
according to the number of passengers
and loading weight in the luggage area,
turn the beam leveling switch. The higher the number of the switch
position, the lower the headlight beam
level. Always keep the headlight beam at
the proper leveling position, or headlights
may dazzle other road users.
Listed below are the examples of proper
switch settings. For loading conditions
other than those listed below, adjust the
switch position so that the beam level
may be the nearest as the conditionobtained according to the list.
Daytime running light (if equipped)
Daytime Running Lights (DRL) can make
it easier for others to see the front of your
vehicle during the day. DRL can be help-
ful in many different driving conditions,
and it is especially helpful after dawn and
before sunset.
The DRL system will turn off the dedicat- ed lamp when:
The headlight (low beam) switch is ON.
The engine is OFF
The front fog light is ON.
Loading condition Switch position
Driver only 0
Driver + Front passenger 0
Full passengers 1 Full passengers +
Maximum permissibleloading 3
Driver + Maximum permis-
sible loading 5
OBA043008L
OBA043008
■
Left-hand drive
■Right-hand drive