warning light HYUNDAI IONIQ 2020 Owner's Manual
[x] Cancel search | Manufacturer: HYUNDAI, Model Year: 2020, Model line: IONIQ, Model: HYUNDAI IONIQ 2020Pages: 561, PDF Size: 24.5 MB
Page 102 of 561
3-17
Convenient features of your vehicle
3
Tilt Steering / Telescope Steering
Adjust the steering wheel so it points
toward your chest, not toward your
face. Make sure you can see the
instrument cluster warning lights and
gauges. After adjusting, push the
steering wheel both up and down to
be certain it is locked in position.
Always adjust the position of the
steering wheel before driving.
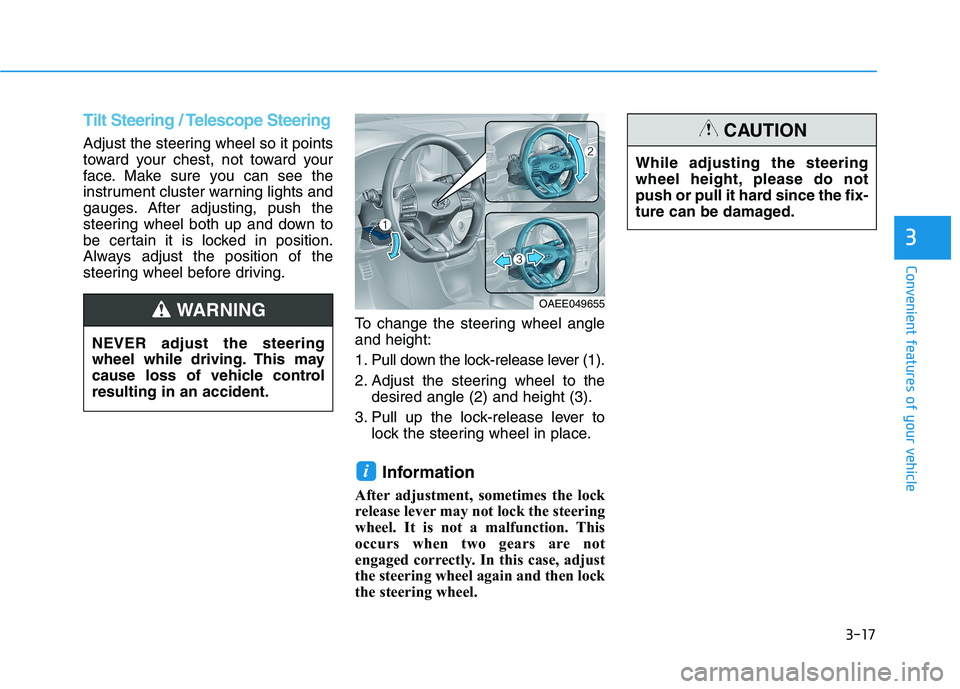
To change the steering wheel angle
and height:
1. Pull down the lock-release lever (1).
2. Adjust the steering wheel to the
desired angle (2) and height (3).
3. Pull up the lock-release lever to
lock the steering wheel in place.
Information
After adjustment, sometimes the lock
release lever may not lock the steering
wheel. It is not a malfunction. This
occurs when two gears are not
engaged correctly. In this case, adjust
the steering wheel again and then lock
the steering wheel.
i
OAEE049655
While adjusting the steering
wheel height, please do not
push or pull it hard since the fix-
ture can be damaged.
CAUTION
NEVER adjust the steering
wheel while driving. This may
cause loss of vehicle control
resulting in an accident.
WARNING
Page 104 of 561
3-19
Convenient features of your vehicle
3
Inside Rearview Mirror
Before you start driving, adjust the
rearview mirror to the center on the
view through the rear window.
When cleaning the mirror, use a
paper towel or similar material
dampened with glass cleaner. Do
not spray glass cleaner directly on
the mirror as that may cause the
liquid cleaner to enter the mirror
housing.
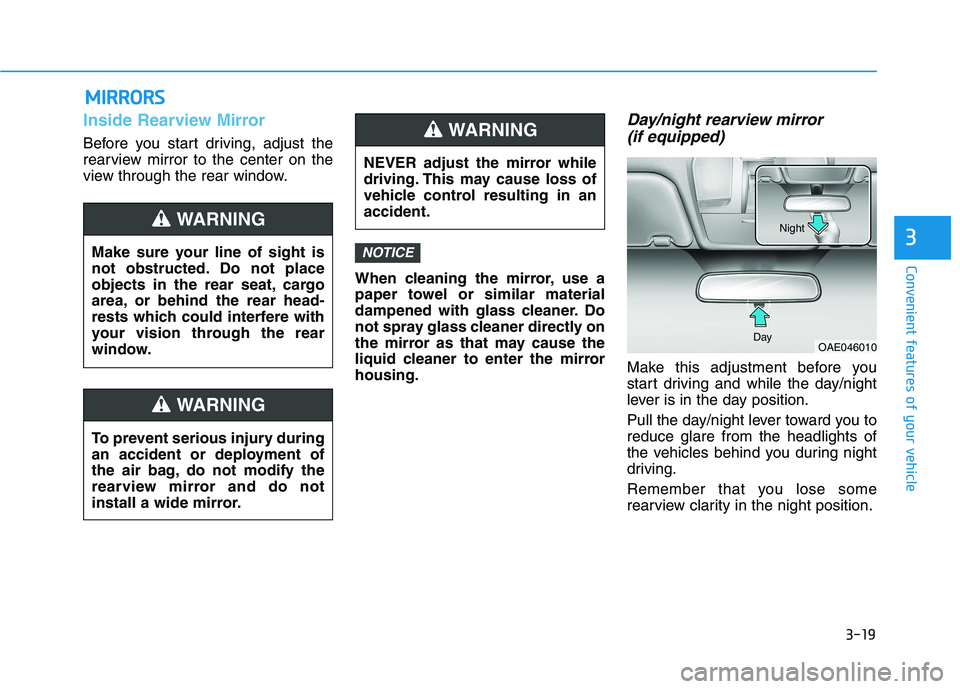
Day/night rearview mirror
(if equipped)
Make this adjustment before you
start driving and while the day/night
lever is in the day position.
Pull the day/night lever toward you to
reduce glare from the headlights of
the vehicles behind you during night
driving.
Remember that you lose some
rearview clarity in the night position.
NOTICE
M MI
IR
RR
RO
OR
RS
S
Make sure your line of sight is
not obstructed. Do not place
objects in the rear seat, cargo
area, or behind the rear head-
rests which could interfere with
your vision through the rear
window.
WARNING
NEVER adjust the mirror while
driving. This may cause loss of
vehicle control resulting in an
accident.
WARNING
To prevent serious injury during
an accident or deployment of
the air bag, do not modify the
rearview mirror and do not
install a wide mirror.
WARNING
OAE046010 DayNight
Page 118 of 561
3-33
Convenient features of your vehicle
3
There are some conditions that can
cause changes to the vehicle mag-
nets, such as installing a ski rack or
a CB antenna. Body repair work on
the vehicle can also cause changes
to the vehicle’s magnetic field. In
these situations, the compass will
need to be re-calibrated to quickly
correct these changes.
If you need to recalibrate the com-
pass:
1. Press and hold the button for
more than 6 seconds. When the
compass memory is cleared a "C"
will appear in the display.
2. Drive the vehicle in 2 complete cir-
cles at less than 5 mph (8 km/h).Integrated HomeLink®Wireless
Control System
The HomeLink®Wireless Control
System can replace up to three hand-
held radio-frequency (RF) transmit-
ters with a single built-in device. This
innovative feature will learn the radio
frequency codes of most current
transmitters to operate devices such
as gate operators, garage door open-
ers, entry door locks, security sys-
tems, even home lighting. Both stan-
dard and rolling code-equipped trans-
mitters can be programmed by fol-
lowing the outlined procedures.
Additional HomeLink
®information
can be found at: www.homelink.com
or by calling 1-800-355-3515.
Retain the original transmitter of the
RF device you are programming for
use in other vehicles as well as for
future HomeLink
®programming. It is
also suggested that upon the sale of
the vehicle, the programmed
HomeLink
®buttons be erased for
security purposes.
Before programming HomeLink®
to a garage door opener or gate
operator, make sure people and
objects are out of the way of the
device to prevent potential harm
or damage. Do not use the
HomeLink
®with any garage door
opener that lacks the safety stop
and reverse features required by
U.S. federal safety standards (this
includes any garage door opener
model manufactured before April
1, 1982). A garage door that can-
not detect an object - signaling
the door to stop and reverse -
does not meet current U.S. feder-
al safety standards. Using a
garage door opener without
these features increases the risk
of serious injury or death.
WARNING
Page 127 of 561
3-42
Convenient features of your vehicle
Power Windows
The POWER button must be in the
ON position to be able to raise or
lower the windows. Each door has a
Power Window switch to control that
door’s window. The driver has a
Power Window Lock switch which
can block the operation of passenger
windows. The power windows will
operate for approximately 30 sec-
onds after the POWER button is
placed in the ACC or OFF position.
However, if the front doors are
opened, the Power Windows cannot
be operated even within the 30 sec-
ond period.
Information
• In cold and wet climates, power win-
dows may not work properly due to
freezing conditions.
• While driving with the rear win-
dows down or with the sunroof (if
equipped) opened (or partially
opened), your vehicle may demon-
strate a wind buffeting or pulsation
noise. This noise is normal and can
be reduced or eliminated by taking
the following actions. If the noise
occurs with one or both of the rear
windows down, partially lower both
front windows approximately 1 inch
(2.5 cm). If you experience the noise
with the sunroof open, slightly close
the sunroof.
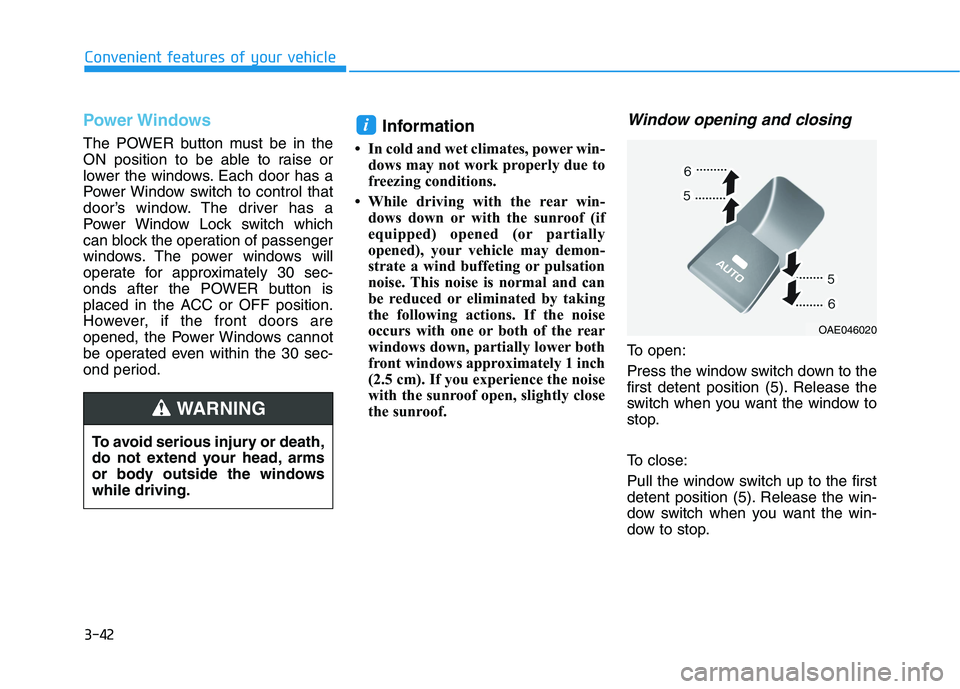
Window opening and closing
To open:
Press the window switch down to the
first detent position (5). Release the
switch when you want the window to
stop.
To close:
Pull the window switch up to the first
detent position (5). Release the win-
dow switch when you want the win-
dow to stop.
i
To avoid serious injury or death,
do not extend your head, arms
or body outside the windows
while driving.
WARNING
OAE046020
Page 135 of 561
3-50
Convenient features of your vehicle
Closing the hood
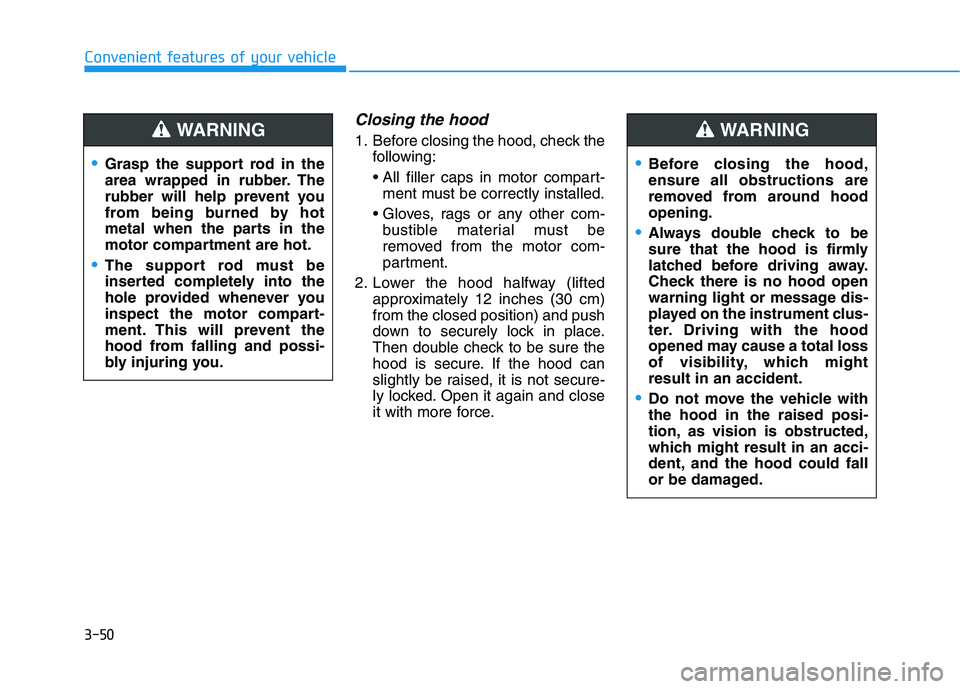
1. Before closing the hood, check the
following:
ment must be correctly installed.
bustible material must be
removed from the motor com-
partment.
2. Lower the hood halfway (lifted
approximately 12 inches (30 cm)
from the closed position) and push
down to securely lock in place.
Then double check to be sure the
hood is secure. If the hood can
slightly be raised, it is not secure-
ly locked. Open it again and close
it with more force.
Before closing the hood,
ensure all obstructions are
removed from around hood
opening.
Always double check to be
sure that the hood is firmly
latched before driving away.
Check there is no hood open
warning light or message dis-
played on the instrument clus-
ter. Driving with the hood
opened may cause a total loss
of visibility, which might
result in an accident.
Do not move the vehicle with
the hood in the raised posi-
tion, as vision is obstructed,
which might result in an acci-
dent, and the hood could fall
or be damaged.
WARNING
Grasp the support rod in the
area wrapped in rubber. The
rubber will help prevent you
from being burned by hot
metal when the parts in the
motor compartment are hot.
The support rod must be
inserted completely into the
hole provided whenever you
inspect the motor compart-
ment. This will prevent the
hood from falling and possi-
bly injuring you.
WARNING
Page 139 of 561
3-54
Convenient features of your vehicle
I IN
NS
ST
TR
RU
UM
ME
EN
NT
T
C
CL
LU
US
ST
TE
ER
R
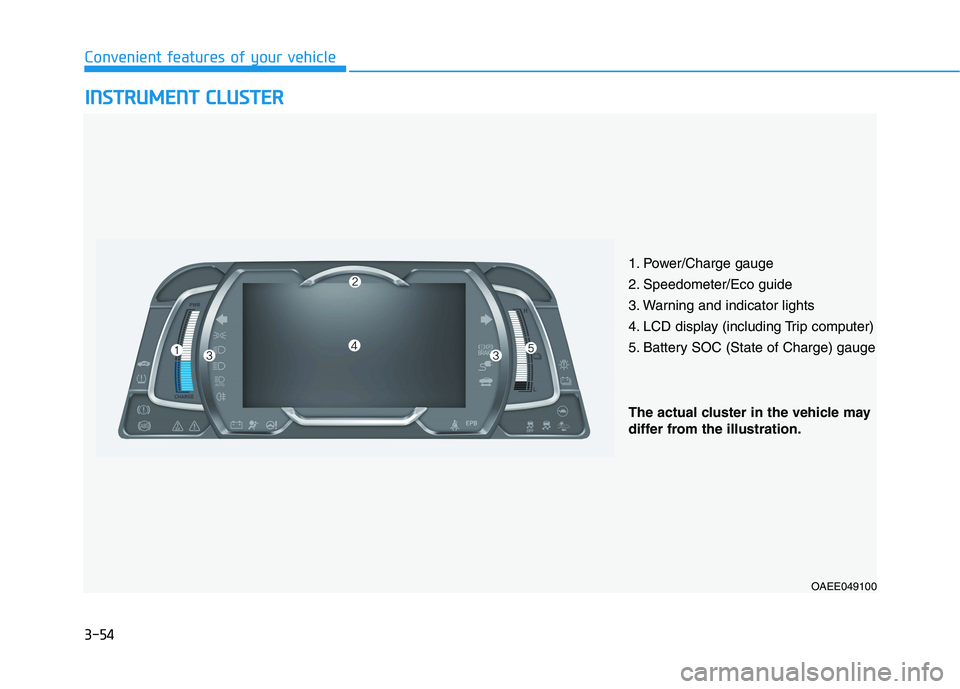
1. Power/Charge gauge
2. Speedometer/Eco guide
3. Warning and indicator lights
4. LCD display (including Trip computer)
5. Battery SOC (State of Charge) gauge
OAEE049100
The actual cluster in the vehicle may
differ from the illustration.
Page 140 of 561
3-55
Convenient features of your vehicle
3
Instrument Cluster Control
Adjusting instrument cluster
illumination
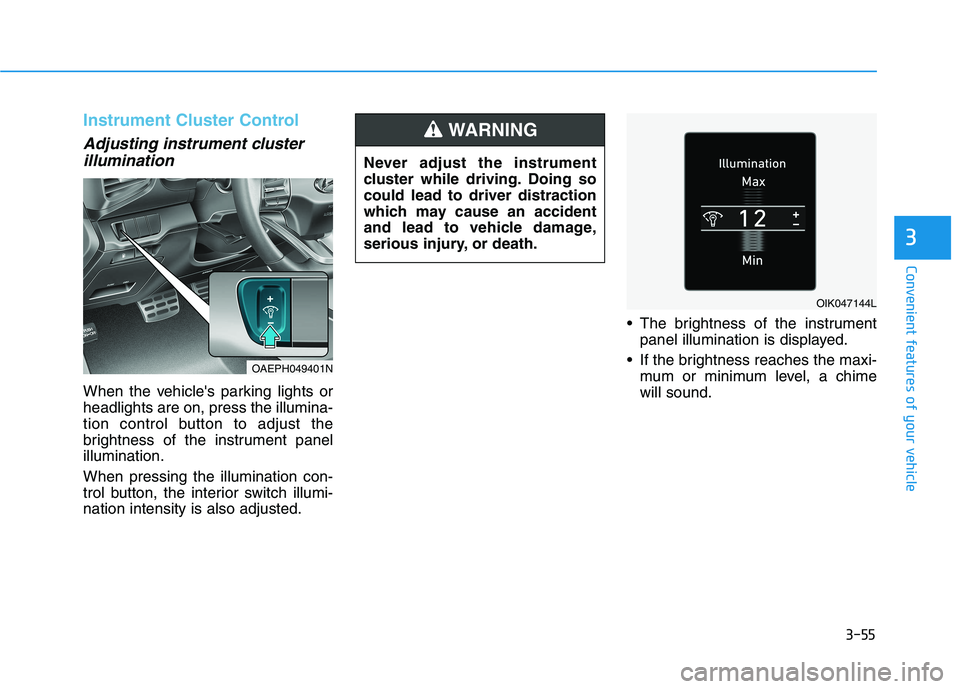
When the vehicle's parking lights or
headlights are on, press the illumina-
tion control button to adjust the
brightness of the instrument panel
illumination.
When pressing the illumination con-
trol button, the interior switch illumi-
nation intensity is also adjusted. The brightness of the instrument
panel illumination is displayed.
If the brightness reaches the maxi-
mum or minimum level, a chime
will sound.
OIK047144L
OAEPH049401N
Never adjust the instrument
cluster while driving. Doing so
could lead to driver distraction
which may cause an accident
and lead to vehicle damage,
serious injury, or death.
WARNING
Page 143 of 561
3-58
Convenient features of your vehicle
When the high voltage battery
level is low, the power down warn-
ing illuminates and the power out-
put from the vehicle is limited.
Charge the battery immediately
since your vehicle may not drive
uphill or skid on a slope with the
warning light ON.
Odometer
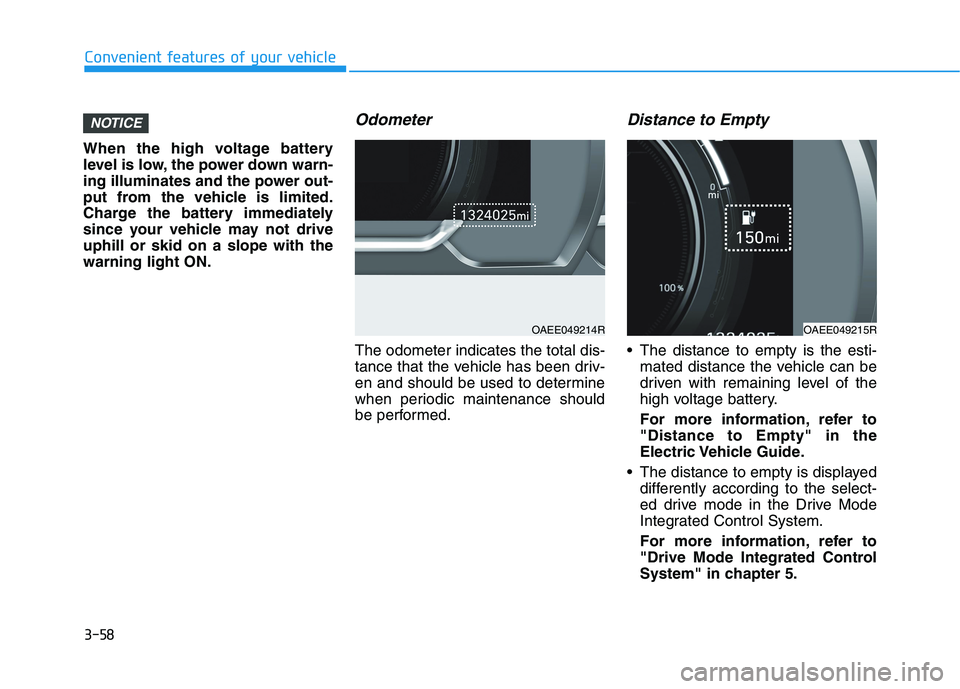
The odometer indicates the total dis-
tance that the vehicle has been driv-
en and should be used to determine
when periodic maintenance should
be performed.
Distance to Empty
The distance to empty is the esti-
mated distance the vehicle can be
driven with remaining level of the
high voltage battery.
For more information, refer to
"Distance to Empty" in the
Electric Vehicle Guide.
The distance to empty is displayed
differently according to the select-
ed drive mode in the Drive Mode
Integrated Control System.
For more information, refer to
"Drive Mode Integrated Control
System" in chapter 5.
NOTICE
OAEE049214ROAEE049215R
Page 145 of 561
3-60
Convenient features of your vehicle
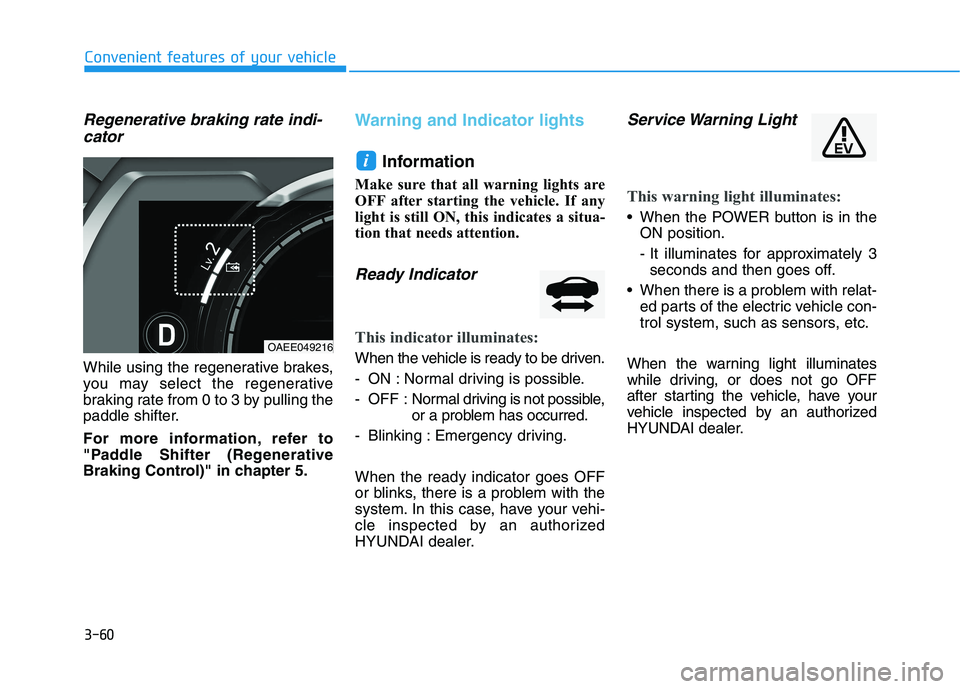
Regenerative braking rate indi-
cator
While using the regenerative brakes,
you may select the regenerative
braking rate from 0 to 3 by pulling the
paddle shifter.
For more information, refer to
"Paddle Shifter (Regenerative
Braking Control)" in chapter 5.
Warning and Indicator lights
Information
Make sure that all warning lights are
OFF after starting the vehicle. If any
light is still ON, this indicates a situa-
tion that needs attention.
Ready Indicator
This indicator illuminates:
When the vehicle is ready to be driven.
- ON : Normal driving is possible.
- OFF : Normal driving is not possible,
or a problem has occurred.
- Blinking : Emergency driving.
When the ready indicator goes OFF
or blinks, there is a problem with the
system. In this case, have your vehi-
cle inspected by an authorized
HYUNDAI dealer.
Service Warning Light
This warning light illuminates:
When the POWER button is in the
ON position.
- It illuminates for approximately 3
seconds and then goes off.
When there is a problem with relat-
ed parts of the electric vehicle con-
trol system, such as sensors, etc.
When the warning light illuminates
while driving, or does not go OFF
after starting the vehicle, have your
vehicle inspected by an authorized
HYUNDAI dealer.
i
OAEE049216
Page 146 of 561
3-61
Convenient features of your vehicle
3
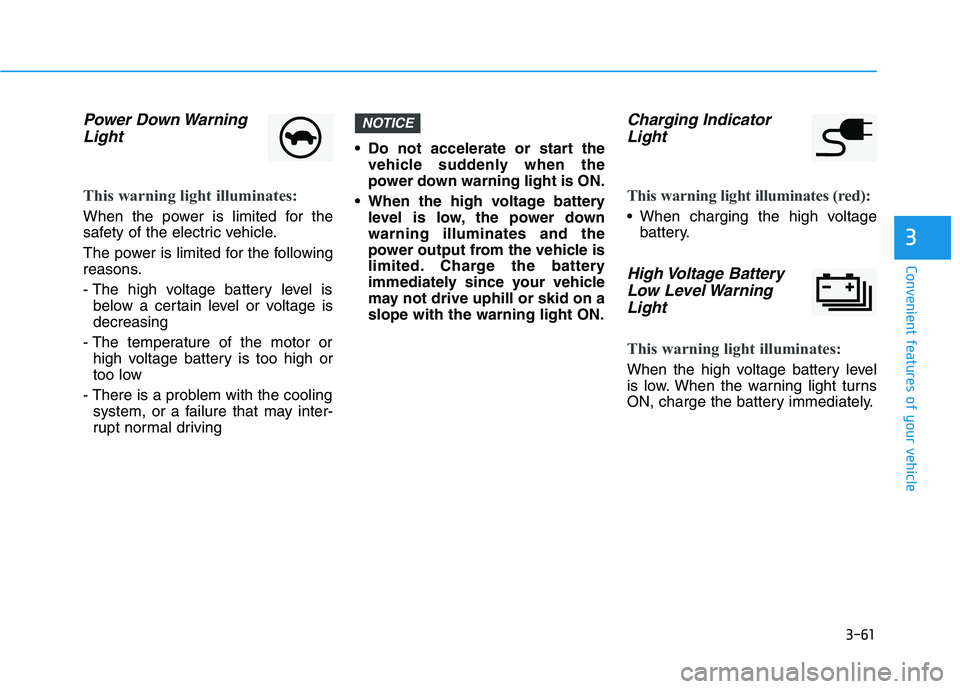
Power Down Warning
Light
This warning light illuminates:
When the power is limited for the
safety of the electric vehicle.
The power is limited for the following
reasons.
- The high voltage battery level is
below a certain level or voltage is
decreasing
- The temperature of the motor or
high voltage battery is too high or
too low
- There is a problem with the cooling
system, or a failure that may inter-
rupt normal driving Do not accelerate or start the
vehicle suddenly when the
power down warning light is ON.
When the high voltage battery
level is low, the power down
warning illuminates and the
power output from the vehicle is
limited. Charge the battery
immediately since your vehicle
may not drive uphill or skid on a
slope with the warning light ON.
Charging Indicator
Light
This warning light illuminates (red):
When charging the high voltage
battery.
High Voltage Battery
Low Level Warning
Light
This warning light illuminates:
When the high voltage battery level
is low. When the warning light turns
ON, charge the battery immediately.
NOTICE