air condition Hyundai Ioniq Electric 2019 - RHD (UK, Australia) Owner's Guide
[x] Cancel search | Manufacturer: HYUNDAI, Model Year: 2019, Model line: Ioniq Electric, Model: Hyundai Ioniq Electric 2019Pages: 526, PDF Size: 16.63 MB
Page 229 of 526
3-82
Convenient features of your vehicle
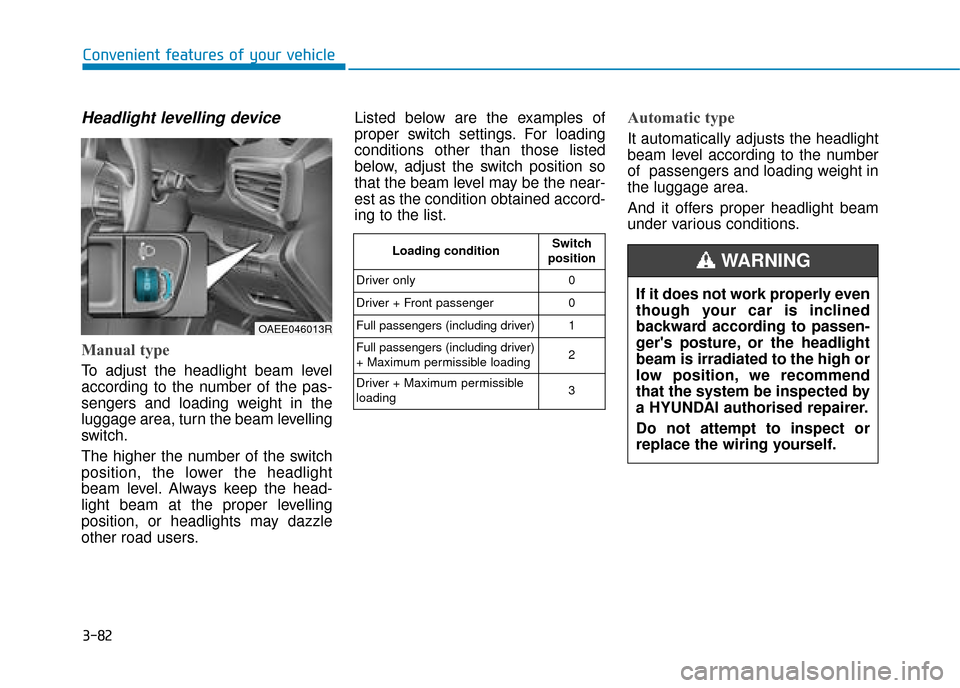
Headlight levelling device
Manual type
To adjust the headlight beam level
according to the number of the pas-
sengers and loading weight in the
luggage area, turn the beam levelling
switch.
The higher the number of the switch
position, the lower the headlight
beam level. Always keep the head-
light beam at the proper levelling
position, or headlights may dazzle
other road users.Listed below are the examples of
proper switch settings. For loading
conditions other than those listed
below, adjust the switch position so
that the beam level may be the near-
est as the condition obtained accord-
ing to the list.
Automatic type
It automatically adjusts the headlight
beam level according to the number
of passengers and loading weight in
the luggage area.
And it offers proper headlight beam
under various conditions.
OAEE046013R
Loading condition
Switch
position
Driver only 0
Driver + Front passenger 0
Full passengers (including driver) 1
Full passengers (including driver)
+ Maximum permissible loading 2
Driver + Maximum permissible
loading 3
If it does not work properly even
though your car is inclined
backward according to passen-
ger's posture, or the headlight
beam is irradiated to the high or
low position, we recommend
that the system be inspected by
a HYUNDAI authorised repairer.
Do not attempt to inspect or
replace the wiring yourself.
WARNING
Page 239 of 526
3-92
Convenient features of your vehicle
The indicator may differ from the illustration as objects or sen-
sors status. If the indicator
blinks, we recommend that you
have your vehicle checked by a
HYUNDAI authorised repairer.
If the audible warning does not sound or if the buzzer sounds
intermittently when shifting into
R (Reverse) position, this may
indicate a malfunction with the
Parking Distance Warning
(Reverse) system. If this occurs,
we recommend that you have
your vehicle checked by a
HYUNDAI authorised repairer as
soon as possible.
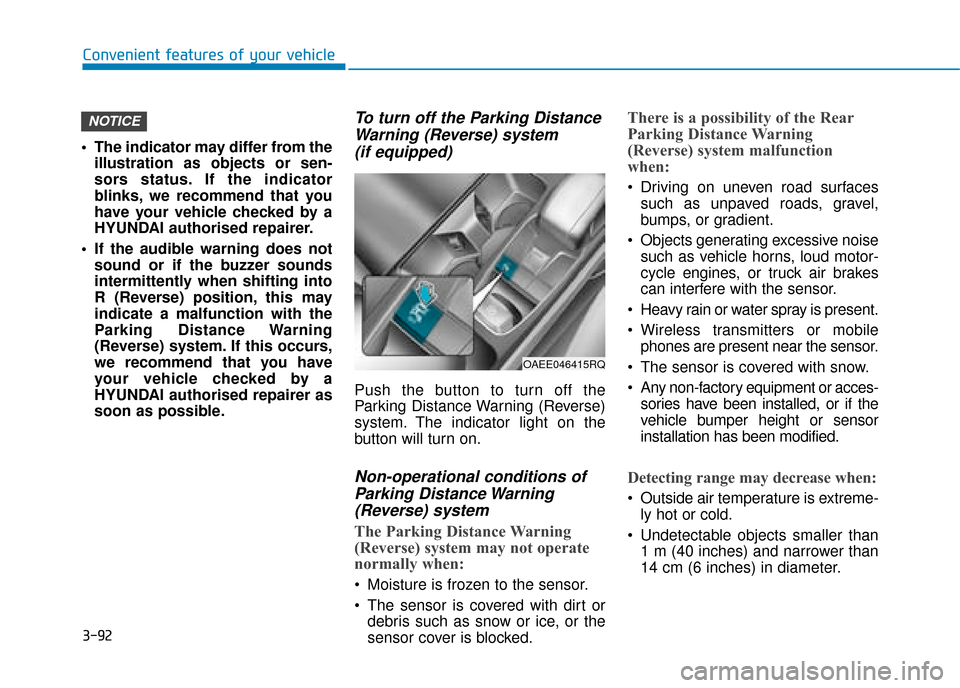
To turn off the Parking DistanceWarning (Reverse) system (if equipped)
Push the button to turn off the
Parking Distance Warning (Reverse)
system. The indicator light on the
button will turn on.
Non-operational conditions ofParking Distance Warning(Reverse) system
The Parking Distance Warning
(Reverse) system may not operate
normally when:
Moisture is frozen to the sensor.
The sensor is covered with dirt or
debris such as snow or ice, or the
sensor cover is blocked.
There is a possibility of the Rear
Parking Distance Warning
(Reverse) system malfunction
when:
Driving on uneven road surfacessuch as unpaved roads, gravel,
bumps, or gradient.
Objects generating excessive noise such as vehicle horns, loud motor-
cycle engines, or truck air brakes
can interfere with the sensor.
Heavy rain or water spray is present.
Wireless transmitters or mobile phones are present near the sensor.
The sensor is covered with snow.
Any non-factory equipment or acces- sories have been installed, or if the
vehicle bumper height or sensor
installation has been modified.
Detecting range may decrease when:
Outside air temperature is extreme-ly hot or cold.
Undetectable objects smaller than 1 m (40 inches) and narrower than
14 cm (6 inches) in diameter.
NOTICE
OAEE046415RQ
Page 242 of 526
3-95
Convenient features of your vehicle
3
Non-operational conditions ofParking Distance Warning(Reverse/Forward) system
Parking Distance Warning
(Reverse/Forward) system may not
operate normally when:
Moisture is frozen to the sensor.
The sensor is covered with dirt or
debris such as snow or ice, or the
sensor cover is blocked.
There is a possibility of Parking
Distance Warning (Reverse/
Forward) system malfunction when:
Driving on uneven road surfacessuch as unpaved roads, gravel,
bumps, or gradient.
Objects generating excessive noise such as vehicle horns, loud motor-
cycle engines, or truck air brakes
can interfere with the sensor.
Heavy rain or water spray is present.
Wireless transmitters or mobile phones are present near the sensor.
The sensor is covered with snow.
Any non-factory equipment or accessories have been installed, or
if the vehicle bumper height or sen-
sor installation has been modified.
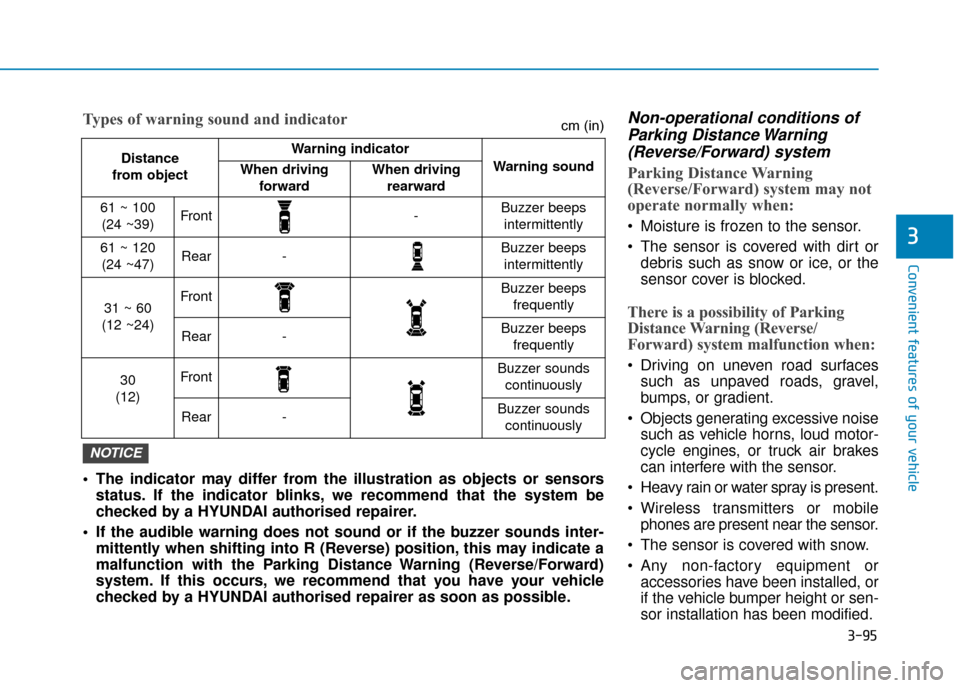
Distance
from object Warning indicator
Warning soundWhen driving forwardWhen driving rearward
61 ~ 100(24 ~39)Front-Buzzer beeps intermittently
61 ~ 120(24 ~47)Rear-Buzzer beeps intermittently
31 ~ 60
(12 ~24)FrontBuzzer beeps frequently
Rear-Buzzer beeps frequently
30
(12)FrontBuzzer sounds continuously
Rear-Buzzer sounds continuously
The indicator may differ from the illustration as objects or sensors status. If the indicator blinks, we recommend that the system be
checked by a HYUNDAI authorised repairer.
If the audible warning does not sound or if the buzzer sounds inter- mittently when shifting into R (Reverse) position, this may indicate a
malfunction with the Parking Distance Warning (Reverse/Forward)
system. If this occurs, we recommend that you have your vehicle
checked by a HYUNDAI authorised repairer as soon as possible.
NOTICE
Types of warning sound and indicatorcm (in)
Page 245 of 526
3-98
Convenient features of your vehicle
A
AU
U T
TO
O M
M A
AT
TI
IC
C
C
C L
LI
IM
M A
AT
TE
E
C
C O
O N
NT
TR
R O
O L
L
S
S Y
Y S
ST
T E
EM
M
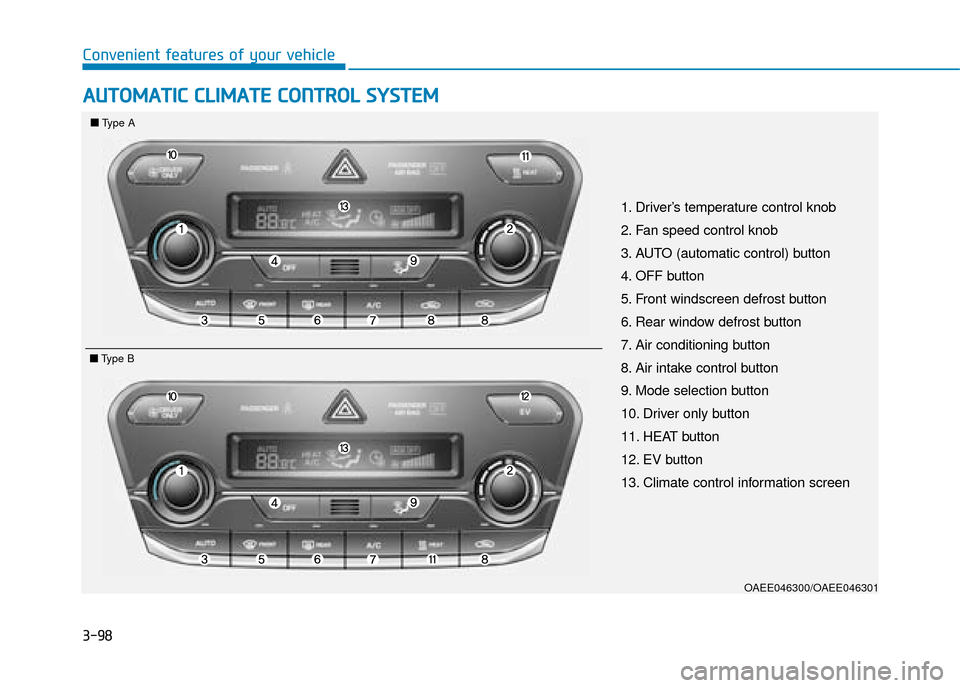
OAEE046300/OAEE046301
1. Driver’s temperature control knob
2. Fan speed control knob
3. AUTO (automatic control) button
4. OFF button
5. Front windscreen defrost button
6. Rear window defrost button
7. Air conditioning button
8. Air intake control button
9. Mode selection button
10. Driver only button
11. HEAT button
12. EV button
13. Climate control information screen
■ ■
Type A
■
■Type B
Page 246 of 526
3-99
Convenient features of your vehicle
3
Automatic heating and air con-
ditioning
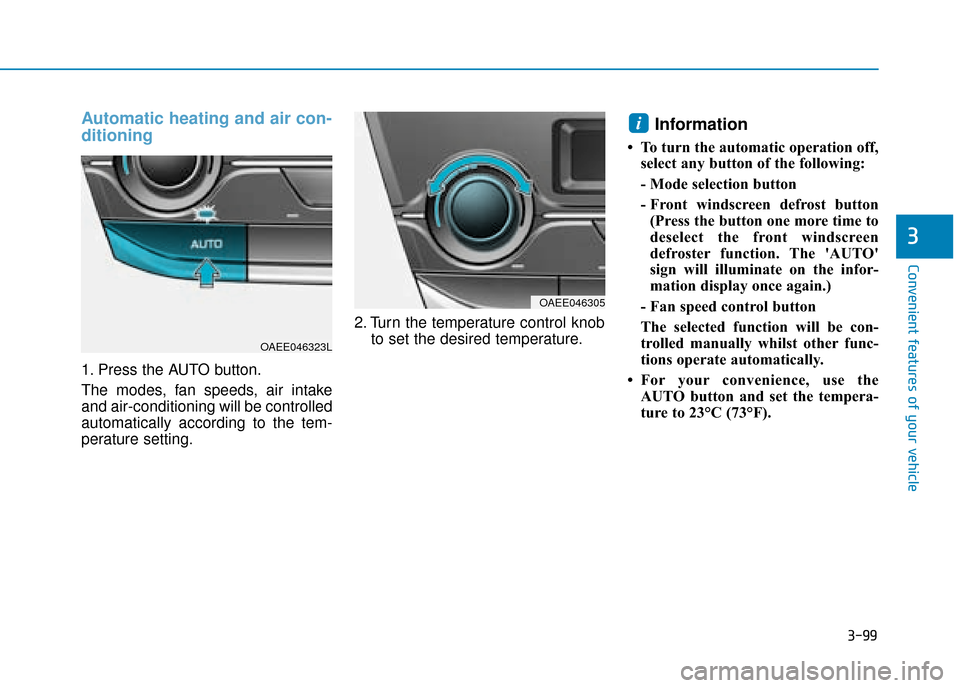
1. Press the AUTO button.
The modes, fan speeds, air intake
and air-conditioning will be controlled
automatically according to the tem-
perature setting.2. Turn the temperature control knob
to set the desired temperature.
Information
• To turn the automatic operation off,select any button of the following:
- Mode selection button
- Front windscreen defrost button(Press the button one more time to
deselect the front windscreen
defroster function. The 'AUTO'
sign will illuminate on the infor-
mation display once again.)
- Fan speed control button
The selected function will be con-
trolled manually whilst other func-
tions operate automatically.
• For your convenience, use the AUTO button and set the tempera-
ture to 23°C (73°F).
i
OAEE046305
OAEE046323L
Page 247 of 526
3-100
Convenient features of your vehicle
Information
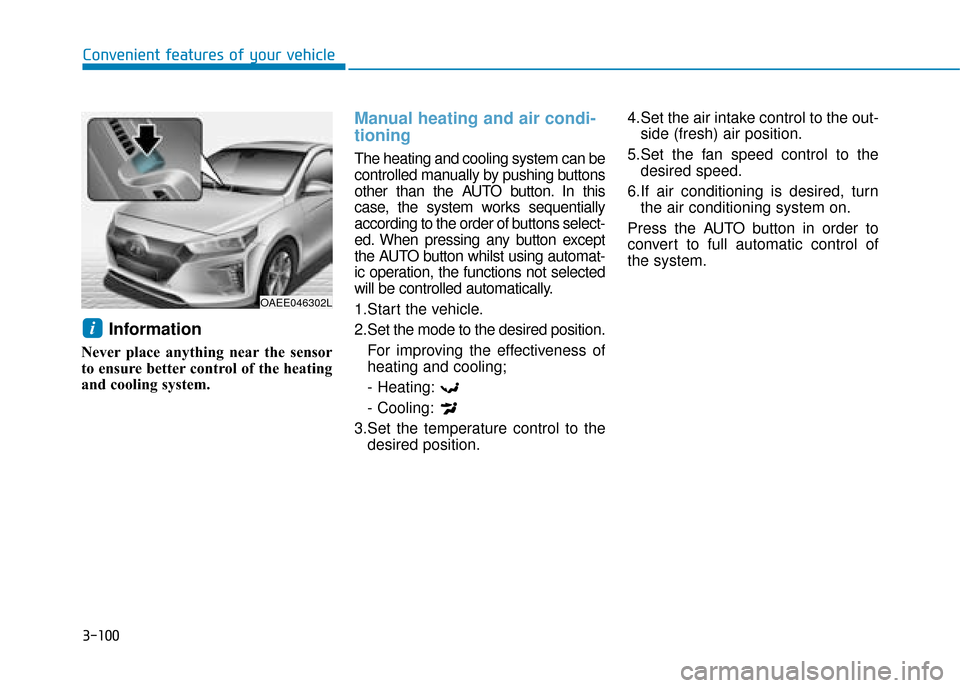
Never place anything near the sensor
to ensure better control of the heating
and cooling system.
Manual heating and air condi-
tioning
The heating and cooling system can be
controlled manually by pushing buttons
other than the AUTO button. In this
case, the system works sequentially
according to the order of buttons select-
ed. When pressing any button except
the AUTO button whilst using automat-
ic operation, the functions not selected
will be controlled automatically.
1.Start the vehicle.
2.Set the mode to the desired position.For improving the effectiveness of
heating and cooling;
- Heating:
- Cooling:
3.Set the temperature control to the desired position. 4.Set the air intake control to the out-
side (fresh) air position.
5.Set the fan speed control to the desired speed.
6.If air conditioning is desired, turn the air conditioning system on.
Press the AUTO button in order to
convert to full automatic control of
the system.
i
OAEE046302L
Page 251 of 526
3-104
Convenient features of your vehicle
Information
Prolonged operation of the heater in
the recirculated air position (without
air conditioning selected) may cause
fogging of the windscreen and side
windows and the air within the passen-
ger compartment may become stale.
In addition, prolonged use of the air
conditioning with the recirculated air
position selected will result in exces-
sively dry air in the passenger com-
partment.
Fan speed control
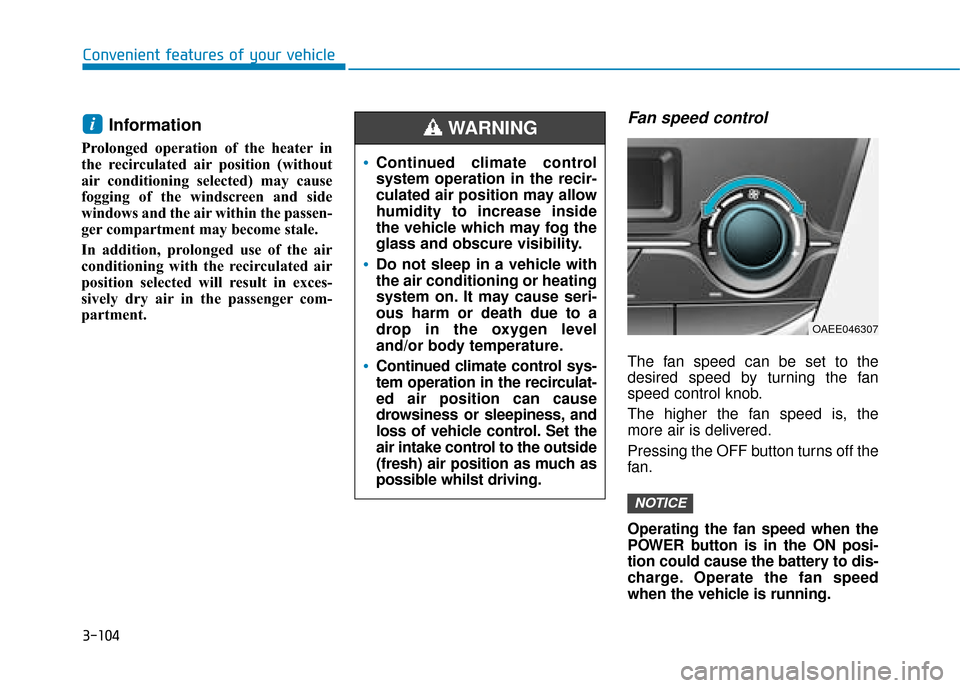
The fan speed can be set to the
desired speed by turning the fan
speed control knob.
The higher the fan speed is, the
more air is delivered.
Pressing the OFF button turns off the
fan.
Operating the fan speed when the
POWER button is in the ON posi-
tion could cause the battery to dis-
charge. Operate the fan speed
when the vehicle is running.
NOTICE
i
Continued climate control
system operation in the recir-
culated air position may allow
humidity to increase inside
the vehicle which may fog the
glass and obscure visibility.
Do not sleep in a vehicle with
the air conditioning or heating
system on. It may cause seri-
ous harm or death due to a
drop in the oxygen level
and/or body temperature.
Continued climate control sys-
tem operation in the recirculat-
ed air position can cause
drowsiness or sleepiness, and
loss of vehicle control. Set the
air intake control to the outside
(fresh) air position as much as
possible whilst driving.
WARNING
OAEE046307
Page 252 of 526
3-105
Convenient features of your vehicle
3
Driver Only
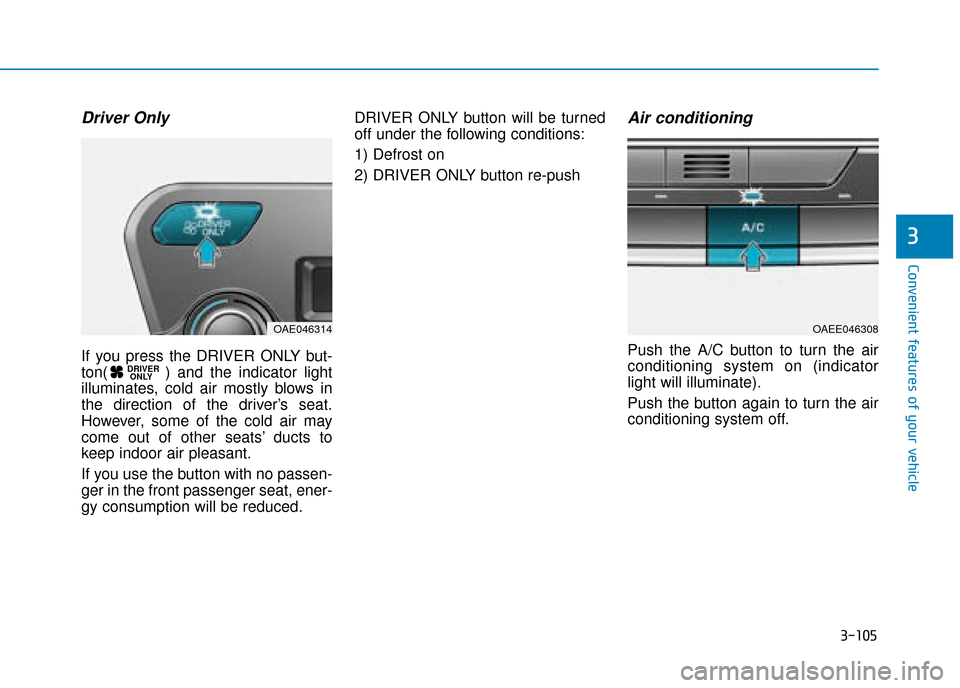
If you press the DRIVER ONLY but-
ton( ) and the indicator light
illuminates, cold air mostly blows in
the direction of the driver’s seat.
However, some of the cold air may
come out of other seats’ ducts to
keep indoor air pleasant.
If you use the button with no passen-
ger in the front passenger seat, ener-
gy consumption will be reduced.DRIVER ONLY button will be turned
off under the following conditions:
1) Defrost on
2) DRIVER ONLY button re-push
Air conditioning
Push the A/C button to turn the air
conditioning system on (indicator
light will illuminate).
Push the button again to turn the air
conditioning system off.
DRIVER
ONLY
OAE046314OAEE046308
Page 253 of 526
3-106
Convenient features of your vehicle
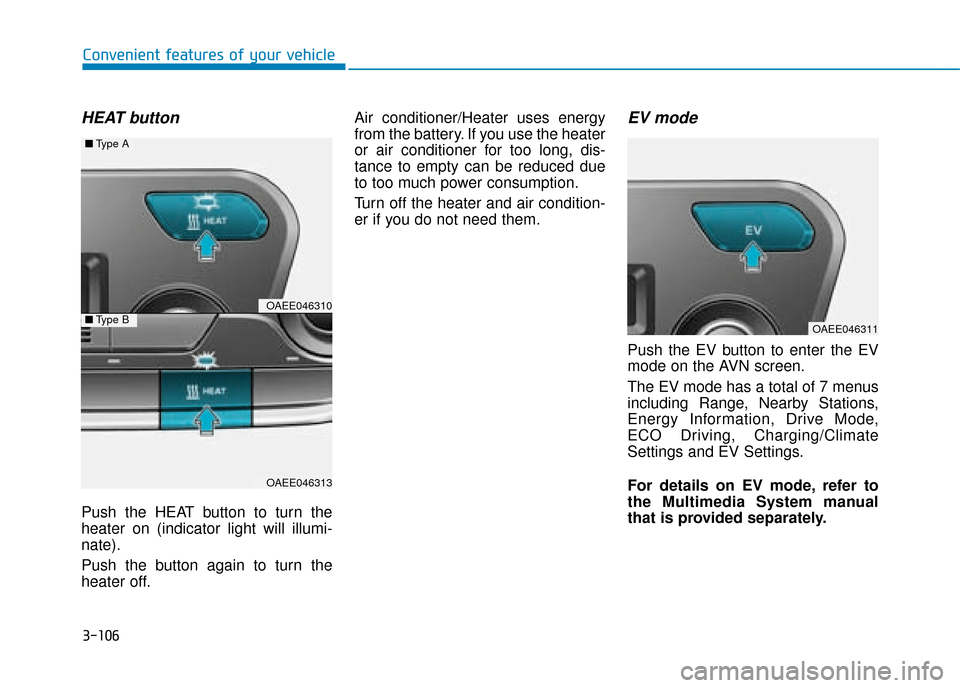
HEAT button
Push the HEAT button to turn the
heater on (indicator light will illumi-
nate).
Push the button again to turn the
heater off.Air conditioner/Heater uses energy
from the battery. If you use the heater
or air conditioner for too long, dis-
tance to empty can be reduced due
to too much power consumption.
Turn off the heater and air condition-
er if you do not need them.
EV mode
Push the EV button to enter the EV
mode on the AVN screen.
The EV mode has a total of 7 menus
including Range, Nearby Stations,
Energy Information, Drive Mode,
ECO Driving, Charging/Climate
Settings and EV Settings.
For details on EV mode, refer to
the Multimedia System manual
that is provided separately.
OAEE046310
OAEE046313
■
Type A
■Type BOAEE046311
Page 254 of 526
3-107
Convenient features of your vehicle
3
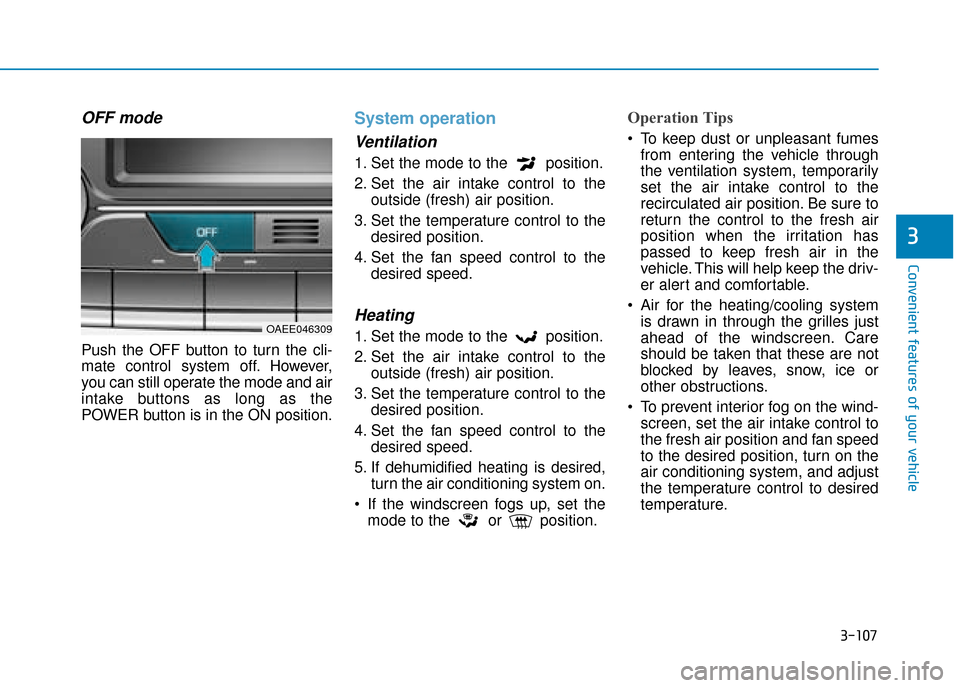
OFF mode
Push the OFF button to turn the cli-
mate control system off. However,
you can still operate the mode and air
intake buttons as long as the
POWER button is in the ON position.
System operation
Ventilation
1. Set the mode to the position.
2. Set the air intake control to theoutside (fresh) air position.
3. Set the temperature control to the desired position.
4. Set the fan speed control to the desired speed.
Heating
1. Set the mode to the position.
2. Set the air intake control to theoutside (fresh) air position.
3. Set the temperature control to the desired position.
4. Set the fan speed control to the desired speed.
5. If dehumidified heating is desired, turn the air conditioning system on.
If the windscreen fogs up, set the mode to the or position.
Operation Tips
To keep dust or unpleasant fumesfrom entering the vehicle through
the ventilation system, temporarily
set the air intake control to the
recirculated air position. Be sure to
return the control to the fresh air
position when the irritation has
passed to keep fresh air in the
vehicle. This will help keep the driv-
er alert and comfortable.
Air for the heating/cooling system is drawn in through the grilles just
ahead of the windscreen. Care
should be taken that these are not
blocked by leaves, snow, ice or
other obstructions.
To prevent interior fog on the wind- screen, set the air intake control to
the fresh air position and fan speed
to the desired position, turn on the
air conditioning system, and adjust
the temperature control to desired
temperature.
OAEE046309