battery HYUNDAI IX35 2014 User Guide
[x] Cancel search | Manufacturer: HYUNDAI, Model Year: 2014, Model line: IX35, Model: HYUNDAI IX35 2014Pages: 1534, PDF Size: 39.76 MB
Page 145 of 1534
473
Features of your vehicle
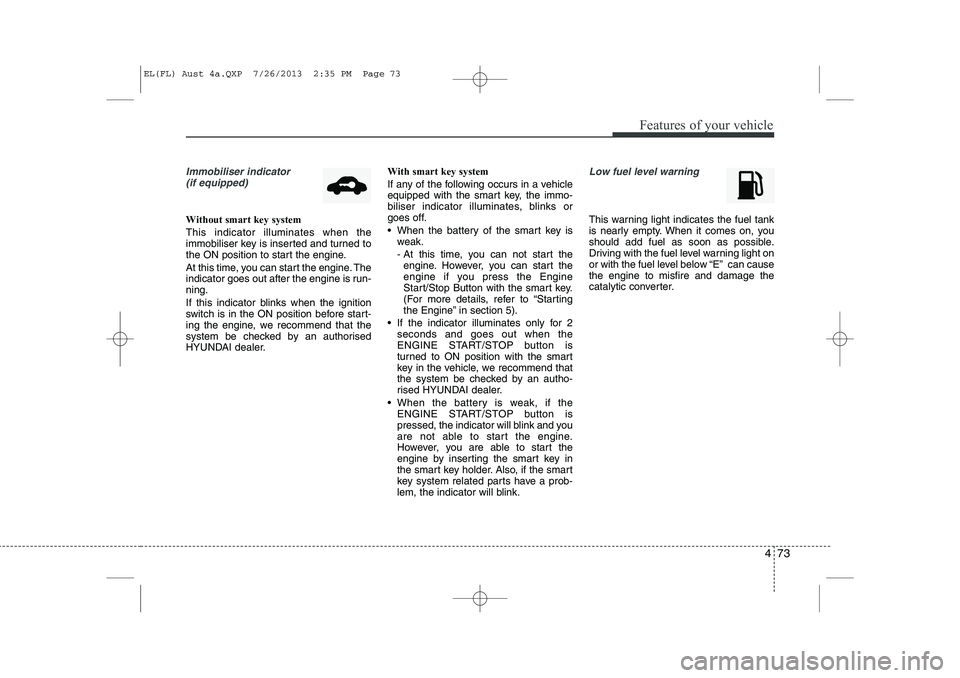
Immobiliser indicator (if equipped)
Without smart key system This indicator illuminates when the
immobiliser key is inserted and turned to
the ON position to start the engine.
At this time, you can start the engine. The
indicator goes out after the engine is run-ning.
If this indicator blinks when the ignition
switch is in the ON position before start-
ing the engine, we recommend that the
system be checked by an authorised
HYUNDAI dealer. With smart key system
If any of the following occurs in a vehicle
equipped with the smart key, the immo-
biliser indicator illuminates, blinks or
goes off.
When the battery of the smart key is
weak.
- At this time, you can not start theengine. However, you can start the
engine if you press the Engine
Start/Stop Button with the smart key.
(For more details, refer to “Starting
the Engine” in section 5).
If the indicator illuminates only for 2 seconds and goes out when the
ENGINE START/STOP button is
turned to ON position with the smart
key in the vehicle, we recommend that
the system be checked by an autho-
rised HYUNDAI dealer.
When the battery is weak, if the ENGINE START/STOP button is
pressed, the indicator will blink and you
are not able to start the engine.
However, you are able to start the
engine by inserting the smart key in
the smart key holder. Also, if the smart
key system related parts have a prob-
lem, the indicator will blink.
Low fuel level warning
This warning light indicates the fuel tank
is nearly empty. When it comes on, you
should add fuel as soon as possible.
Driving with the fuel level warning light on
or with the fuel level below “E” can causethe engine to misfire and damage the
catalytic converter.
EL(FL) Aust 4a.QXP 7/26/2013 2:35 PM Page 73
Page 149 of 1534
477
Features of your vehicle
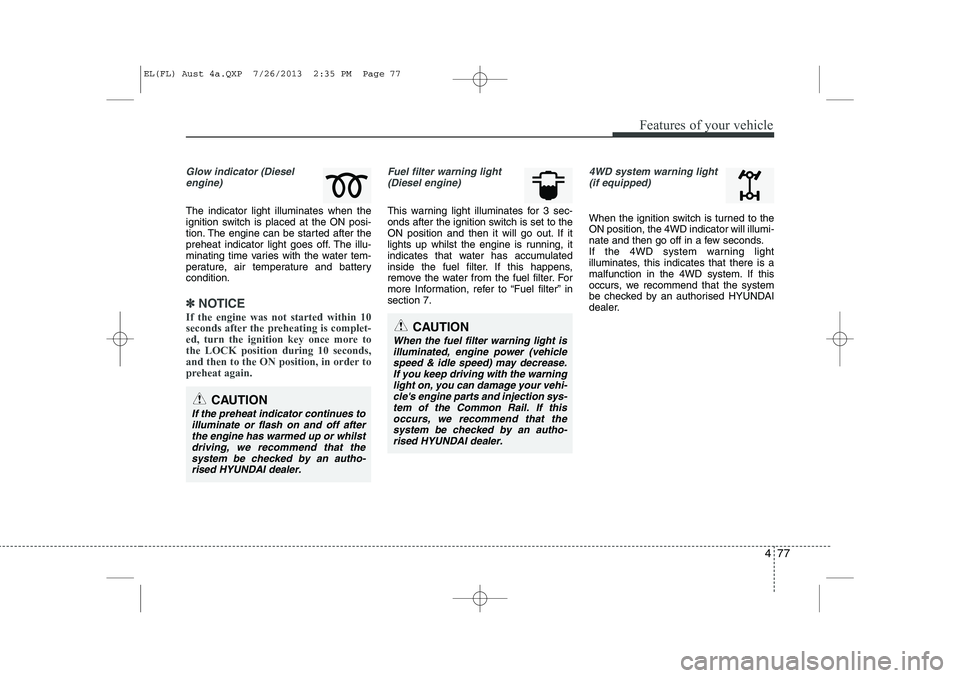
Glow indicator (Dieselengine)
The indicator light illuminates when the
ignition switch is placed at the ON posi-
tion. The engine can be started after the
preheat indicator light goes off. The illu-
minating time varies with the water tem-
perature, air temperature and batterycondition.
✽✽ NOTICE
If the engine was not started within 10
seconds after the preheating is complet-
ed, turn the ignition key once more tothe LOCK position during 10 seconds,
and then to the ON position, in order to
preheat again.
Fuel filter warning light (Diesel engine)
This warning light illuminates for 3 sec-
onds after the ignition switch is set to the
ON position and then it will go out. If it
lights up whilst the engine is running, it
indicates that water has accumulated
inside the fuel filter. If this happens,
remove the water from the fuel filter. For
more Information, refer to “Fuel filter” insection 7.
4WD system warning light (if equipped)
When the ignition switch is turned to the ON position, the 4WD indicator will illumi-
nate and then go off in a few seconds.
If the 4WD system warning light
illuminates, this indicates that there is a
malfunction in the 4WD system. If this
occurs, we recommend that the system
be checked by an authorised HYUNDAI
dealer.
CAUTION
When the fuel filter warning light is
illuminated, engine power (vehiclespeed & idle speed) may decrease. If you keep driving with the warning
light on, you can damage your vehi- cle's engine parts and injection sys-tem of the Common Rail. If this occurs, we recommend that thesystem be checked by an autho-
rised HYUNDAI dealer.
CAUTION
If the preheat indicator continues to illuminate or flash on and off after
the engine has warmed up or whilstdriving, we recommend that thesystem be checked by an autho- rised HYUNDAI dealer.
EL(FL) Aust 4a.QXP 7/26/2013 2:35 PM Page 77
Page 160 of 1534
Features of your vehicle
88
4
Battery saver function
The purpose of this feature is to pre-
vent the battery from being dis-
charged. The system automatically
turns off the parking lights when the
driver removes the ignition key and
opens the driver- side door.
With this feature, the parking lights will be turned off automatically if the driver
parks on the side of road at night.
If necessary, to keep the lights on
when the ignition key is removed, per-
form the following :
1) Open the driver-side door.
2) Turn the parking lights OFF and ON again using the light switch on the
steering column. Headlight escort function (if equipped) The headlights (and/or taillights) remain
on for approximately 5 minutes after the
ignition key is removed or turned to the
ACC or LOCK position. However, if the
driver’s door is opened and closed, the
headlights are turned off after 15 sec-
onds.
The headlights can be turned off by
pressing the lock button on the transmit-
ter (or smart key) twice or turning off the
light switch from the headlight or Autolight position.
Headlight welcome function (if equipped)
When the headlight switch is in the ON or
AUTO position and all doors (and tail-
gate) are closed and locked, if you press
the door unlock button on the transmitter
(or smart key), the headlights will come
on for about 15 seconds.
If the headlight switch is in the AUTO
position, the function can only operate atnight.
At this time, if you press the door unlock
button again or door lock button on the
transmitter (or smart key), the headlights
will turn off immediately.
LIGHTING
CAUTION
If the driver gets out of the vehicle
through other doors (except dri- ver’s door), the battery saver func-tion does not operate and the head-
light escort function does not turnoff automatically. Therefore, it caus- es the battery to be discharged. Inthis case, make sure to turn off the
lamp before getting out of the vehi- cle.
EL(FL) Aust 4a.QXP 7/26/2013 2:35 PM Page 88
Page 162 of 1534
Features of your vehicle
90
4
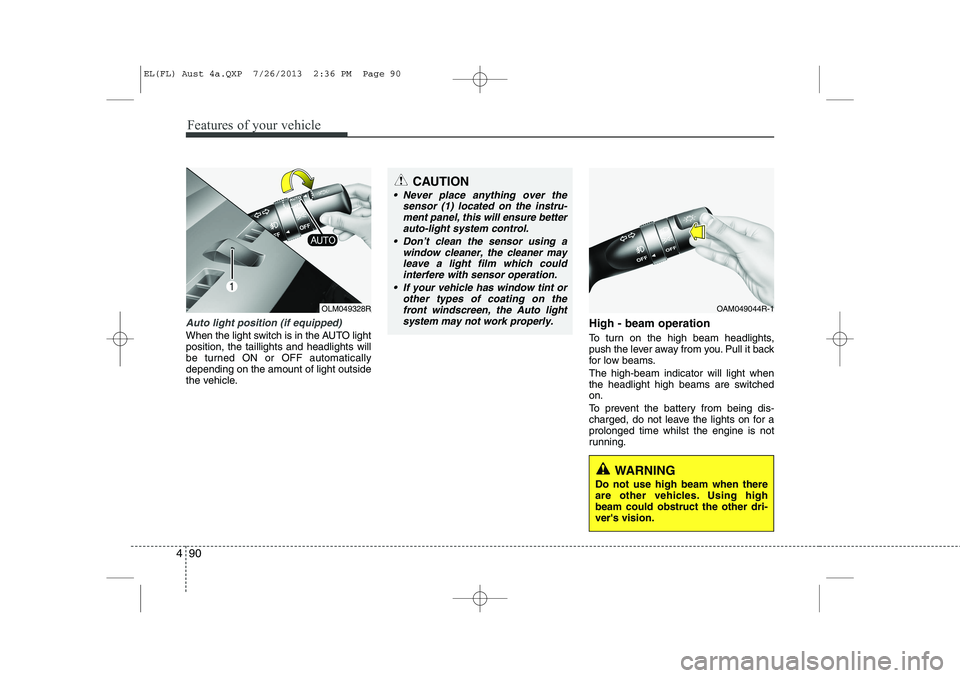
Auto light position (if equipped)
When the light switch is in the AUTO light position, the taillights and headlights will
be turned ON or OFF automaticallydepending on the amount of light outside
the vehicle. High - beam operation
To turn on the high beam headlights,
push the lever away from you. Pull it back
for low beams. The high-beam indicator will light when
the headlight high beams are switchedon.
To prevent the battery from being dis-
charged, do not leave the lights on for aprolonged time whilst the engine is not
running.
CAUTION
Never place anything over the
sensor (1) located on the instru-
ment panel, this will ensure better auto-light system control.
Don’t clean the sensor using a window cleaner, the cleaner may
leave a light film which could interfere with sensor operation.
If your vehicle has window tint or other types of coating on thefront windscreen, the Auto light
system may not work properly.
WARNING
Do not use high beam when there
are other vehicles. Using highbeam could obstruct the other dri-ver's vision.
OAM049044R-1OLM049328R
EL(FL) Aust 4a.QXP 7/26/2013 2:36 PM Page 90
Page 171 of 1534
499
Features of your vehicle
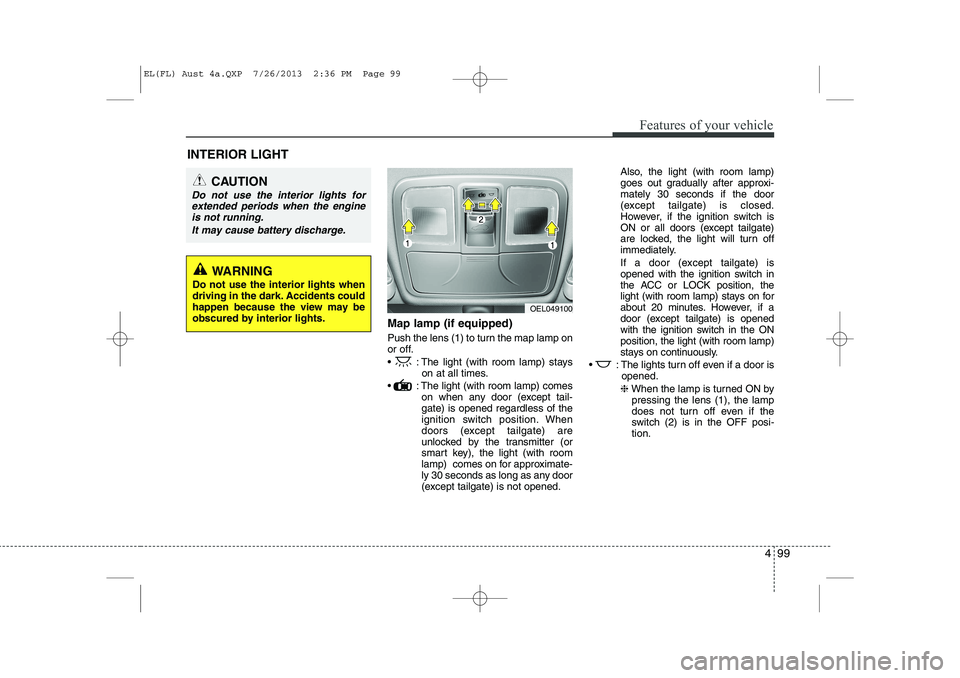
Map lamp (if equipped)
Push the lens (1) to turn the map lamp on
or off.
: The light (with room lamp) stayson at all times.
: The light (with room lamp) comes on when any door (except tail- gate) is opened regardless of the
ignition switch position. When
doors (except tailgate) are
unlocked by the transmitter (or
smart key), the light (with room
lamp) comes on for approximate-
ly 30 seconds as long as any door
(except tailgate) is not opened. Also, the light (with room lamp)
goes out gradually after approxi-mately 30 seconds if the door
(except tailgate) is closed.
However, if the ignition switch is
ON or all doors (except tailgate)
are locked, the light will turn off
immediately.
If a door (except tailgate) is
opened with the ignition switch in
the ACC or LOCK position, the
light (with room lamp) stays on for
about 20 minutes. However, if a
door (except tailgate) is opened
with the ignition switch in the ONposition, the light (with room lamp)
stays on continuously.
: The lights turn off even if a door is opened.
❈ When the lamp is turned ON by
pressing the lens (1), the lamp
does not turn off even if the
switch (2) is in the OFF posi-tion.
INTERIOR LIGHT
CAUTION
Do not use the interior lights for
extended periods when the engine
is not running.
It may cause battery discharge.
OEL049100
WARNING
Do not use the interior lights when
driving in the dark. Accidents could
happen because the view may be
obscured by interior lights.
EL(FL) Aust 4a.QXP 7/26/2013 2:36 PM Page 99
Page 172 of 1534
Features of your vehicle
100
4
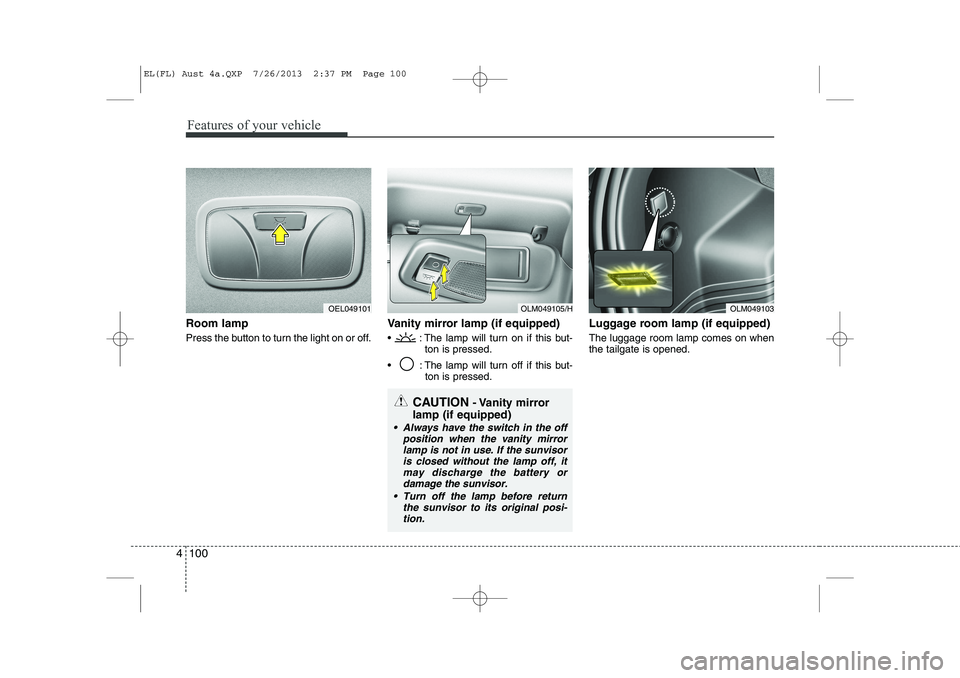
Room lamp
Press the button to turn the light on or off. Vanity mirror lamp (if equipped)
: The lamp will turn on if this but-
ton is pressed.
: The lamp will turn off if this but- ton is pressed. Luggage room lamp (if equipped)The luggage room lamp comes on when the tailgate is opened.
OLM049105/HOLM049103OEL049101
CAUTION
- Vanity mirror
lamp (if equipped)
Always have the switch in the off position when the vanity mirrorlamp is not in use. If the sunvisor is closed without the lamp off, it
may discharge the battery or damage the sunvisor.
Turn off the lamp before return the sunvisor to its original posi-tion.
EL(FL) Aust 4a.QXP 7/26/2013 2:37 PM Page 100
Page 189 of 1534
4 117
Features of your vehicle
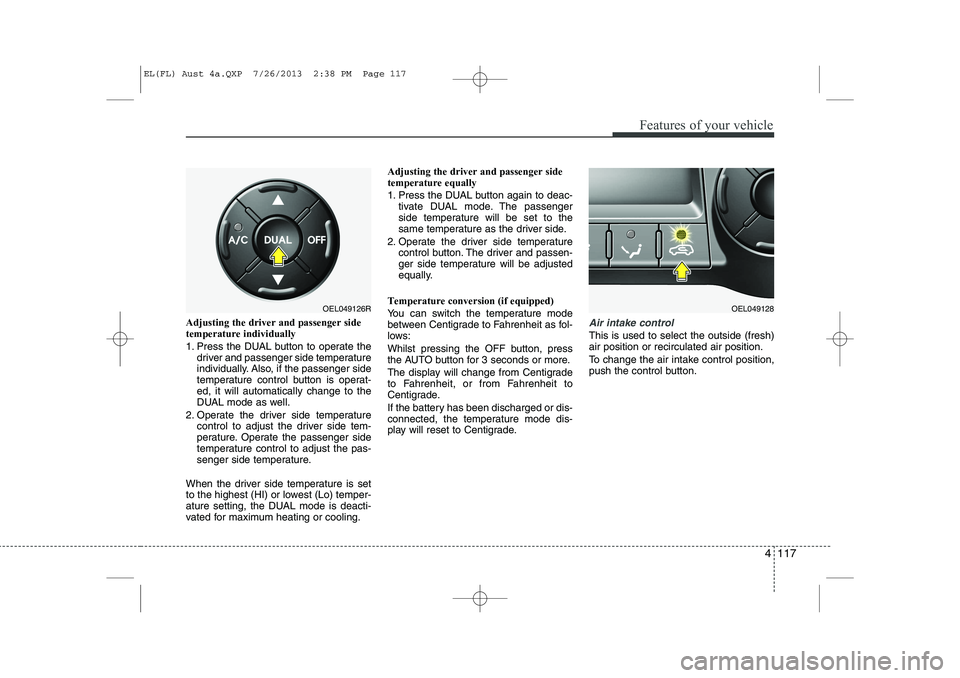
Adjusting the driver and passenger side temperature individually
1. Press the DUAL button to operate thedriver and passenger side temperature
individually. Also, if the passenger side
temperature control button is operat-ed, it will automatically change to the
DUAL mode as well.
2. Operate the driver side temperature control to adjust the driver side tem-
perature. Operate the passenger side
temperature control to adjust the pas-
senger side temperature.
When the driver side temperature is set
to the highest (HI) or lowest (Lo) temper-
ature setting, the DUAL mode is deacti-
vated for maximum heating or cooling. Adjusting the driver and passenger sidetemperature equally
1. Press the DUAL button again to deac-
tivate DUAL mode. The passenger
side temperature will be set to the
same temperature as the driver side.
2. Operate the driver side temperature control button. The driver and passen-
ger side temperature will be adjusted
equally.
Temperature conversion (if equipped)
You can switch the temperature mode
between Centigrade to Fahrenheit as fol-
lows:
Whilst pressing the OFF button, press
the AUTO button for 3 seconds or more.
The display will change from Centigrade
to Fahrenheit, or from Fahrenheit to
Centigrade.
If the battery has been discharged or dis-
connected, the temperature mode dis-
play will reset to Centigrade.Air intake control
This is used to select the outside (fresh) air position or recirculated air position.
To change the air intake control position,
push the control button.
OEL049126ROEL049128
EL(FL) Aust 4a.QXP 7/26/2013 2:38 PM Page 117
Page 200 of 1534
Features of your vehicle
128
4
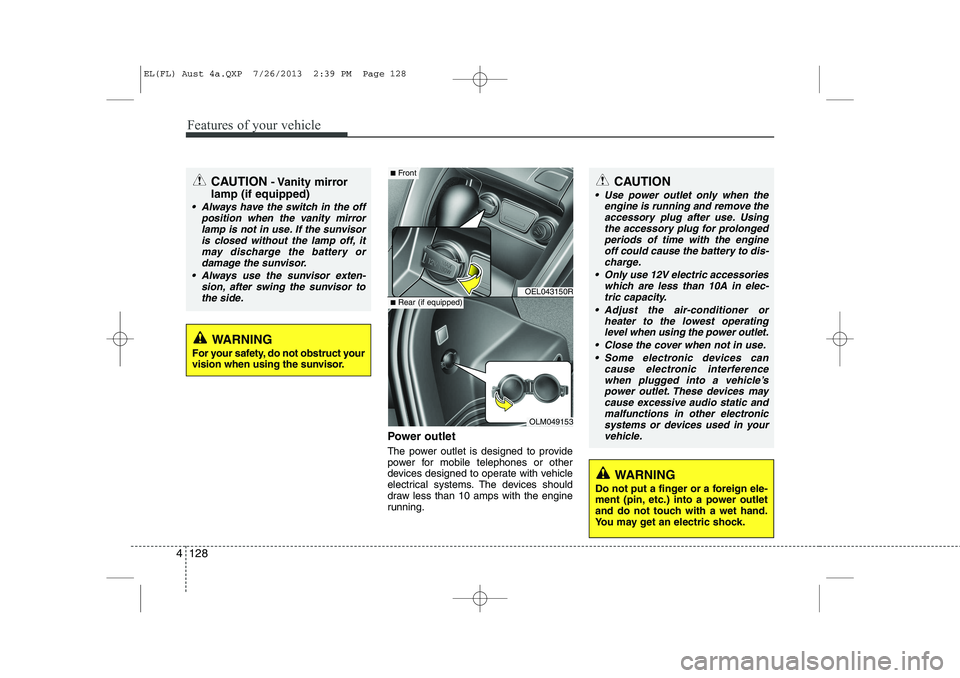
Power outlet
The power outlet is designed to provide
power for mobile telephones or other
devices designed to operate with vehicle
electrical systems. The devices should
draw less than 10 amps with the engine
running.
CAUTION - Vanity mirror
lamp (if equipped)
Always have the switch in the off position when the vanity mirror
lamp is not in use. If the sunvisoris closed without the lamp off, itmay discharge the battery or damage the sunvisor.
Always use the sunvisor exten- sion, after swing the sunvisor tothe side.
OEL043150R
OLM049153
■ Front
■Rear (if equipped)
CAUTION
Use power outlet only when the
engine is running and remove the
accessory plug after use. Using the accessory plug for prolongedperiods of time with the engineoff could cause the battery to dis-
charge.
Only use 12V electric accessories which are less than 10A in elec-tric capacity.
Adjust the air-conditioner or heater to the lowest operatinglevel when using the power outlet.
Close the cover when not in use. Some electronic devices can cause electronic interference
when plugged into a vehicle’s power outlet. These devices maycause excessive audio static and malfunctions in other electronic
systems or devices used in yourvehicle.
WARNING
Do not put a finger or a foreign ele-
ment (pin, etc.) into a power outlet
and do not touch with a wet hand.
You may get an electric shock.
WARNING
For your safety, do not obstruct your
vision when using the sunvisor.
EL(FL) Aust 4a.QXP 7/26/2013 2:39 PM Page 128
Page 201 of 1534
4 129
Features of your vehicle
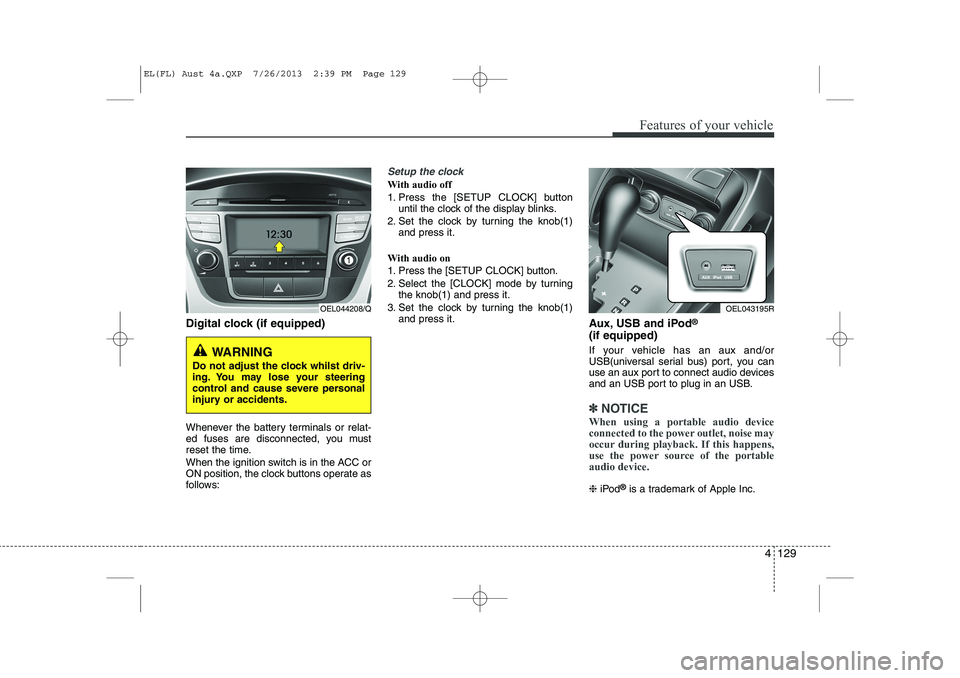
Digital clock (if equipped)
Whenever the battery terminals or relat-
ed fuses are disconnected, you must
reset the time.
When the ignition switch is in the ACC or
ON position, the clock buttons operate as
follows:
Setup the clock
With audio off
1. Press the [SETUP CLOCK] buttonuntil the clock of the display blinks.
2. Set the clock by turning the knob(1) and press it.
With audio on
1. Press the [SETUP CLOCK] button.
2. Select the [CLOCK] mode by turning the knob(1) and press it.
3. Set the clock by turning the knob(1) and press it. Aux, USB and iPod®
(if equipped)
If your vehicle has an aux and/or
USB(universal serial bus) port, you can
use an aux port to connect audio devices
and an USB port to plug in an USB.
✽✽ NOTICE
When using a portable audio device
connected to the power outlet, noise may
occur during playback. If this happens,
use the power source of the portableaudio device.
❈ iPod ®
is a trademark of Apple Inc.
OEL044208/Q
WARNING
Do not adjust the clock whilst driv-
ing. You may lose your steering
control and cause severe personal
injury or accidents.
OEL043195R
EL(FL) Aust 4a.QXP 7/26/2013 2:39 PM Page 129
Page 211 of 1534
Driving your vehicle
6
5
Ignition switch position
LOCK
The steering wheel locks to protect
against theft. The ignition key can be
removed only in the LOCK position.
When turning the ignition switch to the
LOCK position, push the key inward at
the ACC position and turn the key towardthe LOCK position.
ACC (Accessory)
The steering wheel is unlocked and elec-
trical accessories are operative.
✽✽
NOTICE
If difficulty is experienced turning the
ignition switch to the ACC position, turnthe key whilst turning the steering wheel
right and left to release the tension.
ON
The warning lights can be checked
before the engine is started. This is the
normal running position after the engine
is started.
Do not leave the ignition switch ON if the engine is not running to prevent battery discharge.
START
Turn the ignition key to the START posi-
tion to start the engine. The engine will
crank until you release the key; then it
returns to the ON position. The brake
warning lamp can be checked in thisposition.
WARNING - Ignition key
Never turn the ignition switch to LOCK or ACC whilst the vehicle is
moving. This would result in loss
of directional control and braking
function, which could cause anaccident.
The anti-theft steering column lock is not a substitute for the parking
brake. Before leaving the driver’s
seat, always make sure the shift
lever is engaged in 1 st
gear for the
manual transaxle or P (Park) for
the automatic transaxle, set the
parking brake fully and shut the
engine off. Unexpected and sud-
den vehicle movement may occurif these precautions are not taken.
Never reach for the ignition switch, or any other controls through the
steering wheel whilst the vehicle is
in motion. The presence of yourhand or arm in this area could
cause a loss of vehicle control, an
accident and serious bodily injuryor death.
Do not place any movable objects around the driver’s seat as they
may move whilst driving, interferewith the driver and lead to an acci-dent.
EL(FL) Aust 5.QXP 7/26/2013 2:08 PM Page 6