headlights Hyundai Matrix 2004 User Guide
[x] Cancel search | Manufacturer: HYUNDAI, Model Year: 2004, Model line: Matrix, Model: Hyundai Matrix 2004Pages: 317, PDF Size: 5.12 MB
Page 224 of 317

CONTROLS AND EQUIPMENT
1- 42 SB330A1-E SUNROOF (Not all models)
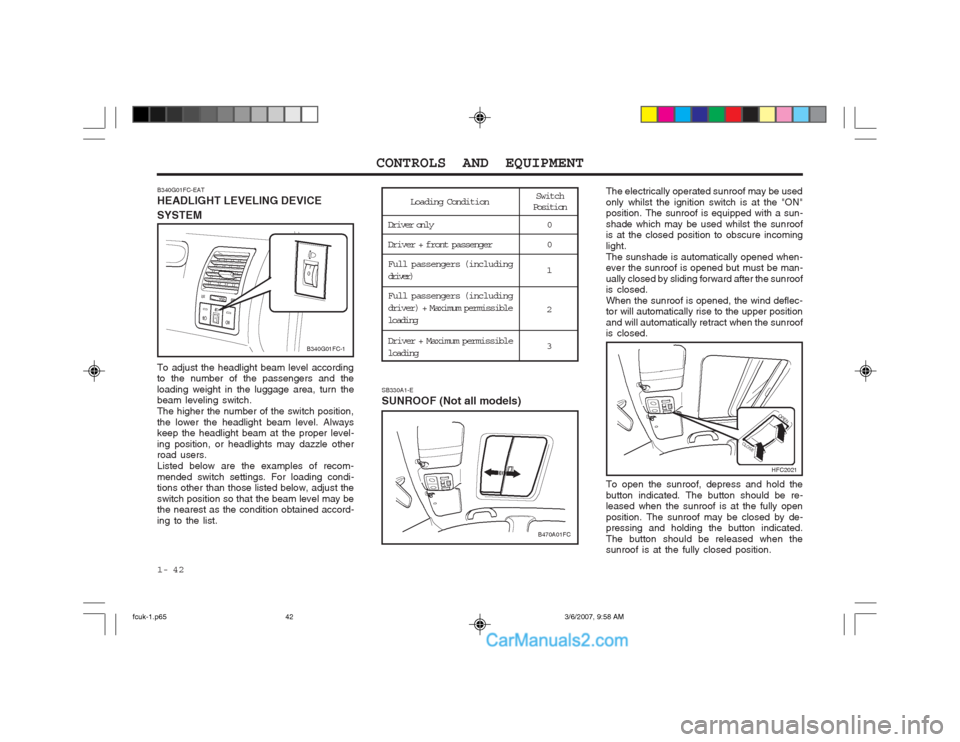
To adjust the headlight beam level according to the number of the passengers and the loading weight in the luggage area, turn the beam leveling switch. The higher the number of the switch position,the lower the headlight beam level. Always keep the headlight beam at the proper level- ing position, or headlights may dazzle other road users. Listed below are the examples of recom-mended switch settings. For loading condi- tions other than those listed below, adjust the
switch position so that the beam level may be the nearest as the condition obtained accord- ing to the list.
Switch
PositionLoading Condition
Driver only
Driver + front passenger Full passengers (including driver)
Full passengers (including
driver) + Maximum permissibleloading Driver + Maximum permissible
loading 0 0 1 2 3
B340G01FC-EAT HEADLIGHT LEVELING DEVICE SYSTEM
The electrically operated sunroof may be used only whilst the ignition switch is at the "ON" position. The sunroof is equipped with a sun- shade which may be used whilst the sunroof is at the closed position to obscure incoming light.The sunshade is automatically opened when- ever the sunroof is opened but must be man- ually closed by sliding forward after the sunroof is closed. When the sunroof is opened, the wind deflec- tor will automatically rise to the upper position and will automatically retract when the sunroof is closed. To open the sunroof, depress and hold the button indicated. The button should be re- leased when the sunroof is at the fully open position. The sunroof may be closed by de- pressing and holding the button indicated. The button should be released when the sunroof is at the fully closed position.
HFC2021
B470A01FC
B340G01FC-1
fcuk-1.p65
3/6/2007, 9:58 AM
42
Page 229 of 317

1- 47
CONTROLS AND EQUIPMENT
SB380A1-E PARKING BRAKE The parking brake must always be set when the vehicle is to be left unattended. When the parking brake is applied, and the ignition key is at the "ON" position, the parking brake warning light will be illuminated. Before driving the vehicle, the parking brake must be fully released and the warning light extinguished.
o To set the parking brake, apply the foot brake and pull the parking brake lever up with the button depressed. Release the button when the brake is fully applied.
o To release the parking brake, apply the foot brake and pull up the parking brakelever slightly. Depress the button and lower the lever.
SB370A1-E INTERIOR REAR VIEW MIRROR The interior mirror is of the day/night type to enable the glare of headlights from following vehicles to be eliminated during night time driving. The tab located at the bottom of the mirrorshould be set to the position nearest the windscreen for normal day time driving, and flipped towards the rear of the vehicle to eliminate glare during night time driving. To adjust the field of vision, the mirror may be moved by hand upon the mounting. NOTE: The mirror should always be adjusted prior to setting the vehicle in motion.
B530A01FC-DB550A01FC
B520A01E
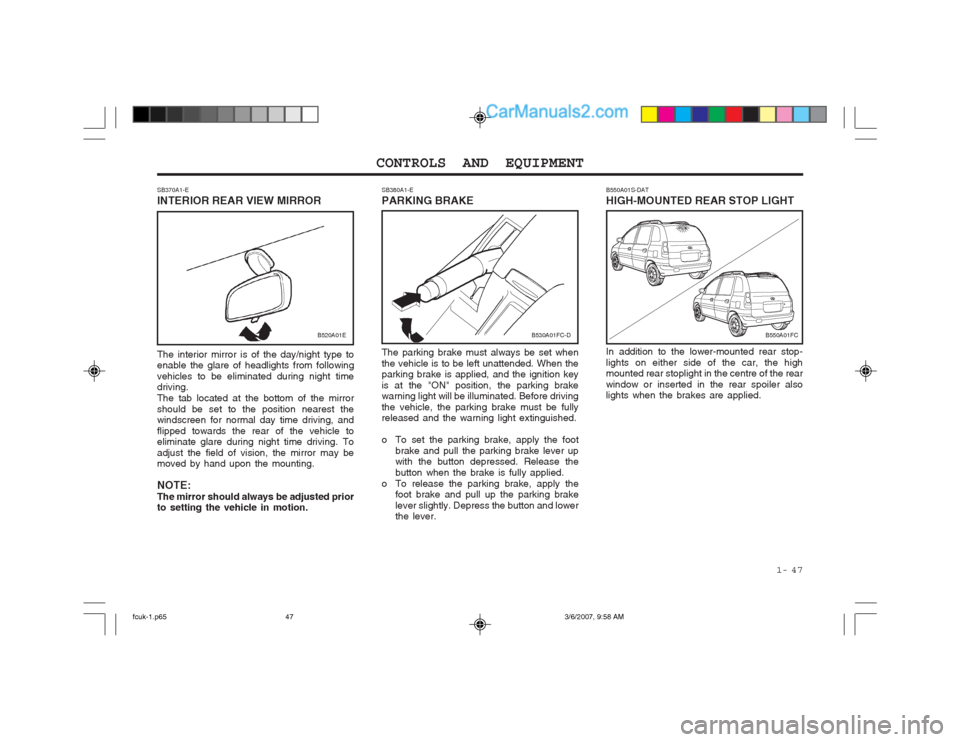
B550A01S-DAT HIGH-MOUNTED REAR STOP LIGHT In addition to the lower-mounted rear stop-
lights on either side of the car, the high mounted rear stoplight in the centre of the rear window or inserted in the rear spoiler also
lights when the brakes are applied.
fcuk-1.p65 3/6/2007, 9:58 AM
47
Page 301 of 317

OWNER MAINTENANCE 6-23
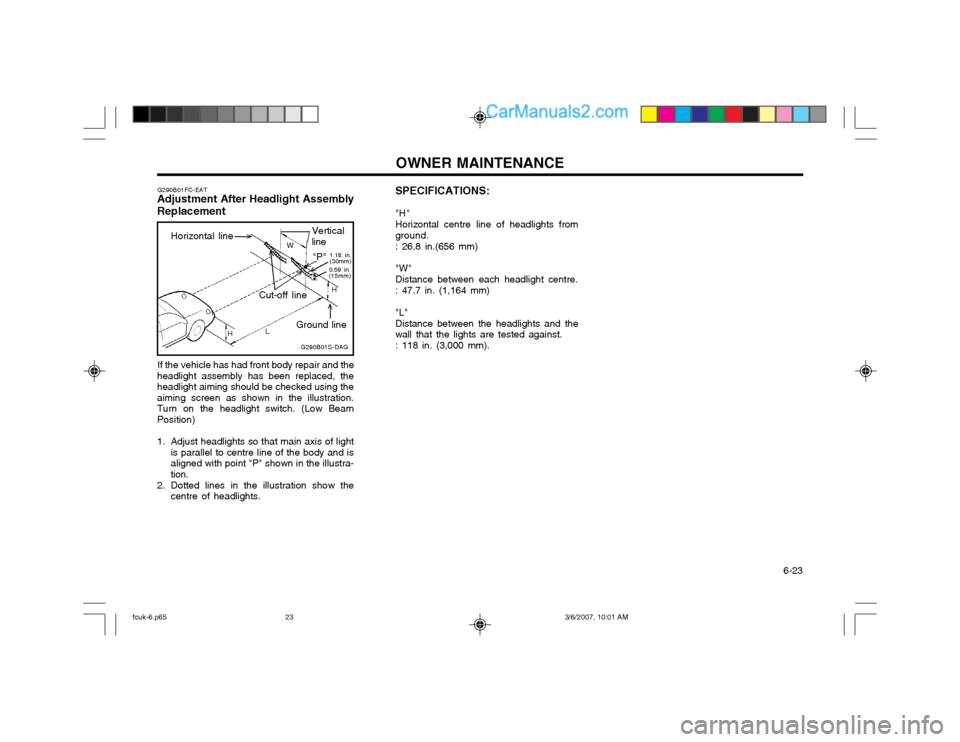
SPECIFICATIONS: "H" Horizontal centre line of headlights from ground. : 26.8 in.(656 mm) "W" Distance between each headlight centre.: 47.7 in. (1,164 mm) "L" Distance between the headlights and thewall that the lights are tested against. : 118 in. (3,000 mm).
G290B01FC-EAT
Adjustment After Headlight Assembly Replacement
Horizontal line
If the vehicle has had front body repair and the
headlight assembly has been replaced, the headlight aiming should be checked using theaiming screen as shown in the illustration.Turn on the headlight switch. (Low BeamPosition)
1. Adjust headlights so that main axis of light is parallel to centre line of the body and is aligned with point "P" shown in the illustra-tion.
2. Dotted lines in the illustration show the centre of headlights. G290B01S-DAGVertical line
W
0.59 in. (15mm)"P" 1.18 in. (30mm)
Cut-off line
Ground line H
H L
fcuk-6.p65
3/6/2007, 10:01 AM
23