display Hyundai Palisade 2020 User Guide
[x] Cancel search | Manufacturer: HYUNDAI, Model Year: 2020, Model line: Palisade, Model: Hyundai Palisade 2020Pages: 611, PDF Size: 18.86 MB
Page 124 of 611
3-28
Convenient features of your vehicle
Recalling Positions from
Memory
1. Shift to P (Park) while the ignitionswitch is in the ON position.
2. Press the desired memory button (1 or 2). The system will beep
once, and then the driver's seat
position, side view mirror position,
instrument panel illumination
intensity and head-up display
height/brightness will automatical-
ly adjust to the stored positions.
3. "Driver 1 (or 2) settings applied" will appear on the cluster LCD dis-
play.
Information
• While recalling the "1" memoryposition, pressing the SET or 1 but-
ton temporarily stops the adjust-
ment of the recalled memory posi-
tion. Pressing the 2 button recalls
the "2" memory position.
• While recalling the "2" memory position, pressing the SET or 2 but-
ton temporarily stops the adjust-
ment of the recalled memory posi-
tion. Pressing the 1 button recalls
the "1" memory position. • While recalling the stored positions,
pressing one of the control buttons
for the driver's seat, side view mir-
ror, instrument panel illumination
or head-up display will cause the
movement of that component to stop
and move in the direction that the
control button is pressed.
Resetting the Driver's Seat
Memory System
Take the following procedures to reset
the driver's seat memory system,
when it does not operate properly.
To reset the driver's seat memo-ry system
1. Place the ignition switch to the ON
position, shift to P (Park), and
open the driver's door.
2. Operate the control switch to set the driver's seat and seatback to
the foremost position.
3. Simultaneously press the SET button and push forward the seat
movement switch over 2 seconds.
While resetting the driver's seatmemory system
1. It starts with the notification sound.
2. The driver's seat and seatback is
adjusted to the rearward position
with the notification sound.
3. The driver's seat and seatback is re-adjusted to the default position
(central position) with the notifica-
tion sound.
However, in the following cases, the
resetting procedure and the notifica-
tion sound may stop.
- The memory button is pressed.
- The control switch is operated.
- The driving speed exceeds 2 mph (3 km/h).
- The driver's door is closed.
i
Page 125 of 611
3-29
Convenient features of your vehicle
3
Reattempt to do the resettingprocedure again, when the
resetting procedure incomplete-
ly stops or the notification
sound do not stop.
Make sure that there is no obsta- cle around the driver's seat in
advance of resetting the driver's
seat memory system.
Easy Access Function
The system will move the driver's
seat automatically as follows:
With remote key
- It will move the driver's seat rear-ward and downward when the igni-
tion key is removed.
- It will move the driver's seat for- ward and upward when the ignition
key is inserted.
With smart key
- It will move the driver's seat rear- ward and downward when the
Engine Start/Stop button is
pressed to the OFF position.
- It will move the driver's seat forward and upward when the Engine
Start/Stop button is pressed to the
ACC or START position.
You can activate or deactivate the
Easy Access Function from the User
Settings mode in the cluster LCD dis-
play.
'Convenience →Seat Slide Easy
Access →Off/Normal/Extended'.
'Convenience →Seat Height Easy
Access'. ❈
"Seat (upward/downward) Easy
Access" function may not operate
below the specific seat height for
preventing injury of the passenger.
For more details, refer to "LCD
Display" in this chapter.
NOTICE
Driver should be cautious when
using this function to assure no
injury to passenger or child in
the back seat. In case of emer-
gency the driver has to stop
movement of front seat (when
easy access feature is activat-
ed) by pressing SET button or
any of the driver seat control
switches.
CAUTION
If the reset is failed, initialize
the system once again.
Initialize the system after
cleaning the obstacles sur-
rounding of seat.
After completing the initializa-
tion, adjust the driver position
memory system again.
CAUTION
Page 148 of 611
3-52
Sunroof Open Warning
(if equipped)
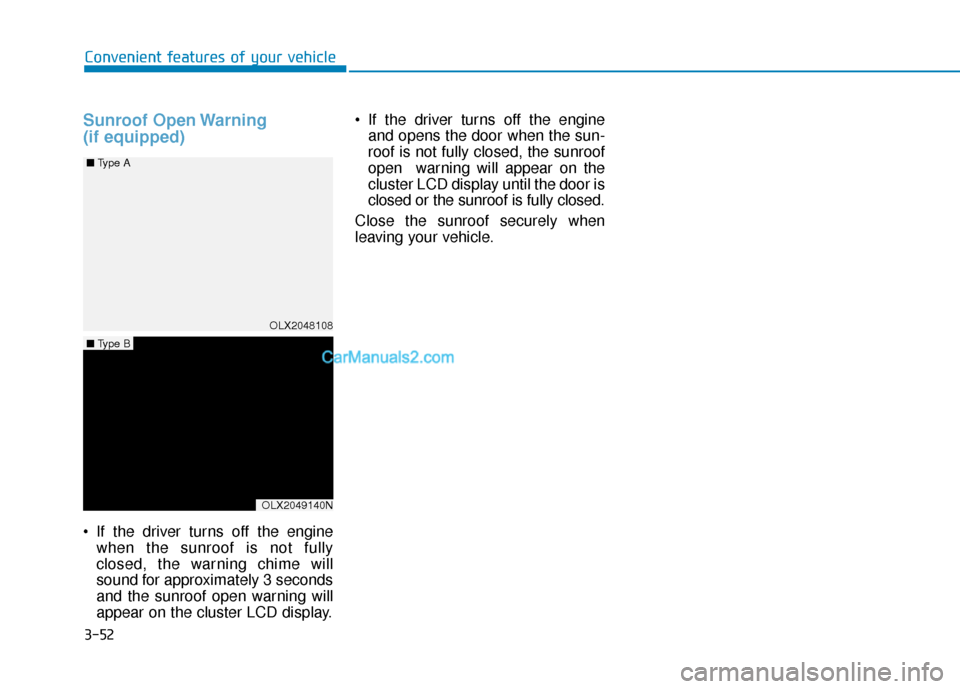
If the driver turns off the enginewhen the sunroof is not fully
closed, the warning chime will
sound for approximately 3 seconds
and the sunroof open warning will
appear on the cluster LCD display. If the driver turns off the engine
and opens the door when the sun-
roof is not fully closed, the sunroof
open warning will appear on the
cluster LCD display until the door is
closed or the sunroof is fully closed.
Close the sunroof securely when
leaving your vehicle.
Convenient features of your vehicle
OLX2048108
■
Type A
OLX2049140N
■Type B
Page 152 of 611
3-56
Convenient features of your vehicle
Power Liftgate (if equipped)
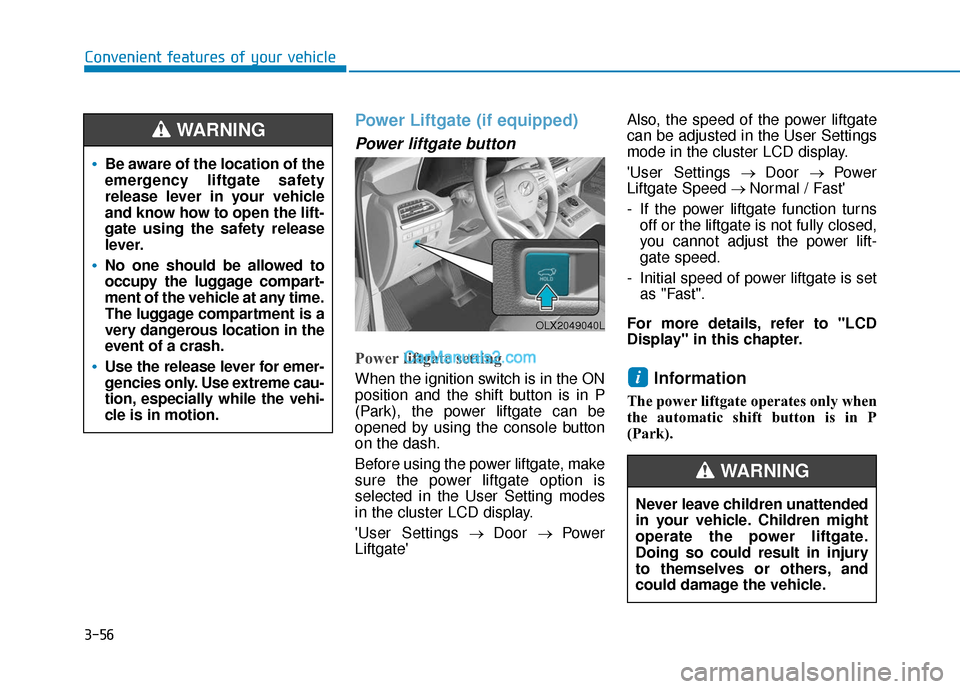
Power liftgate button
Power liftgate setting
When the ignition switch is in the ON
position and the shift button is in P
(Park), the power liftgate can be
opened by using the console button
on the dash.
Before using the power liftgate, make
sure the power liftgate option is
selected in the User Setting modes
in the cluster LCD display.
'User Settings→ Door → Power
Liftgate' Also, the speed of the power liftgate
can be adjusted in the User Settings
mode in the cluster LCD display.
'User Settings
→ Door → Power
Liftgate Speed → Normal / Fast'
- If the power liftgate function turns off or the liftgate is not fully closed,
you cannot adjust the power lift-
gate speed.
- Initial speed of power liftgate is set as "Fast".
For more details, refer to "LCD
Display" in this chapter.Information
The power liftgate operates only when
the automatic shift button is in P
(Park).
i
Be aware of the location of the
emergency liftgate safety
release lever in your vehicle
and know how to open the lift-
gate using the safety release
lever.
No one should be allowed to
occupy the luggage compart-
ment of the vehicle at any time.
The luggage compartment is a
very dangerous location in the
event of a crash.
Use the release lever for emer-
gencies only. Use extreme cau-
tion, especially while the vehi-
cle is in motion.
WARNING
OLX2049040L
Never leave children unattended
in your vehicle. Children might
operate the power liftgate.
Doing so could result in injury
to themselves or others, and
could damage the vehicle.
WARNING
Page 159 of 611
3-63
Convenient features of your vehicle
3
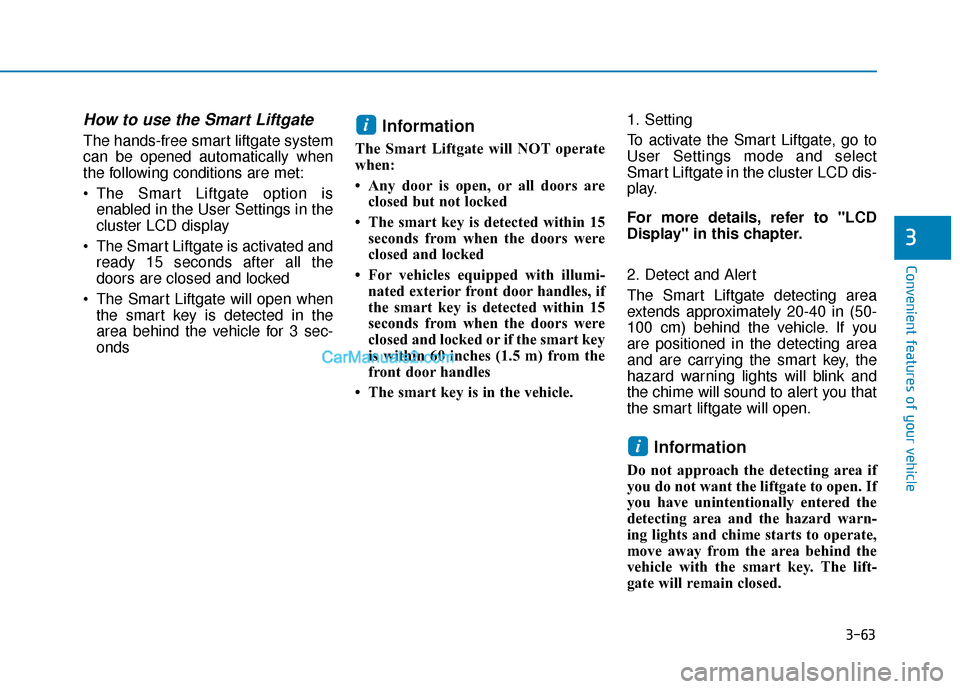
How to use the Smart Liftgate
The hands-free smart liftgate system
can be opened automatically when
the following conditions are met:
The Smart Liftgate option isenabled in the User Settings in the
cluster LCD display
The Smart Liftgate is activated and ready 15 seconds after all the
doors are closed and locked
The Smart Liftgate will open when the smart key is detected in the
area behind the vehicle for 3 sec-
ondsInformation
The Smart Liftgate will NOT operate
when:
• Any door is open, or all doors areclosed but not locked
• The smart key is detected within 15 seconds from when the doors were
closed and locked
• For vehicles equipped with illumi- nated exterior front door handles, if
the smart key is detected within 15
seconds from when the doors were
closed and locked or if the smart key
is within 60 inches (1.5 m) from the
front door handles
• The smart key is in the vehicle. 1. Setting
To activate the Smart Liftgate, go to
User Settings mode and select
Smart Liftgate in the cluster LCD dis-
play.
For more details, refer to "LCD
Display" in this chapter.
2. Detect and Alert
The Smart Liftgate detecting area
extends approximately 20-40 in (50-
100 cm) behind the vehicle. If you
are positioned in the detecting area
and are carrying the smart key, the
hazard warning lights will blink and
the chime will sound to alert you that
the smart liftgate will open.
Information
Do not approach the detecting area if
you do not want the liftgate to open. If
you have unintentionally entered the
detecting area and the hazard warn-
ing lights and chime starts to operate,
move away from the area behind the
vehicle with the smart key. The lift-
gate will remain closed.
i
i
Page 165 of 611
3-69
Convenient features of your vehicle
3
I
IN
N S
ST
T R
R U
U M
M E
EN
N T
T
C
C L
LU
U S
ST
T E
ER
R
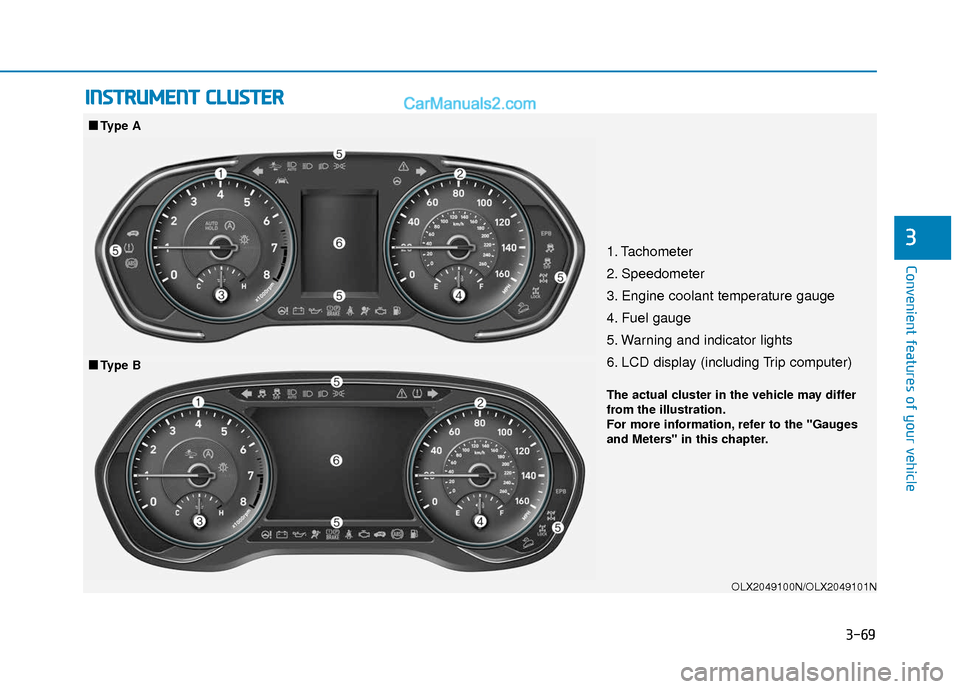
1. Tachometer
2. Speedometer
3. Engine coolant temperature gauge
4. Fuel gauge
5. Warning and indicator lights
6. LCD display (including Trip computer)
OLX2049100N/OLX2049101N
■
■
Type A
■
■ Type B
The actual cluster in the vehicle may differ
from the illustration.
For more information, refer to the "Gauges
and Meters" in this chapter.
Page 166 of 611
3-70
Convenient features of your vehicle
1. Tachometer
2. Speedometer
3. Engine coolant temperature gauge
4. Fuel gauge
5. Warning and indicator lights
6. LCD display (including Trip computer)
OLX2049126N
■
■Type C
The actual cluster in the vehicle may differ
from the illustration.
For more information, refer to the "Gauges
and Meters" in this chapter.
Page 167 of 611
3-71
Convenient features of your vehicle
3
Instrument Cluster Control
Adjusting instrument clusterillumination
When the vehicle's position lights or
headlights are on, press the illumina-
tion control button to adjust the
brightness of the instrument panel
illumination.
When pressing the illumination con-
trol button, the interior switch illumi-
nation intensity is also adjusted. The brightness of the instrument
panel illumination is displayed.
If the brightness reaches the maxi- mum or minimum level, a chime
will sound.
For information regarding the illu-
mination setting on your audio dis-
play, refer to the "Setup" section of
your Audio or Navigation manual.
Gauges and Meters
Speedometer
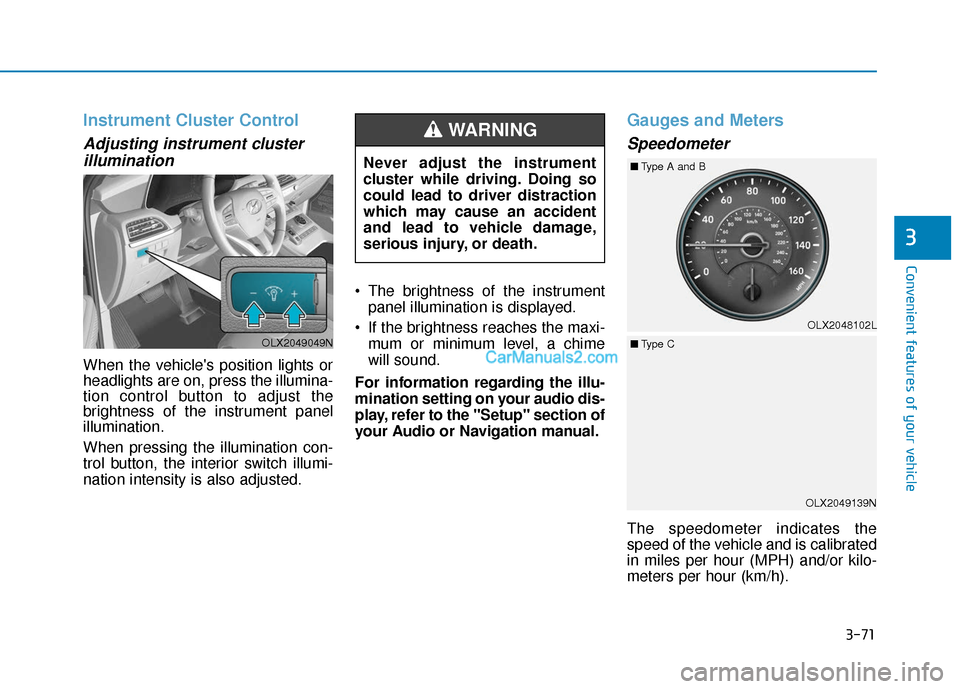
The speedometer indicates the
speed of the vehicle and is calibrated
in miles per hour (MPH) and/or kilo-
meters per hour (km/h).
Never adjust the instrument
cluster while driving. Doing so
could lead to driver distraction
which may cause an accident
and lead to vehicle damage,
serious injury, or death.
WARNING
OLX2049049N
OLX2049139N
OLX2048102L
■
Type A and B
■ Type C
Page 170 of 611
3-74
Convenient features of your vehicle
Avoid driving with an extremely
low fuel level. Running out of fuel
could cause the engine to misfire
damaging the catalytic converter.
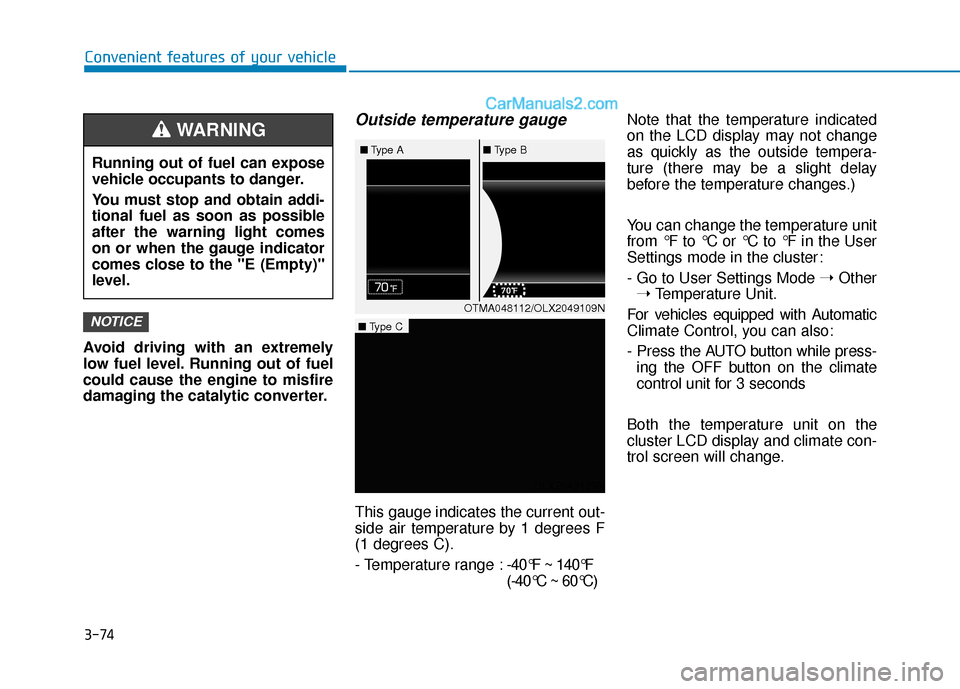
Outside temperature gauge
This gauge indicates the current out-
side air temperature by 1 degrees F
(1 degrees C).
- Temperature range : -40°F ~ 140°F
(-40°C ~ 60°C)Note that the temperature indicated
on the LCD display may not change
as quickly as the outside tempera-
ture (there may be a slight delay
before the temperature changes.)
You can change the temperature unit
from °F to °C or °C to °F in the User
Settings mode in the cluster:
- Go to User Settings Mode
➝Other
➝ Temperature Unit.
For vehicles equipped with Automatic
Climate Control, you can also:
- Press the AUTO button while press- ing the OFF button on the climate
control unit for 3 seconds
Both the temperature unit on the
cluster LCD display and climate con-
trol screen will change.
NOTICE
Running out of fuel can expose
vehicle occupants to danger.
You must stop and obtain addi-
tional fuel as soon as possible
after the warning light comes
on or when the gauge indicator
comes close to the "E (Empty)"
level.
WARNING
OTMA048112/OLX2049109N
■
Type A ■Type B
OLX2049129N
■Type C
Page 171 of 611
3-75
Convenient features of your vehicle
3
Odometer
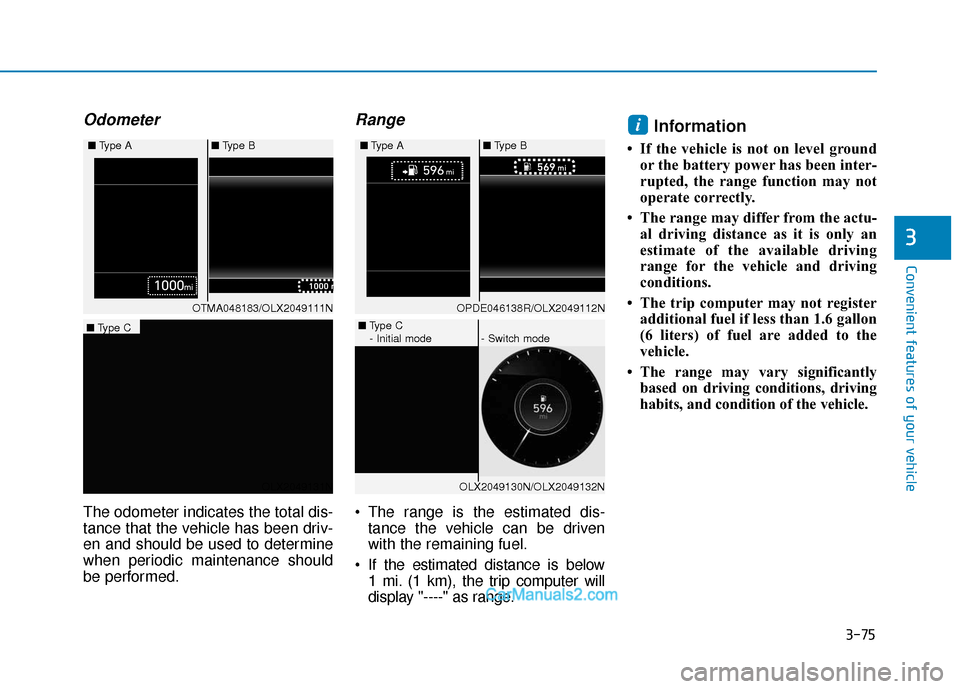
The odometer indicates the total dis-
tance that the vehicle has been driv-
en and should be used to determine
when periodic maintenance should
be performed.
Range
The range is the estimated dis-tance the vehicle can be driven
with the remaining fuel.
If the estimated distance is below 1 mi. (1 km), the trip computer will
display "----" as range.
Information
• If the vehicle is not on level groundor the battery power has been inter-
rupted, the range function may not
operate correctly.
• The range may differ from the actu- al driving distance as it is only an
estimate of the available driving
range for the vehicle and driving
conditions.
• The trip computer may not register additional fuel if less than 1.6 gallon
(6 liters) of fuel are added to the
vehicle.
• The range may vary significantly based on driving conditions, driving
habits, and condition of the vehicle.
i
OTMA048183/OLX2049111N
■
Type A ■Type B OPDE046138R/OLX2049112N
■
Type A ■Type B
OLX2049131N
■Type C
OLX2049130N/OLX2049132N
■Type C
- Initial mode - Switch mode