SECTION 6 Hyundai Santa Fe 2006 Owner's Manual
[x] Cancel search | Manufacturer: HYUNDAI, Model Year: 2006, Model line: Santa Fe, Model: Hyundai Santa Fe 2006Pages: 281, PDF Size: 8.94 MB
Page 2 of 281
A010A02A-AAT
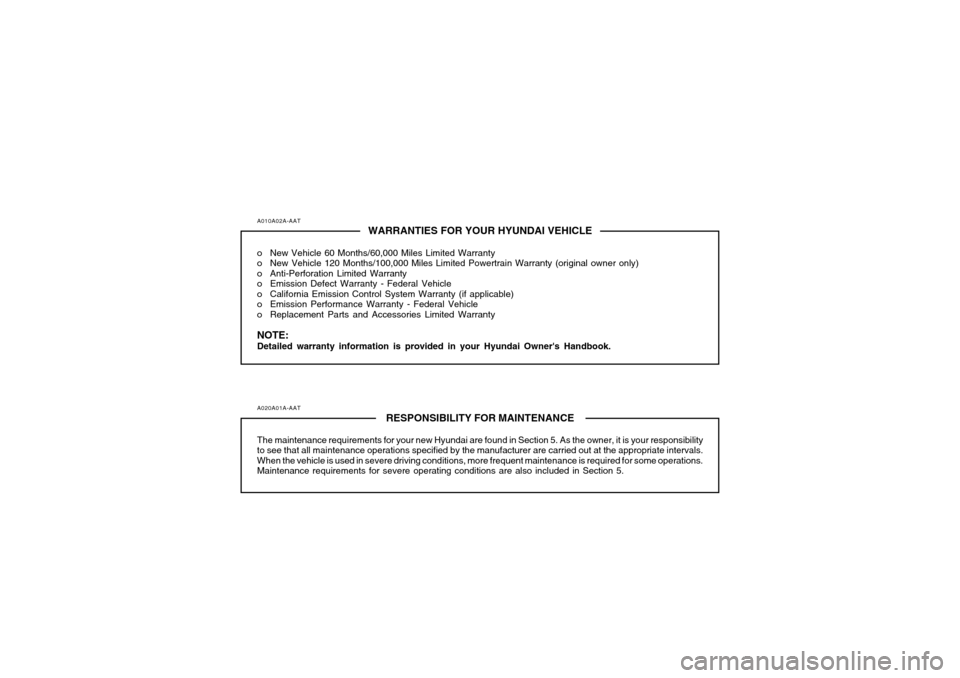
WARRANTIES FOR YOUR HYUNDAI VEHICLE
o New Vehicle 60 Months/60,000 Miles Limited Warranty
o New Vehicle 120 Months/100,000 Miles Limited Powertrain Warranty (original owner only)
o Anti-Perforation Limited Warranty
o Emission Defect Warranty - Federal Vehicle
o California Emission Control System Warranty (if applicable)
o Emission Performance Warranty - Federal Vehicle
o Replacement Parts and Accessories Limited WarrantyNOTE:Detailed warranty information is provided in your Hyundai Owner's Handbook.A020A01A-AAT
RESPONSIBILITY FOR MAINTENANCE
The maintenance requirements for your new Hyundai are found in Section 5. As the owner, it is your responsibility
to see that all maintenance operations specified by the manufacturer are carried out at the appropriate intervals.
When the vehicle is used in severe driving conditions, more frequent maintenance is required for some operations.
Maintenance requirements for severe operating conditions are also included in Section 5.
Page 7 of 281
A040A01A-AAT
FOREWORD
Thank you for choosing Hyundai. We are pleased to welcome you to the growing number of discriminating people who
drive Hyundais. The advanced engineering and high-quality construction of each Hyundai we build is something of which
we're very proud.
Your Owner's Manual will introduce you to the features and operation of your new Hyundai. It is suggested that you read
it carefully because the information it contains can contribute greatly to the satisfaction you receive from your new car.
The manufacturer also recommends that all service and maintenance on your car be performed by an authorized Hyundai
dealer. Hyundai dealers are prepared to provide high-quality service, maintenance and any other assistance that may
be required.A050A04A-AAT
HYUNDAI MOTOR COMPANY
Note: Because future owners will also need the information included in this manual, if you sell this Hyundai, please leave
the manual in the vehicle for their use. Thank you.
CAUTION:
Severe engine and transaxle damage may result from the use of poor quality fuels and lubricants that do not
meet Hyundai specifications. You must always use high quality fuels and lubricants that meet the specifica-
tions listed on Page 9-4 in the Vehicle Specifications section of the Owner's Manual and which also appear
in the Service Station Information on the back cover of the Owner's Manual.
Copyright 2005 Hyundai Motor Company. All rights reserved. No part of this publication may be reproduced, stored in
any retrieval system or transmitted in any form or by any means without the prior written permission of Hyundai Motor
Company.
!
Page 9 of 281
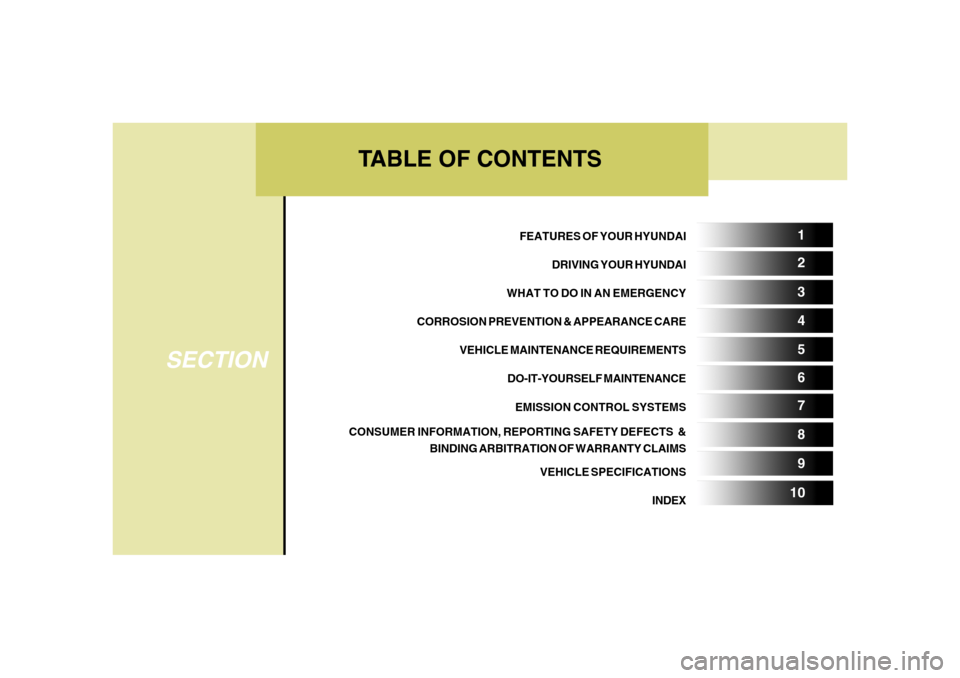
TABLE OF CONTENTS
SECTION
5 1
2
3
4
6
7
8
9
10
FEATURES OF YOUR HYUNDAI
DRIVING YOUR HYUNDAI
WHAT TO DO IN AN EMERGENCY
CORROSION PREVENTION & APPEARANCE CARE
VEHICLE MAINTENANCE REQUIREMENTS
DO-IT-YOURSELF MAINTENANCE
EMISSION CONTROL SYSTEMS
CONSUMER INFORMATION, REPORTING SAFETY DEFECTS &
BINDING ARBITRATION OF WARRANTY CLAIMS
VEHICLE SPECIFICATIONS
INDEX
Page 31 of 281
1
FEATURES OF YOUR HYUNDAI
19
!
SEAT BELTSB150B03Y-AATInfant or Small ChildAll 50 states have child restraint laws. You
should be aware of the specific requirements in
your state. Child and/or infant safety seats must
be properly placed and installed in the rear seat.
Information about the use of these restraints
begins on page 1-26.
!
!
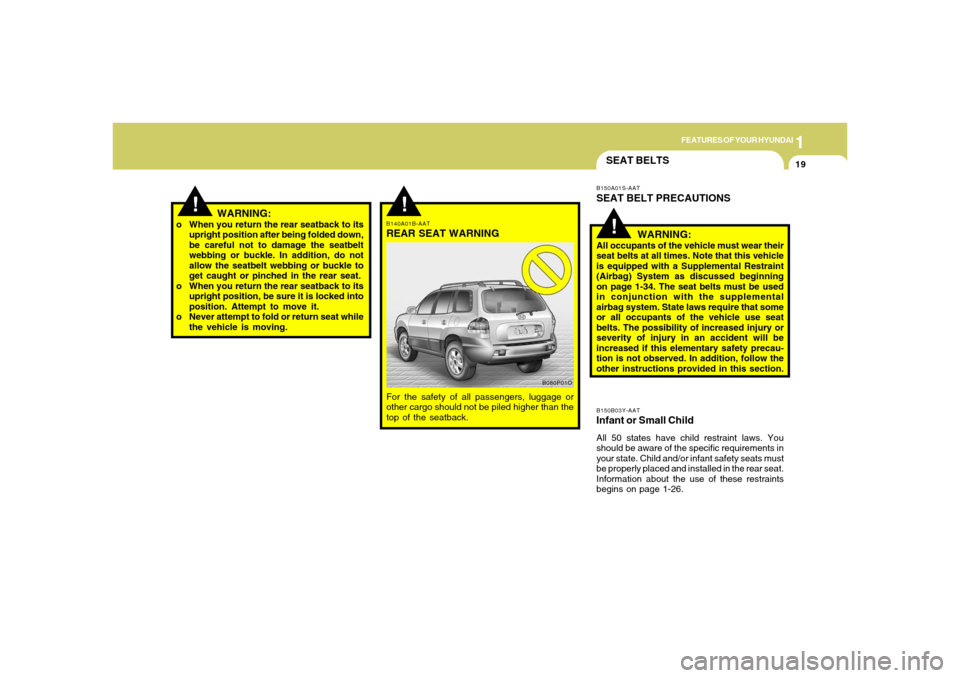
B140A01B-AATREAR SEAT WARNINGFor the safety of all passengers, luggage or
other cargo should not be piled higher than the
top of the seatback.
B080P01OB150A01S-AAT
SEAT BELT PRECAUTIONS
WARNING:All occupants of the vehicle must wear their
seat belts at all times. Note that this vehicle
is equipped with a Supplemental Restraint
(Airbag) System as discussed beginning
on page 1-34. The seat belts must be used
in conjunction with the supplemental
airbag system. State laws require that some
or all occupants of the vehicle use seat
belts. The possibility of increased injury or
severity of injury in an accident will be
increased if this elementary safety precau-
tion is not observed. In addition, follow the
other instructions provided in this section. o When you return the rear seatback to its
upright position after being folded down,
be careful not to damage the seatbelt
webbing or buckle. In addition, do not
allow the seatbelt webbing or buckle to
get caught or pinched in the rear seat.
o When you return the rear seatback to its
upright position, be sure it is locked into
position. Attempt to move it.
o Never attempt to fold or return seat while
the vehicle is moving.
WARNING:
Page 47 of 281
1
FEATURES OF YOUR HYUNDAI
35
CAUTION:
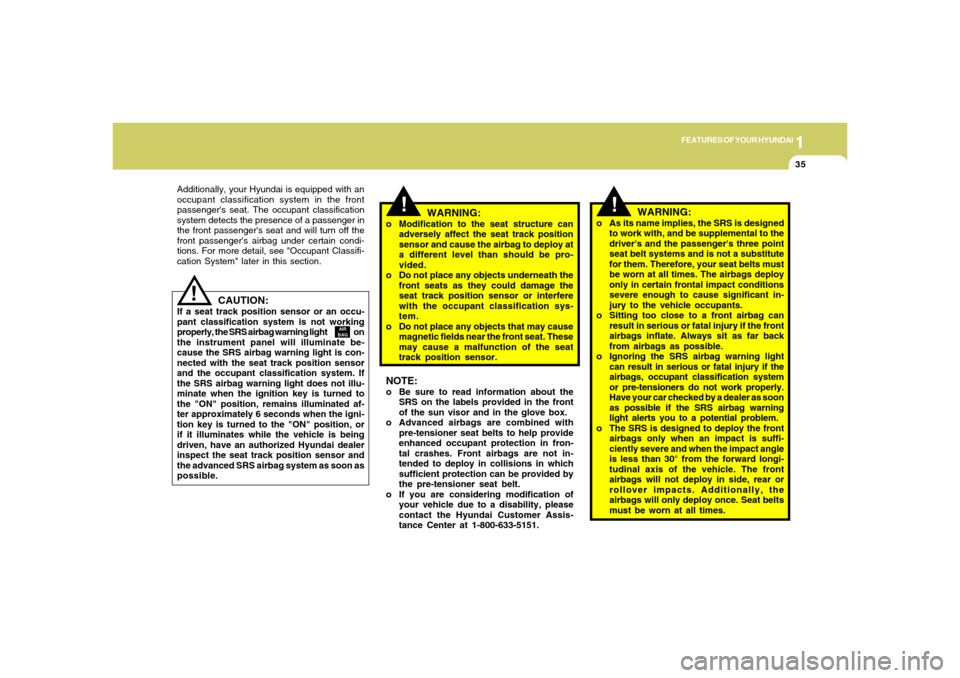
If a seat track position sensor or an occu-
pant classification system is not working
properly, the SRS airbag warning light on
the instrument panel will illuminate be-
cause the SRS airbag warning light is con-
nected with the seat track position sensor
and the occupant classification system. If
the SRS airbag warning light does not illu-
minate when the ignition key is turned to
the "ON" position, remains illuminated af-
ter approximately 6 seconds when the igni-
tion key is turned to the "ON" position, or
if it illuminates while the vehicle is being
driven, have an authorized Hyundai dealer
inspect the seat track position sensor and
the advanced SRS airbag system as soon as
possible.
!
AIR
BAG
Additionally, your Hyundai is equipped with an
occupant classification system in the front
passenger's seat. The occupant classification
system detects the presence of a passenger in
the front passenger's seat and will turn off the
front passenger's airbag under certain condi-
tions. For more detail, see "Occupant Classifi-
cation System" later in this section.
!
WARNING:
o As its name implies, the SRS is designed
to work with, and be supplemental to the
driver's and the passenger's three point
seat belt systems and is not a substitute
for them. Therefore, your seat belts must
be worn at all times. The airbags deploy
only in certain frontal impact conditions
severe enough to cause significant in-
jury to the vehicle occupants.
o Sitting too close to a front airbag can
result in serious or fatal injury if the front
airbags inflate. Always sit as far back
from airbags as possible.
o Ignoring the SRS airbag warning light
can result in serious or fatal injury if the
airbags, occupant classification system
or pre-tensioners do not work properly.
Have your car checked by a dealer as soon
as possible if the SRS airbag warning
light alerts you to a potential problem.
o The SRS is designed to deploy the front
airbags only when an impact is suffi-
ciently severe and when the impact angle
is less than 30° from the forward longi-
tudinal axis of the vehicle. The front
airbags will not deploy in side, rear or
rollover impacts. Additionally, the
airbags will only deploy once. Seat belts
must be worn at all times.
!
WARNING:
o Modification to the seat structure can
adversely affect the seat track position
sensor and cause the airbag to deploy at
a different level than should be pro-
vided.
o Do not place any objects underneath the
front seats as they could damage the
seat track position sensor or interfere
with the occupant classification sys-
tem.
o Do not place any objects that may cause
magnetic fields near the front seat. These
may cause a malfunction of the seat
track position sensor.NOTE:o Be sure to read information about the
SRS on the labels provided in the front
of the sun visor and in the glove box.
o Advanced airbags are combined with
pre-tensioner seat belts to help provide
enhanced occupant protection in fron-
tal crashes. Front airbags are not in-
tended to deploy in collisions in which
sufficient protection can be provided by
the pre-tensioner seat belt.
o If you are considering modification of
your vehicle due to a disability, please
contact the Hyundai Customer Assis-
tance Center at 1-800-633-5151.
Page 62 of 281
1FEATURES OF YOUR HYUNDAI50
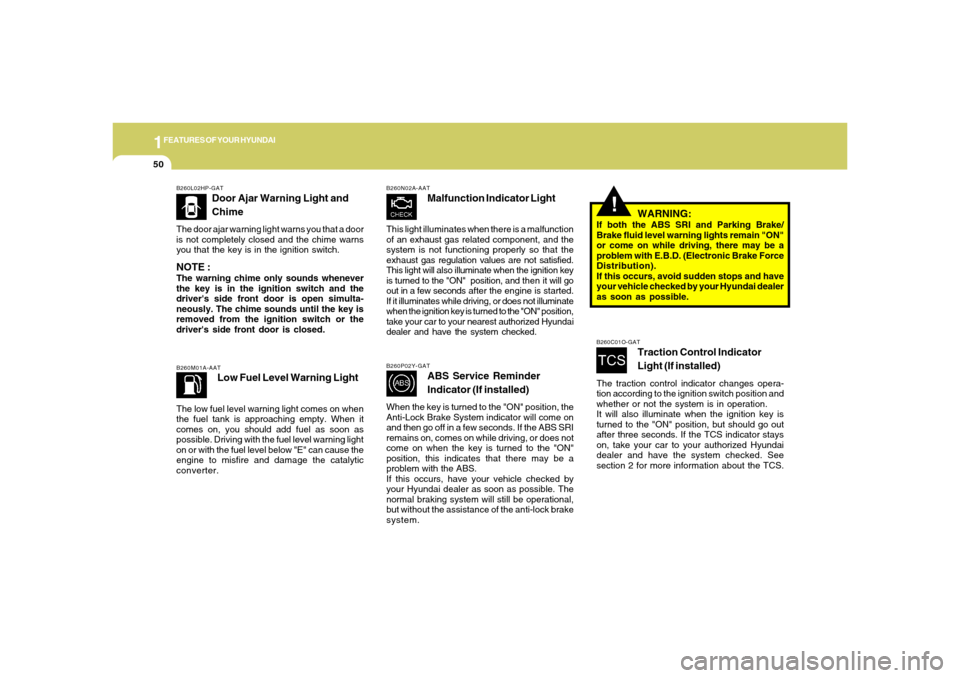
B260L02HP-GAT
Door Ajar Warning Light and
Chime
The door ajar warning light warns you that a door
is not completely closed and the chime warns
you that the key is in the ignition switch.NOTE :The warning chime only sounds whenever
the key is in the ignition switch and the
driver's side front door is open simulta-
neously. The chime sounds until the key is
removed from the ignition switch or the
driver's side front door is closed.
!
B260M01A-AAT
Low Fuel Level Warning Light
The low fuel level warning light comes on when
the fuel tank is approaching empty. When it
comes on, you should add fuel as soon as
possible. Driving with the fuel level warning light
on or with the fuel level below "E" can cause the
engine to misfire and damage the catalytic
converter.
B260P02Y-GAT
ABS Service Reminder
Indicator (If installed)
When the key is turned to the "ON" position, the
Anti-Lock Brake System indicator will come on
and then go off in a few seconds. If the ABS SRI
remains on, comes on while driving, or does not
come on when the key is turned to the "ON"
position, this indicates that there may be a
problem with the ABS.
If this occurs, have your vehicle checked by
your Hyundai dealer as soon as possible. The
normal braking system will still be operational,
but without the assistance of the anti-lock brake
system.
WARNING:
If both the ABS SRI and Parking Brake/
Brake fluid level warning lights remain "ON"
or come on while driving, there may be a
problem with E.B.D. (Electronic Brake Force
Distribution).
If this occurs, avoid sudden stops and have
your vehicle checked by your Hyundai dealer
as soon as possible.B260C01O-GAT
Traction Control Indicator
Light (If installed)
The traction control indicator changes opera-
tion according to the ignition switch position and
whether or not the system is in operation.
It will also illuminate when the ignition key is
turned to the "ON" position, but should go out
after three seconds. If the TCS indicator stays
on, take your car to your authorized Hyundai
dealer and have the system checked. See
section 2 for more information about the TCS.
B260N02A-AAT
Malfunction Indicator Light
This light illuminates when there is a malfunction
of an exhaust gas related component, and the
system is not functioning properly so that the
exhaust gas regulation values are not satisfied.
This light will also illuminate when the ignition key
is turned to the "ON" position, and then it will go
out in a few seconds after the engine is started.
If it illuminates while driving, or does not illuminate
when the ignition key is turned to the "ON" position,
take your car to your nearest authorized Hyundai
dealer and have the system checked.
Page 63 of 281
1
FEATURES OF YOUR HYUNDAI
51
B270A01O-AATBRAKE PAD WEAR WARNING SOUNDThe front and rear disc brake pads have wear
indicators that should make a high-pitched
squealing or scraping noise when new pads are
needed. The sound may come and go or be
heard all the time when the vehicle is moving. It
may also be heard when the brake pedal is
pushed down firmly. Excessive rotor damage
will result if the worn pads are not replaced. See
your Hyundai dealer immediately.B270B01O-AATPARKING START WARNING SOUNDIf the vehicle driven at over 2mph(3km/h) more
2~3 seconds, the warning chime will sound
continuously when the parking brake engaged.
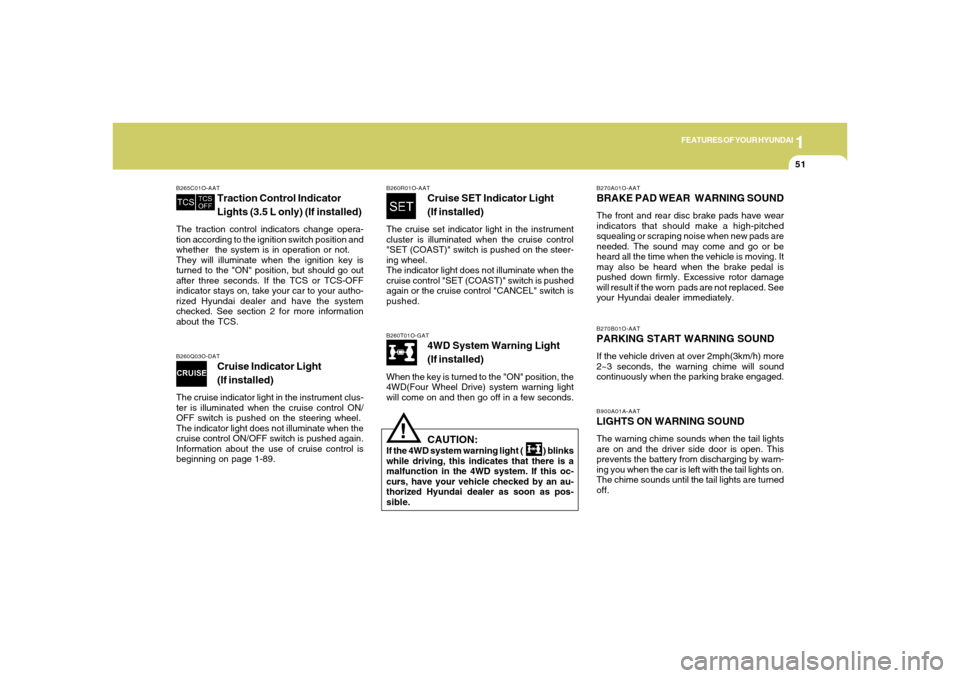
B260T01O-GAT
4WD System Warning Light
(If installed)
When the key is turned to the "ON" position, the
4WD(Four Wheel Drive) system warning light
will come on and then go off in a few seconds.
B260Q03O-DAT
Cruise Indicator Light
(If installed)
The cruise indicator light in the instrument clus-
ter is illuminated when the cruise control ON/
OFF switch is pushed on the steering wheel.
The indicator light does not illuminate when the
cruise control ON/OFF switch is pushed again.
Information about the use of cruise control is
beginning on page 1-89.B265C01O-AAT
Traction Control Indicator
Lights (3.5 L only) (If installed)
The traction control indicators change opera-
tion according to the ignition switch position and
whether the system is in operation or not.
They will illuminate when the ignition key is
turned to the "ON" position, but should go out
after three seconds. If the TCS or TCS-OFF
indicator stays on, take your car to your autho-
rized Hyundai dealer and have the system
checked. See section 2 for more information
about the TCS.
CAUTION:
If the 4WD system warning light ( ) blinks
while driving, this indicates that there is a
malfunction in the 4WD system. If this oc-
curs, have your vehicle checked by an au-
thorized Hyundai dealer as soon as pos-
sible.
!
B260R01O-AAT
Cruise SET Indicator Light
(If installed)
The cruise set indicator light in the instrument
cluster is illuminated when the cruise control
"SET (COAST)" switch is pushed on the steer-
ing wheel.
The indicator light does not illuminate when the
cruise control "SET (COAST)" switch is pushed
again or the cruise control "CANCEL" switch is
pushed.
B900A01A-AATLIGHTS ON WARNING SOUNDThe warning chime sounds when the tail lights
are on and the driver side door is open. This
prevents the battery from discharging by warn-
ing you when the car is left with the tail lights on.
The chime sounds until the tail lights are turned
off.
Page 64 of 281
1FEATURES OF YOUR HYUNDAI52
!
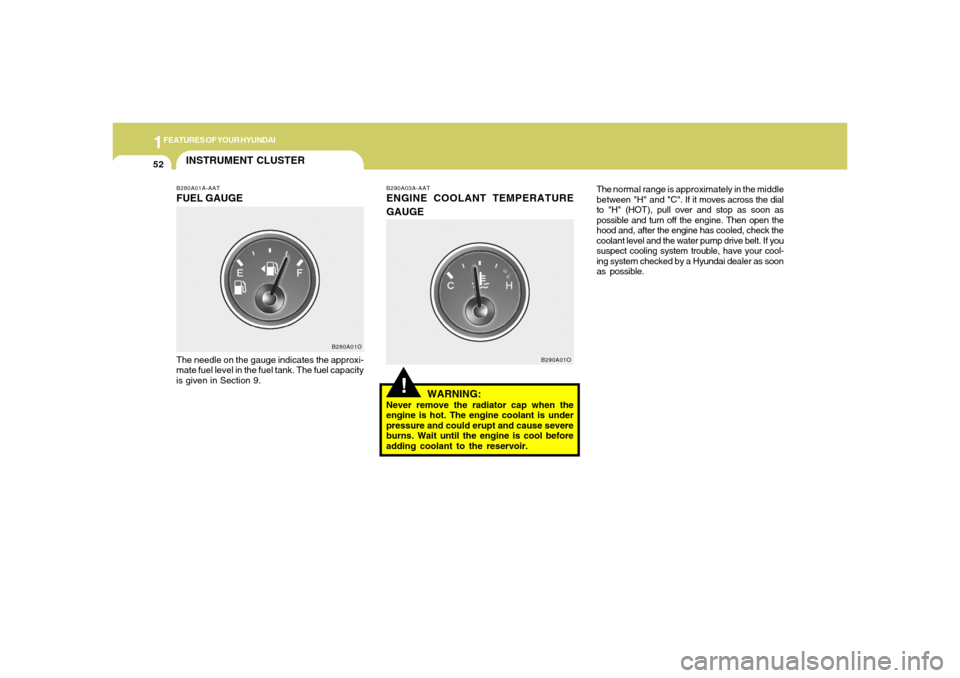
B290A03A-AATENGINE COOLANT TEMPERATURE
GAUGE
WARNING:Never remove the radiator cap when the
engine is hot. The engine coolant is under
pressure and could erupt and cause severe
burns. Wait until the engine is cool before
adding coolant to the reservoir.The normal range is approximately in the middle
between "H" and "C". If it moves across the dial
to "H" (HOT), pull over and stop as soon as
possible and turn off the engine. Then open the
hood and, after the engine has cooled, check the
coolant level and the water pump drive belt. If you
suspect cooling system trouble, have your cool-
ing system checked by a Hyundai dealer as soon
as possible.
B290A01O
B280A01A-AATFUEL GAUGEThe needle on the gauge indicates the approxi-
mate fuel level in the fuel tank. The fuel capacity
is given in Section 9.
B280A01O
INSTRUMENT CLUSTER
Page 90 of 281
1FEATURES OF YOUR HYUNDAI78
Operating HomeLinkSimply press the appropriate HomeLink button
to activate the trained product (garage door,
security system, entry door lock, estate gate,
lighting, etc.). The original handheld transmit-
ters may also be used at any time. 3. Return to the vehicle and firmly press and
release the programmed HomeLink button.
Press and release the same HomeLink but-
ton a second time to complete the program-
ming process. (Some devices may require
you to press and release a third time to
complete the programming.)
4. Now HomeLink mirror and rolling-code-
equipped device should be synchronized.
The remaining HomeLink buttons may now
be programmed if this has not been done
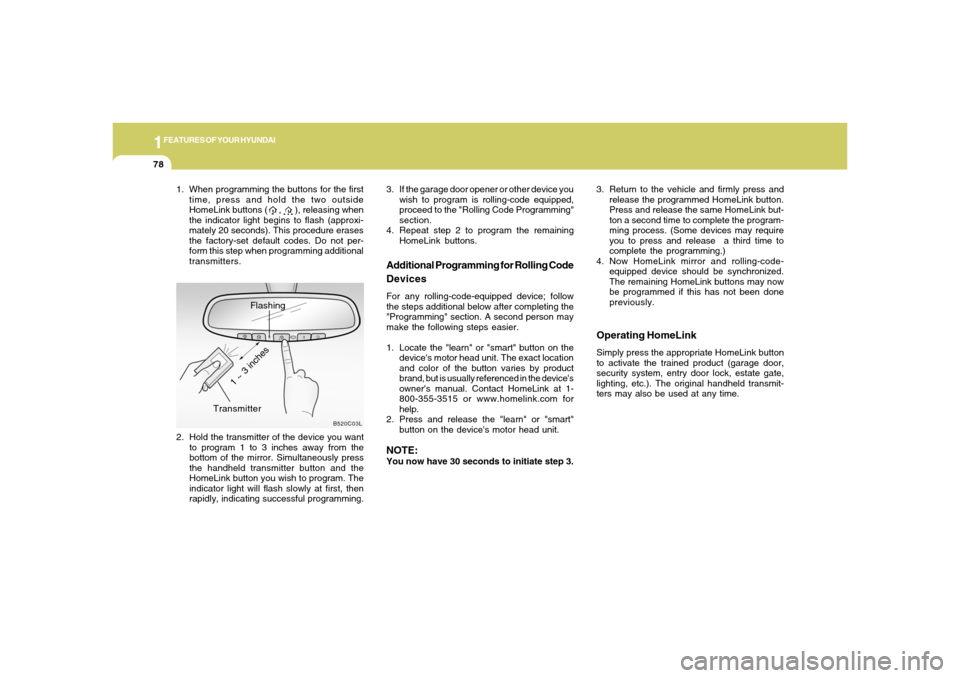
previously. 1. When programming the buttons for the first
time, press and hold the two outside
HomeLink buttons ( , ), releasing when
the indicator light begins to flash (approxi-
mately 20 seconds). This procedure erases
the factory-set default codes. Do not per-
form this step when programming additional
transmitters.
Flashing
2. Hold the transmitter of the device you want
to program 1 to 3 inches away from the
bottom of the mirror. Simultaneously press
the handheld transmitter button and the
HomeLink button you wish to program. The
indicator light will flash slowly at first, then
rapidly, indicating successful programming.
B520C03L
Transmitter
1 ~ 3 inches
Additional Programming for Rolling Code
DevicesFor any rolling-code-equipped device; follow
the steps additional below after completing the
"Programming" section. A second person may
make the following steps easier.
1. Locate the "learn" or "smart" button on the
device's motor head unit. The exact location
and color of the button varies by product
brand, but is usually referenced in the device's
owner's manual. Contact HomeLink at 1-
800-355-3515 or www.homelink.com for
help.
2. Press and release the "learn" or "smart"
button on the device's motor head unit.NOTE:You now have 30 seconds to initiate step 3. 3. If the garage door opener or other device you
wish to program is rolling-code equipped,
proceed to the "Rolling Code Programming"
section.
4. Repeat step 2 to program the remaining
HomeLink buttons.
Page 134 of 281
1FEATURES OF YOUR HYUNDAI
122
D285D02O-AATPlaying a Cassette TapeYour tape player is built to work best with tapes
that are up to 30 to 45 minutes long on each side.
Tapes longer than that are so thin they may not
work well in this player. The longer side with the
tape visible should face to the right. If the ignition
is on, but the radio is off, the tape can be inserted
and will begin playing. A tape symbol is shown
on the display whenever a tape is inserted. If you
hear nothing but a garbled sound, the tape may
not be in squarely. Press EJECT to remove the
tape and start over.
While the tape is playing, use the VOL, AUDIO
and SEEK controls just as you do for the radio.
The display will show TAPE and an arrow
showing which side of the tape is playing. You
can insert a tape when the ignition is off.
If an error appears on the display, see "Cas-
sette Tape Message" later in this section.1. SEEK Button
SEEKPress this pushbutton to go to the next selection
on the tape if you press pushbutton more than
once, the player will continue moving forward
through the tape. SEEK and a positive number
will appear on the display. Your tape must have
at least three seconds of silence between each
selection for next to work. The sound still mute
while seeking.
SEEKPress this pushbutton to go to the previous
selection on the tape if the selection has been
playing for less than three seconds. If this
pushbutton is pressed and the current selection
had been playing for more than 13 seconds, it
will go to the beginning of the previous selection
or the beginning of the current selection, de-
pending upon the position on the tape. SEEK and
a negative number will appear on the display
while the cassette player is in the previous
mode. If this pushbutton is pressed additional
times or held, the radio will go to the displayed
number of previous selections up to 9. SEEK
and a negative number will appear on the dis-
play. Your tape must have at least three sec-
onds of silence between each selection for
previous to work. The sound will mute while
seeking.2. REVERSE ButtonPress this pushbutton to reverse the tape rap-
idly. Press it again to return to playing speed.
The radio will play the last selected station while
the tape reverses. The station frequency and
REV will appear on the display. You may select
stations during reverse operation by using
TUNE, SEEK or PRESET SCAN.
3. FORWARD ButtonPress this pushbutton to advance quickly to
another part of the tape. Press this pushbutton
again to return to playing speed. The radio will
play the last selected station while the tape
advances. The station frequency and FWD will
appear on the display. You may select stations
during forward operation by using TUNE, SEEK
or PRESET SCAN.4. SIDE ButtonPress this pushbutton to play the other side of
the tape.5. (DOLBY)Press this pushbutton to reduce background
noise. DOLBY B ON will appear on the display.
Press it again to turn Dolby B off. DOLBY B OFF
will appear on the display. Dolby Noise Reduc-
tion is manufactured under a license form Dolby
Laboratories Licensing Corporation. Dolby and
the double-D symbol are trademarks of Dolby
laboratories Licensing Corporation.6. BAND Select ButtonPress this button to listen to the radio when a
tape is playing. The tape will stop but remain in
the player.