display Hyundai Santa Fe 2011 - RHD (UK, Australia) Owner's Guide
[x] Cancel search | Manufacturer: HYUNDAI, Model Year: 2011, Model line: Santa Fe, Model: Hyundai Santa Fe 2011Pages: 312, PDF Size: 23.92 MB
Page 196 of 312
4121
Features of your vehicle
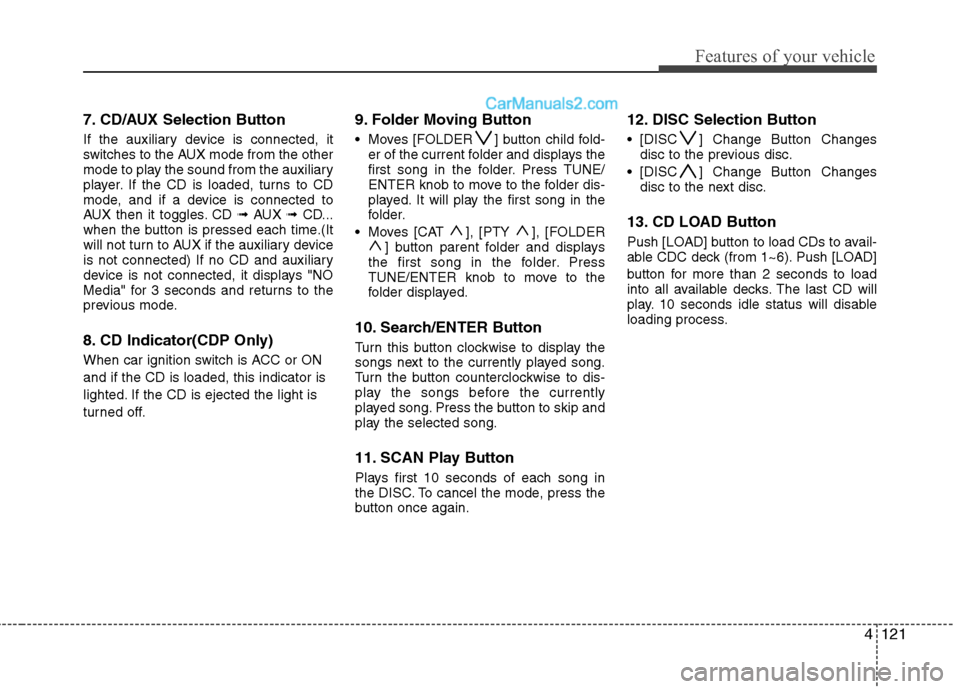
7. CD/AUX Selection Button
If the auxiliary device is connected, it
switches to the AUX mode from the other
mode to play the sound from the auxiliary
player. If the CD is loaded, turns to CD
mode, and if a device is connected to
AUX then it toggles. CD ➟ AUX ➟ CD...
when the button is pressed each time.(It
will not turn to AUX if the auxiliary device
is not connected) If no CD and auxiliary
device is not connected, it displays "NO
Media" for 3 seconds and returns to the
previous mode.
8. CD Indicator(CDP Only)
When car ignition switch is ACC or ON and if the CD is loaded, this indicator is
lighted. If the CD is ejected the light is
turned off. 9. Folder Moving Button
Moves [FOLDER ] button child fold-
er of the current folder and displays the
first song in the folder. Press TUNE/
ENTER knob to move to the folder dis-
played. It will play the first song in the
folder.
Moves [CAT ], [PTY ], [FOLDER ] button parent folder and displays
the first song in the folder. Press
TUNE/ENTER knob to move to the
folder displayed.
10. Search/ENTER Button
Turn this button clockwise to display the
songs next to the currently played song.
Turn the button counterclockwise to dis-
play the songs before the currently
played song. Press the button to skip and
play the selected song.
11. SCAN Play Button
Plays first 10 seconds of each song in
the DISC. To cancel the mode, press the
button once again. 12. DISC Selection Button
[DISC ] Change Button Changes
disc to the previous disc.
[DISC ] Change Button Changes disc to the next disc.
13. CD LOAD Button
Push [LOAD] button to load CDs to avail-
able CDC deck (from 1~6). Push [LOAD]
button for more than 2 seconds to load
into all available decks. The last CD will
play. 10 seconds idle status will disable
loading process.
Page 200 of 312
4125
Features of your vehicle
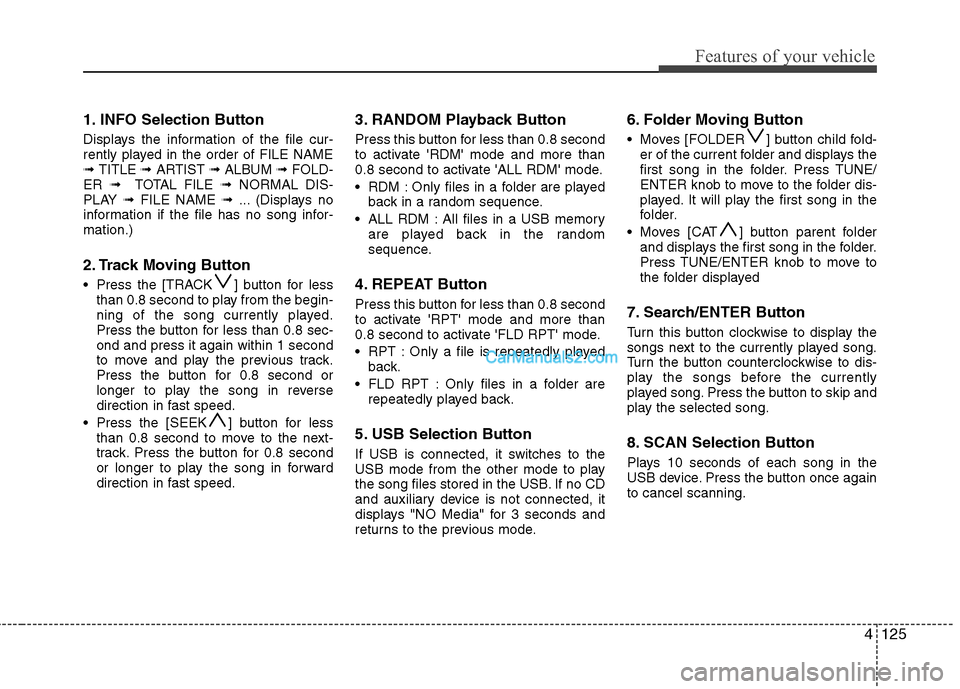
1. INFO Selection Button
Displays the information of the file cur-
rently played in the order of FILE NAME➟ TITLE ➟ ARTIST ➟ ALBUM ➟ FOLD-
ER ➟ TOTAL FILE ➟ NORMAL DIS-
PLAY ➟ FILE NAME ➟ ... (Displays no
information if the file has no song infor-mation.)
2. Track Moving Button
Press the [TRACK ] button for less than 0.8 second to play from the begin-
ning of the song currently played.
Press the button for less than 0.8 sec-ond and press it again within 1 second
to move and play the previous track.
Press the button for 0.8 second or
longer to play the song in reverse
direction in fast speed.
Press the [SEEK ] button for less than 0.8 second to move to the next-
track. Press the button for 0.8 second
or longer to play the song in forward
direction in fast speed. 3. RANDOM Playback Button
Press this button for less than 0.8 second
to activate 'RDM' mode and more than
0.8 second to activate 'ALL RDM' mode.
RDM : Only files in a folder are played
back in a random sequence.
ALL RDM : All files in a USB memory are played back in the random
sequence.
4. REPEAT Button
Press this button for less than 0.8 second
to activate 'RPT' mode and more than
0.8 second to activate 'FLD RPT' mode.
RPT : Only a file is repeatedly played back.
FLD RPT : Only files in a folder are repeatedly played back.
5. USB Selection Button
If USB is connected, it switches to the
USB mode from the other mode to play
the song files stored in the USB. If no CD
and auxiliary device is not connected, it
displays "NO Media" for 3 seconds and
returns to the previous mode. 6. Folder Moving Button
Moves [FOLDER ] button child fold-
er of the current folder and displays the
first song in the folder. Press TUNE/
ENTER knob to move to the folder dis-
played. It will play the first song in the
folder.
Moves [CAT ] button parent folder and displays the first song in the folder.
Press TUNE/ENTER knob to move to
the folder displayed
7. Search/ENTER Button
Turn this button clockwise to display the
songs next to the currently played song.
Turn the button counterclockwise to dis-
play the songs before the currently
played song. Press the button to skip and
play the selected song.
8. SCAN Selection Button
Plays 10 seconds of each song in the
USB device. Press the button once againto cancel scanning.
Page 202 of 312
4127
Features of your vehicle
In case the iPod exclusive cable is con-
nected to the multiple terminal on the left
hand side of the driver's seat. When the
iPod is connected, the 'iPod' icon will be
displayed on the top left corner of the dis-
play screen.
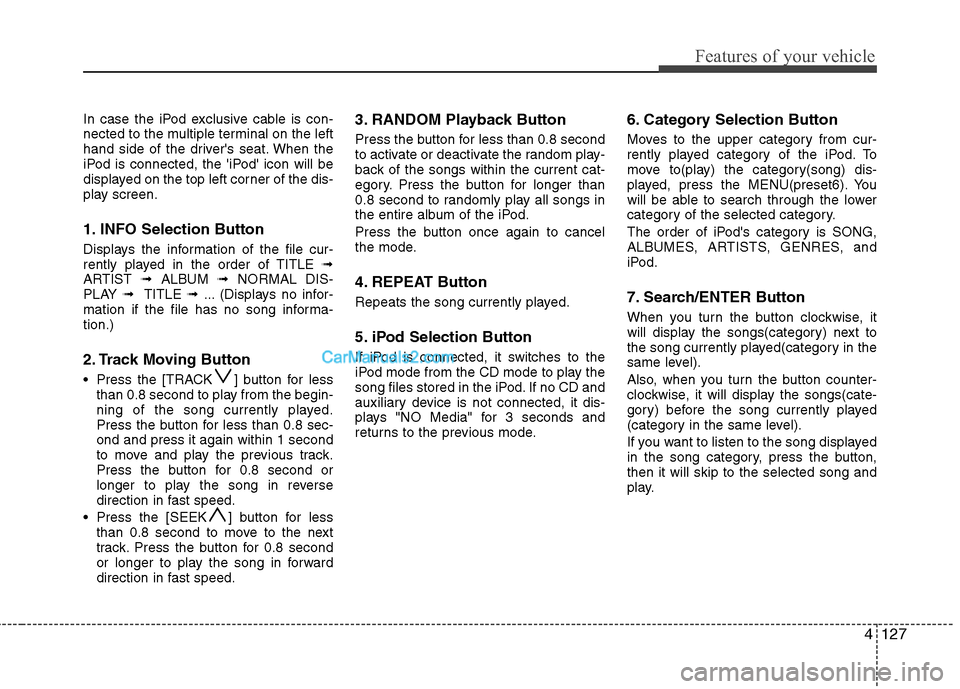
1. INFO Selection Button
Displays the information of the file cur-
rently played in the order of TITLE ➟
ARTIST ➟ ALBUM ➟ NORMAL DIS-
PLAY ➟ TITLE ➟ ... (Displays no infor-
mation if the file has no song informa-tion.)
2. Track Moving Button
Press the [TRACK ] button for less than 0.8 second to play from the begin-
ning of the song currently played.
Press the button for less than 0.8 sec-ond and press it again within 1 second
to move and play the previous track.
Press the button for 0.8 second or
longer to play the song in reverse
direction in fast speed.
Press the [SEEK ] button for less than 0.8 second to move to the next
track. Press the button for 0.8 second
or longer to play the song in forward
direction in fast speed. 3. RANDOM Playback Button
Press the button for less than 0.8 second
to activate or deactivate the random play-
back of the songs within the current cat-
egory. Press the button for longer than
0.8 second to randomly play all songs in
the entire album of the iPod.
Press the button once again to cancel
the mode.
4. REPEAT Button
Repeats the song currently played.
5. iPod Selection Button
If iPod is connected, it switches to the
iPod mode from the CD mode to play the
song files stored in the iPod. If no CD and
auxiliary device is not connected, it dis-
plays "NO Media" for 3 seconds and
returns to the previous mode.
6. Category Selection Button
Moves to the upper category from cur-
rently played category of the iPod. To
move to(play) the category(song) dis-
played, press the MENU(preset6). You
will be able to search through the lower
category of the selected category.
The order of iPod's category is SONG,
ALBUMES, ARTISTS, GENRES, and
iPod.
7. Search/ENTER Button
When you turn the button clockwise, it
will display the songs(category) next to
the song currently played(category in the
same level).
Also, when you turn the button counter-
clockwise, it will display the songs(cate-
gory) before the song currently played
(category in the same level).
If you want to listen to the song displayed
in the song category, press the button,then it will skip to the selected song and
play.
Page 203 of 312
Features of your vehicle
128
4
✽✽
NOTICE FOR USING iPod DEVICE
Some iPod models might not support the communication protocol and the
files will not be played. (iPod models
supported: Mini, 4G, Photo, Nano,
5G)
The order of search or playback of songs in the iPod can be different
from the order searched in the audio
system.
If the iPod crashes due to its own trou- ble, reset iPod. (Reset: Refer to iPod
manual)
iPod may not operate normally on low
battery.(Continued)
When the iPod cable is connect- ed, the system can be switched tothe AUX mode even without theiPod device and can cause noise.
Disconnect iPod cable when youare not using the iPod device.
When the iPod is not used at audio system, iPod cable has to
be separate from iPod device.Origin display of iPod may not bedisplayed.CAUTION IN USING
iPod DEVICE
You need the power cable exclu- sive for iPod in order to operate
iPod with the buttons on theaudio system. The PC cable pro-vided by Apple may cause mal- function and do not use it for
vehicle use.
When connecting the device with iPod cable, push in the jack fullynot to interfere with communica-
tion.
When adjusting the sound effects of iPod and the audio system, thesound effects of both devices will overlap each and might cause
reduce or distort the quality of thesound.
Deactivate (turn off) the equalizer function of iPod when adjustingthe audio system’s volume, and
turn off the equalizer of the audio system when using the equalizerof iPod.
(Continued)
Page 215 of 312
Driving your vehicle
12
5
5. The engine starts running when the
glow indicator goes off.
✽✽
NOTICE
If the ENGINE START/STOP button is
pressed once more whilst the engine is
pre-heating, the engine may start.
Starting and stopping the engine for tur-
bocharger intercooler
1. Do not race or accelerate the engine immediately after starting.
If the engine is cold, idle for several
seconds before sufficient lubrication isensured in the turbocharger unit.
2. After high speed or extended driving, requiring a heavy engine load, idle the
engine about 1 minute before turning it
off.
This idle time will allow the tur- bocharger to cool prior to shutting the
engine off. Even if the smart key is in the vehicle,
if it is far away from you, the engine
may not start.
When the ENGINE START/STOP but- ton is in the ACC position or above, if
any door is opened, the system checks
for the smart key. If the smart key is not
in the vehicle, the " " indicator will
blink or the warning "Key is not in vehi-
cle" will illuminate on the LCD display.And if all doors are closed, the chime
will sound for 5 seconds. The indicator
or warning will turn off whilst the vehi-
cle is moving. Always have the smart
key with you.
WARNING
The engine will start, only when the
smart key is in the vehicle.
Never allow children or any person
who is unfamiliar with the vehicle
touch the ENGINE START/STOP
button or related parts.CAUTION
Do not turn the engine off immedi- ately after it has been subjected toa heavy load. Doing so may causesevere damage to the engine or tur-
bocharger unit.
Page 221 of 312
Driving your vehicle
18
5
E060100AFD
Automatic transaxle operation
The highly efficient automatic transaxle
has 6 forward speeds and one reverse
speed. The individual speeds are select-
ed automatically, depending on the posi-
tion of the shift lever.
✽✽
NOTICE
The first few shifts on a new vehicle, if
the battery has been disconnected, may
be somewhat abrupt. This is a normal
condition, and the shifting sequence will
adjust after shifts are cycled a few times
by the TCM (Transaxle Control
Module) or PCM (Powertrain Control
Module).
For smooth operation, depress the brake pedal when shifting from N (Neutral) to aforward or reverse gear.
E060101AFD
Transaxle ranges
The indicator lights in the instrument
cluster displays the shift lever position
when the ignition switch is in the ONposition.
P (Park)
Always come to a complete stop before
shifting into P (Park). This position locks
the transaxle and prevents the frontwheels from rotating.
WARNING - Automatic
transaxle
Always check the surrounding areas near your vehicle for peo-
ple, especially children, before
shifting a vehicle into D (Drive) or
R (Reverse).
Before leaving the driver’s seat, always make sure the shift lever
is in the P (Park) position; then
set the parking brake fully and
shut the engine off. Unexpected
and sudden vehicle movementcan occur if these precautions
are not followed in the order iden-tified.
CAUTION
To avoid damage to your
transaxle, do not accelerate the
engine in R (Reverse) or any for- ward gear position with thebrakes on.
When stopped on an upgrade, do not hold the vehicle stationarywith engine power. Use the serv-ice brake or the parking brake.
Do not shift from N (Neutral) or P (Park) into D (Drive), or R
(Reverse) when the engine isabove idle speed.
Page 306 of 312
Index
4
I
Defogging (Windscreen) ················································4-95
Defogging logic (Windscreen) ·······································4-97
Defroster (Rear window) ···············································4-77
Defrosting (Windscreen) ················································4-95
Digital clock ·································································4-105Dimensions ······································································8-2
Displays, see instrument cluster ····································4-38
Display illumination, see instrument panel
illumination··································································4-39
Door courtesy lamp bulb replacement ····························7-58
Door locks ·······································································4-12 Central door lock switch ··········································4-13
Child-protector rear door lock ·································4-15
Drinks holders, see cup holders ···································4-102
Driver's air bag ·······························································3-41
Driving at night ······························································5-49
Driving in flooded areas ················································5-50
Driving in the rain ··························································5-50
Dual carrigeway/Motorway driving ································5-51
Economical operation ····················································5-46
Electric chromic mirror (ECM) ·····································4-34
Electronic stability program (ESP) ·································5-35
Emergency starting ··························································6-5 Jump starting ······························································6-5
Push starting ·······························································6-6 Emergency towing ·························································6-24
Emergency whilst driving ················································6-3
Emission control system ················································7-66
Crankcase emission control system ·························7-66
Evaporative emission control system ·······················7-66
Exhaust emission control system ·····························7-67
Engine compartment ················································2-4, 7-2
Engine coolant ·······························································7-13
Engine number ·································································8-8
Engine oil ·······································································7-12
Engine overheats ······························································6-7
Engine start/stop button ···················································5-8
Engine temperature gauge ·············································4-40
Engine will not start ·························································6-4
Evaporative emission control system ····························7-66
Exhaust emission control system ···································7-66Explanation of scheduled maintenance items ··················7-9
Exterior care ···································································7-60
Exterior features ···························································4-110 Roof rack ································································4-110
Flat tyre ··········································································6-13 Changing tyres ·························································6-16
Compact spare tyre ··················································6-20
Jack and tools ···························································6-13
Removing and storing the spare tyre ·······················6-14
E
F