parking brake Hyundai Santa Fe 2011 Owner's Manual - RHD (UK, Australia)
[x] Cancel search | Manufacturer: HYUNDAI, Model Year: 2011, Model line: Santa Fe, Model: Hyundai Santa Fe 2011Pages: 312, PDF Size: 23.92 MB
Page 13 of 312
Introduction
6
1
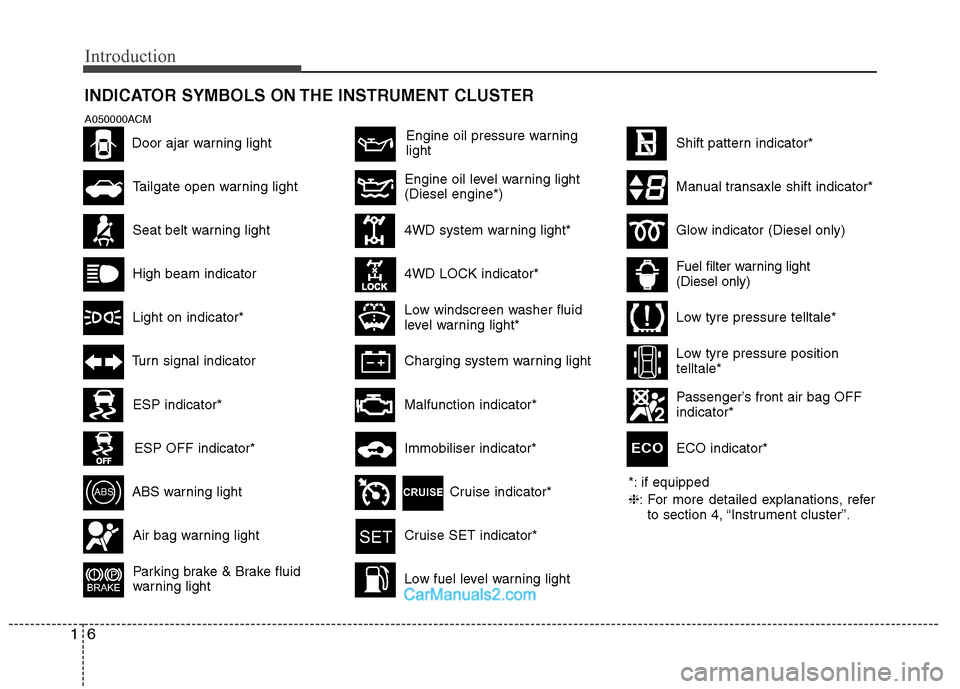
INDICATOR SYMBOLS ON THE INSTRUMENT CLUSTER
Engine oil pressure warning light
*: if equipped ❈: For more detailed explanations, refer
to section 4, “Instrument cluster”.
Passenger’s front air bag OFF indicator*
Seat belt warning light
Tailgate open warning light
High beam indicator
Light on indicator*
Turn signal indicator
ABS warning light
Parking brake & Brake fluid
warning light
4WD system warning light* 4WD LOCK indicator*
Malfunction indicator*
Air bag warning lightCruise SET indicator*
Low fuel level warning light
Shift pattern indicator*
Charging system warning light
Low windscreen washer fluid
level warning light*
Door ajar warning light
Glow indicator (Diesel only)
Fuel filter warning light (Diesel only)
ESP indicator*
ESP OFF indicator*Immobiliser indicator*
Low tyre pressure telltale*
Low tyre pressure position telltale*
A050000ACM
Manual transaxle shift indicator*Engine oil level warning light (Diesel engine*)
ECO indicator*
ECO
Cruise indicator*
Page 16 of 312
23
Your vehicle at a glance
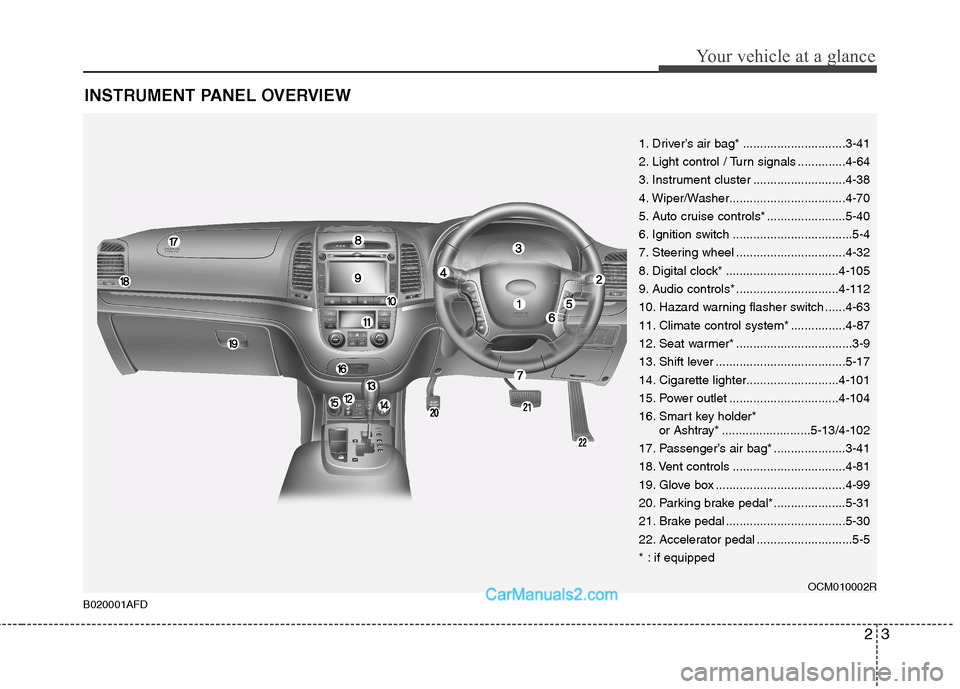
INSTRUMENT PANEL OVERVIEW
1. Driver’s air bag* ..............................3-41
2. Light control / Turn signals ..............4-64
3. Instrument cluster ...........................4-38
4. Wiper/Washer..................................4-70
5. Auto cruise controls* .......................5-40
6. Ignition switch ...................................5-4
7. Steering wheel ................................4-32
8. Digital clock* .................................4-105
9. Audio controls* ..............................4-112
10. Hazard warning flasher switch ......4-63
11. Climate control system* ................4-87
12. Seat warmer* ..................................3-9
13. Shift lever ......................................5-17
14. Cigarette lighter...........................4-101
15. Power outlet ................................4-10416.
Smart key holder*
or Ashtray*..........................5-13/4-102
17. Passenger’s air bag* .....................3-41
18. Vent controls .................................4-81
19. Glove box ......................................4-99
20. Parking brake pedal*.....................5-31
21. Brake pedal ...................................5-30
22. Accelerator pedal ............................5-5
* : if equipped
OCM010002R
B020001AFD
Page 34 of 312
317
Safety system of your vehicle
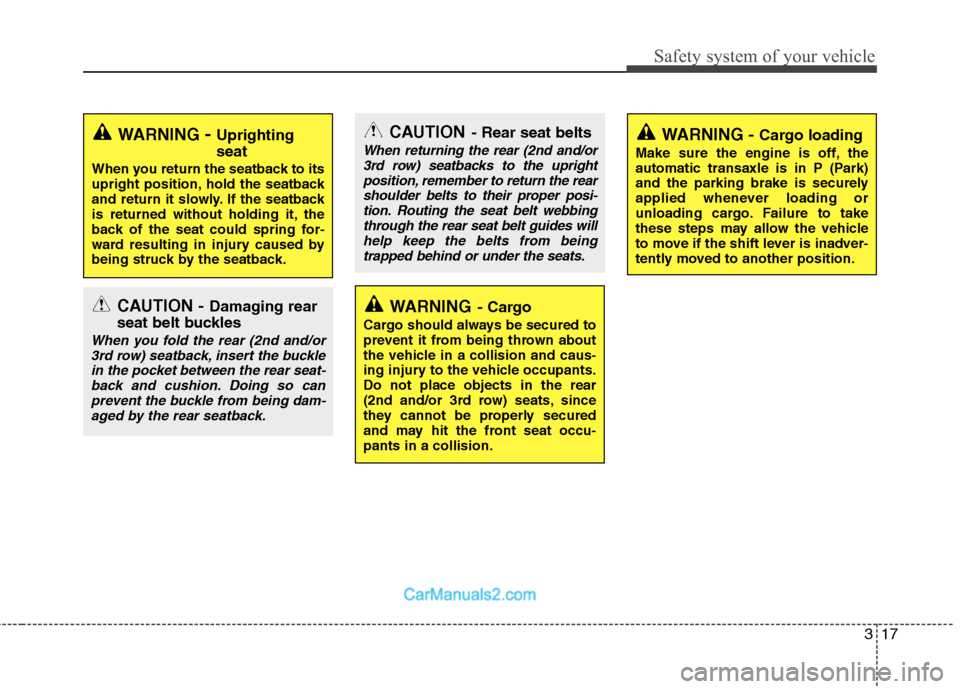
CAUTION- Rear seat belts
When returning the rear (2nd and/or
3rd row) seatbacks to the upright
position, remember to return the rearshoulder belts to their proper posi-tion. Routing the seat belt webbing through the rear seat belt guides will
help keep the belts from beingtrapped behind or under the seats.
CAUTION - Damaging rear
seat belt buckles
When you fold the rear (2nd and/or 3rd row) seatback, insert the bucklein the pocket between the rear seat- back and cushion. Doing so can
prevent the buckle from being dam-aged by the rear seatback.
WARNING - Uprighting seat
When you return the seatback to its
upright position, hold the seatback
and return it slowly. If the seatback
is returned without holding it, the
back of the seat could spring for-
ward resulting in injury caused by
being struck by the seatback.WARNING - Cargo loading
Make sure the engine is off, the
automatic transaxle is in P (Park)
and the parking brake is securely
applied whenever loading or
unloading cargo. Failure to take
these steps may allow the vehicle
to move if the shift lever is inadver-
tently moved to another position.
WARNING - Cargo
Cargo should always be secured to
prevent it from being thrown about
the vehicle in a collision and caus-
ing injury to the vehicle occupants.Do not place objects in the rear
(2nd and/or 3rd row) seats, since
they cannot be properly secured
and may hit the front seat occu-pants in a collision.
Page 87 of 312
Features of your vehicle
12
4
D050100ACM
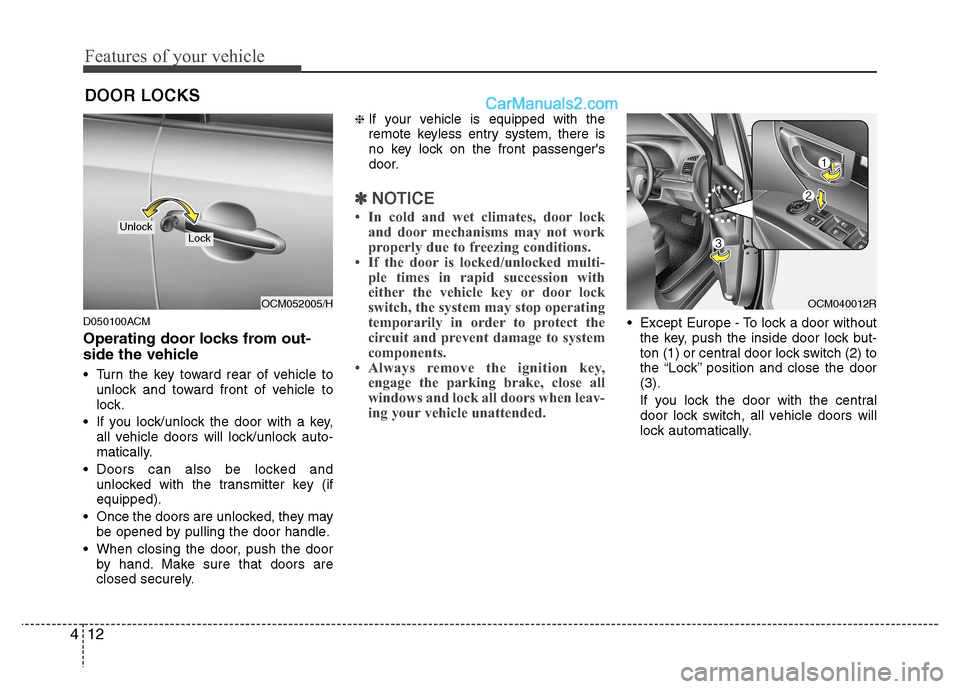
Operating door locks from out-
side the vehicle
Turn the key toward rear of vehicle to
unlock and toward front of vehicle to
lock.
If you lock/unlock the door with a key, all vehicle doors will lock/unlock auto-
matically.
Doors can also be locked and unlocked with the transmitter key (ifequipped).
Once the doors are unlocked, they may be opened by pulling the door handle.
When closing the door, push the door by hand. Make sure that doors are
closed securely. ❈
If your vehicle is equipped with the
remote keyless entry system, there is
no key lock on the front passenger's
door.
✽✽
NOTICE
In cold and wet climates, door lock and door mechanisms may not work
properly due to freezing conditions.
If the door is locked/unlocked multi- ple times in rapid succession with
either the vehicle key or door lock
switch, the system may stop operating
temporarily in order to protect the
circuit and prevent damage to system
components.
Always remove the ignition key, engage the parking brake, close all
windows and lock all doors when leav-
ing your vehicle unattended.
Except Europe - To lock a door withoutthe key, push the inside door lock but-
ton (1) or central door lock switch (2 )to
the “Lock” position and close the door(3).
If you lock the door with the central
door lock switch, all vehicle doors will
lock automatically.
DOOR LOCKS
OCM052005/H
LockUnlock
OCM040012R
Page 89 of 312
Features of your vehicle
14
4
D050600ANF
Deadlocks (if equipped)
Some vehicles are equipped with a
deadlocking system. Deadlocks preventopening of a door from either inside or
outside the vehicle once the deadlocks
have been activated providing an addi-
tional measure of vehicle security.
To lock the vehicle using the deadlock
function, the doors must be locked using
the (Smart) key or the Remote Keyless
Entry transmitter. To unlock the vehicle,
the (Smart) key or the transmitter mustagain be used.
To lock a vehicle without using the dead-
lock function, the doors should be locked
by depressing the central door lock
switch and closing the doors.
WARNING - Unlocked
vehicles
Leaving your vehicle unlocked can
invite theft or possible harm to you
or others from someone hiding in
your vehicle whilst you are gone.
Always remove the ignition key,
engage the parking brake, close all
windows and lock all doors when
leaving your vehicle unattended.
WARNING - Unattended
children
An enclosed vehicle can become
extremely hot, causing death or
severe injury to unattended chil-dren or animals who cannot escape
the vehicle. Furthermore, children
might operate features of the vehi-
cle that could injure them, or they
could encounter other harm, possi-
bly from someone gaining entry to
the vehicle. Never leave children or
animals unattended in your vehicle.
WARNING - Doors
The doors should always be fully closed and locked whilst the
vehicle is in motion to prevent
accidental opening of the door.
Locked doors will also discour-
age potential intruders when the
vehicle stops or slows.
Be careful when opening doors and watch for vehicles, motorcy-
cles, bicycles or pedestrians
approaching the vehicle in the
path of the door. Opening a door
when something is approaching
can cause damage or injury.
WARNING
Do not lock the doors with the
(Smart) key or the transmitter with
anybody left in the vehicle. The pas-
senger in the vehicle cannot unlock
the doors with the door lock button.
For example, if the door is locked
with the transmitter, the passenger
in the vehicle cannot unlock the
door without the transmitter.
Page 121 of 312
Features of your vehicle
46
4
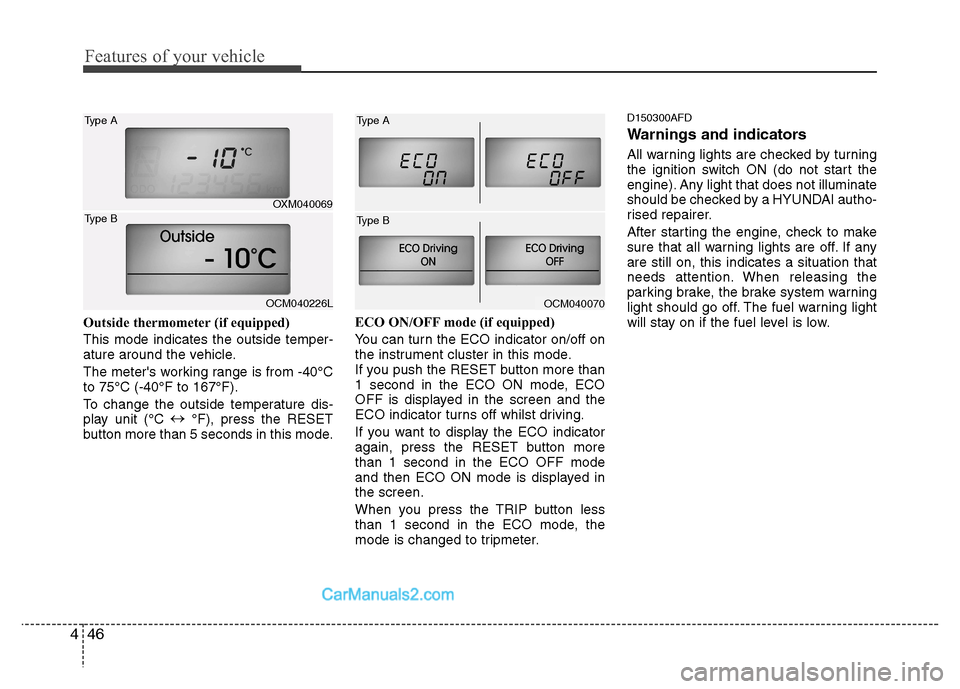
Outside thermometer (if equipped)
This mode indicates the outside temper-
ature around the vehicle.
The meter's working range is from -40°C to 75°C (-40°F to 167°F).
To change the outside temperature dis-
play unit (°C �
°F), press the RESET
button more than 5 seconds in this mode. ECO ON/OFF mode (if equipped)
You can turn the ECO indicator on/off on
the instrument cluster in this mode.
If you push the RESET button more than
1 second in the ECO ON mode, ECO
OFF is displayed in the screen and the
ECO indicator turns off whilst driving.
If you want to display the ECO indicator
again, press the RESET button morethan 1 second in the ECO OFF mode
and then ECO ON mode is displayed inthe screen.
When you press the TRIP button less
than 1 second in the ECO mode, the
mode is changed to tripmeter.D150300AFD
Warnings and indicators
All warning lights are checked by turning
the ignition switch ON (do not start the
engine). Any light that does not illuminate
should be checked by a HYUNDAI autho-
rised repairer.
After starting the engine, check to make
sure that all warning lights are off. If anyare still on, this indicates a situation that
needs attention. When releasing the
parking brake, the brake system warning
light should go off. The fuel warning light
will stay on if the fuel level is low.
OCM040070
OXM040069
Type A
OCM040226L
Type B
Type A
Type B
Page 126 of 312
451
Features of your vehicle
D150308AFD
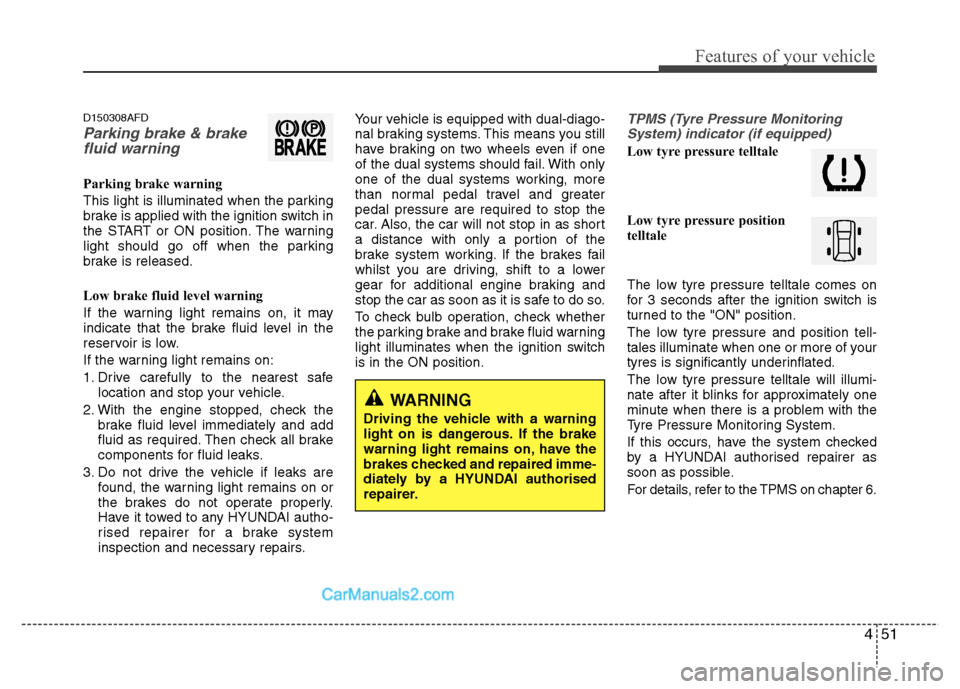
Parking brake & brakefluid warning
Parking brake warning
This light is illuminated when the parking
brake is applied with the ignition switch in
the START or ON position. The warning
light should go off when the parking
brake is released.
Low brake fluid level warning
If the warning light remains on, it may
indicate that the brake fluid level in the
reservoir is low.
If the warning light remains on:
1. Drive carefully to the nearest safe location and stop your vehicle.
2. With the engine stopped, check the brake fluid level immediately and add
fluid as required. Then check all brake
components for fluid leaks.
3. Do not drive the vehicle if leaks are found, the warning light remains on or
the brakes do not operate properly.
Have it towed to any HYUNDAI autho-
rised repairer for a brake system
inspection and necessary repairs. Your vehicle is equipped with dual-diago-
nal braking systems. This means you still
have braking on two wheels even if one
of the dual systems should fail. With only
one of the dual systems working, more
than normal pedal travel and greaterpedal pressure are required to stop the
car. Also, the car will not stop in as short
a distance with only a portion of the
brake system working. If the brakes fail
whilst you are driving, shift to a lower
gear for additional engine braking and
stop the car as soon as it is safe to do so.
To check bulb operation, check whether
the parking brake and brake fluid warning
light illuminates when the ignition switchis in the ON position.
TPMS (Tyre Pressure Monitoring
System) indicator (if equipped)
Low tyre pressure telltale
Low tyre pressure position
telltale
The low tyre pressure telltale comes on
for 3 seconds after the ignition switch is
turned to the "ON" position.
The low tyre pressure and position tell-
tales illuminate when one or more of your
tyres is significantly underinflated.
The low tyre pressure telltale will illumi-
nate after it blinks for approximately one
minute when there is a problem with the
Tyre Pressure Monitoring System.
If this occurs, have the system checked
by a HYUNDAI authorised repairer as
soon as possible.
For details, refer to the TPMS on chapter 6.
WARNING
Driving the vehicle with a warning
light on is dangerous. If the brake
warning light remains on, have the
brakes checked and repaired imme-
diately by a HYUNDAI authorised
repairer.
Page 136 of 312
461
Features of your vehicle
D170200AEN Non-operational conditions of rear parking assist system The rear parking assist system may not operate properly when:
1. Moisture is frozen to the sensor. (It willoperate normally when the moisture has been cleared.)
2. The sensor is covered with foreign matter, such as snow or water, or the
sensor cover is blocked. (It will operate
normally when the material is removed
or the sensor is no longer blocked.)
3. Driving on uneven road surfaces (unpaved roads, gravel, bumps, gradi-ent).
4. Objects generating excessive noise (vehicle horns, loud motorcycle
engines, or truck air brakes) are within
range of the sensor.
5. Heavy rain or water spray exists.
6. Wireless transmitters or mobile phones are within range of the sensor.
7. The sensor is covered with snow.
8. Trailer towing The detecting range may decrease when:
1. The sensor is stained with foreign mat-
ter such as snow or water. (The sens-
ing range will return to normal when
removed.)
2. Outside air temperature is extremely hot or cold.
The following objects may not be rec-ognized by the sensor:
1. Sharp or slim objects such as ropes, chains or small poles.
2. Objects which tend to absorb the sen- sor frequency such as clothes, spongy
material or snow.
3. Undetectable objects smaller than 40 in. (1 m) in height and narrower than 6 in.
(14 cm) in diameter. D170300AEN Rear parking assist system pre- cautions
The rear parking assist system may
not sound sequentially depending on the speed and shapes of the objectsdetected.
The rear parking assist system may malfunction if the vehicle bumperheight or sensor installation has been
modified or damaged. Any non-factory
installed equipment or accessories
may also interfere with the sensor per-
formance.
The sensor may not recognize objects less than 15 in. (40 cm) from the sen-
sor, or it may sense an incorrect dis-
tance. Use caution.
When the sensor is frozen or stained with snow, dirt, or water, the sensor
may be inoperative until the stains are
removed using a soft cloth.
Do not push, scratch or strike the sen- sor. Sensor damage could occur.
Page 206 of 312
53
Driving your vehicle
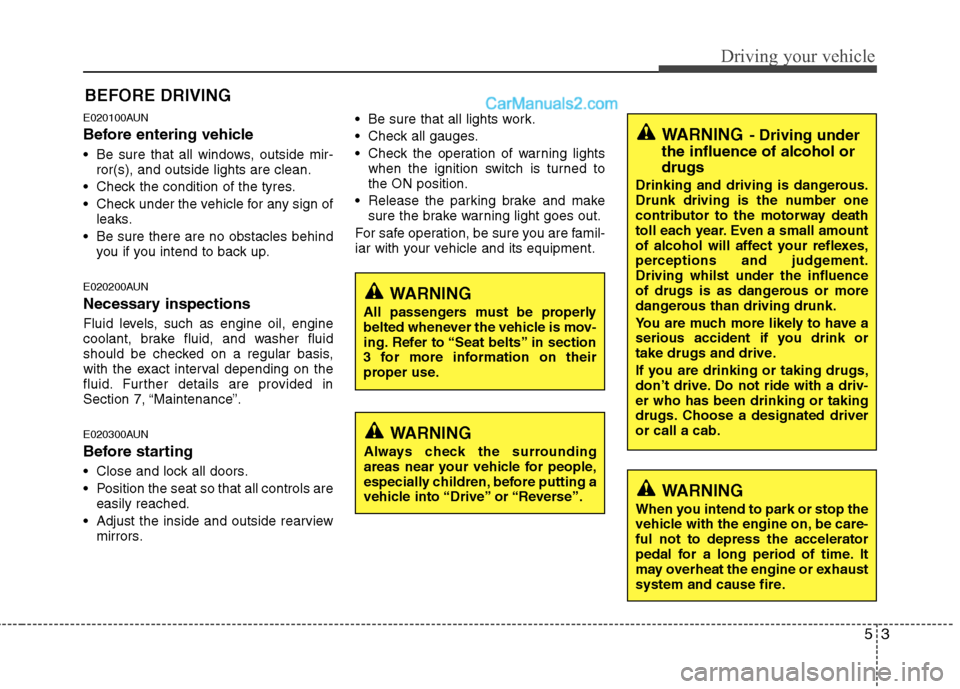
E020100AUN
Before entering vehicle
• Be sure that all windows, outside mir-ror(s), and outside lights are clean.
Check the condition of the tyres.
Check under the vehicle for any sign of leaks.
Be sure there are no obstacles behind you if you intend to back up.
E020200AUN
Necessary inspections
Fluid levels, such as engine oil, engine
coolant, brake fluid, and washer fluid
should be checked on a regular basis,
with the exact interval depending on the
fluid. Further details are provided in
Section 7, “Maintenance”.
E020300AUN
Before starting
Close and lock all doors.
Position the seat so that all controls are easily reached.
Adjust the inside and outside rearview mirrors. Be sure that all lights work.
Check all gauges.
Check the operation of warning lights
when the ignition switch is turned to the ON position.
Release the parking brake and make sure the brake warning light goes out.
For safe operation, be sure you are famil-
iar with your vehicle and its equipment.
BEFORE DRIVING
WARNING
All passengers must be properly
belted whenever the vehicle is mov-
ing. Refer to “Seat belts” in section
3 for more information on their
proper use.
WARNING
Always check the surrounding
areas near your vehicle for people,
especially children, before putting a
vehicle into “Drive” or “Reverse”.
WARNING
When you intend to park or stop the
vehicle with the engine on, be care-ful not to depress the accelerator
pedal for a long period of time. It
may overheat the engine or exhaust
system and cause fire.
WARNING - Driving under
the influence of alcohol or drugs
Drinking and driving is dangerous.
Drunk driving is the number one
contributor to the motorway death
toll each year. Even a small amount
of alcohol will affect your reflexes,
perceptions and judgement.Driving whilst under the influence
of drugs is as dangerous or more
dangerous than driving drunk.
You are much more likely to have a
serious accident if you drink or
take drugs and drive.
If you are drinking or taking drugs,
don’t drive. Do not ride with a driv-er who has been drinking or taking
drugs. Choose a designated driveror call a cab.
Page 208 of 312
55
Driving your vehicle
E040000AUN
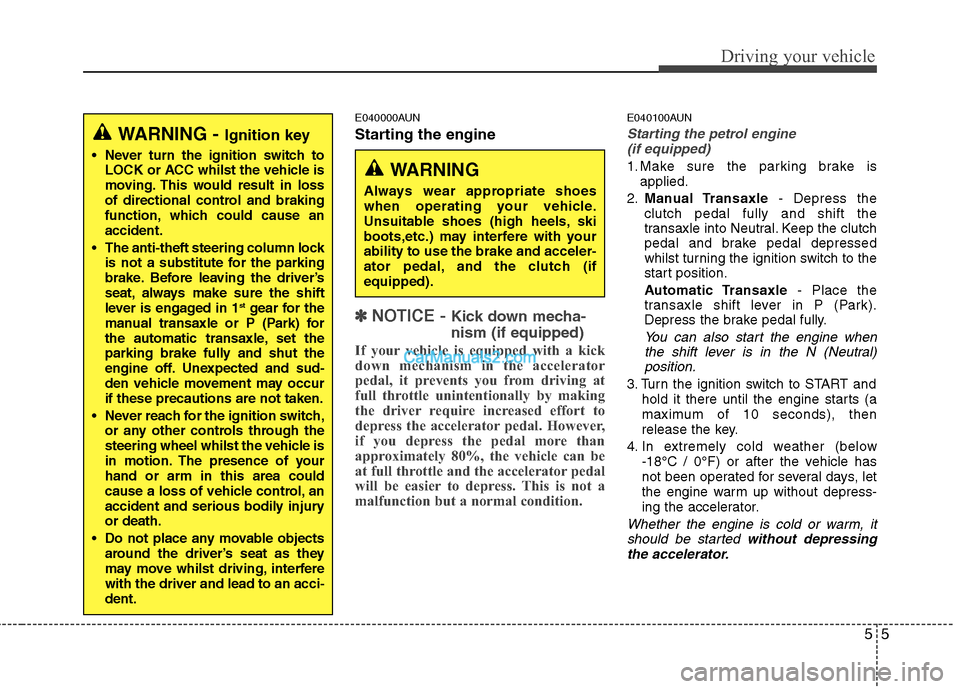
Starting the engine
✽✽
NOTICE - Kick down mecha- nism (if equipped)
If your vehicle is equipped with a kick
down mechanism in the accelerator
pedal, it prevents you from driving at
full throttle unintentionally by making
the driver require increased effort to
depress the accelerator pedal. However,
if you depress the pedal more than
approximately 80%, the vehicle can be
at full throttle and the accelerator pedal
will be easier to depress. This is not a
malfunction but a normal condition.
E040100AUN
Starting the petrol engine (if equipped)
1. Make sure the parking brake is applied.
2. Manual Transaxle - Depress the
clutch pedal fully and shift the
transaxle into Neutral. Keep the clutch
pedal and brake pedal depressed
whilst turning the ignition switch to the
start position.
Automatic Transaxle - Place the
transaxle shift lever in P (Park).
Depress the brake pedal fully.
You can also start the engine when
the shift lever is in the N (Neutral)position.
3. Turn the ignition switch to START and hold it there until the engine starts (a
maximum of 10 seconds), then
release the key.
4. In extremely cold weather (below -18°C / 0°F) or after the vehicle has
not been operated for several days, let
the engine warm up without depress-
ing the accelerator.
Whether the engine is cold or warm, it
should be started without depressing
the accelerator.
WARNING - Ignition key
Never turn the ignition switch to LOCK or ACC whilst the vehicle is
moving. This would result in loss
of directional control and braking
function, which could cause anaccident.
The anti-theft steering column lock is not a substitute for the parking
brake. Before leaving the driver’s
seat, always make sure the shift
lever is engaged in 1 st
gear for the
manual transaxle or P (Park) for
the automatic transaxle, set the
parking brake fully and shut the
engine off. Unexpected and sud-
den vehicle movement may occurif these precautions are not taken.
Never reach for the ignition switch, or any other controls through the
steering wheel whilst the vehicle is
in motion. The presence of yourhand or arm in this area could
cause a loss of vehicle control, an
accident and serious bodily injuryor death.
Do not place any movable objects around the driver’s seat as they
may move whilst driving, interferewith the driver and lead to an acci-dent.
WARNING
Always wear appropriate shoes
when operating your vehicle.
Unsuitable shoes (high heels, ski
boots,etc.) may interfere with yourability to use the brake and acceler-
ator pedal, and the clutch (ifequipped).