sport mode Hyundai Santa Fe 2012 Owner's Manual
[x] Cancel search | Manufacturer: HYUNDAI, Model Year: 2012, Model line: Santa Fe, Model: Hyundai Santa Fe 2012Pages: 419, PDF Size: 5.61 MB
Page 127 of 419
Features of your vehicle
48
4
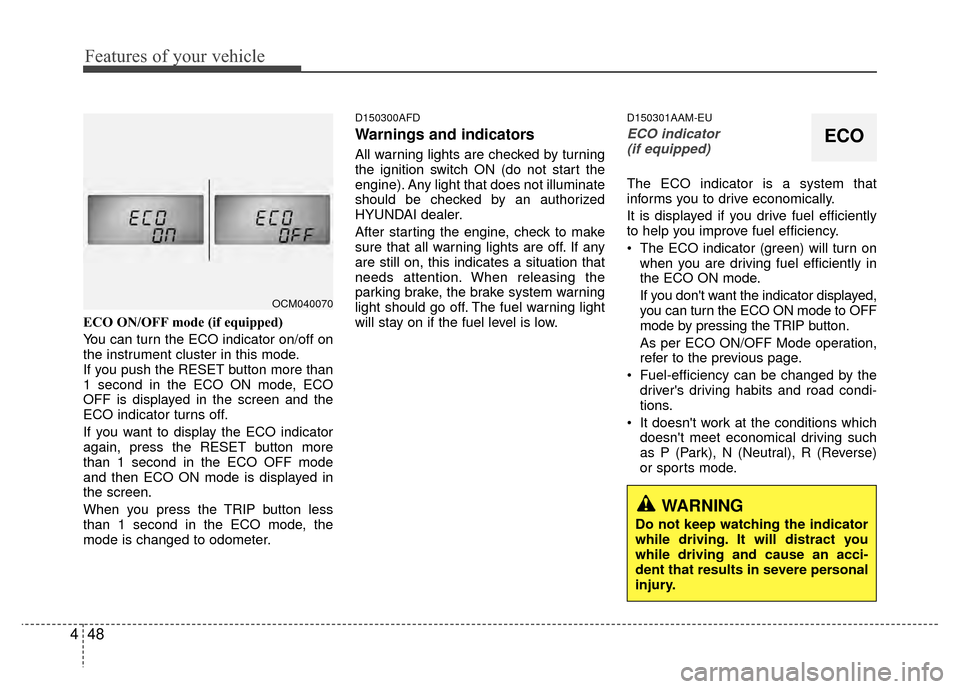
ECO ON/OFF mode (if equipped)
You can turn the ECO indicator on/off on
the instrument cluster in this mode.
If you push the RESET button more than
1 second in the ECO ON mode, ECO
OFF is displayed in the screen and the
ECO indicator turns off.
If you want to display the ECO indicator
again, press the RESET button more
than 1 second in the ECO OFF mode
and then ECO ON mode is displayed in
the screen.
When you press the TRIP button less
than 1 second in the ECO mode, the
mode is changed to odometer.
D150300AFD
Warnings and indicators
All warning lights are checked by turning
the ignition switch ON (do not start the
engine). Any light that does not illuminate
should be checked by an authorized
HYUNDAI dealer.
After starting the engine, check to make
sure that all warning lights are off. If any
are still on, this indicates a situation that
needs attention. When releasing the
parking brake, the brake system warning
light should go off. The fuel warning light
will stay on if the fuel level is low.
D150301AAM-EU
ECO indicator
(if equipped)
The ECO indicator is a system that
informs you to drive economically.
It is displayed if you drive fuel efficiently
to help you improve fuel efficiency.
The ECO indicator (green) will turn on when you are driving fuel efficiently in
the ECO ON mode.
If you don't want the indicator displayed,
you can turn the ECO ON mode to OFF
mode by pressing the TRIP button.
As per ECO ON/OFF Mode operation,
refer to the previous page.
Fuel-efficiency can be changed by the driver's driving habits and road condi-
tions.
It doesn't work at the conditions which doesn't meet economical driving such
as P (Park), N (Neutral), R (Reverse)
or sports mode.
OCM040070
ECO
WARNING
Do not keep watching the indicator
while driving. It will distract you
while driving and cause an acci-
dent that results in severe personal
injury.
Page 254 of 419
513
Driving your vehicle
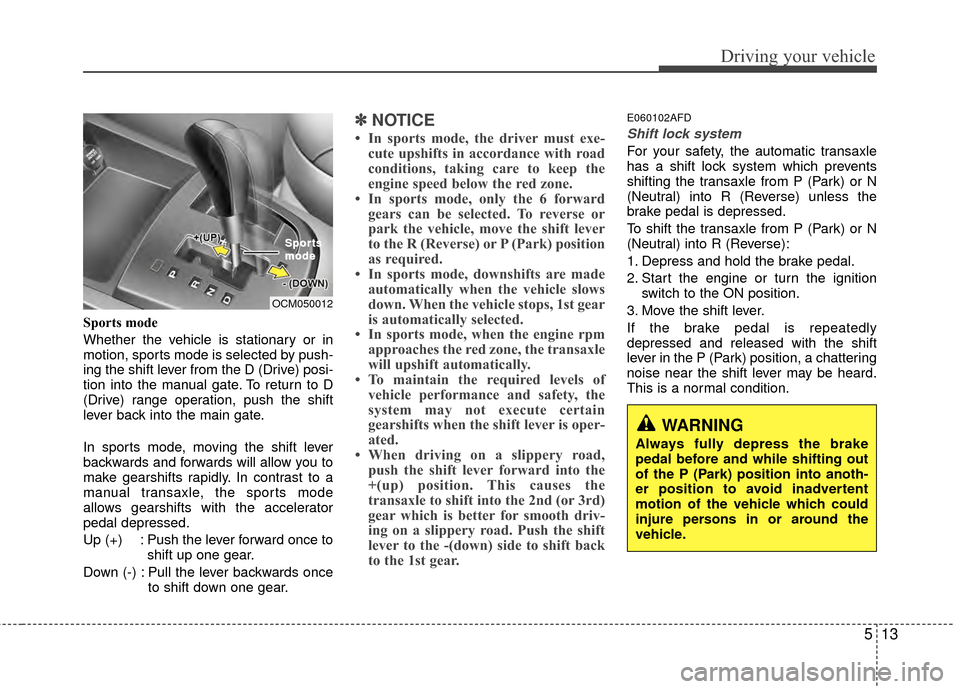
Sports mode
Whether the vehicle is stationary or in
motion, sports mode is selected by push-
ing the shift lever from the D (Drive) posi-
tion into the manual gate. To return to D
(Drive) range operation, push the shift
lever back into the main gate.
In sports mode, moving the shift lever
backwards and forwards will allow you to
make gearshifts rapidly. In contrast to a
manual transaxle, the sports mode
allows gearshifts with the accelerator
pedal depressed.
Up (+) : Push the lever forward once toshift up one gear.
Down (-) : Pull the lever backwards once to shift down one gear.
✽ ✽NOTICE
• In sports mode, the driver must exe-
cute upshifts in accordance with road
conditions, taking care to keep the
engine speed below the red zone.
• In sports mode, only the 6 forward gears can be selected. To reverse or
park the vehicle, move the shift lever
to the R (Reverse) or P (Park) position
as required.
• In sports mode, downshifts are made automatically when the vehicle slows
down. When the vehicle stops, 1st gear
is automatically selected.
• In sports mode, when the engine rpm approaches the red zone, the transaxle
will upshift automatically.
• To maintain the required levels of vehicle performance and safety, the
system may not execute certain
gearshifts when the shift lever is oper-
ated.
• When driving on a slippery road, push the shift lever forward into the
+(up) position. This causes the
transaxle to shift into the 2nd (or 3rd)
gear which is better for smooth driv-
ing on a slippery road. Push the shift
lever to the -(down) side to shift back
to the 1st gear.
E060102AFD
Shift lock system
For your safety, the automatic transaxle
has a shift lock system which prevents
shifting the transaxle from P (Park) or N
(Neutral) into R (Reverse) unless the
brake pedal is depressed.
To shift the transaxle from P (Park) or N
(Neutral) into R (Reverse):
1. Depress and hold the brake pedal.
2. Start the engine or turn the ignition
switch to the ON position.
3. Move the shift lever.
If the brake pedal is repeatedly
depressed and released with the shift
lever in the P (Park) position, a chattering
noise near the shift lever may be heard.
This is a normal condition.
OCM050012 Spor
Spor
ts
ts
mode
mode
WARNING
Always fully depress the brake
pedal before and while shifting out
of the P (Park) position into anoth-
er position to avoid inadvertent
motion of the vehicle which could
injure persons in or around the
vehicle.
Page 369 of 419
Maintenance
42
7
Cold Tire Pressure: The amount of
air pressure in a tire, measured in
pounds per square inch (psi) or kilo-
pascals (kPa) before a tire has built
up heat from driving.
Curb Weight: This means the weight
of a motor vehicle with standard and
optional equipment including the
maximum capacity of fuel, oil and
coolant, but without passengers and
cargo.
DOT Markings: A code molded into
the sidewall of a tire signifying that
the tire is in compliance with the U.S.
Department of Transportation motor
vehicle safety standards. The DOT
code includes the Tire Identification
Number (TIN), an alphanumeric des-
ignator which can also identify the
tire manufacturer, production plant,
brand and date of production.
GVWR: Gross Vehicle Weight Rating
GAWR FRT: Gross Axle Weight
Rating for the Front Axle.
GAWR RR: Gross Axle Weight
Rating for the Rear axle. Intended Outboard Sidewall
: The
side of an asymmetrical tire, that
must always face outward when
mounted on a vehicle.
Kilopascal (kPa): The metric unit for
air pressure.
Load Index: An assigned number
ranging from 1 to 279 that corre-
sponds to the load carrying capacity
of a tire.
Maximum Inflation Pressure : The
maximum air pressure to which a
cold tire may be inflated. The maxi-
mum air pressure is molded onto the
sidewall.
Maximum Load Rating : The load
rating for a tire at the maximum per-
missible inflation pressure for that
tire.
Maximum Loaded Vehicle Weight:
The sum of curb weight; accessory
weight; vehicle capacity weight; and
production options weight.
Normal Occupant Weight:The
number of occupants a vehicle is
designed to seat multiplied by 150
pounds (68 kg). Occupant Distribution
: Designated
seating positions.
Outward Facing Sidewall: The side
of a asymmetrical tire that has a par-
ticular side that faces outward when
mounted on a vehicle. The outward
facing sidewall bears white lettering
or bears manufacturer, brand, and/or
model name molding that is higher or
deeper than the same moldings on
the inner facing sidewall.
Passenger (P-Metric) Tire : A tire
used on passenger cars and some
light duty trucks and multipurpose
vehicles.
Recommended Inflation Pressure :
Vehicle manufacturer's recommend-
ed tire inflation pressure and shown
on the tire placard.
Radial Ply Tire : A pneumatic tire in
which the ply cords that extend to the
beads are laid at 90 degrees to the
centerline of the tread.
Rim: A metal support for a tire and
upon which the tire beads are seat-
ed.
Sidewall: The portion of a tire
between the tread and the bead.
Page 378 of 419
751
Maintenance
Description Fuse ratingProtected component
T/SIG 10A Hazard Switch
S/WARMER 15A Driver/Passenger Seat Warmer Control Module DRL 15A ICM Relay Box (DRL Relay)
HAZARD 15A Hazard Relay, Hazard Switch, BCM, Instrument Cluster (IND.), Multifunction Switch (Light), Rear
Combination Lamp (OUT) LH/RH, Head Lamp LH/RH
RR WIPER 15A Rear Wiper Relay, Rear Wiper Motor, Multifunction Switch (Wiper)
A/CON SW 10A A/C Control Module
CLUSTER 10A Alternator, Instrument Cluster (IND.), BCM, A/V & Navigation Head Unit, Tire Pressure Monitoring
Module, DVD Module
BCM 1 10A BCM
RR A/CON 15A Not Used TPMS 10A Tire Pressure Monitoring Module
BCM 2 10A Rheostat, BCM, Instrument Cluster (MICOM), AC Inverter Switch, AC Inverter Module
AUDIO 2 10A Audio, A/V & Navigation Head Unit, BCM, DVD Module, Digital Clock & Telltale, Power Outside Mirror
Switch
BLOWER 30A Blower Relay, Blower Motor, A/CON SW 10A STOP LP 15A Stop Lamp Switch PDM 1 20A Not Used
BCM 3 10A BCM, Ignition Key ILL. & Door Warning Switch, Security Indicator
CLOCK 15A A/C Control Module, Data Link Connector, Digital Clock & Telltail
AUDIO 1 15A Audio, A/V & Navigation Head Unit, DVD Module ATM 10A Sport Mode Switch, Key Solenoid
PDM 2 15A Not Used POWER CONNECTOR FUSE - ROOM LP 15A, CLOCK 15A, AUDIO 1 15A, BCM 3 10A
Page 412 of 419
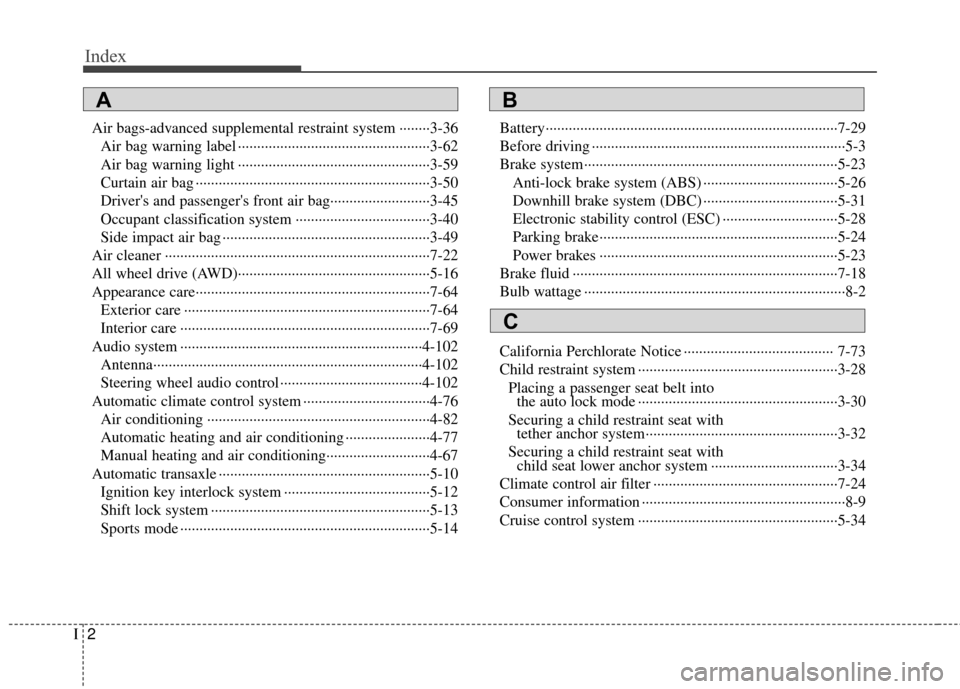
Index
2I
Air bags-advanced supplemental restraint system ········3-36Air bag warning label ··················\
··················\
··············3-62
Air bag warning light ··················\
··················\
··············3-59
Curtain air bag ··················\
··················\
··················\
·······3-50
Driver's and passenger's front air bag··········\
················3-45
Occupant classification system ··················\
·················3-40\
Side impact air bag ··················\
··················\
··················\
3-49
Air cleaner ··················\
··················\
··················\
···············7-22
All wheel drive (AWD)··················\
··················\
··············5-16
Appearance care··················\
··················\
··················\
·······7-64 Exterior care ··················\
··················\
··················\
··········7-64
Interior care ··················\
··················\
··················\
···········7-69
Audio system ··················\
··················\
··················\
·········4-102 Antenna··················\
··················\
··················\
················4-102
Steering wheel audio control ··················\
··················\
·4-102
Automatic climate control system ··················\
···············4-76 Air conditioning ··················\
··················\
··················\
····4-82
Automatic heating and air conditioning ··················\
····4-77
Manual heating and air conditioning··················\
·········4-67
Automatic transaxle ··················\
··················\
··················\
·5-10 Ignition key interlock system ··················\
··················\
··5-12
Shift lock system ··················\
··················\
··················\
···5-13
Sports mode ··················\
··················\
··················\
···········5-14 Battery··················\
··················\
··················\
··················\
····7-29
Before driving ··················\
··················\
··················\
············5-3
Brake system··················\
··················\
··················\
············5-23
Anti-lock brake system (ABS) ··················\
·················5-26\
Downhill brake system (DBC) ··················\
·················5-31\
Electronic stability control (ESC) ··················\
············5-28
Parking brake··················\
··················\
··················\
········5-24
Power brakes ··················\
··················\
··················\
········5-23
Brake fluid ··················\
··················\
··················\
···············7-18
Bulb wattage ··················\
··················\
··················\
··············8-2
California Perchlorate Notice ··················\
··················\
··· 7-73
Child restraint system ··················\
··················\
················3-28 Placing a passenger seat belt intothe auto lock mode ··················\
··················\
················3-30
Securing a child restraint seat with tether anchor system··················\
··················\
··············3-32
Securing a child restraint seat with child seat lower anchor system ··················\
···············3-34
Climate control air filter ··················\
··················\
············7-24
Consumer information ··················\
··················\
·················8-9
Cruise control system ··················\
··················\
················5-34
AB
C