engine Hyundai Santa Fe 2020 User Guide
[x] Cancel search | Manufacturer: HYUNDAI, Model Year: 2020, Model line: Santa Fe, Model: Hyundai Santa Fe 2020Pages: 557, PDF Size: 19.29 MB
Page 40 of 557
2-22
Safety system of your vehicle
Each time you push the switch, the temperature setting of the seat is
changed as follows :
When pressing the switch for more than 1.5 seconds with the
seat warmer operating, the seat
warmer will turn OFF.
The seat warmer defaults to the OFF position each time the ignition
switches is turned to the ON posi-
tion.
Auto Comfort Control (for driver's seat) (if equipped)
- The seat warmer automaticallycontrols the seat temperature
depending on the ambient tem-
perature and the set climate con-
trol temperature when the engine
is running. If the seat warmer
switch is pushed, the seat warmer
will have to be controlled manual-
ly.
To use this function, it must be activated from the Settings menu
in the AV/AVN system screen. - The seat warmer defaults to the
OFF position whenever the igni-
tion switch is ON. However, if the
Auto Comfort Control function is
ON, the driver's seat warmer will
turn on and off depending on the
ambient temperature and the set
climate control temperature.
For more details, refer to the sep-
arately supplied Multimedia manu-
al with your vehicle.
Information
With the seat warmer switch in the
ON position, the heating system in the
seat turns off or on automatically
depending on the seat temperature.
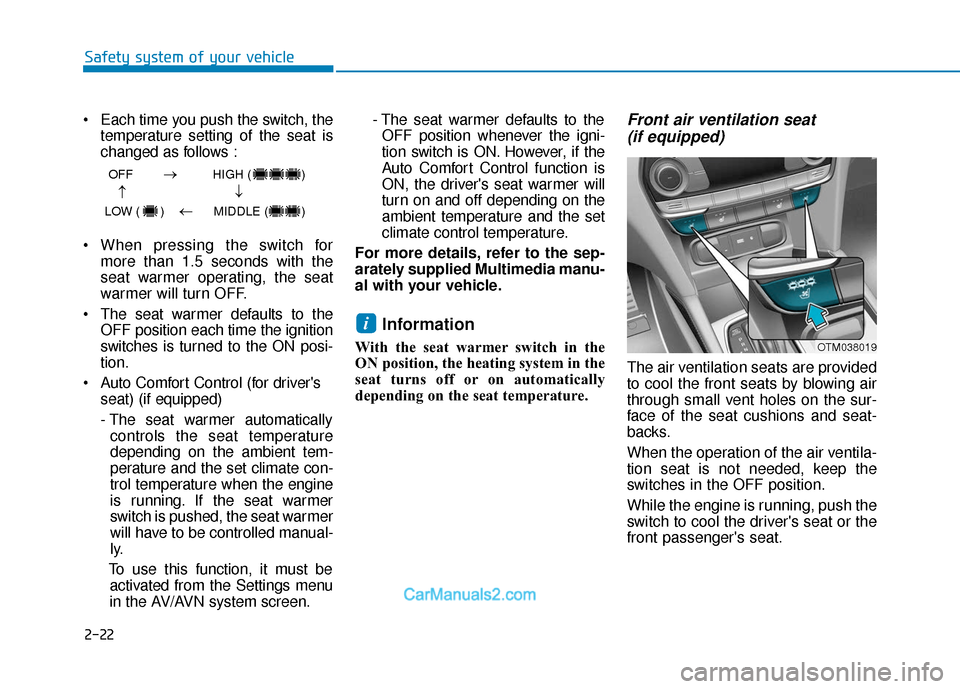
Front air ventilation seat (if equipped)
The air ventilation seats are provided
to cool the front seats by blowing air
through small vent holes on the sur-
face of the seat cushions and seat-
backs.
When the operation of the air ventila-
tion seat is not needed, keep the
switches in the OFF position.
While the engine is running, push the
switch to cool the driver's seat or the
front passenger's seat.
i
OFF HIGH ( )
LOW ( ) MIDDLE ( )
→→
→
→
OTM038019
Page 41 of 557
2-23
Safety system of your vehicle
2
Each time you push the switch,the airflow changes as follows:
When pressing the switch for more than 1.5 seconds with the air
ventilation seat operating, the
operation will turn OFF.
The air v entilation seats def aults
to the OFF position each time the
ignition switch is turned to the ON
position.
Auto Comfort Control (for driver's seat) (if equipped)
- The air ventilation seats auto-matically controls the seat tem-
perature depending on the ambi-
ent temperature and the set cli-
mate control temperature when
the engine is running. If the air
ventilation seats switch is
pushed, the air ventilation seats
will have to be controlled manu-
ally.
To use this function, it must be activated from the Settings menu
in the AV/AVN system screen. - The air ventilation seats defaults
to the OFF position whenever
the ignition switch is ON.
However, if the Auto Comfort
Control function is ON, the air
ventilation seats will turn on and
off depending on the ambient
temperature and the set climate
control temperature.
For more details, refer to the sep-
arately supplied Multimedia manu-
al with your vehicle.
To prevent damage to the air ven-
tilation seat:
Use the air ventilation seat ONLY when the climate control system
is on. Using the air ventilation
seat for prolonged periods of
time with the climate control
system off could cause the air
ventilation seat to malfunction.
Never use a solvent such as paint thinner, benzene, alcohol
or gasoline to clean the seats. Avoid spilling liquids on the sur-
face of the front seats and seat-
backs; this may cause the air
vent holes to become blocked
and not work properly.
Do not place materials such as plastic bags or newspapers
under the seats. They may block
the air intake causing the air
vents to not work properly.
Do not change the seat covers. It may damage the air ventilation
seat.
If the air vents do not operate, restart the vehicle. If there is no
change, have the vehicle
inspected by an authorized
HYUNDAI dealer.
NOTICE
OFF HIGH ( )
LOW ( ) MIDDLE ( )
→→
→
→
Page 42 of 557
2-24
Safety system of your vehicle
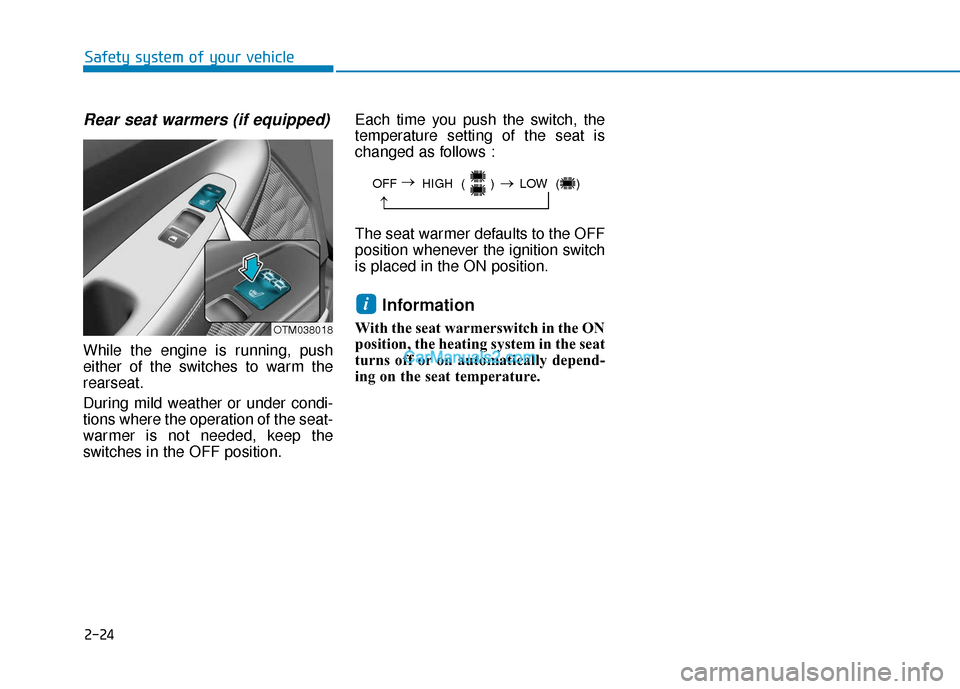
Rear seat warmers (if equipped)
While the engine is running, push
either of the switches to warm the
rearseat.
During mild weather or under condi-
tions where the operation of the seat-
warmer is not needed, keep the
switches in the OFF position.Each time you push the switch, the
temperature setting of the seat is
changed as follows :
The seat warmer defaults to the OFF
position whenever the ignition switch
is placed in the ON position.
Information
With the seat warmerswitch in the ON
position, the heating system in the seat
turns off or on automatically depend-
ing on the seat temperature.
i
OFF HIGH ( ) LOW ( )
→
→
→
OTM038018
Page 73 of 557
2-55
Safety system of your vehicle
2
10.Side pressure sensors
11.Seat belt buckle sensor
12.Emergency Fastening DeviceSystem
13.Occupant classification system
The SRSCM (Supplemental Restraint
System Control Module) continually
monitors all SRS components while
the ignition switch is in the ON position
to determine if a crash impact is
severe enough to require air bag
deployment or pre-tensioner seat belt
deployment.SRS warning light
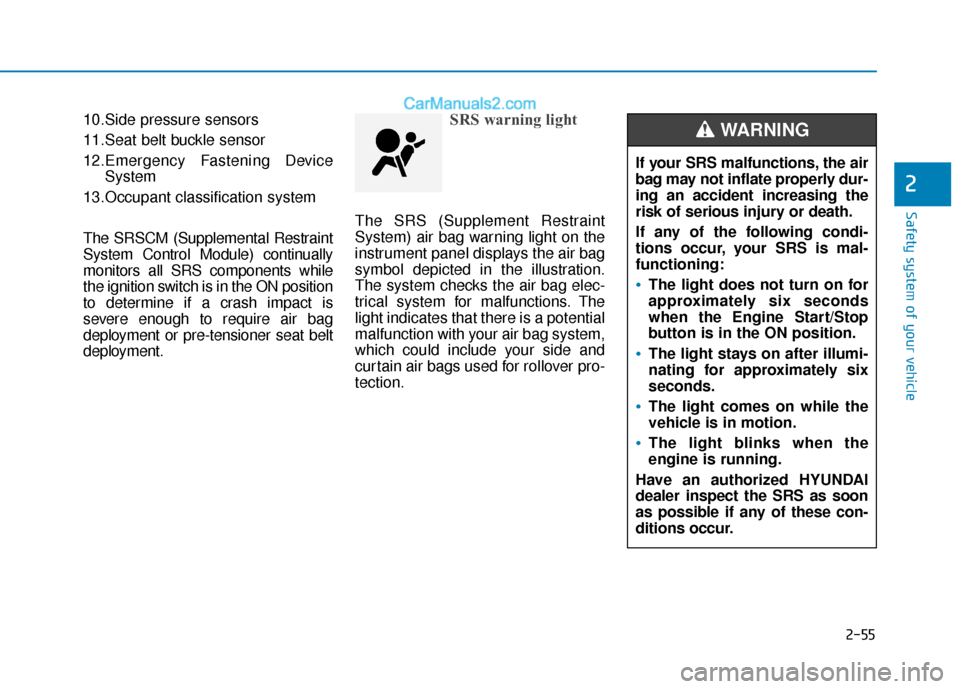
The SRS (Supplement Restraint
System) air bag warning light on the
instrument panel displays the air bag
symbol depicted in the illustration.
The system checks the air bag elec-
trical system for malfunctions. The
light indicates that there is a potential
malfunction with your air bag system,
which could include your side and
curtain air bags used for rollover pro-
tection.
If your SRS malfunctions, the air
bag may not inflate properly dur-
ing an accident increasing the
risk of serious injury or death.
If any of the following condi-
tions occur, your SRS is mal-
functioning:
The light does not turn on for
approximately six seconds
when the Engine Start/Stop
button is in the ON position.
The light stays on after illumi-
nating for approximately six
seconds.
The light comes on while the
vehicle is in motion.
The light blinks when the
engine is running.
Have an authorized HYUNDAI
dealer inspect the SRS as soon
as possible if any of these con-
ditions occur.
WARNING
Page 82 of 557
2-64
Safety system of your vehicle
Proper seated position for OCS
If the "PASSENGER AIR BAG OFF"
indicator is on when an adult is seat-
ed in the front passenger seat, place
the Engine Start/Stop button in the
OFF position and ask the passenger
to sit properly (sitting upright with the
seat back in an upright position, cen-
tered on the seat cushion with their
seat belt on, legs comfortably
extended and their feet on the floor).
Restart the engine and have the per-
son remain in that position. This will
allow the system to detect the person
and to enable the passenger air bag.
If the "PASSENGER AIR BAG OFF"
indicator is still on, ask the passen-
ger to move to the rear seat.The "PASSENGER AIR BAG OFF"
indicator illuminates for approxi-
mately 4 seconds after the Engine
Start/Stop button is in the ON
position or after the engine is
started. If the front passenger seat
is occupied, the OCS will then
classify the front passenger after
several more seconds.
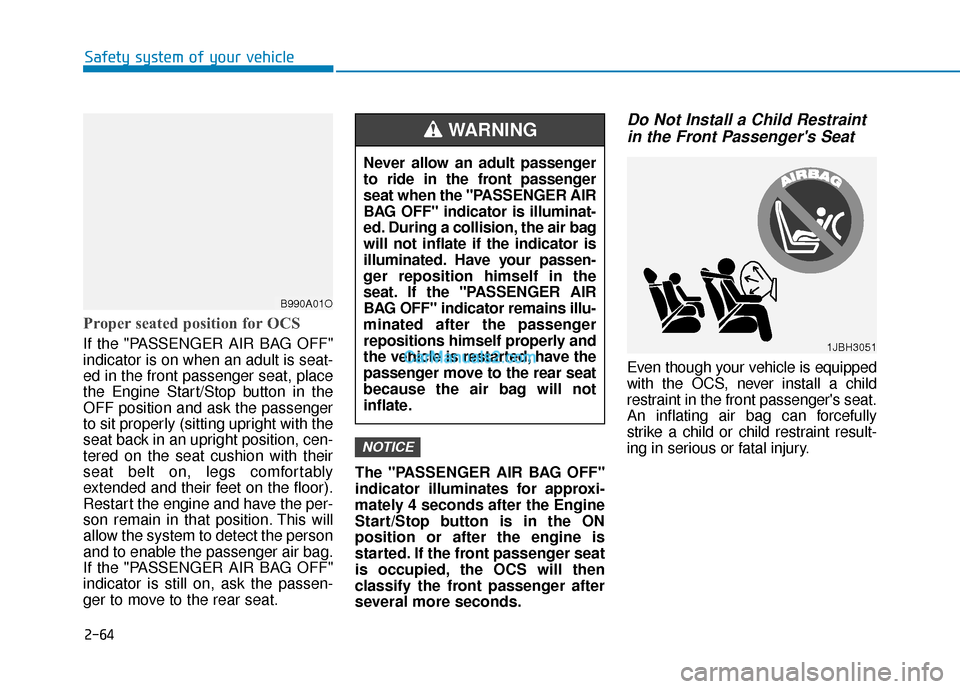
Do Not Install a Child Restraint
in the Front Passenger's Seat
Even though your vehicle is equipped
with the OCS, never install a child
restraint in the front passenger's seat.
An inflating air bag can forcefully
strike a child or child restraint result-
ing in serious or fatal injury.
NOTICE
B990A01O
Never allow an adult passenger
to ride in the front passenger
seat when the "PASSENGER AIR
BAG OFF" indicator is illuminat-
ed. During a collision, the air bag
will not inflate if the indicator is
illuminated. Have your passen-
ger reposition himself in the
seat. If the "PASSENGER AIR
BAG OFF" indicator remains illu-
minated after the passenger
repositions himself properly and
the vehicle is restarted, have the
passenger move to the rear seat
because the air bag will not
inflate.
WARNING
1JBH3051
Page 89 of 557
2-71
Safety system of your vehicle
2
Additional Safety Precautions
Passengers should not move out
of or change seats while the vehi-
cle is moving.A passenger who is
not wearing a seat belt during a
crash or emergency stop can be
thrown against the inside of the vehi-
cle, against other occupants, or be
ejected from the vehicle.
Do not use any accessories on
seat belts. Devices claiming to
improve occupant comfort or reposi-
tion the seat belt can reduce the pro-
tection provided by the seat belt and
increase the chance of serious injury
in a crash. Do not modify the front seats.
Modification of the front seats could
interfere with the operation of the
supplemental restraint system sens-
ing components or side air bags.
Do not place items under the front
seats.
Placing items under the front
seats could interfere with the opera-
tion of the supplemental restraint
system sensing components and
wiring harnesses.
Do not cause impact to the doors.
Impact to the doors when the Engine
Start/Stop button is in the ON posi-
tion may cause the air bags to inflate.
Modifications to accommodate
disabilities. If you require modifica-
tion to your vehicle to accommodate
a disability, contact the HYUNDAI
Customer Connect Center at 800-
633-5151.
Adding equipment to or modify- ing your air bag equipped vehicle
If you modify your vehicle by chang-
ing your vehicle's frame, bumper sys-
tem, front end or side sheet metal or
ride height, this may affect the opera-
tion of your vehicle's air bag system.
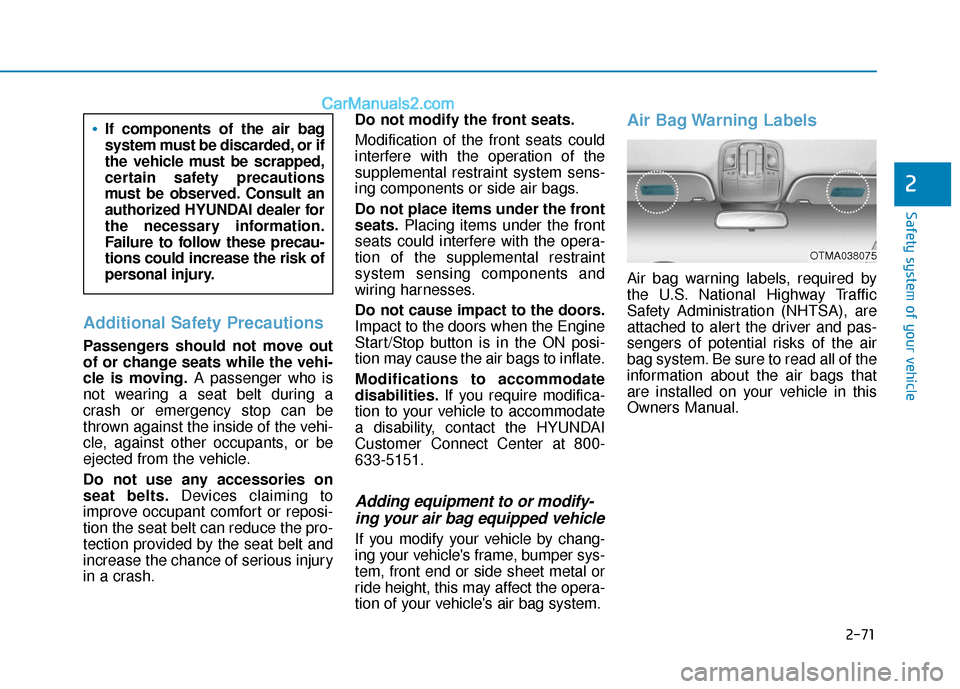
Air Bag Warning Labels
Air bag warning labels, required by
the U.S. National Highway Traffic
Safety Administration (NHTSA), are
attached to alert the driver and pas-
sengers of potential risks of the air
bag system. Be sure to read all of the
information about the air bags that
are installed on your vehicle in this
Owners Manual.
If components of the air bag
system must be discarded, or if
the vehicle must be scrapped,
certain safety precautions
must be observed. Consult an
authorized HYUNDAI dealer for
the necessary information.
Failure to follow these precau-
tions could increase the risk of
personal injury.
OTMA038075
Page 93 of 557
3-4
Convenient features of your vehicle
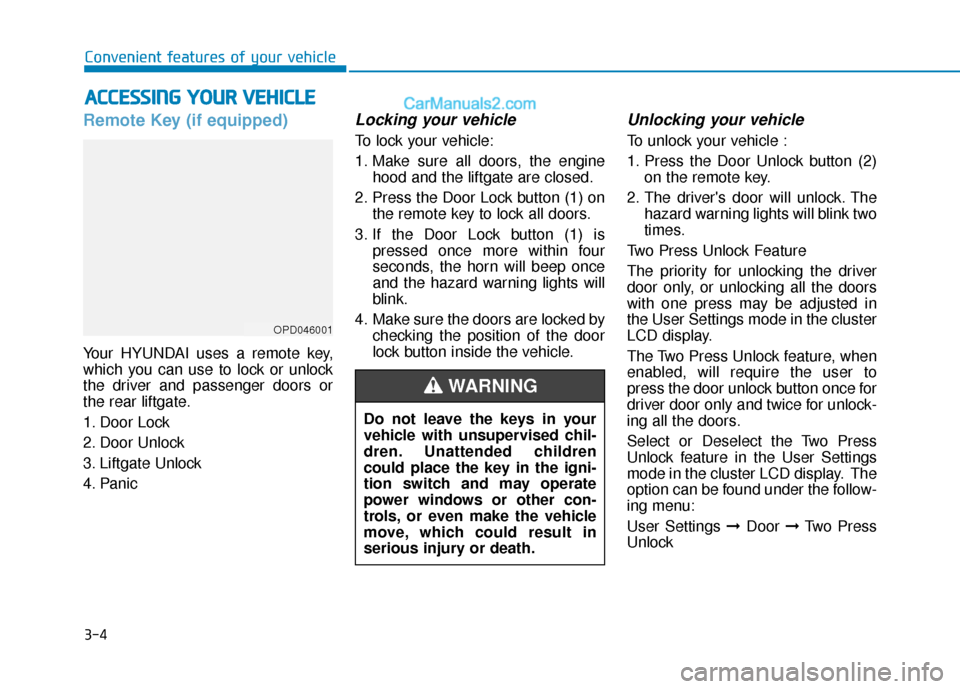
Remote Key (if equipped)
Your HYUNDAI uses a remote key,
which you can use to lock or unlock
the driver and passenger doors or
the rear liftgate.
1. Door Lock
2. Door Unlock
3. Liftgate Unlock
4. Panic
Locking your vehicle
To lock your vehicle:
1. Make sure all doors, the enginehood and the liftgate are closed.
2. Press the Door Lock button (1) on the remote key to lock all doors.
3. If the Door Lock button (1) is pressed once more within four
seconds, the horn will beep once
and the hazard warning lights will
blink.
4. Make sure the doors are locked by checking the position of the door
lock button inside the vehicle.
Unlocking your vehicle
To unlock your vehicle :
1. Press the Door Unlock button (2)on the remote key.
2. The driver's door will unlock. The hazard warning lights will blink two
times.
Two Press Unlock Feature
The priority for unlocking the driver
door only, or unlocking all the doors
with one press may be adjusted in
the User Settings mode in the cluster
LCD display.
The Two Press Unlock feature, when
enabled, will require the user to
press the door unlock button once for
driver door only and twice for unlock-
ing all the doors.
Select or Deselect the Two Press
Unlock feature in the User Settings
mode in the cluster LCD display. The
option can be found under the follow-
ing menu:
User Settings ➞ Door ➞Two Press
Unlock
A A C
CC
CE
E S
SS
SI
IN
N G
G
Y
Y O
O U
UR
R
V
V E
EH
H I
IC
C L
LE
E
OPD046001
Do not leave the keys in your
vehicle with unsupervised chil-
dren. Unattended children
could place the key in the igni-
tion switch and may operate
power windows or other con-
trols, or even make the vehicle
move, which could result in
serious injury or death.
WARNING
Page 97 of 557
3-8
Convenient features of your vehicle
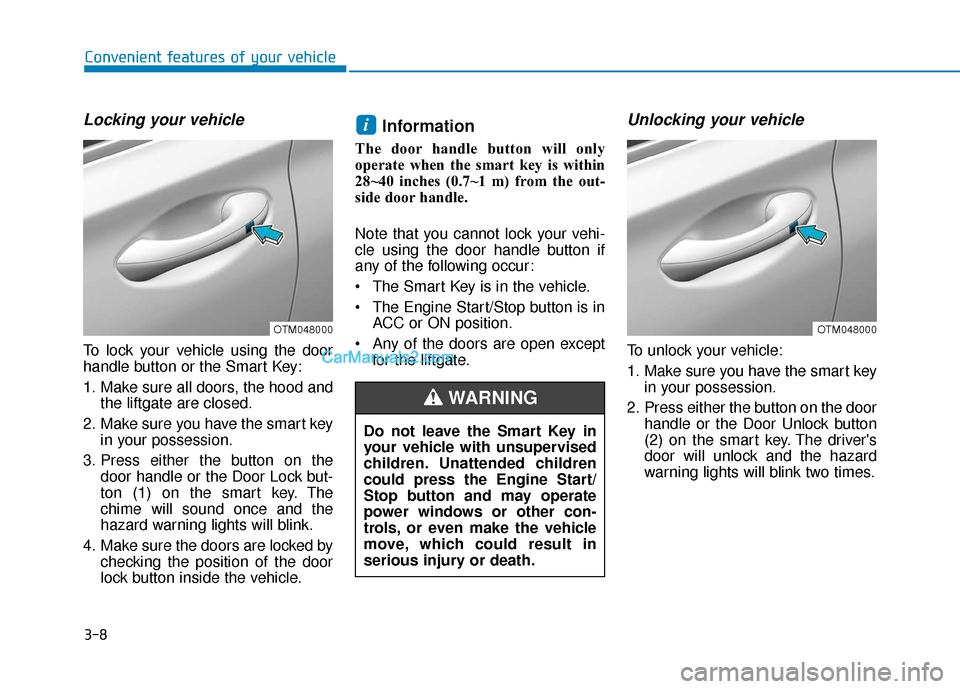
Locking your vehicle
To lock your vehicle using the door
handle button or the Smart Key:
1. Make sure all doors, the hood andthe liftgate are closed.
2. Make sure you have the smart key in your possession.
3. Press either the button on the door handle or the Door Lock but-
ton (1) on the smart key. The
chime will sound once and the
hazard warning lights will blink.
4. Make sure the doors are locked by checking the position of the door
lock button inside the vehicle.
Information
The door handle button will only
operate when the smart key is within
28~40 inches (0.7~1 m) from the out-
side door handle.
Note that you cannot lock your vehi-
cle using the door handle button if
any of the following occur:
The Smart Key is in the vehicle.
The Engine Start/Stop button is inACC or ON position.
Any of the doors are open except for the liftgate.
Unlocking your vehicle
To unlock your vehicle:
1. Make sure you have the smart keyin your possession.
2. Press either the button on the door handle or the Door Unlock button
(2) on the smart key. The driver's
door will unlock and the hazard
warning lights will blink two times.
i
Do not leave the Smart Key in
your vehicle with unsupervised
children. Unattended children
could press the Engine Start/
Stop button and may operate
power windows or other con-
trols, or even make the vehicle
move, which could result in
serious injury or death.
WARNING
OTM048000OTM048000
Page 99 of 557
3-10
Convenient features of your vehicle
Power liftgate
To unlock and open the liftgate:
1. Make sure you have the smart keyin your possession.
2. Press either the liftgate handle release switch on the vehicle or
press and hold the Liftgate Unlock
button on the smart key for more
than one second. The hazard
warning lights will blink two times
and the liftgate latch will open.
3. Once the liftgate is opened and then closed, the liftgate will auto-
matically re-lock after 30 seconds.
Information
The liftgate handle switch will only
operate when the smart key is within
28 inches (0.7 m) from the liftgate
handle.
Panic button
Press and hold the Panic button (4)
for more than one second. The horn
sounds and hazard warning lights
blink for about 30 seconds. To cancel
the panic mode, press any button on
the Smart Key.
Start-up
You can start the vehicle without
inserting the key.
For information, refer to the
"Engine Start/Stop Button" sec-
tion in chapter 5.
To prevent damaging the smart key:
Keep the smart key in a cool, dryplace to avoid damage or mal-
function. Exposure to moisture
or high temperature may cause
the internal circuit of the smart
key to malfunction which may
not be covered under warranty.
Avoid dropping or throwing the smart key.
Protect the smart key from extreme temperatures.
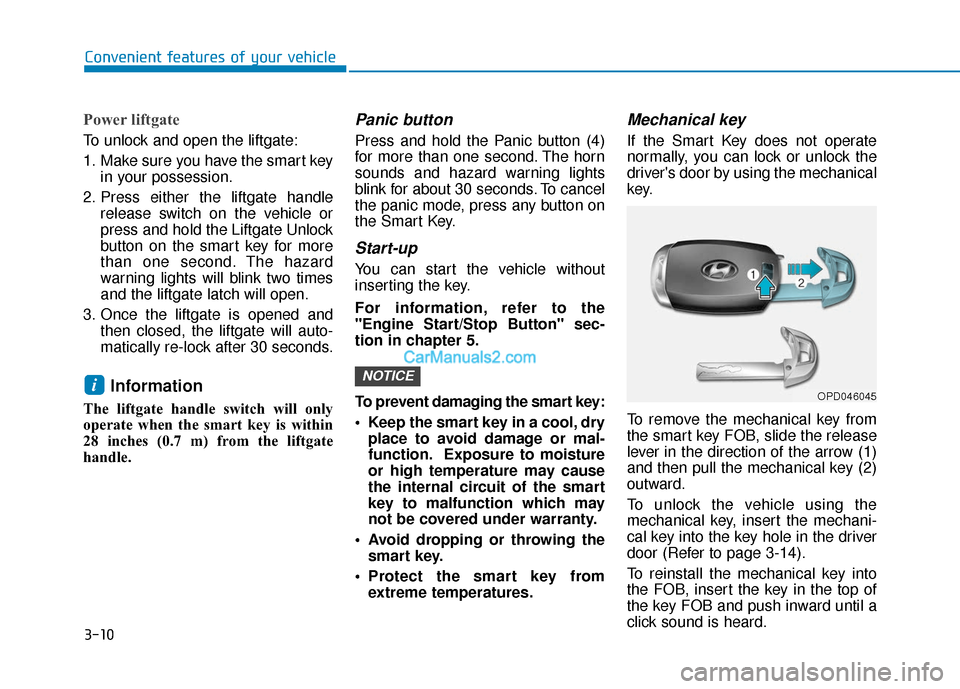
Mechanical key
If the Smart Key does not operate
normally, you can lock or unlock the
driver's door by using the mechanical
key.
To remove the mechanical key from
the smart key FOB, slide the release
lever in the direction of the arrow (1)
and then pull the mechanical key (2)
outward.
To unlock the vehicle using the
mechanical key, insert the mechani-
cal key into the key hole in the driver
door (Refer to page 3-14).
To reinstall the mechanical key into
the FOB, insert the key in the top of
the key FOB and push inward until a
click sound is heard.
NOTICEiOPD046045
Page 101 of 557
3-12
Convenient features of your vehicle
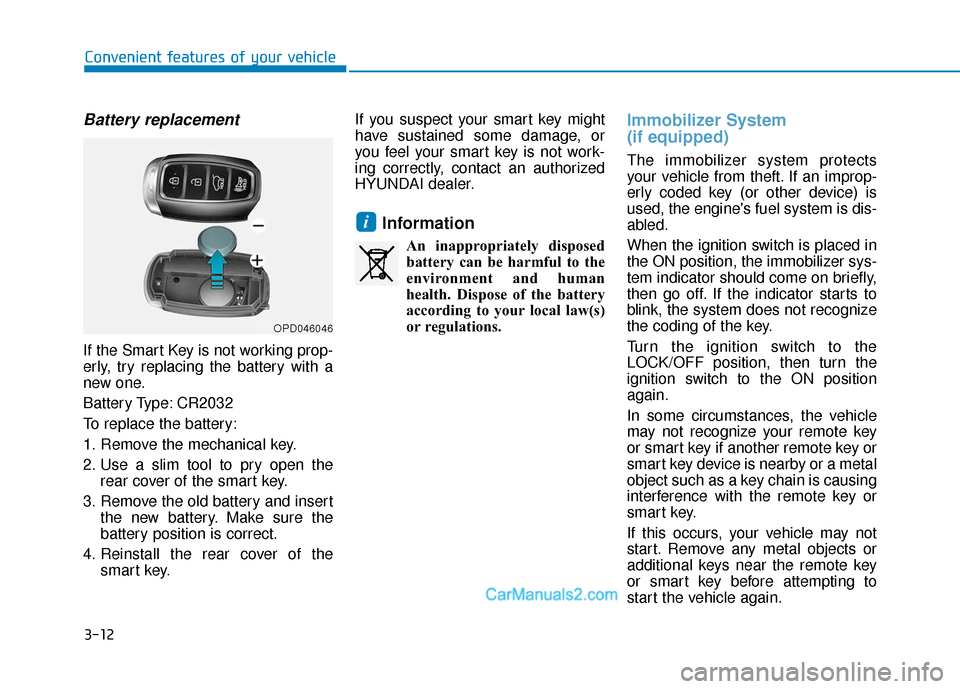
Battery replacement
If the Smart Key is not working prop-
erly, try replacing the battery with a
new one.
Battery Type: CR2032
To replace the battery:
1. Remove the mechanical key.
2. Use a slim tool to pry open therear cover of the smart key.
3. Remove the old battery and insert the new battery. Make sure the
battery position is correct.
4. Reinstall the rear cover of the smart key. If you suspect your smart key might
have sustained some damage, or
you feel your smart key is not work-
ing correctly, contact an authorized
HYUNDAI dealer.
Information
An inappropriately disposed
battery can be harmful to the
environment and human
health. Dispose of the battery
according to your local law(s)
or regulations.
Immobilizer System
(if equipped)
The immobilizer system protects
your vehicle from theft. If an improp-
erly coded key (or other device) is
used, the engine's fuel system is dis-
abled.
When the ignition switch is placed in
the ON position, the immobilizer sys-
tem indicator should come on briefly,
then go off. If the indicator starts to
blink, the system does not recognize
the coding of the key.
Turn the ignition switch to the
LOCK/OFF position, then turn the
ignition switch to the ON position
again.
In some circumstances, the vehicle
may not recognize your remote key
or smart key if another remote key or
smart key device is nearby or a metal
object such as a key chain is causing
interference with the remote key or
smart key.
If this occurs, your vehicle may not
start. Remove any metal objects or
additional keys near the remote key
or smart key before attempting to
start the vehicle again.
i
OPD046046