lcd display mode Hyundai Santa Fe 2020 Owner's Guide
[x] Cancel search | Manufacturer: HYUNDAI, Model Year: 2020, Model line: Santa Fe, Model: Hyundai Santa Fe 2020Pages: 557, PDF Size: 19.29 MB
Page 212 of 557
3-123
Convenient features of your vehicle
3
Welcome System (if equipped)
Welcome light
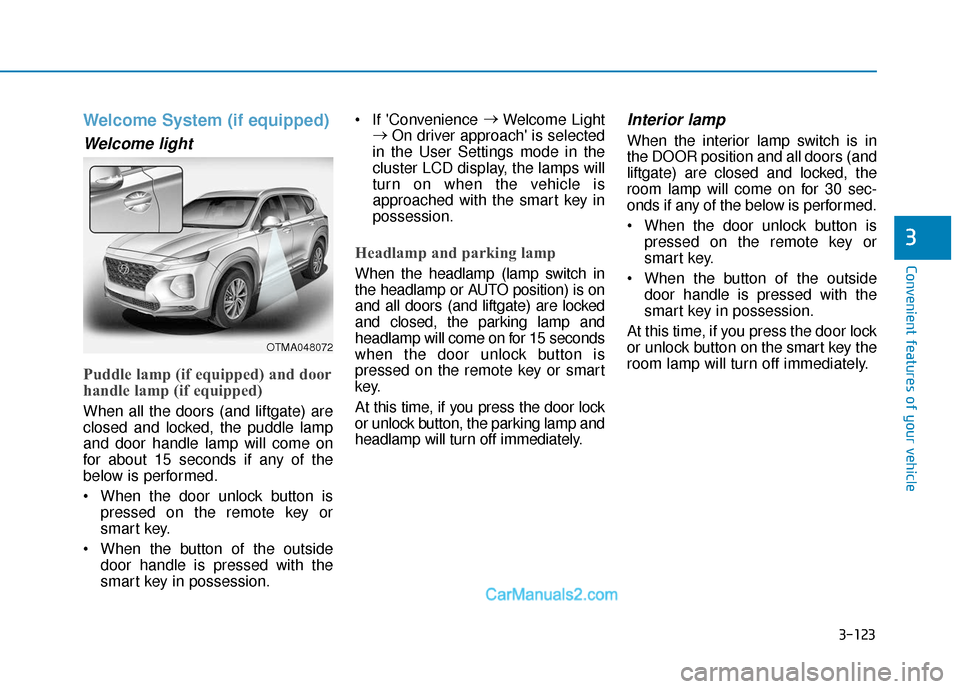
Puddle lamp (if equipped) and door
handle lamp (if equipped)
When all the doors (and liftgate) are
closed and locked, the puddle lamp
and door handle lamp will come on
for about 15 seconds if any of the
below is performed.
When the door unlock button ispressed on the remote key or
smart key.
When the button of the outside door handle is pressed with the
smart key in possession. If 'Convenience
→
Welcome Light
→ On driver approach' is selected
in the User Settings mode in the
cluster LCD display, the lamps will
turn on when the vehicle is
approached with the smart key in
possession.
Headlamp and parking lamp
When the headlamp (lamp switch in
the headlamp or AUTO position) is on
and all doors (and liftgate) are locked
and closed, the parking lamp and
headlamp will come on for 15 seconds
when the door unlock button is
pressed on the remote key or smart
key.
At this time, if you press the door lock
or unlock button, the parking lamp and
headlamp will turn off immediately.
Interior lamp
When the interior lamp switch is in
the DOOR position and all doors (and
liftgate) are closed and locked, the
room lamp will come on for 30 sec-
onds if any of the below is performed.
When the door unlock button is pressed on the remote key or
smart key.
When the button of the outside door handle is pressed with the
smart key in possession.
At this time, if you press the door lock
or unlock button on the smart key the
room lamp will turn off immediately.
OTMA048072
Page 241 of 557
3-152
Convenient features of your vehicle
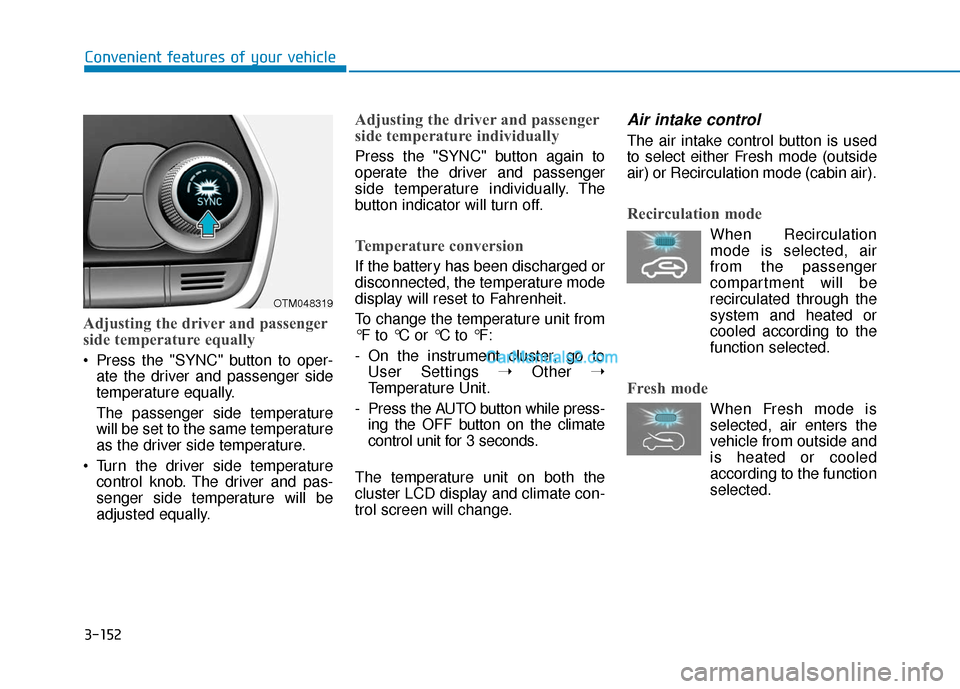
Adjusting the driver and passenger
side temperature equally
Press the "SYNC" button to oper-ate the driver and passenger side
temperature equally.
The passenger side temperature
will be set to the same temperature
as the driver side temperature.
Turn the driver side temperature control knob. The driver and pas-
senger side temperature will be
adjusted equally.
Adjusting the driver and passenger
side temperature individually
Press the "SYNC" button again to
operate the driver and passenger
side temperature individually. The
button indicator will turn off.
Temperature conversion
If the battery has been discharged or
disconnected, the temperature mode
display will reset to Fahrenheit.
To change the temperature unit from
°F to °C or °C to °F:
- On the instrument cluster, go toUser Settings ➝ Other ➝
Temperature Unit.
- Press the AUTO button while press- ing the OFF button on the climate
control unit for 3 seconds.
The temperature unit on both the
cluster LCD display and climate con-
trol screen will change.
Air intake control
The air intake control button is used
to select either Fresh mode (outside
air) or Recirculation mode (cabin air).
Recirculation mode
When Recirculation mode is selected, air
from the passenger
compartment will be
recirculated through the
system and heated or
cooled according to the
function selected.
Fresh mode
When Fresh mode is selected, air enters the
vehicle from outside and
is heated or cooled
according to the function
selected.
OTM048319
Page 263 of 557
3-174
Convenient features of your vehicle
To charge a cellular phone
The wireless cellular phone charging
system charges only the Qi-enabled
cellular phones ( ). Read the label
on the cellular phone accessory
cover or visit your cellular phone
manufacturer's website to check
whether your cellular phone supports
the Qi technology.
The wireless charging process starts
when you put a Qi-enabled cellular
phone on the wireless charging unit.
1. Remove other items, including thesmart key, from the wireless charg-
ing unit. If not, the wireless charg-
ing process may be interrupted.
Place the cellular phone on the
center of the charging pad ( ).
2. The indicator light is orange when the cellular phone is charging. The
indicator light turns green when
phone charging is complete.
3. You can turn ON or OFF the wire- less charging function in the user
settings mode on the instrument
cluster. For further information,
refer to the "LCD Display Modes"
in this chapter. If your cellular phone is not charging:
- Slightly change the position of the
cellular phone on the charging
pad.
- Make sure the indicator light is orange.
The indicator light will blink orange for
10 seconds if there is a malfunction in
the wireless charging system.
In this case, temporarily stop the
charging process, and re-attempt to
charge your cellular phone again.
The system warns you with a mes-
sage on the LCD display if the cellular
phone is still on the wireless charging
unit after the engine is turned OFF
and the front door is opened.
Information
For some manufacturers' cellular
phones, the system may not warn you
even though the cellular phone is left
on the wireless charging unit. This is
due to the particular characteristic of
the cellular phone and not a malfunc-
tion of the wireless charging. The wireless cellular phone
charging system may not sup-
port certain cellular phones,
which are not verified for the Qi
specification ( ).
When placing your cellular phone on the charging mat,
position the phone in the middle
of the mat for optimal charging
performance. If your cellular
phone is off to the side, the
charging rate may be less and in
some cases the cellular phone
may experience higher heat con-
duction.
In some cases, the wireless charging may stop temporarily
when the Remote Key or Smart
Key is used, either when starting
the vehicle or locking/unlocking
the doors, etc.
When charging certain cellular phones, the charging indicator
may not change to green when
the cellular phone is fully
charged.
NOTICE
i
Page 312 of 557
5-38
Driving your vehicle
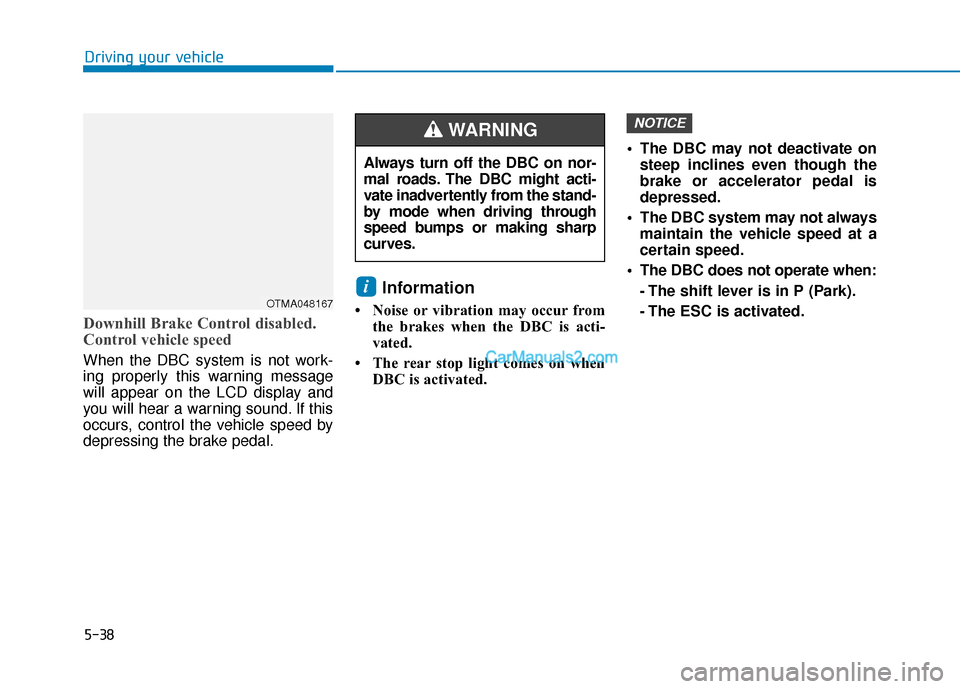
Downhill Brake Control disabled.
Control vehicle speed
When the DBC system is not work-
ing properly this warning message
will appear on the LCD display and
you will hear a warning sound. If this
occurs, control the vehicle speed by
depressing the brake pedal.
Information
• Noise or vibration may occur fromthe brakes when the DBC is acti-
vated.
• The rear stop light comes on when DBC is activated. The DBC may not deactivate on
steep inclines even though the
brake or accelerator pedal is
depressed.
The DBC system may not always maintain the vehicle speed at a
certain speed.
The DBC does not operate when: - The shift lever is in P (Park).
- The ESC is activated.
NOTICE
i
Always turn off the DBC on nor-
mal roads. The DBC might acti-
vate inadvertently from the stand-
by mode when driving through
speed bumps or making sharp
curves.
WARNING
OTMA048167
Page 315 of 557
5-41
Driving your vehicle
5
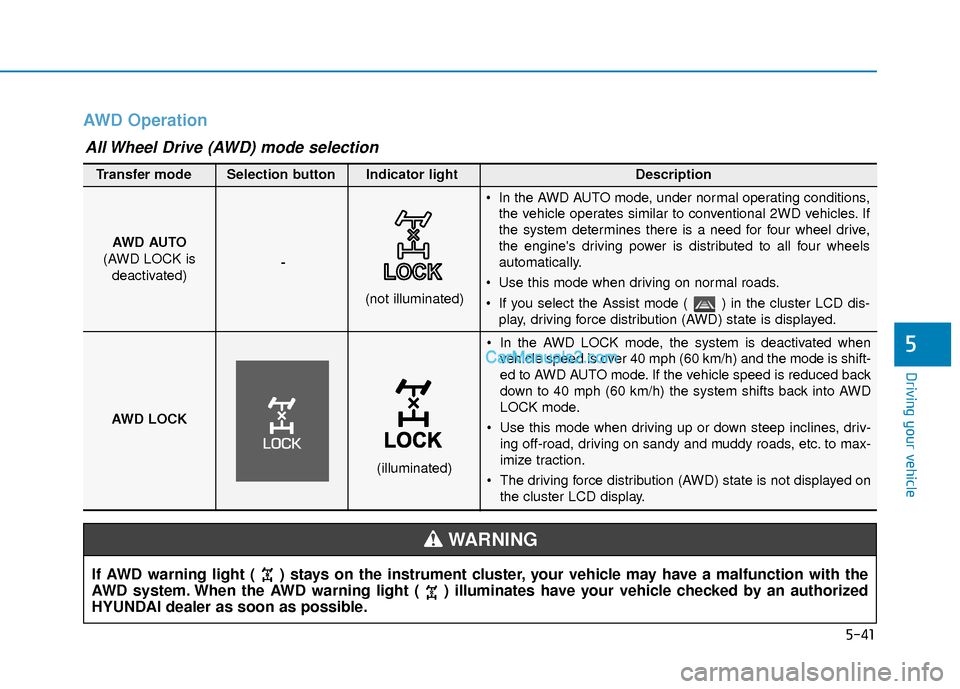
AWD Operation
If AWD warning light ( ) stays on the instrument cluster, your vehicle may have a malfunction with the
AWD system. When the AWD warning light ( ) illuminates have your vehicle checked by an authorized
HYUNDAI dealer as soon as possible.
WARNING
In the AWD LOCK mode, the system is deactivated whenvehicle speed is over 40 mph (60 km/h) and the mode is shift-
ed to AWD AUTO mode. If the vehicle speed is reduced back
down to 40 mph (60 km/h) the system shifts back into AWD
LOCK mode.
Use this mode when driving up or down steep inclines, driv- ing off-road, driving on sandy and muddy roads, etc. to max-
imize traction.
The driving force distribution (AWD) state is not displayed on the cluster LCD display.
AWD AUTO
(AWD LOCK is deactivated) -
(not illuminated)
Transfer mode Selection button Indicator light Description
In the AWD AUTO mode, under normal operating conditions,
the vehicle operates similar to conventional 2WD vehicles. If
the system determines there is a need for four wheel drive,
the engine's driving power is distributed to all four wheels
automatically.
Use this mode when driving on normal roads.
If you select the Assist mode ( ) in the cluster LCD dis- play, driving force distribution (AWD) state is displayed.
AWD LOCK
(illuminated)
All Wheel Drive (AWD) mode selection
Page 321 of 557
5-47
Driving your vehicle
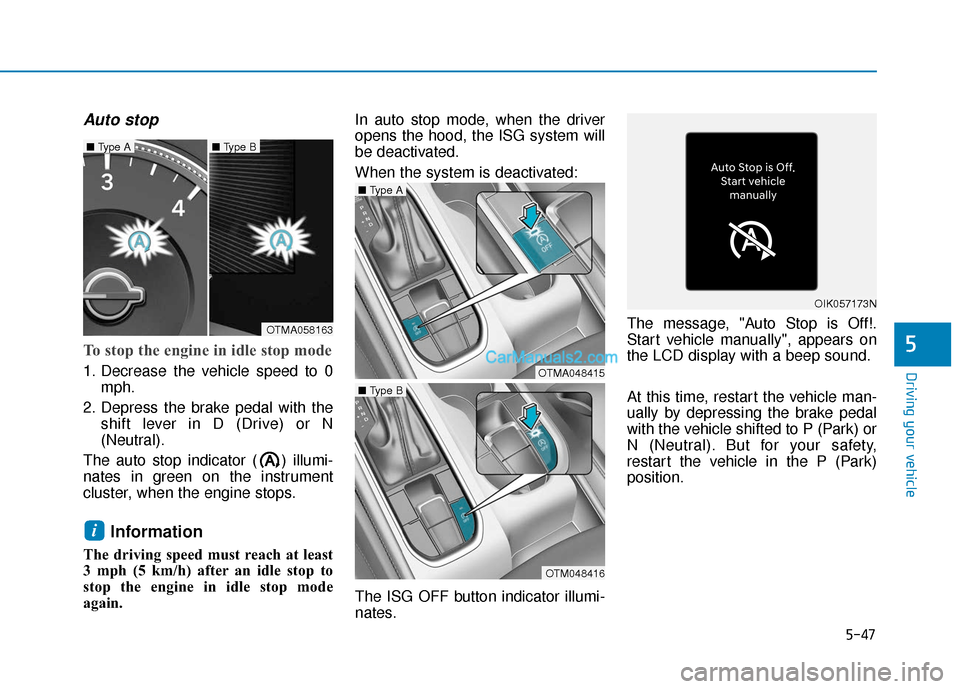
Auto stop
To stop the engine in idle stop mode
1. Decrease the vehicle speed to 0mph.
2. Depress the brake pedal with the shift lever in D (Drive) or N
(Neutral).
The auto stop indicator ( ) illumi-
nates in green on the instrument
cluster, when the engine stops.
Information
The driving speed must reach at least
3 mph (5 km/h) after an idle stop to
stop the engine in idle stop mode
again. In auto stop mode, when the driver
opens the hood, the ISG system will
be deactivated.
When the system is deactivated:
The ISG OFF button indicator illumi-
nates.
The message, "Auto Stop is Off!.
Start vehicle manually", appears on
the LCD display with a beep sound.
At this time, restart the vehicle man-
ually by depressing the brake pedal
with the vehicle shifted to P (Park) or
N (Neutral). But for your safety,
restart the vehicle in the P (Park)
position.
i
5
OTMA058163
■
Type A■ Type B
OTMA048415
■ Type A
OTM048416
■ Type B
OIK057173N
Page 322 of 557
5-48
Auto start
To restart the engine in the auto
stop mode
Release the brake pedal.
- When Auto Hold is activated, if yourelease the brake pedal, the
engine will be in the auto stop
state. However, if you depress the
accelerator pedal, the engine will
start again.
The auto stop indicator ( ) goes
OFF on the instrument cluster, when
the engine is restarted.
The engine is automatically restart-
ed in the following situations.
The brake vacuum pressure is low
The engine has stopped for about 5 minutes
The air conditioning is ON with the fan speed set to the highest posi-
tion
The front defroster is ON
The battery is weak
The cooling and heating perform- ance of the climate control system
is unsatisfactory
The vehicle is shifted to P (Park) when Auto Hold is activated
The door is opened or the seatbelt is unfastened when Auto Hold is
activated
The EPB switch is pressed when Auto Hold is activated
The auto stop indicator ( ) blinks
in green for 5 seconds on the instru-
ment cluster.
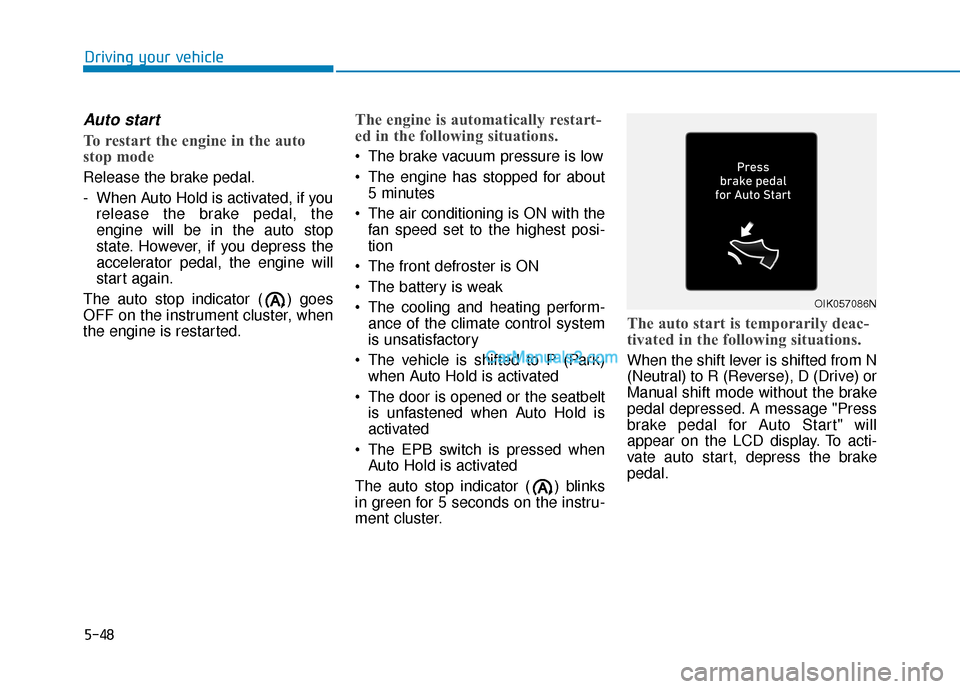
The auto start is temporarily deac-
tivated in the following situations.
When the shift lever is shifted from N
(Neutral) to R (Reverse), D (Drive) or
Manual shift mode without the brake
pedal depressed. A message "Press
brake pedal for Auto Start" will
appear on the LCD display. To acti-
vate auto start, depress the brake
pedal.
Driving your vehicle
OIK057086N
Page 327 of 557
5-53
Driving your vehicle
Limitation of SMART mode
The SMART mode may be limited in
following situations. (The OFF indica-
tor illuminates in those situations.)
The driver manually moves theshift lever :
It deactivates SMART mode. The
vehicle drives, as the driver manu-
ally moves the shift lever.
The cruise control is activated : The cruise control system may
deactivate the SMART mode when
the vehicle is controlled by the set
speed of the smart cruise control
system. (SMART mode is not
deactivated just by activating the
cruise control system.) The transmission oil temperature is
either extremely low or extremely
high :
The SMART mode can be active in
most of the normal driving situa-
tions. However, an extremely high/
low transmission oil temperature
may temporarily deactivate the
SMART mode, because the trans-
mission condition is out of normal
operation condition.
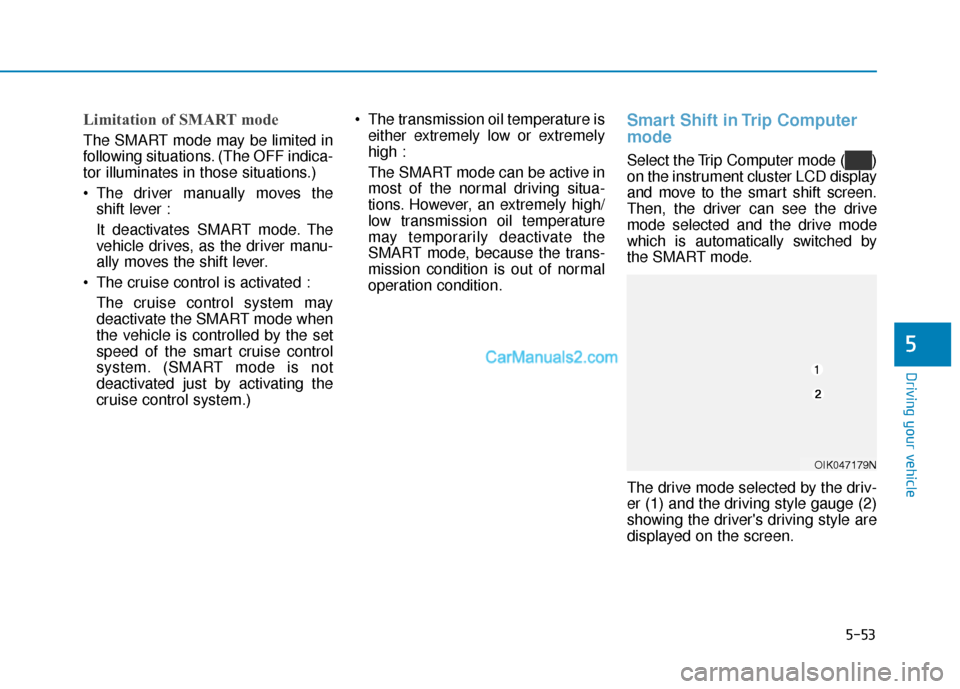
Smart Shift in Trip Computer
mode
Select the Trip Computer mode ( )
on the instrument cluster LCD display
and move to the smart shift screen.
Then, the driver can see the drive
mode selected and the drive mode
which is automatically switched by
the SMART mode.
The drive mode selected by the driv-
er (1) and the driving style gauge (2)
showing the driver's driving style are
displayed on the screen.
5
OIK047179N
Page 331 of 557
5-57
Driving your vehicle
5
FCA Warning Message and
System Control
The FCA produces warning mes-
sages and warning alarms in accor-
dance with the collision risk levels,
such as abrupt stopping of the vehi-
cle in front, insufficient braking dis-
tance, or pedestrian detection. Also,
it controls the brakes in accordance
with the collision risk levels.
The driver can select the initial warn-
ing activation time in the User
Settings in the LCD display. The
options for the initial Forward Collision
Warning include Early or Later initial
warning time.
Collision Warning (First warning)
This warning message appears on
the LCD display with a warning
chime. Additionally, some vehicle
system intervention occurs by the
engine management system to help
decelerate the vehicle.
- Your vehicle speed may deceleratemoderately.
- The FCA system limitedly controls the brakes to preemptively mitigate
impact in a collision.
- If you select "Warning Only", the FCA system activates and pro-
duces only warning alarms in
accordance with the collision risk
levels. You should control the brake
directly because the FCA system
do not control the brake.
Emergency Braking(Second warning)
This warning message appears on
the LCD display with a warning
chime.
Additionally, some vehicle system
intervention occurs by the engine
management system to help decel-
erate the vehicle.
- The FCA system limitedly controls
the brakes to preemptively mitigate
impact in a collision. The brake
control is maximized just before a
collision.
OTM058047L
OTM058048L
Page 369 of 557
5-95
Driving your vehicle
5
Note that the vehicle
speed must be at least
approximately 40 mph
(64 km/h) to ENABLE the
LKA system. The indicator in the
cluster display will illuminate green.
The color of indicator will change
depending on the condition of LKA
system.
- White : Sensor does not detect
lane markers or vehicle
speed is under 40 mph (64
km/h).
- Green : Sensor detects lane mark- ers and the system is able
to control vehicle steering.
Information
If the indicator (white) is activated
from the previous ignition cycle, the
system will turn ON without any addi-
tional control. If you press the LKA
switch again, the indicator on the clus-
ter goes off.
LKA system activation
To see the LKA system screen onthe LCD display in the cluster,
select Assist mode ( ). For more
details, refer to "LCD Display
Modes" in chapter 3.
i
OTM058064L
The Lane Keeping Assist (LKA)
system is a system to help pre-
vent the driver from leaving the
lane. However, the driver should
not solely rely on the system
but always check the road con-
ditions when driving.
WARNING