ECU Hyundai Sonata
[x] Cancel search | Manufacturer: HYUNDAI, Model Year: , Model line: , Model:Pages: 340, PDF Size: 18.45 MB
Page 46 of 340
337
Safety features of your vehicle
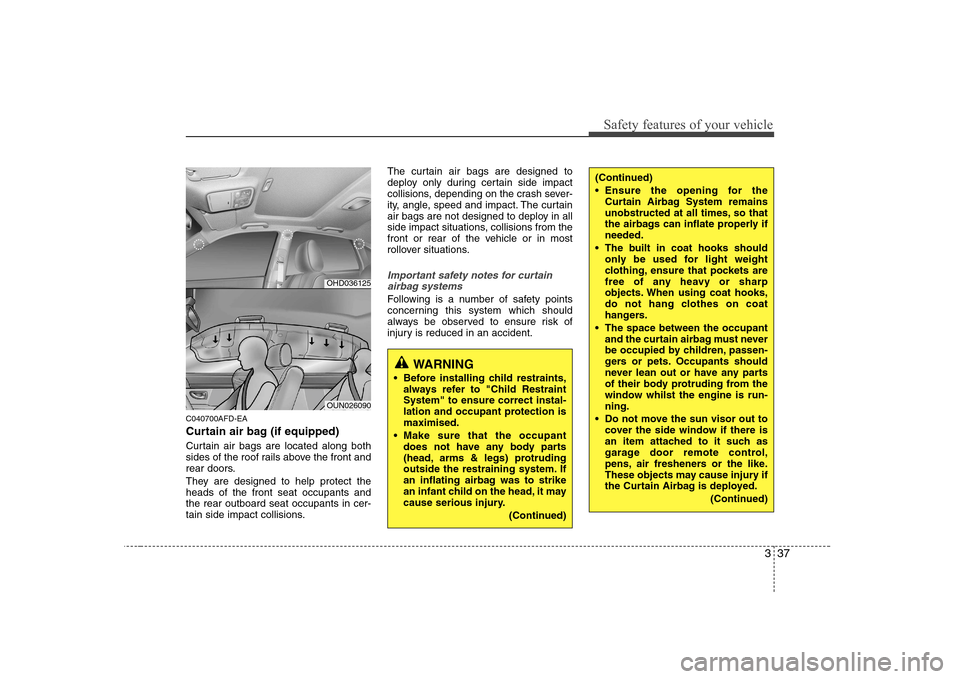
C040700AFD-EA
Curtain air bag (if equipped)
Curtain air bags are located along both
sides of the roof rails above the front and
rear doors.
They are designed to help protect the heads of the front seat occupants andthe rear outboard seat occupants in cer-
tain side impact collisions.The curtain air bags are designed to
deploy only during certain side impact
collisions, depending on the crash sever-
ity, angle, speed and impact. The curtain
air bags are not designed to deploy in all
side impact situations, collisions from the
front or rear of the vehicle or in most
rollover situations.
Important safety notes for curtain
airbag systems
Following is a number of safety points
concerning this system which should
always be observed to ensure risk of
injury is reduced in an accident.
WARNING
Before installing child restraints, always refer to "Child Restraint System" to ensure correct instal-
lation and occupant protection ismaximised.
Make sure that the occupant does not have any body parts
(head, arms & legs) protruding
outside the restraining system. If
an inflating airbag was to strike
an infant child on the head, it may
cause serious injury.
(Continued)
(Continued)
Ensure the opening for theCurtain Airbag System remains
unobstructed at all times, so that
the airbags can inflate properly ifneeded.
The built in coat hooks should only be used for light weight
clothing, ensure that pockets are
free of any heavy or sharp
objects. When using coat hooks,
do not hang clothes on coat
hangers.
The space between the occupant and the curtain airbag must never
be occupied by children, passen-
gers or pets. Occupants should
never lean out or have any parts
of their body protruding from the
window whilst the engine is run-ning.
Do not move the sun visor out to cover the side window if there is
an item attached to it such as
garage door remote control,
pens, air fresheners or the like.
These objects may cause injury if
the Curtain Airbag is deployed.
(Continued)
OHD036125
OUN026090
Page 47 of 340
Safety features of your vehicle
38
3
(Continued)
Where sun blinds are fitted to the
rear doors, these must not
obstruct or impair the airbag in
any way.
Do not install any accessories or childrenâs toys in the Curtain
Airbag deployment zones, as this
may impair the operation of the
system or throw parts of them
into the vehicle cabin causing
injury to occupants if the system
is deployed.
To maintain the integrity of the Curtain Airbag system, any work,
removal or installation of the
airbag and associated compo-
nents (such as roof lining and
side trims) should always be per-
formed by a qualified vehicle
repairer.WARNING
In order for side and curtain air bags to provide its best protec-
tion, both front seat occupants
and both outboard rear occu-pants should sit in an upright
position with the seat belts prop-
erly fastened. Importantly, chil-
dren should sit in a proper childrestraint system in the rear seat.
When children are seated in the rear outboard seats, they must be
seated in the proper child
restraint system. Make sure to
put the child restraint system as
far away from the door side as
possible, and secure the child
restraint system in a locked posi-tion.
(Continued)(Continued)
Do not allow the passengers tolean their heads or bodies onto
doors, put their arms on the
doors, stretch their arms out of
the window, or place objects
between the doors and passen-
gers when they are seated onseats equipped with side and/or
curtain air bags.
Never try to open or repair any components of the side curtain
air bag system. This should only
be done by an authorised
HYUNDAI dealer.
Failure to follow the above men-tioned instructions can result in
injury or death to the vehicle occu-pants in an accident.
Page 55 of 340
Safety features of your vehicle
46
3
C041000AUN
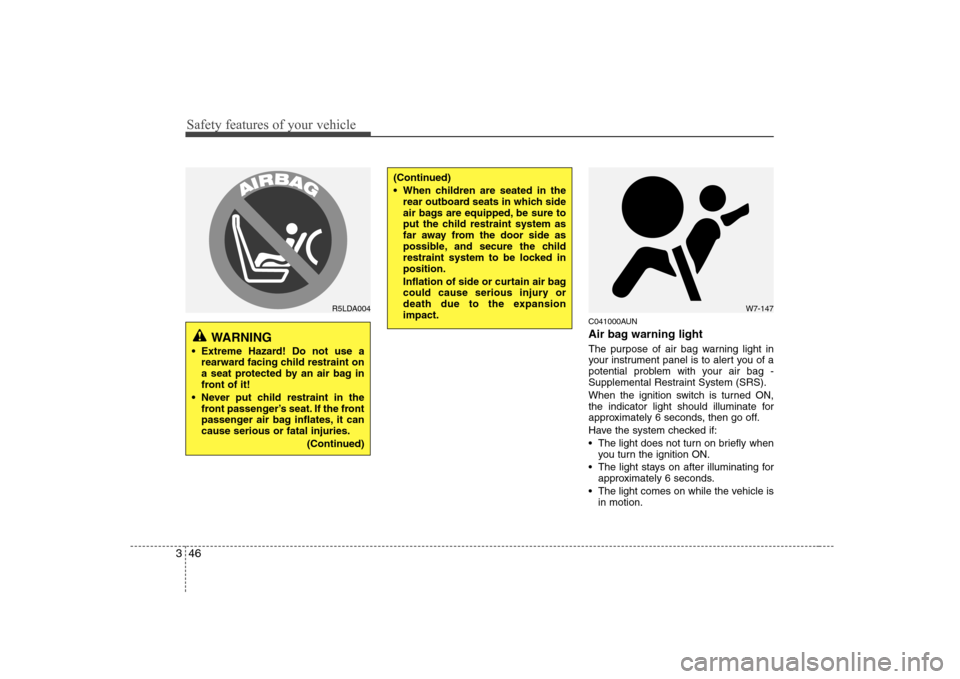
Air bag warning light
The purpose of air bag warning light in
your instrument panel is to alert you of a
potential problem with your air bag -
Supplemental Restraint System (SRS).
When the ignition switch is turned ON,
the indicator light should illuminate for
approximately 6 seconds, then go off.
Have the system checked if:
The light does not turn on briefly when
you turn the ignition ON.
The light stays on after illuminating for approximately 6 seconds.
The light comes on while the vehicle is in motion.
WARNING
Extreme Hazard! Do not use a rearward facing child restraint on
a seat protected by an air bag in
front of it!
Never put child restraint in the front passengerâs seat. If the front
passenger air bag inflates, it cancause serious or fatal injuries.
(Continued)
(Continued)
When children are seated in therear outboard seats in which side
air bags are equipped, be sure to
put the child restraint system as
far away from the door side as
possible, and secure the child
restraint system to be locked inposition.
Inflation of side or curtain air bag
could cause serious injury or
death due to the expansionimpact.
W7-147R5LDA004
Page 66 of 340
Features of your vehicle
8
4
D050100AUN-EA
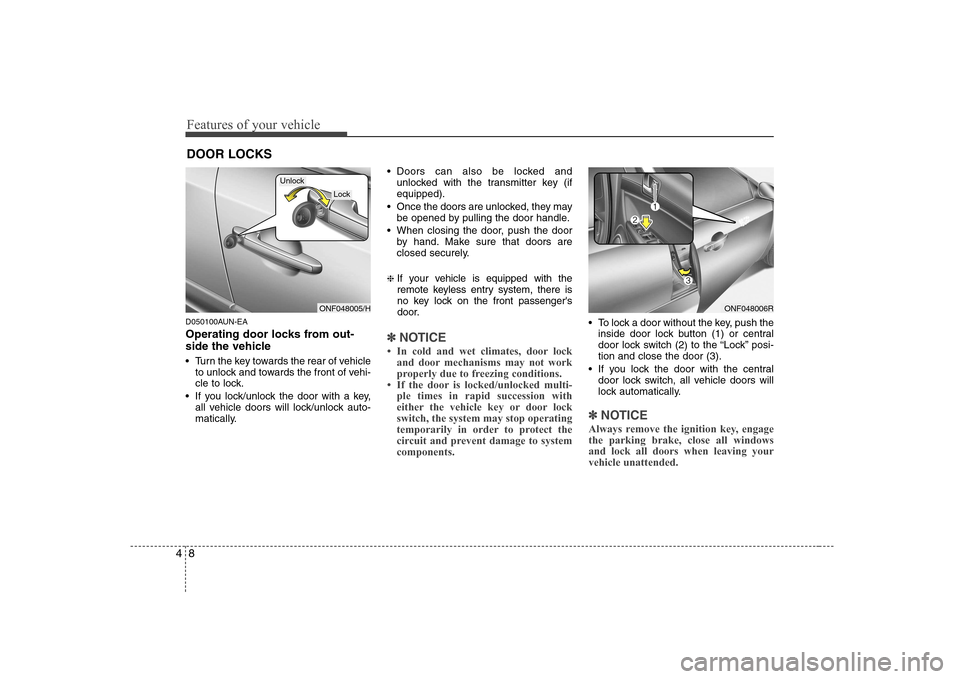
Operating door locks from out-
side the vehicle
Turn the key towards the rear of vehicle
to unlock and towards the front of vehi-
cle to lock.
If you lock/unlock the door with a key, all vehicle doors will lock/unlock auto-
matically. Doors can also be locked and
unlocked with the transmitter key (ifequipped).
Once the doors are unlocked, they may be opened by pulling the door handle.
When closing the door, push the door by hand. Make sure that doors are
closed securely.
â If your vehicle is equipped with the
remote keyless entry system, there is
no key lock on the front passenger's
door.
â˝â˝
NOTICE
Page 68 of 340
Features of your vehicle
10
4
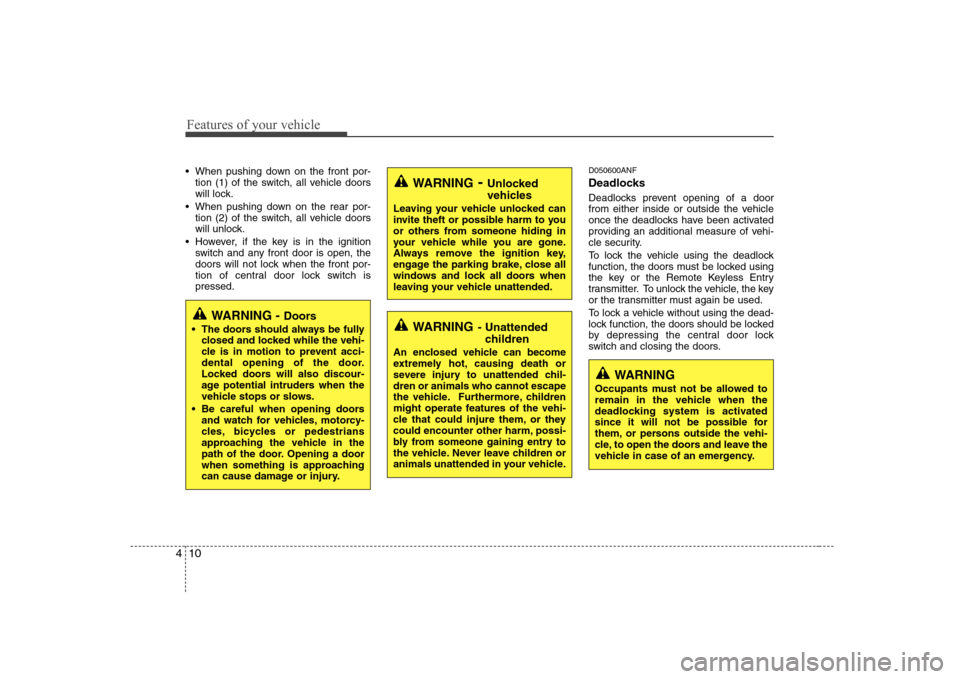
When pushing down on the front por-
tion (1) of the switch, all vehicle doors
will lock.
When pushing down on the rear por- tion (2) of the switch, all vehicle doors
will unlock.
However, if the key is in the ignition switch and any front door is open, the
doors will not lock when the front por-
tion of central door lock switch ispressed. D050600ANF
Deadlocks
Deadlocks prevent opening of a door
from either inside or outside the vehicle
once the deadlocks have been activated
providing an additional measure of vehi-
cle security.
To lock the vehicle using the deadlock
function, the doors must be locked using
the key or the Remote Keyless Entry
transmitter. To unlock the vehicle, the key
or the transmitter must again be used.
To lock a vehicle without using the dead-
lock function, the doors should be locked
by depressing the central door lock
switch and closing the doors.
WARNING
- Unlocked
vehicles
Leaving your vehicle unlocked can
invite theft or possible harm to you
or others from someone hiding in
your vehicle while you are gone.
Always remove the ignition key,
engage the parking brake, close all
windows and lock all doors when
leaving your vehicle unattended.
WARNING - Unattended
children
An enclosed vehicle can become
extremely hot, causing death or
severe injury to unattended chil-dren or animals who cannot escape
the vehicle. Furthermore, children
might operate features of the vehi-
cle that could injure them, or they
could encounter other harm, possi-
bly from someone gaining entry to
the vehicle. Never leave children or
animals unattended in your vehicle.WARNING - Doors
The doors should always be fully closed and locked while the vehi-
cle is in motion to prevent acci-
dental opening of the door.
Locked doors will also discour-
age potential intruders when the
vehicle stops or slows.
Be careful when opening doors and watch for vehicles, motorcy-
cles, bicycles or pedestrians
approaching the vehicle in the
path of the door. Opening a door
when something is approaching
can cause damage or injury.
WARNING
Occupants must not be allowed to
remain in the vehicle when the
deadlocking system is activated
since it will not be possible for
them, or persons outside the vehi-
cle, to open the doors and leave the
vehicle in case of an emergency.
Page 70 of 340
Features of your vehicle
12
4
D070100ANF-EA Opening the boot
With remote boot lid release
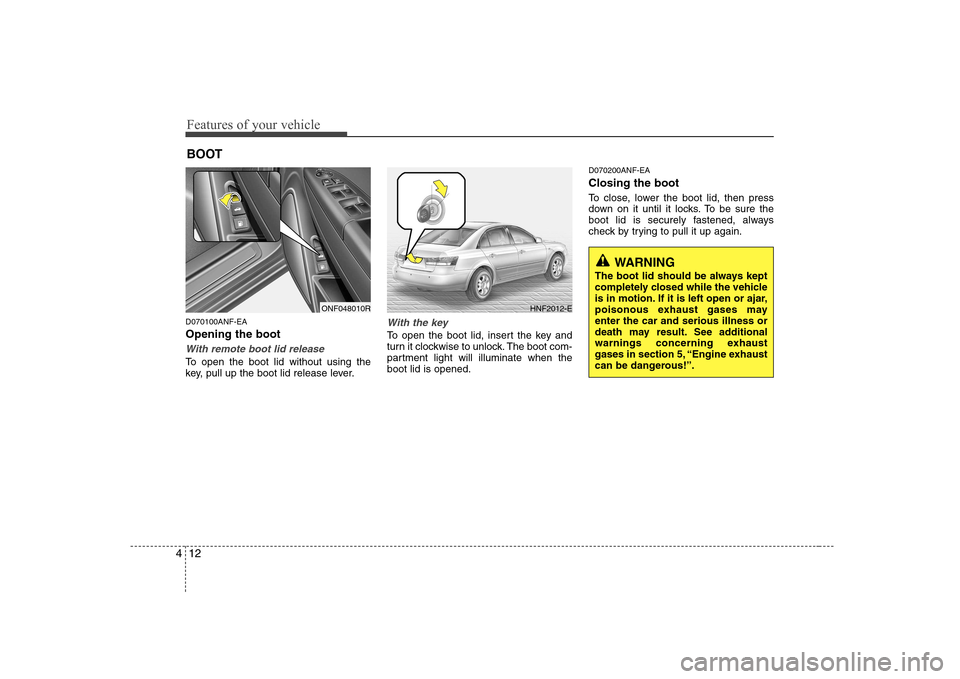
To open the boot lid without using the
key, pull up the boot lid release lever.
With the key
To open the boot lid, insert the key and
turn it clockwise to unlock. The boot com-
partment light will illuminate when theboot lid is opened. D070200ANF-EA Closing the boot
To close, lower the boot lid, then press
down on it until it locks. To be sure the
boot lid is securely fastened, always
check by trying to pull it up again.
BOOT
ONF048010RHNF2012-E
WARNING
The boot lid should be always kept
completely closed while the vehicle
is in motion. If it is left open or ajar,
poisonous exhaust gases mayenter the car and serious illness or
death may result. See additional
warnings concerning exhaust
gases in section 5, âEngine exhaust
can be dangerous!â.
Page 76 of 340
Features of your vehicle
18
4
D090100AEN-EA Opening the bonnet
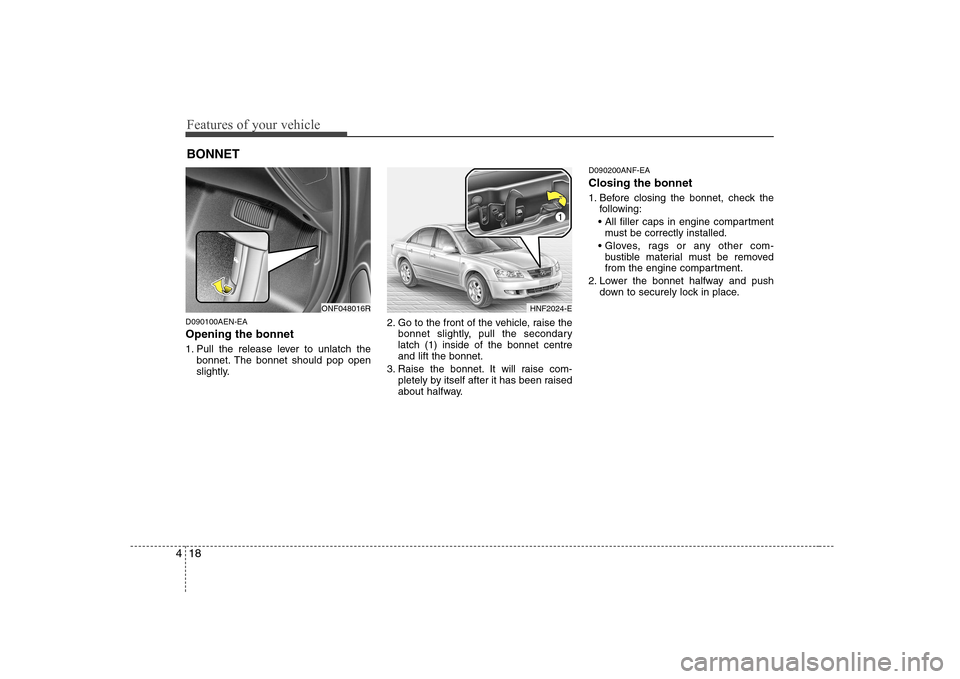
1. Pull the release lever to unlatch the
bonnet. The bonnet should pop open
slightly. 2. Go to the front of the vehicle, raise the
bonnet slightly, pull the secondarylatch (1) inside of the bonnet centreand lift the bonnet.
3. Raise the bonnet. It will raise com- pletely by itself after it has been raised
about halfway. D090200ANF-EA Closing the bonnet
1. Before closing the bonnet, check the
following:
must be correctly installed.
bustible material must be removed
from the engine compartment.
2. Lower the bonnet halfway and push down to securely lock in place.
BONNET
ONF048016RHNF2024-E
1
Page 78 of 340
Features of your vehicle
20
4
D100100ANF Opening the fuel filler lid
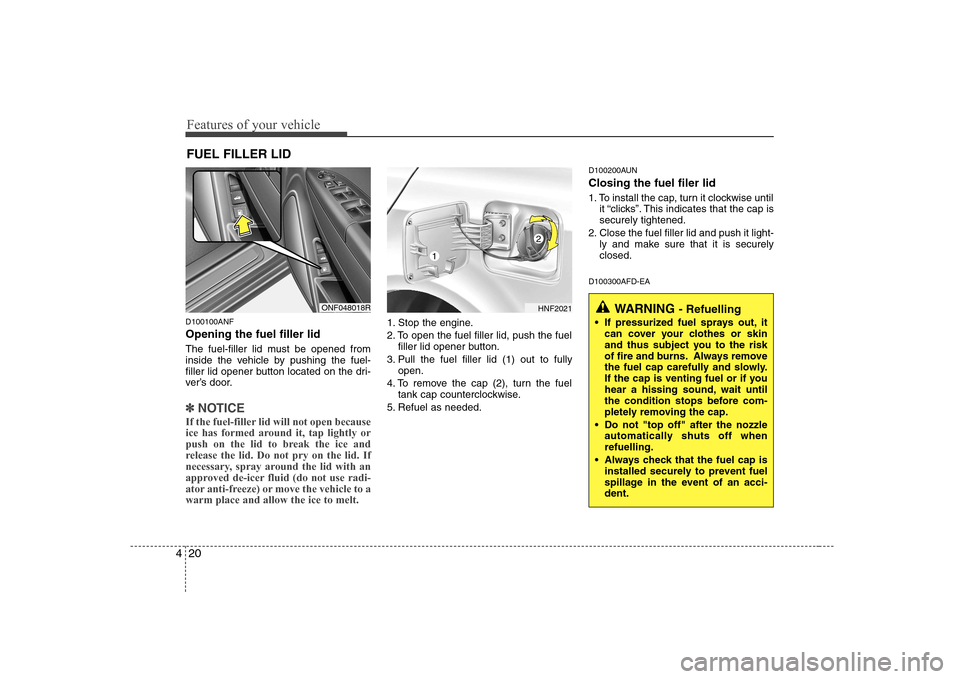
The fuel-filler lid must be opened from
inside the vehicle by pushing the fuel-
filler lid opener button located on the dri-
verâs door.
â˝â˝
NOTICE
If the fuel-filler lid will not open because
ice has formed around it, tap lightly or
push on the lid to break the ice and
release the lid. Do not pry on the lid. If
necessary, spray around the lid with an
approved de-icer fluid (do not use radi-
ator anti-freeze) or move the vehicle to awarm place and allow the ice to melt.
1. Stop the engine.
2. To open the fuel filler lid, push the fuel filler lid opener button.
3. Pull the fuel filler lid (1) out to fully open.
4. To remove the cap (2), turn the fuel tank cap counterclockwise.
5. Refuel as needed. D100200AUN Closing the fuel filer lid
1. To install the cap, turn it clockwise until
it âclicksâ. This indicates that the cap is securely tightened.
2. Close the fuel filler lid and push it light- ly and make sure that it is securelyclosed.
D100300AFD-EA
FUEL FILLER LID
ONF048018RHNF2021
1
2
WARNING
- Refuelling
If pressurized fuel sprays out, it can cover your clothes or skin
and thus subject you to the risk
of fire and burns. Always remove
the fuel cap carefully and slowly.
If the cap is venting fuel or if you
hear a hissing sound, wait until
the condition stops before com-
pletely removing the cap.
Do not "top off" after the nozzle automatically shuts off whenrefuelling.
Always check that the fuel cap is installed securely to prevent fuel
spillage in the event of an acci-dent.
Page 79 of 340
421
Features of your vehicle
WARNING - Refuelling
dangers
Automotive fuels are flammable
materials. When refuelling, please
note the following guidelines care-
fully. Failure to follow these guide-
lines may result in severe personal
injury, severe burns or death by fire
or explosion.
Read and follow all warning at the petrol station facility.
Before refuelling note the loca- tion of the Emergency Fuel Shut-
Off, if available, at the petrol sta-
tion facility.
Before touching the fuel nozzle, you should eliminate potentially
dangerous static electricity dis-
charge by touching another metal
part of the vehicle, a safe dis-
tance away from the fuel filler
neck, nozzle, or other petrol
source.
(Continued)(Continued)
Do not get back into a vehicleonce you have begun refuelling
since you can generate static
electricity by touching, rubbing
or sliding against any item or fab-
ric (polyester, satin, nylon, etc.)
capable of producing static elec-
tricity. Static electricity discharge
can ignite fuel vapours resulting
in rapid burning. If you must re-
enter the vehicle, you should
once again eliminate potentially
dangerous static electricity dis-
charge by touching a metal part
of the vehicle, away from the fuel
filler neck, nozzle or other petrol
source.
When using a portable fuel con- tainer be sure to place the con-
tainer on the ground prior to refu-
elling. Static electricity discharge
from the container can ignite fuel
vapours causing a fire. Once
refuelling has begun, contact
with the vehicle should be main-tained until the filling is com-
plete.
(Continued)(Continued)Use only portable plastic fuel
containers designed to carry and
store petrol.
Do not use mobile phones while refuelling. Electric current and/or
electronic interference from
mobile phones can potentially
ignite fuel vapours causing a fire.
When refuelling, always shut the engine off. Sparks produced byelectrical components related tothe engine can ignite fuel
vapours causing a fire. Once
refuelling is complete, check tomake sure the filler cap and filler
door are securely closed, before
starting the engine.
DO NOT use matches or a lighter and DO NOT SMOKE or leave a lit
cigarette in your vehicle while at
a petrol station especially during
refuelling. Automotive fuel is
highly flammable and can, when
ignited, result in fire.
(Continued)
Page 80 of 340
Features of your vehicle
22
4
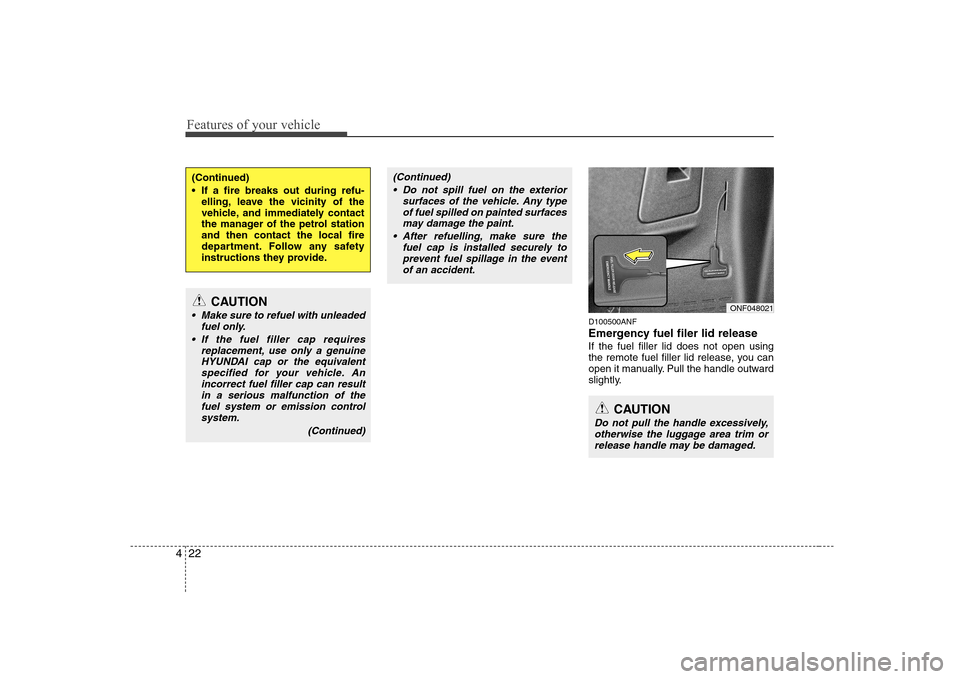
D100500ANF
Emergency fuel filer lid release If the fuel filler lid does not open using
the remote fuel filler lid release, you can
open it manually. Pull the handle outward
slightly.
(Continued)
If a fire breaks out during refu-
elling, leave the vicinity of the
vehicle, and immediately contact
the manager of the petrol stationand then contact the local fire
department. Follow any safety
instructions they provide.
CAUTION
Make sure to refuel with unleaded
fuel only.
If the fuel filler cap requires replacement, use only a genuineHYUNDAI cap or the equivalent
specified for your vehicle. Anincorrect fuel filler cap can result in a serious malfunction of thefuel system or emission control
system.
(Continued)
(Continued) Do not spill fuel on the exterior surfaces of the vehicle. Any type
of fuel spilled on painted surfacesmay damage the paint.
After refuelling, make sure the fuel cap is installed securely toprevent fuel spillage in the event
of an accident.
CAUTION
Do not pull the handle excessively, otherwise the luggage area trim or
release handle may be damaged.
ONF048021