low beam Hyundai Sonata 2017 Owner's Manual
[x] Cancel search | Manufacturer: HYUNDAI, Model Year: 2017, Model line: Sonata, Model: Hyundai Sonata 2017Pages: 563, PDF Size: 17.7 MB
Page 191 of 563
3-106
Convenient features of your vehicle
This indicator light illuminates for
2 seconds and goes off:
When the vehicle can not detect the
smart key which is in the vehicle
while the ignition switch or the
Engine Start/Stop button is ON.
In this case, have your vehicle inspect-
ed by an authorized HYUNDAI dealer.
This indicator light blinks:
When the battery of the smart keyis weak.
- At this time, you can not start theengine. However, you can start the
engine if you press the ignition
switch or the Engine Start/Stop but-
ton with the smart key. (For more
information, refer to "Starting
the Engine" in chapter 5).
When there is a malfunction with the immobilizer system.
In this case, have your vehicle
inspected by an authorized
HYUNDAI dealer.
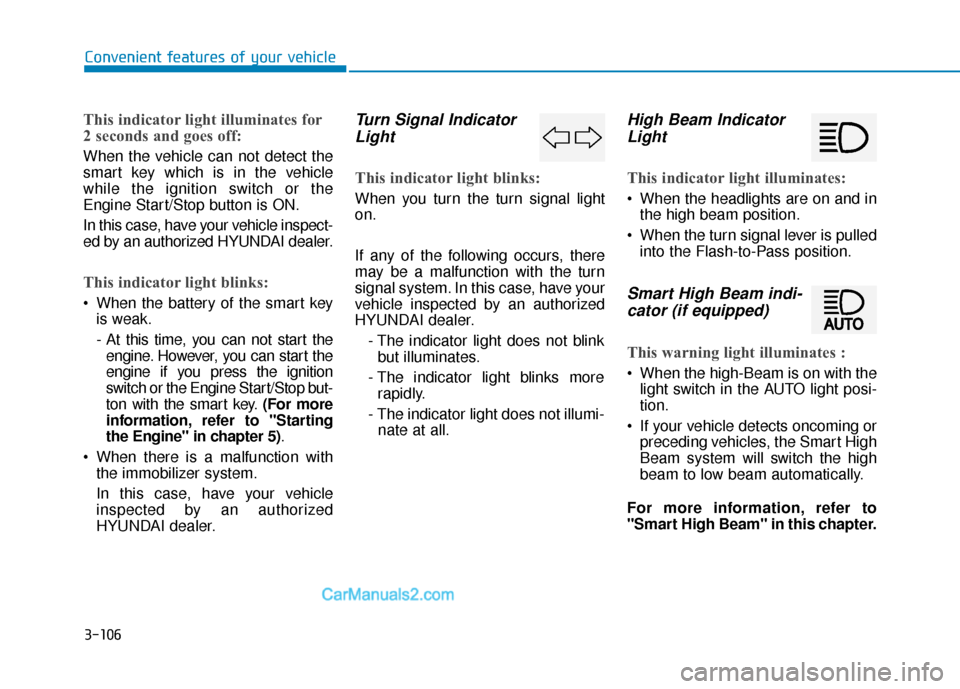
Turn Signal IndicatorLight
This indicator light blinks:
When you turn the turn signal light
on.
If any of the following occurs, there
may be a malfunction with the turn
signal system. In this case, have your
vehicle inspected by an authorized
HYUNDAI dealer.
- The indicator light does not blinkbut illuminates.
- The indicator light blinks more rapidly.
- The indicator light does not illumi- nate at all.
High Beam IndicatorLight
This indicator light illuminates:
When the headlights are on and in
the high beam position.
When the turn signal lever is pulled into the Flash-to-Pass position.
Smart High Beam indi-cator (if equipped)
This warning light illuminates :
When the high-Beam is on with the
light switch in the AUTO light posi-
tion.
If your vehicle detects oncoming or preceding vehicles, the Smart High
Beam system will switch the high
beam to low beam automatically.
For more information, refer to
"Smart High Beam" in this chapter.
Page 196 of 563
3-111
Convenient features of your vehicle
3
High beam operation
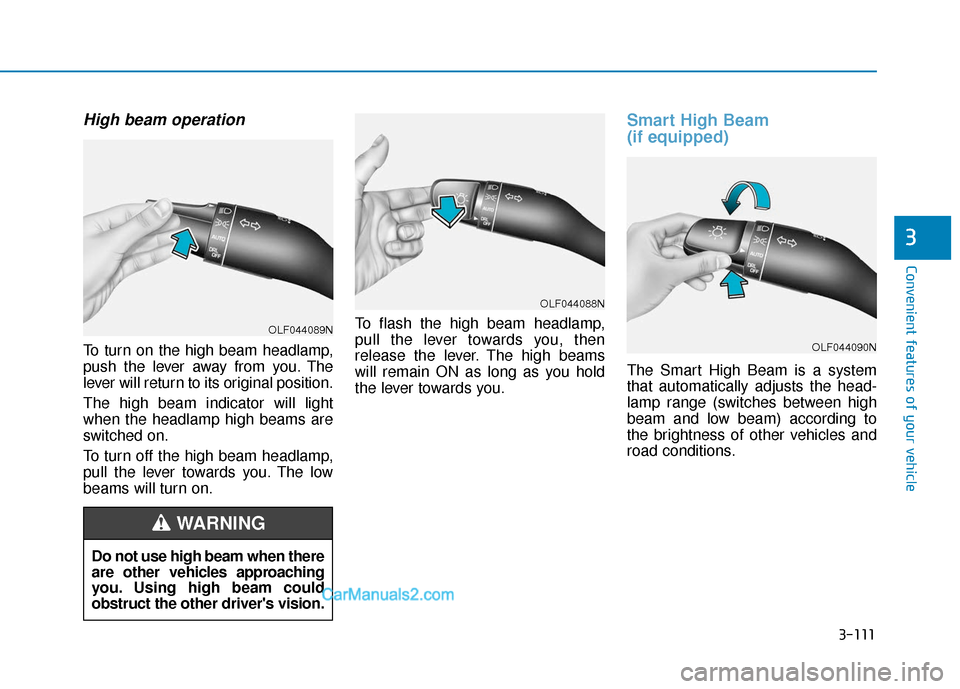
To turn on the high beam headlamp,
push the lever away from you. The
lever will return to its original position.
The high beam indicator will light
when the headlamp high beams are
switched on.
To turn off the high beam headlamp,
pull the lever towards you. The low
beams will turn on.To flash the high beam headlamp,
pull the lever towards you, then
release the lever. The high beams
will remain ON as long as you hold
the lever towards you.
Smart High Beam
(if equipped)
The Smart High Beam is a system
that automatically adjusts the head-
lamp range (switches between high
beam and low beam) according to
the brightness of other vehicles and
road conditions.
OLF044088N
OLF044090N
Do not use high beam when there
are other vehicles approaching
you. Using high beam could
obstruct the other driver's vision.
WARNING
OLF044089N
Page 197 of 563
3-112
Convenient features of your vehicle
Operating condition
1. Place the light switch in the AUTOposition.
2. Turn on the high beam by pushing the lever away from you.
The smart high beam ( ) indica- tor will illuminate.
3. The Smart High Beam will turn on when vehicle speed is above 28
mph (45km/h).
the Smart High Beam is operat-
ing, the Smart High Beam will
turn off and the high beam will
be on continuously. The smart
high beam ( ) indicator will
turn off.
when the Smart High Beam is
operating, the Smart High Beam
will turn off.
4. If the light switch is placed to the headlamp position, the Smart
High Beam will turn off and the
low beam will be on continuously. The high beam switches to low beam
in the below conditions.
- When the Smart High Beam is off.
- When the light switch is not in the
AUTO position.
- When the headlamp is detected from the on-coming vehicle.
- When the tail lamp is detected from the front vehicle.
- When the surrounding is bright enough high beams are not need-
ed.
- When streetlights or other lights are detected.
- When vehicle speed is below 18 mph (35km/h).
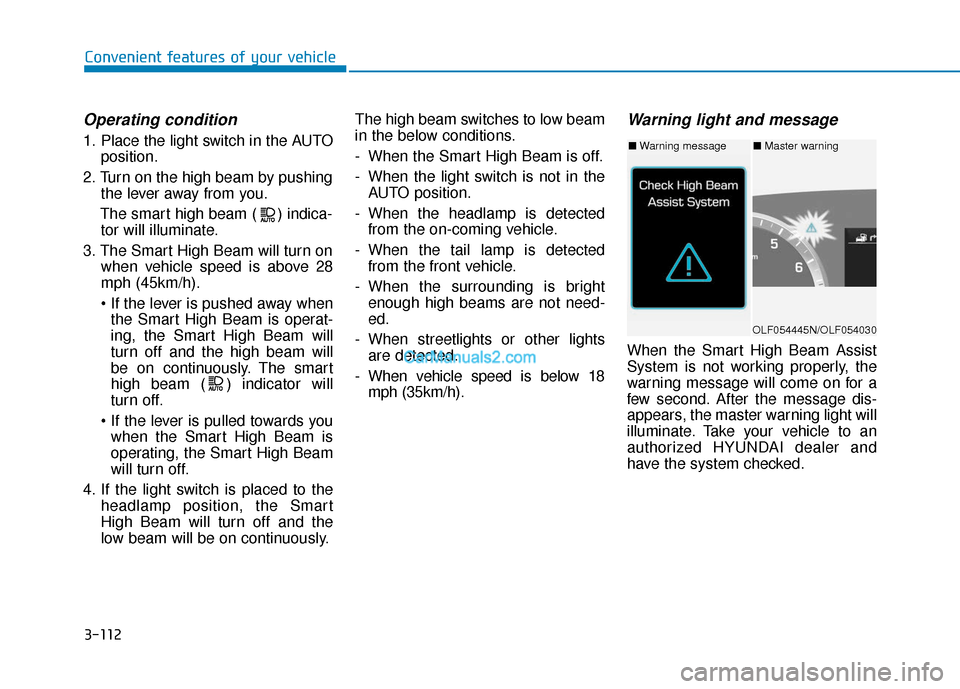
Warning light and message
When the Smart High Beam Assist
System is not working properly, the
warning message will come on for a
few second. After the message dis-
appears, the master warning light will
illuminate. Take your vehicle to an
authorized HYUNDAI dealer and
have the system checked.
OLF054445N/OLF054030
■ Warning message■ Master warning
Page 199 of 563
3-114
Convenient features of your vehicle
Turn signals and lane changesignals
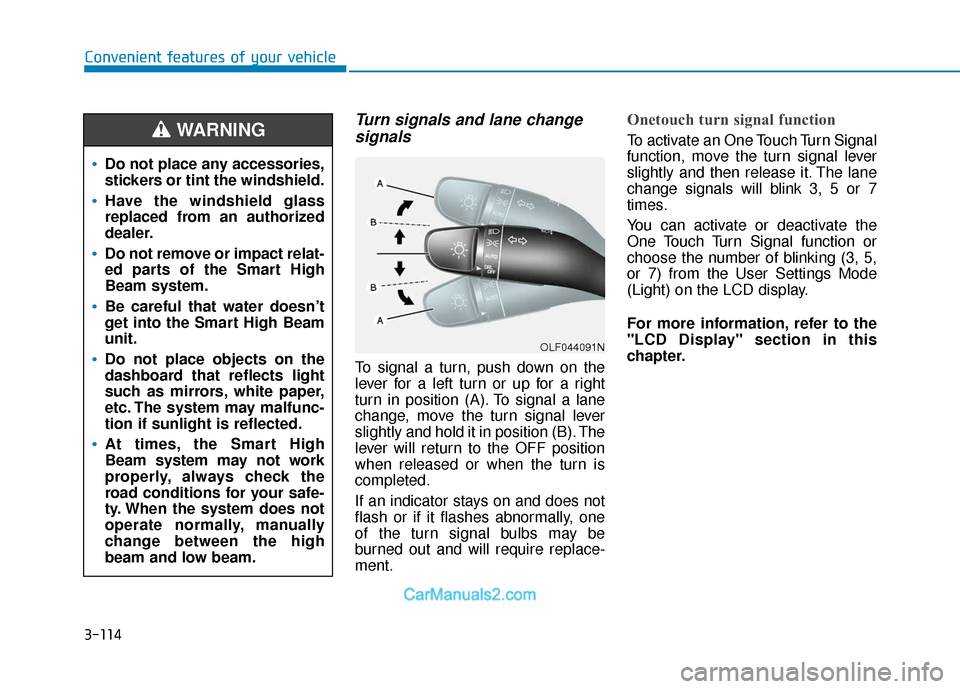
To signal a turn, push down on the
lever for a left turn or up for a right
turn in position (A). To signal a lane
change, move the turn signal lever
slightly and hold it in position (B). The
lever will return to the OFF position
when released or when the turn is
completed.
If an indicator stays on and does not
flash or if it flashes abnormally, one
of the turn signal bulbs may be
burned out and will require replace-
ment.
Onetouch turn signal function
To activate an One Touch Turn Signal
function, move the turn signal lever
slightly and then release it. The lane
change signals will blink 3, 5 or 7
times.
You can activate or deactivate the
One Touch Turn Signal function or
choose the number of blinking (3, 5,
or 7) from the User Settings Mode
(Light) on the LCD display.
For more information, refer to the
"LCD Display" section in this
chapter.
OLF044091N
Do not place any accessories,
stickers or tint the windshield.
Have the windshield glass
replaced from an authorized
dealer.
Do not remove or impact relat-
ed parts of the Smart High
Beam system.
Be careful that water doesn’t
get into the Smart High Beam
unit.
Do not place objects on the
dashboard that reflects light
such as mirrors, white paper,
etc. The system may malfunc-
tion if sunlight is reflected.
At times, the Smart High
Beam system may not work
properly, always check the
road conditions for your safe-
ty. When the system does not
operate normally, manually
change between the high
beam and low beam.
WARNING
Page 516 of 563
7-71
7
Maintenance
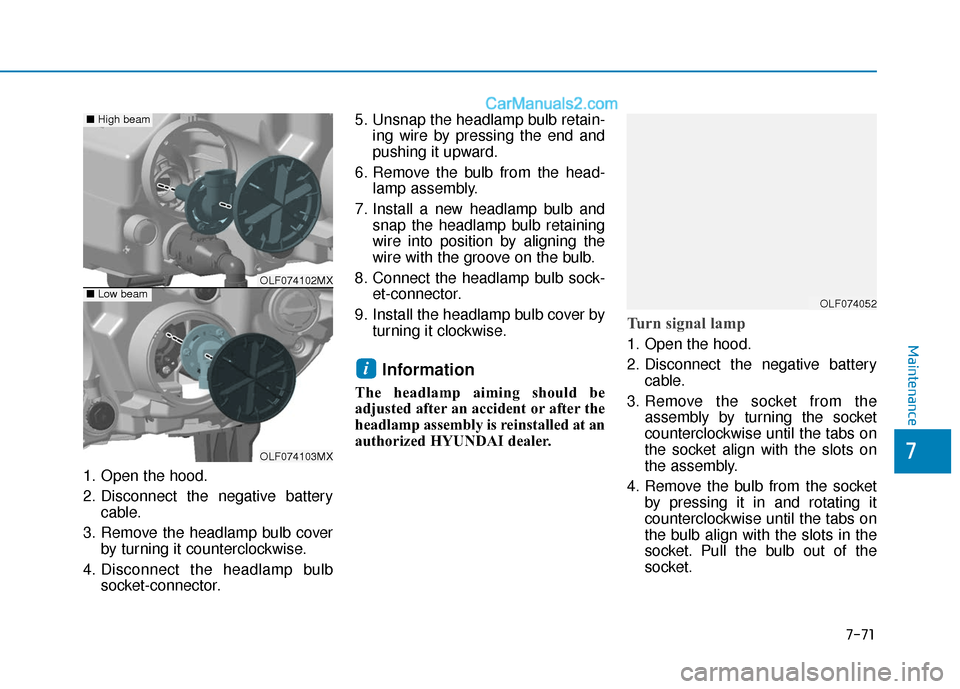
1. Open the hood.
2. Disconnect the negative batterycable.
3. Remove the headlamp bulb cover by turning it counterclockwise.
4. Disconnect the headlamp bulb socket-connector. 5. Unsnap the headlamp bulb retain-
ing wire by pressing the end and
pushing it upward.
6. Remove the bulb from the head- lamp assembly.
7. Install a new headlamp bulb and snap the headlamp bulb retaining
wire into position by aligning the
wire with the groove on the bulb.
8. Connect the headlamp bulb sock- et-connector.
9. Install the headlamp bulb cover by turning it clockwise.
Information
The headlamp aiming should be
adjusted after an accident or after the
headlamp assembly is reinstalled at an
authorized HYUNDAI dealer.
Turn signal lamp
1. Open the hood.
2. Disconnect the negative batterycable.
3. Remove the socket from the assembly by turning the socket
counterclockwise until the tabs on
the socket align with the slots on
the assembly.
4. Remove the bulb from the socket by pressing it in and rotating it
counterclockwise until the tabs on
the bulb align with the slots in the
socket. Pull the bulb out of the
socket.
i
OLF074102MX
OLF074103MX
■Low beam
■High beam
OLF074052
Page 518 of 563
7-73
7
Maintenance
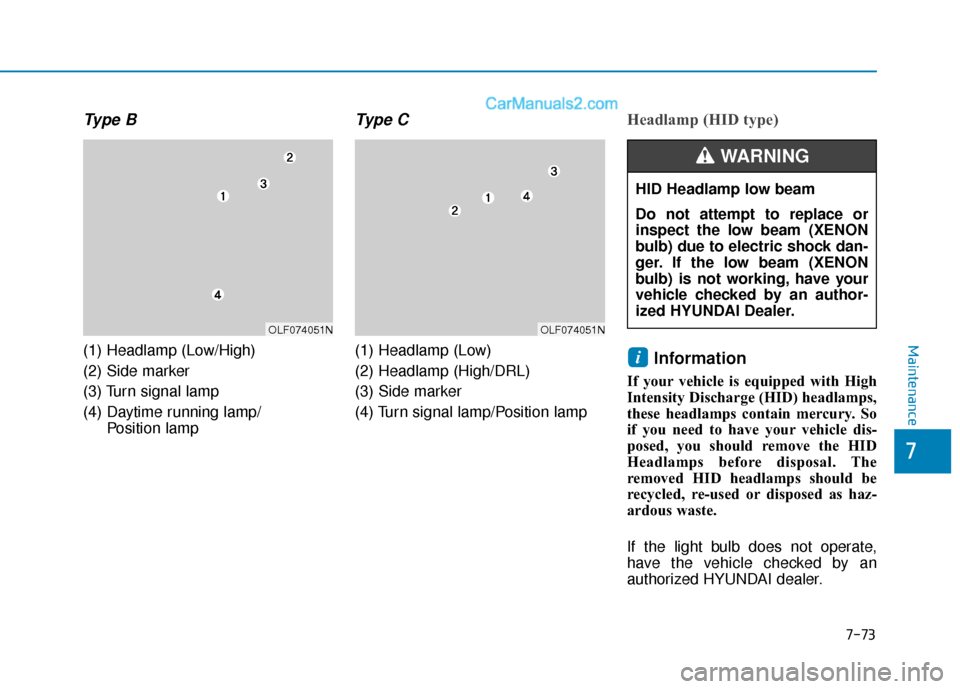
Type B
(1) Headlamp (Low/High)
(2) Side marker
(3) Turn signal lamp
(4) Daytime running lamp/ Position lamp
Type C
(1) Headlamp (Low)
(2) Headlamp (High/DRL)
(3) Side marker
(4) Turn signal lamp/Position lamp
Headlamp (HID type)
Information
If your vehicle is equipped with High
Intensity Discharge (HID) headlamps,
these headlamps contain mercury. So
if you need to have your vehicle dis-
posed, you should remove the HID
Headlamps before disposal. The
removed HID headlamps should be
recycled, re-used or disposed as haz-
ardous waste.
If the light bulb does not operate,
have the vehicle checked by an
authorized HYUNDAI dealer.
i
OLF074051NOLF074051N
HID Headlamp low beam
Do not attempt to replace or
inspect the low beam (XENON
bulb) due to electric shock dan-
ger. If the low beam (XENON
bulb) is not working, have your
vehicle checked by an author-
ized HYUNDAI Dealer.
WARNING