tow Hyundai Sonata Plug-in Hybrid 2017 User Guide
[x] Cancel search | Manufacturer: HYUNDAI, Model Year: 2017, Model line: Sonata Plug-in Hybrid, Model: Hyundai Sonata Plug-in Hybrid 2017Pages: 744, PDF Size: 27.87 MB
Page 123 of 744
3-36
Convenient features of your vehicle
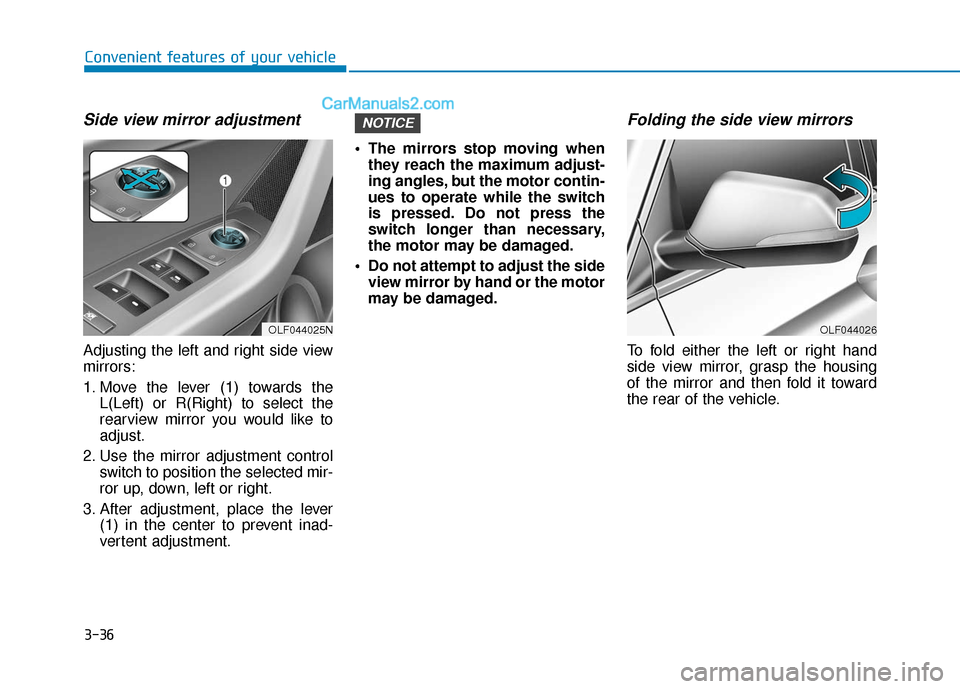
Side view mirror adjustment
Adjusting the left and right side view
mirrors:
1. Move the lever (1) towards theL(Left) or R(Right) to select the
rearview mirror you would like to
adjust.
2. Use the mirror adjustment control switch to position the selected mir-
ror up, down, left or right.
3. After adjustment, place the lever (1) in the center to prevent inad-
vertent adjustment. The mirrors stop moving when
they reach the maximum adjust-
ing angles, but the motor contin-
ues to operate while the switch
is pressed. Do not press the
switch longer than necessary,
the motor may be damaged.
Do not attempt to adjust the side view mirror by hand or the motor
may be damaged.
Folding the side view mirrors
To fold either the left or right hand
side view mirror, grasp the housing
of the mirror and then fold it toward
the rear of the vehicle.
NOTICE
OLF044025NOLF044026
Page 174 of 744
3-87
Convenient features of your vehicle
3
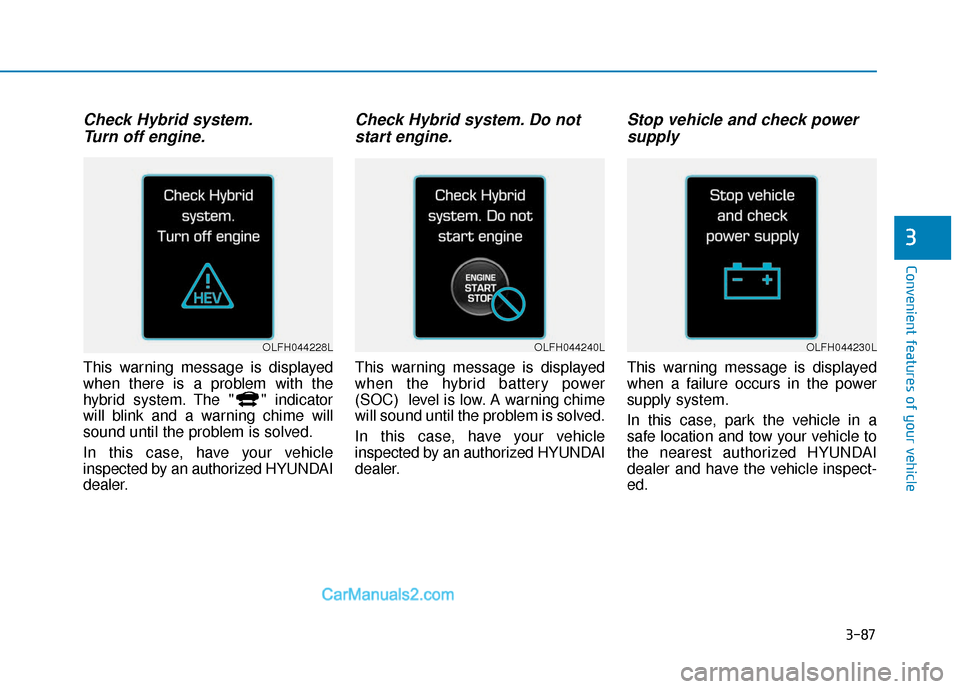
Check Hybrid system.Turn off engine.
This warning message is displayed
when there is a problem with the
hybrid system. The " " indicator
will blink and a warning chime will
sound until the problem is solved.
In this case, have your vehicle
inspected by an authorized HYUNDAI
dealer.
Check Hybrid system. Do notstart engine.
This warning message is displayed
when the hybrid battery power
(SOC) level is low. A warning chime
will sound until the problem is solved.
In this case, have your vehicle
inspected by an authorized HYUNDAI
dealer.
Stop vehicle and check powersupply
This warning message is displayed
when a failure occurs in the power
supply system.
In this case, park the vehicle in a
safe location and tow your vehicle to
the nearest authorized HYUNDAI
dealer and have the vehicle inspect-
ed.
OLFH044240LOLFH044228LOLFH044230L
Page 176 of 744
3-89
Convenient features of your vehicle
3
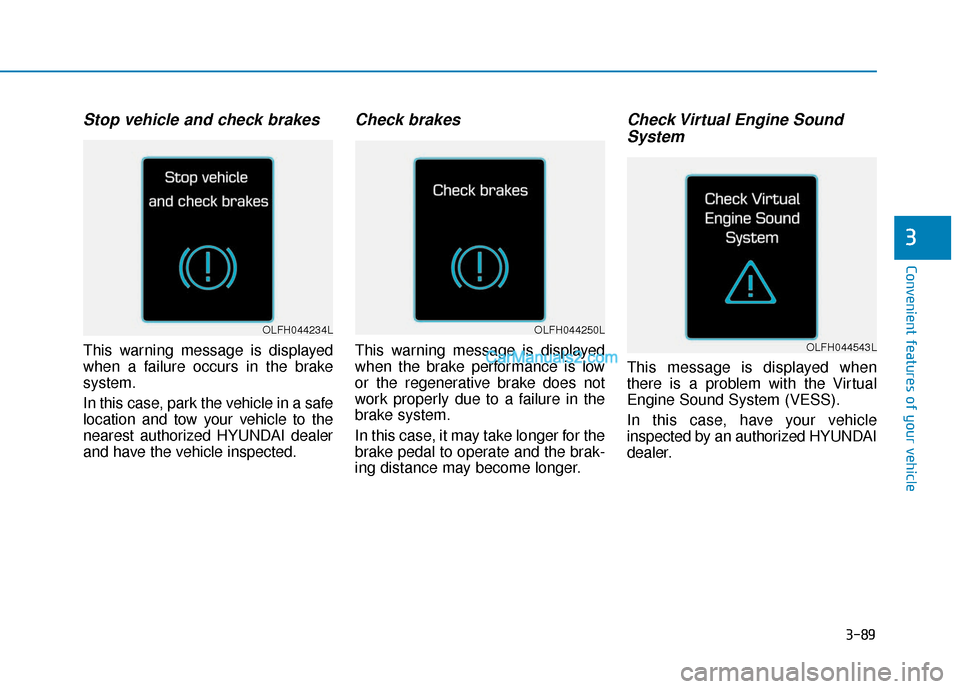
Stop vehicle and check brakes
This warning message is displayed
when a failure occurs in the brake
system.
In this case, park the vehicle in a safe
location and tow your vehicle to the
nearest authorized HYUNDAI dealer
and have the vehicle inspected.
Check brakes
This warning message is displayed
when the brake performance is low
or the regenerative brake does not
work properly due to a failure in the
brake system.
In this case, it may take longer for the
brake pedal to operate and the brak-
ing distance may become longer.
Check Virtual Engine SoundSystem
This message is displayed when
there is a problem with the Virtual
Engine Sound System (VESS).
In this case, have your vehicle
inspected by an authorized HYUNDAI
dealer.
OLFH044234L
OLFH044543L
OLFH044250L
Page 184 of 744
3-97
Convenient features of your vehicle
3
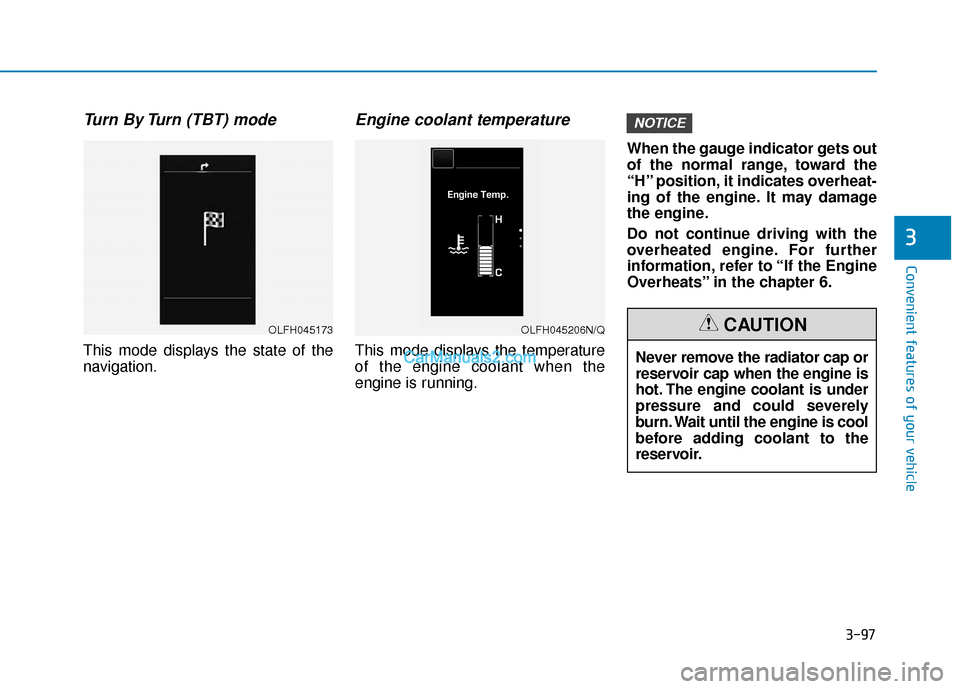
Turn By Turn (TBT) mode
This mode displays the state of the
navigation.
Engine coolant temperature
This mode displays the temperature
of the engine coolant when the
engine is running.When the gauge indicator gets out
of the normal range, toward the
“H” position, it indicates overheat-
ing of the engine. It may damage
the engine.
Do not continue driving with the
overheated engine. For further
information, refer to “If the Engine
Overheats” in the chapter 6.
NOTICE
OLFH045173OLFH045206N/Q
Never remove the radiator cap or
reservoir cap when the engine is
hot. The engine coolant is under
pressure and could severely
burn. Wait until the engine is cool
before adding coolant to the
reservoir.
CAUTION
Page 204 of 744
3-117
Convenient features of your vehicle
3
High beam operation
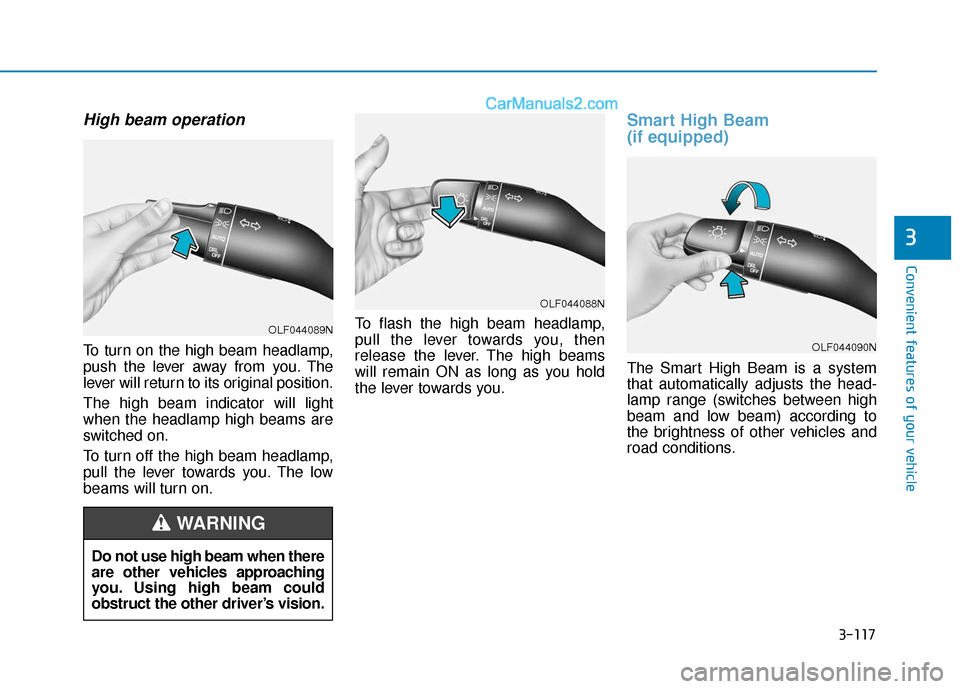
To turn on the high beam headlamp,
push the lever away from you. The
lever will return to its original position.
The high beam indicator will light
when the headlamp high beams are
switched on.
To turn off the high beam headlamp,
pull the lever towards you. The low
beams will turn on.To flash the high beam headlamp,
pull the lever towards you, then
release the lever. The high beams
will remain ON as long as you hold
the lever towards you.
Smart High Beam
(if equipped)
The Smart High Beam is a system
that automatically adjusts the head-
lamp range (switches between high
beam and low beam) according to
the brightness of other vehicles and
road conditions.
OLF044088N
OLF044090N
Do not use high beam when there
are other vehicles approaching
you. Using high beam could
obstruct the other driver’s vision.
WARNING
OLF044089N
Page 206 of 744
3-119
Convenient features of your vehicle
3
The system may not operate nor-
mally in the below conditions.
When the light from the on-
coming or front vehicle is not
detected because of lamp dam-
age, hidden from sight, etc.
When the lamp of the on-com-
ing or front vehicle is covered
with dust, snow or water.
When the light from the on-
coming or front vehicle is not
detected because of exhaust
fume, smoke, fog, snow, etc.
When the front window is cov-
ered with foreign matters such
as ice, dust, fog, or is damaged.(Continued)
CAUTION(Continued)
When there is a similar shape
lamp with the front vehicle’s
lamps.
When it is hard to see because
of fog, heavy rain or snow.
When the headlamp is not
repaired or replaced at an
authorized dealer.
When headlamp aiming is not
properly adjusted.
When driving on a narrow
curved road or rough road.
When driving downhill or uphill.
When only part of the vehicle
in front is visible on a cross-
road or curved road.
When there is a traffic light,
reflecting sign, flashing sign
or mirror.(Continued)
(Continued)
When the road conditions are
bad such as being wet or cov-
ered with snow.
When the front vehicle’s head-
lamps are off but the fog lamps
on.
When a vehicle suddenly
appears from a curve.
When the vehicle is tilted from
a flat tire or being towed.
When the LDWS (Lane
Departure Warning System)
warning light illuminates. (if
equipped)
Page 216 of 744
3-129
Convenient features of your vehicle
3
Windshield Washers
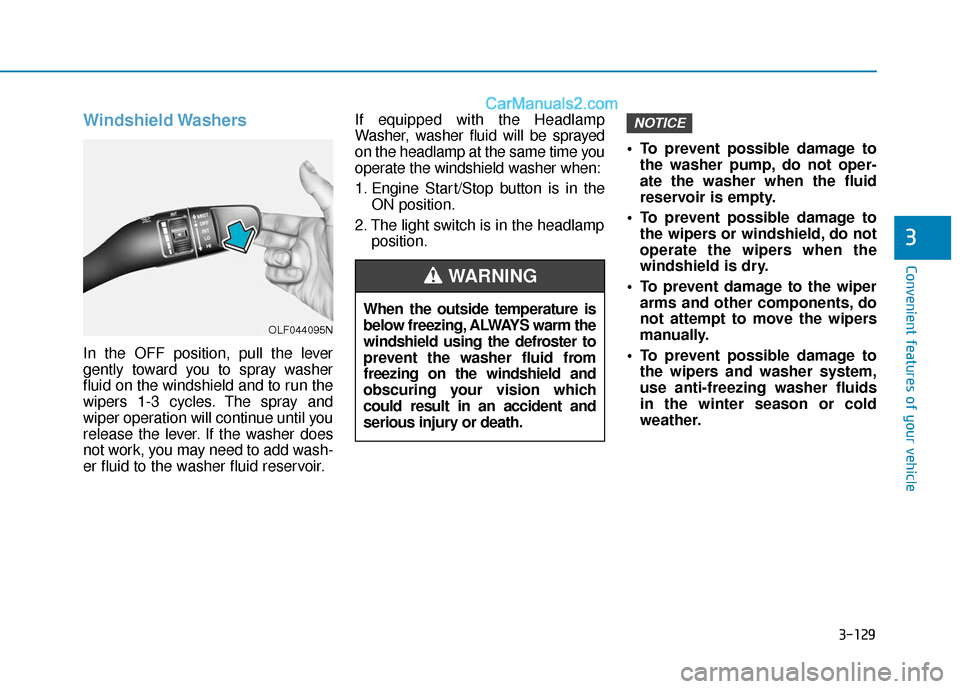
In the OFF position, pull the lever
gently toward you to spray washer
fluid on the windshield and to run the
wipers 1-3 cycles. The spray and
wiper operation will continue until you
release the lever. If the washer does
not work, you may need to add wash-
er fluid to the washer fluid reservoir.If equipped with the Headlamp
Washer, washer fluid will be sprayed
on the headlamp at the same time you
operate the windshield washer when:
1. Engine Start/Stop button is in the
ON position.
2. The light switch is in the headlamp position. To prevent possible damage to
the washer pump, do not oper-
ate the washer when the fluid
reservoir is empty.
To prevent possible damage to the wipers or windshield, do not
operate the wipers when the
windshield is dry.
To prevent damage to the wiper arms and other components, do
not attempt to move the wipers
manually.
To prevent possible damage to the wipers and washer system,
use anti-freezing washer fluids
in the winter season or cold
weather.
NOTICE
When the outside temperature is
below freezing, ALWAYS warm the
windshield using the defroster to
prevent the washer fluid from
freezing on the windshield and
obscuring your vision which
could result in an accident and
serious injury or death.
WARNING
OLF044095N
Page 227 of 744
3-140
Convenient features of your vehicle
Face-Level (B, D, F)
Air flow is directed toward the upper
body and face. Additionally, each
outlet can be controlled to direct the
air discharged from the outlet.
Bi-Level (B, C, D, E, F)
Air flow is directed towards the face
and the floor.
Floor & Defrost (A, C, D, E)
Most of the air flow is directed to the
floor and the windshield with a small
amount directed to the side window
defrosters.
Floor-Level (A, C, D, E)
Most of the air flow is directed to the
floor, with a small amount of the air
being directed to the windshield and
side window defrosters.
Defrost-Level (A)
Most of the air flow is directed to the
windshield with a small amount of air
directed to the side window defrosters.
Instrument panel vents
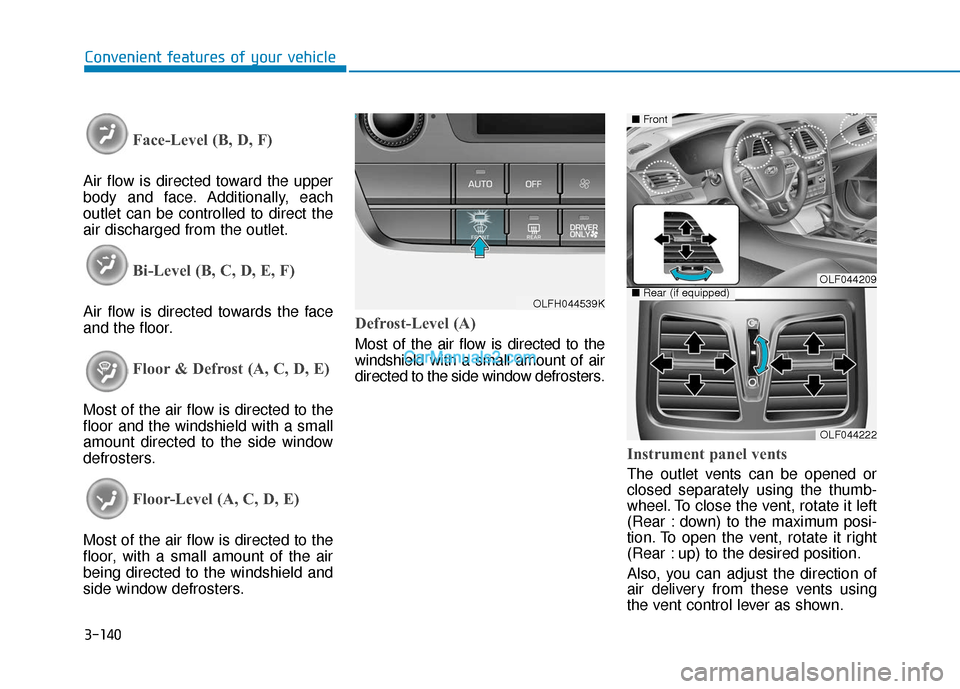
The outlet vents can be opened or
closed separately using the thumb-
wheel. To close the vent, rotate it left
(Rear : down) to the maximum posi-
tion. To open the vent, rotate it right
(Rear : up) to the desired position.
Also, you can adjust the direction of
air delivery from these vents using
the vent control lever as shown.
OLFH044539K
OLF044209
OLF044222
■Front
■Rear (if equipped)
Page 254 of 744
4-5
Multimedia System
4
How vehicle audio works
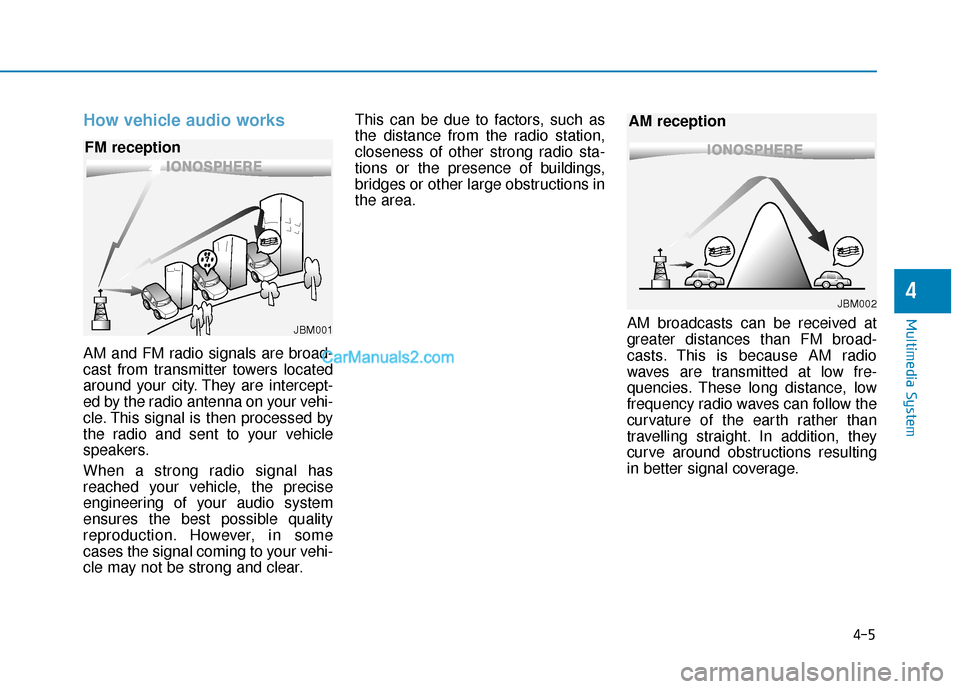
AM and FM radio signals are broad-
cast from transmitter towers located
around your city. They are intercept-
ed by the radio antenna on your vehi-
cle. This signal is then processed by
the radio and sent to your vehicle
speakers.
When a strong radio signal has
reached your vehicle, the precise
engineering of your audio system
ensures the best possible quality
reproduction. However, in some
cases the signal coming to your vehi-
cle may not be strong and clear.This can be due to factors, such as
the distance from the radio station,
closeness of other strong radio sta-
tions or the presence of buildings,
bridges or other large obstructions in
the area.
AM broadcasts can be received at
greater distances than FM broad-
casts. This is because AM radio
waves are transmitted at low fre-
quencies. These long distance, low
frequency radio waves can follow the
curvature of the earth rather than
travelling straight. In addition, they
curve around obstructions resulting
in better signal coverage.
JBM001
FM reception
JBM002
AM reception
Page 449 of 744
5
Special driving conditions ...................................5-81
Hazardous driving conditions.......................................5-81
Rocking the vehicle ........................................................5-81
Smooth cornering ...........................................................5-82
Driving at night ................................................................5-82
Driving in the rain ...........................................................5-83
Driving in flooded areas ................................................5-83
Highway driving ...............................................................5-84
Winter driving .......................................................5-85
Snow or icy conditions ..................................................5-85
Winter Precautions .........................................................5-87
Vehicle load limit ..................................................5-90
Tire loading information label......................................5-91
Trailer towing .......................................................5-95