check Hyundai Sonata Turbo 2011 User Guide
[x] Cancel search | Manufacturer: HYUNDAI, Model Year: 2011, Model line: Sonata Turbo, Model: Hyundai Sonata Turbo 2011Pages: 390, PDF Size: 8.44 MB
Page 59 of 390

Safety features of your vehicle40
3C041000AUNAir bag warning lightThe purpose of air bag warning light in
your instrument panel is to alert you of a
potential problem with your air bag -
Supplemental Restraint System (SRS). When the ignition switch is turned ON,
the indicator light should illuminate for
approximately 6 seconds, then go off.
Have the system checked if:
The light does not turn on briefly when
you turn the ignition ON.
The light stays on after illuminating for approximately 6 seconds.
The light comes on while the vehicle is in motion.
The light blinks when the ignition switch is in ON position.
SRS components and functionsThe SRS consists of the following com-
ponents:
1. Driver's front air bag module
2. Passenger's front air bag module
3. Side impact air bag modules
4. Curtain air bag modules
5. Retractor pre-tensioner assemblies
6. Air bag warning light
7. SRS control module (SRSCM)
8. Front impact sensors
9. Side impact sensors
10. PASS AIR BAG “OFF” indicator (Front passenger’s seat only)
11. Occupant classification system (Front passenger’s seat only)
W7-147
OYF039055N
YF HMA 3.qxp 8/20/2010 4:25 PM Page 40
Page 73 of 390

Safety features of your vehicle54
3
Curtain air bagCurtain air bags are located along both
sides of the roof rails above the front and
rear doors.
They are designed to help protect the
heads of the front seat occupants and
the rear outboard seat occupants in cer-
tain side impact collisions.
WARNING
The side impact air bag is sup-
plemental to the driver's and the
passenger's seat belt systems
and is not a substitute for them.
Therefore your seat belts must be
worn at all times while the vehicle
is in motion. The air bags deploy
only in certain side impact condi-
tions severe enough to cause
significant injury to the vehicle
occupants.
For best protection from the side impact air bag system and to
avoid being injured by the
deploying side impact air bag,
both front seat occupants should
sit in an upright position with the
seat belt properly fastened. The
driver's hands should be placed
on the steering wheel at the 9:00
and 3:00 positions. The passen-
ger's arms and hands should be
placed on their laps.
Do not use any accessory seat covers.
(Continued)
(Continued)
Use of seat covers could reduceor prevent the effectiveness of
the system.
Do not install any accessories on the side or near the side air bag.
Do not place any objects over the air bag or between the air bag
and yourself.
Do not place any objects (an umbrella, bag, etc.) between the
front door and the front seat.
Such objects may become dan-
gerous projectiles and cause
injury if the supplemental side air
bag inflates.
To prevent unexpected deploy- ment of the side impact air bag
that may result in personal injury,
avoid impact to the side impact
sensor when the ignition switch
is on.
If the seat or seat cover is dam- aged, have the vehicle checked
and repaired by an authorized
HYUNDAI dealer because your
vehicle is equipped with side
impact air bags and an occupant
classification system.
OYF039026OYF039058N
YF HMA 3.qxp 8/20/2010 4:26 PM Page 54
Page 76 of 390

357
Safety features of your vehicle
Air bag inflation conditionsFront air bags
Front air bags are designed to inflate in a
frontal collision depending on the intensi-
ty, speed or angles of impact of the front
collision.
WARNING
Do not hit or allow any objects toimpact the locations where air
bags or sensors are installed.
This may cause unexpected air
bag deployment, which could
result in serious personal injury
or death.
If the installation location or angle of the sensors is altered in
any way, the air bags may deploy
when they should not or they may
not deploy when they should,
causing severe injury or death.
Therefore, do not try to perform
maintenance on or around the air
bag sensors. Have the vehicle
checked and repaired by an
authorized HYUNDAI dealer.
(Continued)
(Continued)
Problems may arise if the sensorinstallation angles are changed
due to the deformation of the
front bumper, body or B pillars or
front door where side collision
sensors are installed. Have the
vehicle checked and repaired by
an authorized HYUNDAI dealer.
Your vehicle has been designed to absorb impact and deploy the
air bag(s) in certain collisions.
Installing bumper guards or
replacing a bumper with non-gen-
uine parts may adversely affect
your vehicle’s collision and air
bag deployment performance.
1JBA3513
YF HMA 3.qxp 8/20/2010 4:26 PM Page 57
Page 87 of 390
45
Features of your vehicle
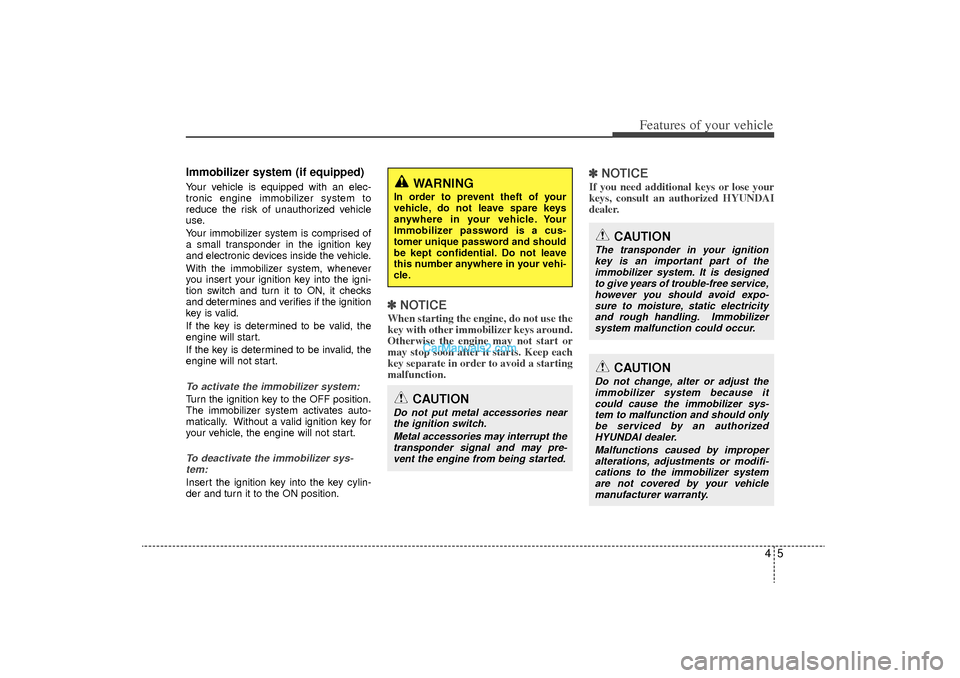
Immobilizer system (if equipped)Your vehicle is equipped with an elec-
tronic engine immobilizer system to
reduce the risk of unauthorized vehicle
use.
Your immobilizer system is comprised of
a small transponder in the ignition key
and electronic devices inside the vehicle.
With the immobilizer system, whenever
you insert your ignition key into the igni-
tion switch and turn it to ON, it checks
and determines and verifies if the ignition
key is valid.
If the key is determined to be valid, the
engine will start.
If the key is determined to be invalid, the
engine will not start.To activate the immobilizer system:Turn the ignition key to the OFF position.
The immobilizer system activates auto-
matically. Without a valid ignition key for
your vehicle, the engine will not start.To deactivate the immobilizer sys-tem:Insert the ignition key into the key cylin-
der and turn it to the ON position.
✽ ✽ NOTICEWhen starting the engine, do not use the
key with other immobilizer keys around.
Otherwise the engine may not start or
may stop soon after it starts. Keep each
key separate in order to avoid a starting
malfunction.
✽ ✽NOTICEIf you need additional keys or lose your
keys, consult an authorized HYUNDAI
dealer.
CAUTION
The transponder in your ignition
key is an important part of the immobilizer system. It is designedto give years of trouble-free service, however you should avoid expo-sure to moisture, static electricity and rough handling. Immobilizersystem malfunction could occur.
WARNING
In order to prevent theft of your
vehicle, do not leave spare keys
anywhere in your vehicle. Your
Immobilizer password is a cus-
tomer unique password and should
be kept confidential. Do not leave
this number anywhere in your vehi-
cle.
CAUTION
Do not change, alter or adjust the immobilizer system because itcould cause the immobilizer sys- tem to malfunction and should onlybe serviced by an authorized HYUNDAI dealer.
Malfunctions caused by improperalterations, adjustments or modifi-cations to the immobilizer system are not covered by your vehiclemanufacturer warranty.
CAUTION
Do not put metal accessories nearthe ignition switch.
Metal accessories may interrupt thetransponder signal and may pre- vent the engine from being started.
YF HMA 4-103.QXP 8/20/2010 10:48 AM Page 5
Page 89 of 390
47
Features of your vehicle
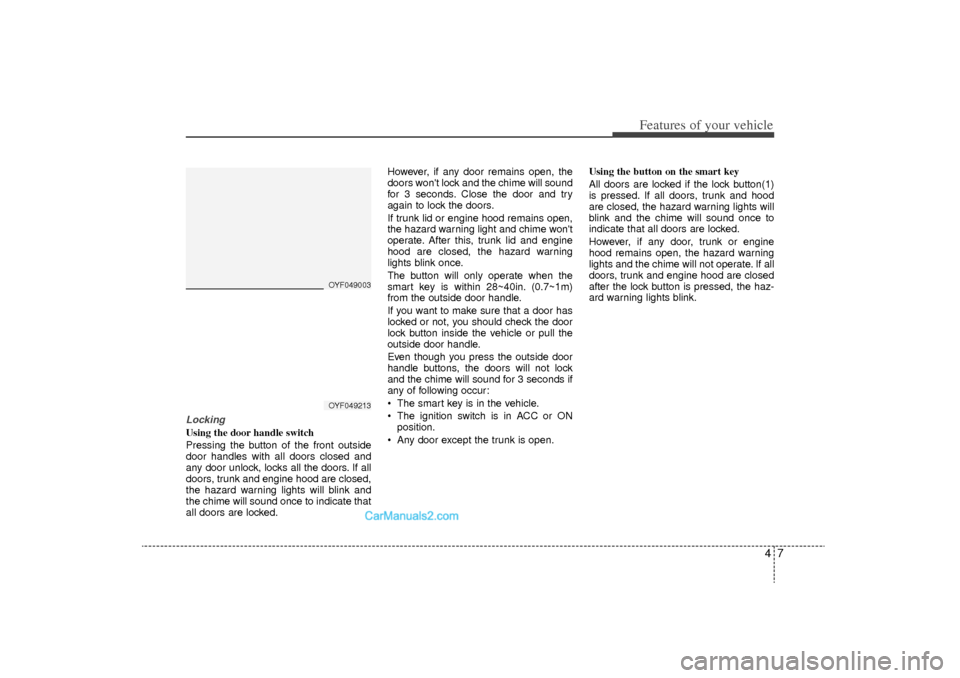
LockingUsing the door handle switch
Pressing the button of the front outside
door handles with all doors closed and
any door unlock, locks all the doors. If all
doors, trunk and engine hood are closed,
the hazard warning lights will blink and
the chime will sound once to indicate that
all doors are locked.However, if any door remains open, the
doors won't lock and the chime will sound
for 3 seconds. Close the door and try
again to lock the doors.
If trunk lid or engine hood remains open,
the hazard warning light and chime won't
operate. After this, trunk lid and engine
hood are closed, the hazard warning
lights blink once.
The button will only operate when the
smart key is within 28~40in. (0.7~1m)
from the outside door handle.
If you want to make sure that a door has
locked or not, you should check the door
lock button inside the vehicle or pull the
outside door handle.
Even though you press the outside door
handle buttons, the doors will not lock
and the chime will sound for 3 seconds if
any of following occur:
The smart key is in the vehicle.
The ignition switch is in ACC or ON
position.
Any door except the trunk is open. Using the button on the smart key
All doors are locked if the lock button(1)
is pressed. If all doors, trunk and hood
are closed, the hazard warning lights will
blink and the chime will sound once to
indicate that all doors are locked.
However, if any door, trunk or engine
hood remains open, the hazard warning
lights and the chime will not operate. If all
doors, trunk and engine hood are closed
after the lock button is pressed, the haz-
ard warning lights blink.
OYF049213OYF049003
YF HMA 4-103.QXP 8/20/2010 10:48 AM Page 7
Page 104 of 390
Features of your vehicle22
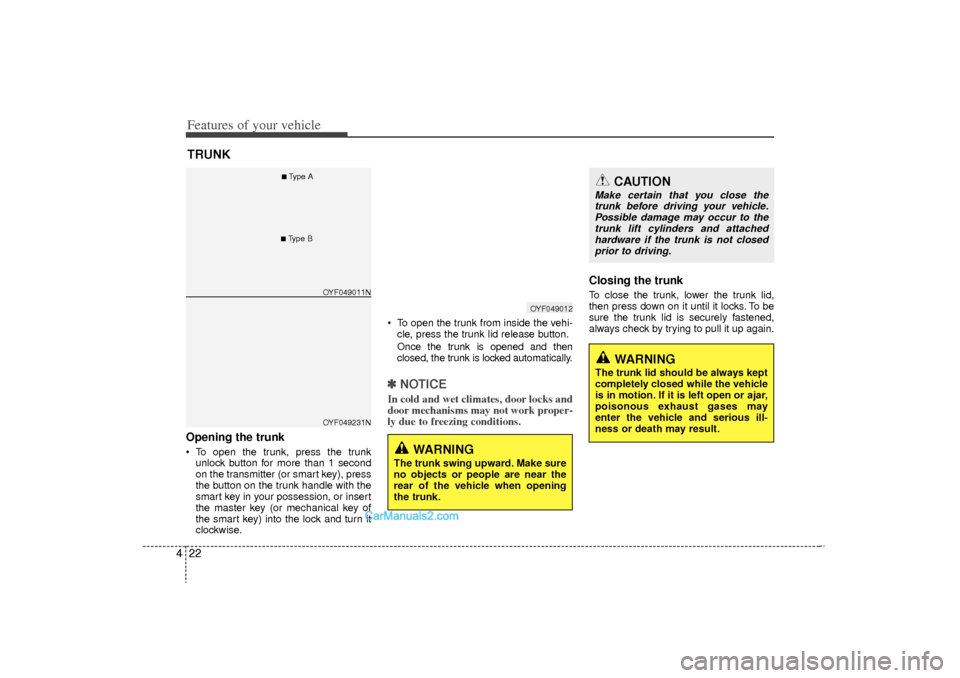
4Opening the trunk To open the trunk, press the trunk
unlock button for more than 1 second
on the transmitter (or smart key), press
the button on the trunk handle with the
smart key in your possession, or insert
the master key (or mechanical key of
the smart key) into the lock and turn it
clockwise. To open the trunk from inside the vehi-
cle, press the trunk lid release button.
Once the trunk is opened and then
closed, the trunk is locked automatically.✽ ✽ NOTICEIn cold and wet climates, door locks and
door mechanisms may not work proper-
ly due to freezing conditions.
Closing the trunkTo close the trunk, lower the trunk lid,
then press down on it until it locks. To be
sure the trunk lid is securely fastened,
always check by trying to pull it up again.
TRUNK
OYF049012
CAUTION
Make certain that you close the
trunk before driving your vehicle. Possible damage may occur to thetrunk lift cylinders and attachedhardware if the trunk is not closed prior to driving.
WARNING
The trunk swing upward. Make sure
no objects or people are near the
rear of the vehicle when opening
the trunk.
WARNING
The trunk lid should be always kept
completely closed while the vehicle
is in motion. If it is left open or ajar,
poisonous exhaust gases may
enter the vehicle and serious ill-
ness or death may result.
OYF049011NOYF049231N
■Type A■Type B
YF HMA 4-103.QXP 8/20/2010 10:49 AM Page 22
Page 108 of 390
Features of your vehicle26
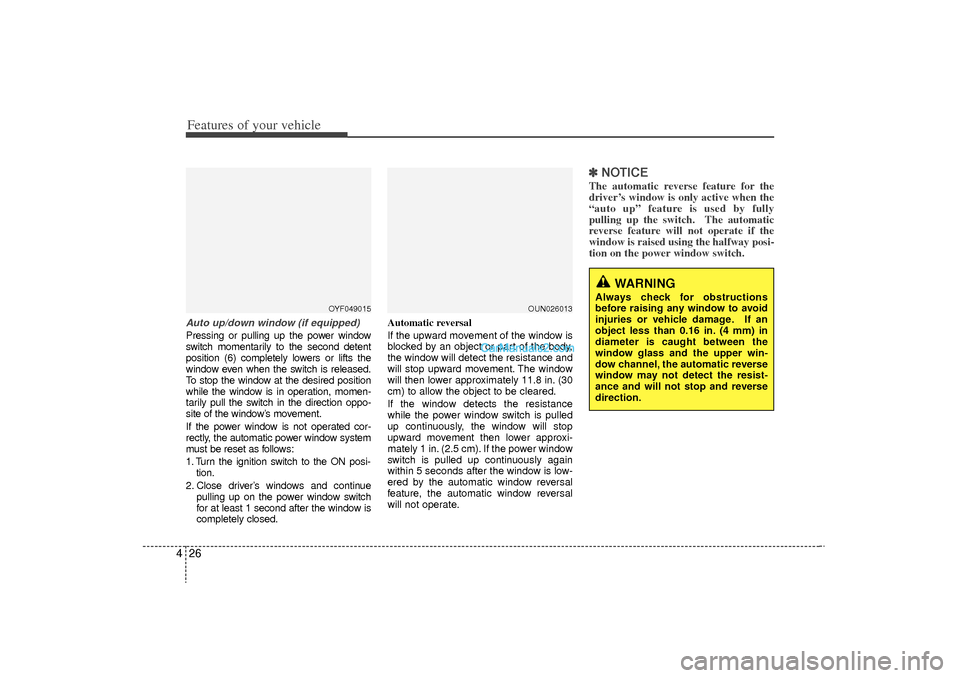
4Auto up/down window (if equipped)Pressing or pulling up the power window
switch momentarily to the second detent
position (6) completely lowers or lifts the
window even when the switch is released.
To stop the window at the desired position
while the window is in operation, momen-
tarily pull the switch in the direction oppo-
site of the window’s movement.
If the power window is not operated cor-
rectly, the automatic power window system
must be reset as follows:
1. Turn the ignition switch to the ON posi-
tion.
2. Close driver’s windows and continue pulling up on the power window switch
for at least 1 second after the window is
completely closed. Automatic reversal
If the upward movement of the window is
blocked by an object or part of the body,
the window will detect the resistance and
will stop upward movement. The window
will then lower approximately 11.8 in. (30
cm) to allow the object to be cleared.
If the window detects the resistance
while the power window switch is pulled
up continuously, the window will stop
upward movement then lower approxi-
mately 1 in. (2.5 cm). If the power window
switch is pulled up continuously again
within 5 seconds after the window is low-
ered by the automatic window reversal
feature, the automatic window reversal
will not operate.
✽ ✽
NOTICEThe automatic reverse feature for the
driver’s window is only active when the
“auto up” feature is used by fully
pulling up the switch. The automatic
reverse feature will not operate if the
window is raised using the halfway posi-
tion on the power window switch.
WARNING
Always check for obstructions
before raising any window to avoid
injuries or vehicle damage. If an
object less than 0.16 in. (4 mm) in
diameter is caught between the
window glass and the upper win-
dow channel, the automatic reverse
window may not detect the resist-
ance and will not stop and reverse
direction.
OUN026013
OYF049015
YF HMA 4-103.QXP 8/20/2010 10:49 AM Page 26
Page 109 of 390
427
Features of your vehicle
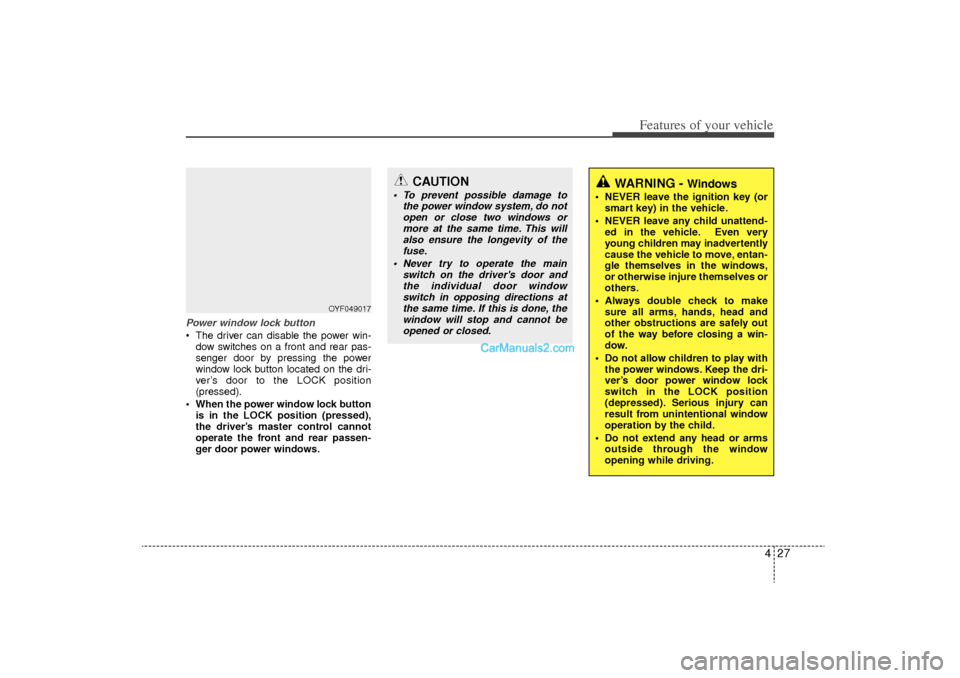
Power window lock button The driver can disable the power win-dow switches on a front and rear pas-
senger door by pressing the power
window lock button located on the dri-
ver’s door to the LOCK position
(pressed).
When the power window lock button is in the LOCK position (pressed),
the driver’s master control cannot
operate the front and rear passen-
ger door power windows.
OYF049017
CAUTION
To prevent possible damage to the power window system, do notopen or close two windows or more at the same time. This willalso ensure the longevity of thefuse.
Never try to operate the main switch on the driver's door andthe individual door window switch in opposing directions atthe same time. If this is done, the window will stop and cannot beopened or closed.
WARNING -
Windows
NEVER leave the ignition key (or smart key) in the vehicle.
NEVER leave any child unattend- ed in the vehicle. Even very
young children may inadvertently
cause the vehicle to move, entan-
gle themselves in the windows,
or otherwise injure themselves or
others.
Always double check to make sure all arms, hands, head and
other obstructions are safely out
of the way before closing a win-
dow.
Do not allow children to play with the power windows. Keep the dri-
ver’s door power window lock
switch in the LOCK position
(depressed). Serious injury can
result from unintentional window
operation by the child.
Do not extend any head or arms outside through the window
opening while driving.
YF HMA 4-103.QXP 8/20/2010 10:50 AM Page 27
Page 110 of 390
Features of your vehicle28
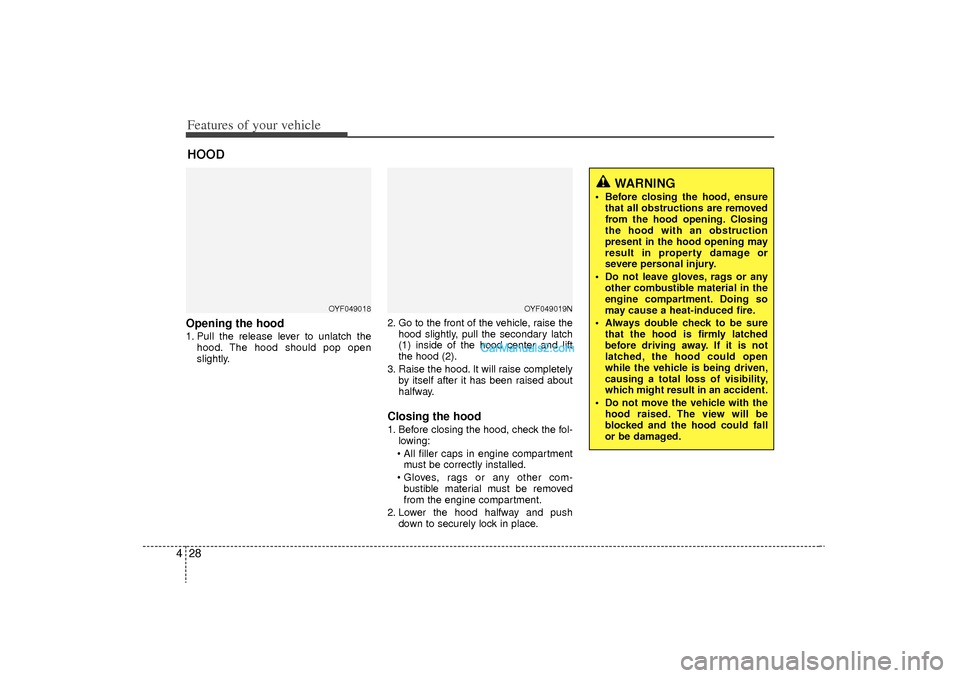
4Opening the hood 1. Pull the release lever to unlatch the
hood. The hood should pop open
slightly. 2. Go to the front of the vehicle, raise the
hood slightly, pull the secondary latch
(1) inside of the hood center and lift
the hood (2).
3. Raise the hood. It will raise completely by itself after it has been raised about
halfway.
Closing the hood1. Before closing the hood, check the fol-lowing:
All filler caps in engine compartment must be correctly installed.
Gloves, rags or any other com- bustible material must be removed
from the engine compartment.
2. Lower the hood halfway and push down to securely lock in place.
HOOD
OYF049018
OYF049019N
WARNING
Before closing the hood, ensurethat all obstructions are removed
from the hood opening. Closing
the hood with an obstruction
present in the hood opening may
result in property damage or
severe personal injury.
Do not leave gloves, rags or any other combustible material in the
engine compartment. Doing so
may cause a heat-induced fire.
Always double check to be sure that the hood is firmly latched
before driving away. If it is not
latched, the hood could open
while the vehicle is being driven,
causing a total loss of visibility,
which might result in an accident.
Do not move the vehicle with the hood raised. The view will be
blocked and the hood could fall
or be damaged.
YF HMA 4-103.QXP 8/20/2010 10:50 AM Page 28
Page 111 of 390
429
Features of your vehicle
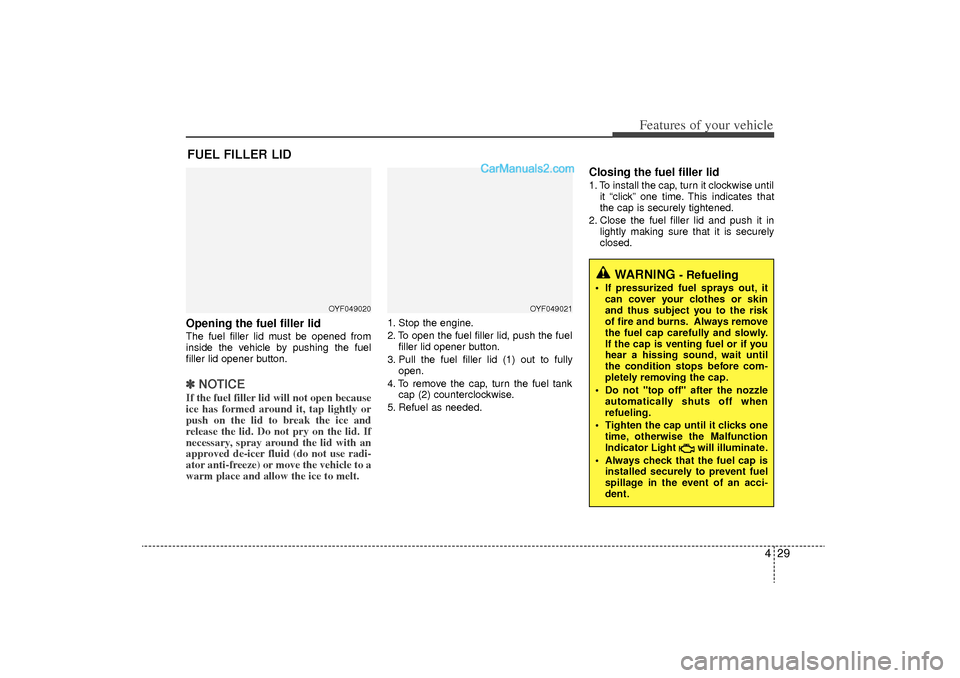
Opening the fuel filler lidThe fuel filler lid must be opened from
inside the vehicle by pushing the fuel
filler lid opener button.✽ ✽NOTICEIf the fuel filler lid will not open because
ice has formed around it, tap lightly or
push on the lid to break the ice and
release the lid. Do not pry on the lid. If
necessary, spray around the lid with an
approved de-icer fluid (do not use radi-
ator anti-freeze) or move the vehicle to a
warm place and allow the ice to melt.
1. Stop the engine.
2. To open the fuel filler lid, push the fuel
filler lid opener button.
3. Pull the fuel filler lid (1) out to fully open.
4. To remove the cap, turn the fuel tank cap (2) counterclockwise.
5. Refuel as needed.
Closing the fuel filler lid1. To install the cap, turn it clockwise until it “click” one time. This indicates that
the cap is securely tightened.
2. Close the fuel filler lid and push it in lightly making sure that it is securely
closed.
FUEL FILLER LID
OYF049020
OYF049021
WARNING
- Refueling
• If pressurized fuel sprays out, itcan cover your clothes or skin
and thus subject you to the risk
of fire and burns. Always remove
the fuel cap carefully and slowly.
If the cap is venting fuel or if you
hear a hissing sound, wait until
the condition stops before com-
pletely removing the cap.
Do not "top off" after the nozzle automatically shuts off when
refueling.
Tighten the cap until it clicks one time, otherwise the Malfunction
Indicator Light will illuminate.
Always check that the fuel cap is installed securely to prevent fuel
spillage in the event of an acci-
dent.
YF HMA 4-103.QXP 8/23/2010 11:19 AM Page 29