Engine oil change Hyundai Terracan 2005 Owner's Manual
[x] Cancel search | Manufacturer: HYUNDAI, Model Year: 2005, Model line: Terracan, Model: Hyundai Terracan 2005Pages: 539, PDF Size: 18.03 MB
Page 157 of 539
2 DRIVING YOUR HYUNDAI
2
C010A01HP-AAT
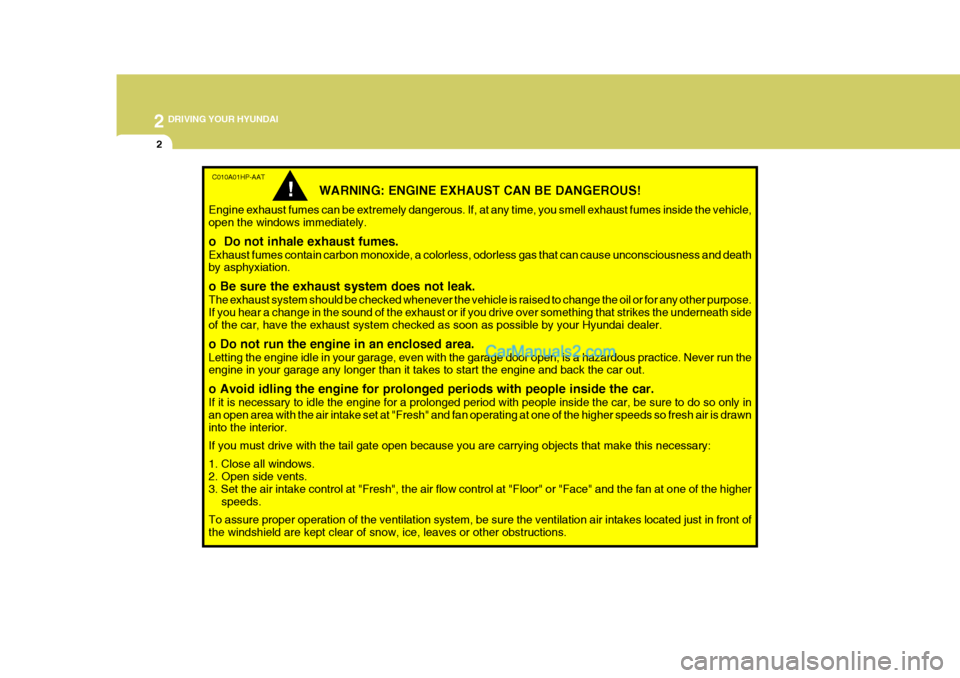
WARNING: ENGINE EXHAUST CAN BE DANGEROUS!
Engine exhaust fumes can be extremely dangerous. If, at any time, you smell exhaust fumes inside the vehicle, open the windows immediately. o Do not inhale exhaust fumes. Exhaust fumes contain carbon monoxide, a colorless, odorless gas that can cause unconsciousness and death by asphyxiation. o Be sure the exhaust system does not leak. The exhaust system should be checked whenever the vehicle is raised to change the oil or for any other purpose. If you hear a change in the sound of the exhaust or if you drive over something that strikes the underneath side of the car, have the exhaust system checked as soon as possible by your Hyundai dealer. o Do not run the engine in an enclosed area. Letting the engine idle in your garage, even with the garage door open, is a hazardous practice. Never run the engine in your garage any longer than it takes to start the engine and back the car out. o Avoid idling the engine for prolonged periods with people inside the car. If it is necessary to idle the engine for a prolonged period with people inside the car, be sure to do so only in an open area with the air intake set at "Fresh" and fan operating at one of the higher speeds so fresh air is drawn into the interior. If you must drive with the tail gate open because you are carrying objects that make this necessary: 1. Close all windows. 2. Open side vents. 3. Set the air intake control at "Fresh", the air flow control at "Floor" or "Face" and the fan at one of the higher speeds.
To assure proper operation of the ventilation system, be sure the ventilation air intakes located just in front ofthe windshield are kept clear of snow, ice, leaves or other obstructions.
!
Page 219 of 539
5
VEHICLE MAINTENANCE REQUIREMENTS
9EXPLANATION OF SCHEDULED MAINTENANCE ITEMS
!
F060M01A-AAT
o Engine Oil and Filter
The engine oil and filter should be changed at the intervals specified in the maintenance schedule. If the car is being driven in severe conditions,more frequent oil and filter changes are required. F060B01A-AAT
o Drive belts
Inspect all drive belts for evidence of cuts, cracks, excessive wear or oil saturation and replace if necessary. Drive belts should be checked periodi-cally for proper tension and adjusted as necessary. F060C01A-AAT
o Fuel filter
A clogged filter can limit the speed at
which the vehicle may be driven, dam-age the emission system and cause hard starting. If an excessive amountof foreign matter accumulates in the fuel tank, the filter may require re- placement more frequently. After installing a new filter, run the
engine for several minutes, and checkfor leaks at the connections. Fuel fil- ters should be installed by trained technicians. WARNING (Diesel only):
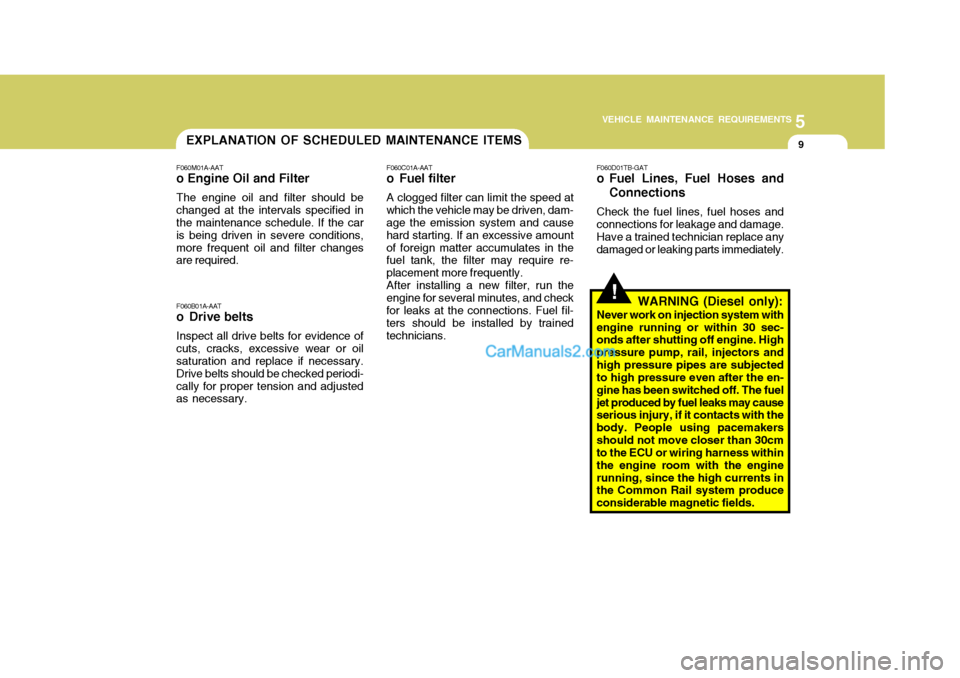
Never work on injection system with
engine running or within 30 sec- onds after shutting off engine. High pressure pump, rail, injectors andhigh pressure pipes are subjected to high pressure even after the en- gine has been switched off. The fueljet produced by fuel leaks may cause serious injury, if it contacts with the body. People using pacemakersshould not move closer than 30cm to the ECU or wiring harness within the engine room with the enginerunning, since the high currents in the Common Rail system produce considerable magnetic fields.
F060D01TB-GAT
o Fuel Lines, Fuel Hoses and
Connections
Check the fuel lines, fuel hoses and connections for leakage and damage. Have a trained technician replace any damaged or leaking parts immediately.
Page 232 of 539

6 DO-IT-YOURSELF MAINTENANCE
10CHANGING THE ENGINE OIL AND FILTER
!
The engine oil and filter should be changed at those intervals specified in the maintenance schedule in Sec- tion 5. If the car is being driven in severe conditions, more frequent oiland filter changes are required. The procedure for changing the oil and filter is as follows:
1. Park the car on level ground and set the parking brake. Start the engine and let it warm up until the needle on the coolant temperature gauge moves above the lowestmark. Turn the engine off and place the gear selector lever in "P" (auto- WARNING:
Be very careful when draining the engine oil as it may be hot enough to burn you!
4. When the oil has stopped draining, replace the drain plug using a new gasket and retighten by turning itclockwise. Oil pan drain plug tightening torque: 3.5 ~ 4.5 kgf.m
G040A03HP-GAT
HHP5004
G040A01HP
G040A02HP matic transmission) or reverse gear (manual transmission).
2. Open the hood and remove the engine oil filler cap.
3. Slide underneath the car and loosen the drain plug by turning it counter-clockwise with a wrench of theproper size. Be sure that a drain pan is in position to catch the oil as it drains out, then remove the drainplug.
Diesel Engine (2.9 CRDi)
Diesel Engine (2.5 TCI)
Gasoline Engine
Oil filter
Drain plug Oil filler cap
Oil filler cap
Oil filter
Drain plug Oil filler cap
Oil filter
Drain plug
Page 261 of 539
6
DO-IT-YOURSELF MAINTENANCE
39REPLACING HEADLIGHT BULBS
G260A02A-GAT Before attempting to replace a head- light bulb, be sure the switch is turned to the "OFF" position. The next paragraph shows how to reach the headlight bulbs so they may be changed. Be sure to replacethe burned-out bulb with one of the same number and wattage rating.
CAUTION:
Keep the lamps out of contact with
petroleum product, such as oil, gasoline, etc.
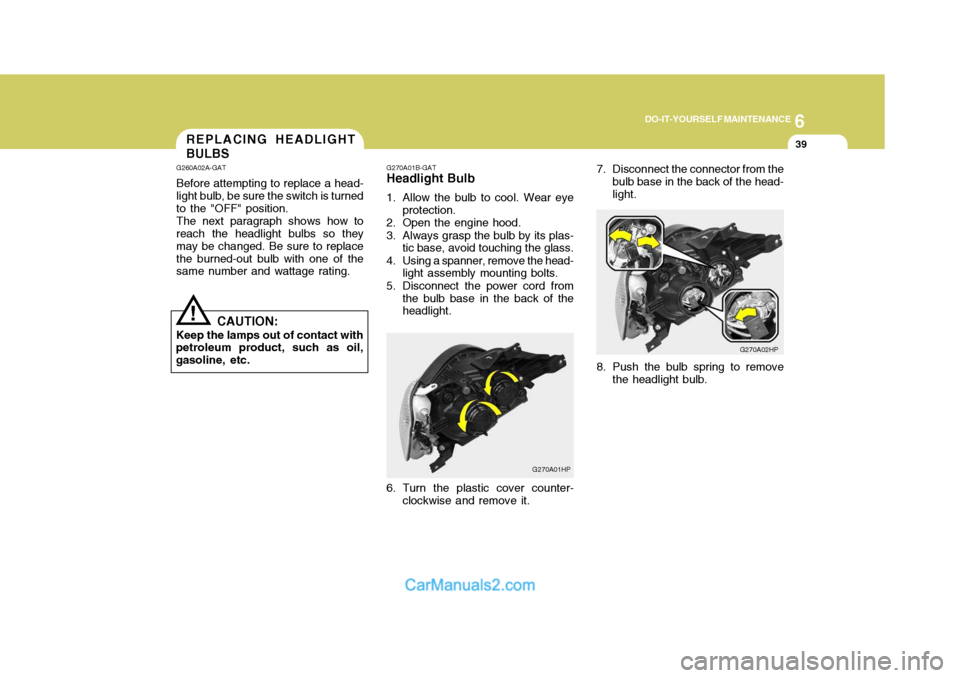
! G270A01B-GAT
Headlight Bulb
1. Allow the bulb to cool. Wear eye
protection.
2. Open the engine hood.
3. Always grasp the bulb by its plas- tic base, avoid touching the glass.
4. Using a spanner, remove the head- light assembly mounting bolts.
5. Disconnect the power cord from the bulb base in the back of the headlight.
G270A01HP7. Disconnect the connector from the
bulb base in the back of the head- light.
G270A02HP
6. Turn the plastic cover counter- clockwise and remove it. 8. Push the bulb spring to remove
the headlight bulb.
Page 469 of 539
5VEHICLE MAINTENANCE REQUIREMENTS
2
NOTE:The inspection and testing of cer-
tain electronic fuel injection/engine management and automatic trans- mission control systems requirespecialised electronic equipment specifically designed for Hyundai vehicles. The use of general pur-pose electrical test equipment may result in damage to the control unit microprocessors.
DF020C2-E
Specified Scheduled Procedures
The specified scheduled procedures
are listed in the maintenance chartsbeginning at page 5-3. The operationsspecified must be performed at the time or mileage intervals shown irre- spective of whether the mileage inter-val has been reached before the speci- fied time interval.
Certain lubricants and components
degrade with both time and mileage(eg, engine oil and brake fluid) and therefore it is not permissable to basethe maintenance schedule upon mile- age alone. It is strongly recommended DF020F1-E
SERVICE HISTORY
It is important that all scheduled main-
tenance services are recorded in the warranty and service passport to en- sure that proof of maintenance is avail- able when warranty service is required.
that the maintenance operations areperformed by a Hyundai dealer be-cause of the need for specialized knowl- edge and tooling and to ensure that no possibility of invalidating the manufac-turers warranty exists.
The maintenance schedules relate to
vehicles operated under normal condi-tions, vehicles which are operated under adverse conditions will require more frequent maintenance which isdescribed at page 5-6. NOTE:
Service schedules may change de-
pending on individual country needs. Please ask your localHyundai dealer for a copy of the service schedule that relates to that country.MAINTENANCE AND SER- VICING REQUIREMENTS
DF020A1-E To ensure the continued reliability and safety of the vehicle, certain routine maintenance operations are requiredat specific mileage or time intervals.It is the responsibility of the vehicleowner to ensure that the maintenanceschedules shown in both this Owner's Manual and the Warranty and Service Passport are adhered to.The new vehicle warranty may beinvalidated if the routine maintenanceoperations are not performed in line with the recommendations outlined and the safety and durability of the vehicleadversely affected.It is recommended that all mainte-nance operations with the exception ofthe daily operating checks are en- trusted to a Hyundai dealer to ensure that the latest repair and maintenanceprocedures and specialized servicing tools are employed. In addition, the use of genuine Hyundai replacementparts will ensure that the vehicle safety and performance will not be compro- mised.
Page 474 of 539
5
VEHICLE MAINTENANCE REQUIREMENTS
7
!
F060B01A-AAT
o Drive belts
Inspect all drive belts for evidence of cuts, cracks, excessive wear or oil and replace if necessary. Drive beltsshould be checked periodically for proper tension and adjusted as neces- sary. F060C01A-AAT
o Fuel filter
A clogged filter can limit the speed at
which the vehicle may be driven, dam- age the emission system and cause hard starting. If an excessive amountof foreign matter accumulates in the fuel tank, the filter may require re- placement more frequently. After installing a new filter, run the
engine for several minutes, and checkfor leaks at the connections. Fuel fil- ters should be installed by trained technicians.
F060D01TB-AAT
o Fuel lines, fuel hoses and con- nections
Check the fuel lines, fuel hoses and
connections for leakage and damage. Have a trained technician replace anydamaged or leaking parts immediately. WARNING (Diesel only):
Never work on injection system withengine running or within 30 sec-onds after shutting off engine. High pressure pump, rail, injectors and high pressure pipes are subject tohigh pressure even after the engine stopped. The fuel jet produced by fuel leaks may cause serious injury,if it touch the body. People using pacemakers should not move than 30cm closer to the ECU or wiringharness within the engine room while engine is running, since the high currents in the Common Railsystem produce considerable mag- netic fields.
EXPLANATION OF SCHED- ULED MAINTENANCE ITEMS
F060M01A-AAT
o Engine oil and filter
The engine oil and filter should be
changed at the intervals specified in the maintenance schedule. If the car is being driven in severe conditions,more frequent oil and filter changes are required.
Page 476 of 539
5
VEHICLE MAINTENANCE REQUIREMENTS
9
F070C01A-AAT
o Coolant
The coolant should be changed at
the intervals specified in the mainte- nance schedule. F070D01HP-AAT
o Manual transmission oil
Inspect the manual transmission oil according to the maintenance sched- ule.
NOTE: If the oil level is low, check forpossible leaks before adding oil. Do not overfill. F070E02HP-GAT
o Automatic transmission fluid and filter
The fluid level should be in the "HOT"
range of the dipstick, after engine and transmission and filter are at normal operating temperature. Check the Au-tomatic and filter Transmission and filter Fluid level with the engine running and the transmission and filter inneutral, with the parking brake properly applied. Use MOBIL DEXRON-II when adding or changing fluid.
F070F01A-AAT
o Brake hoses and lines
Visually check for proper installation,
chafing, cracks, deterioration and any leakage. Replace any deteriorated or damaged parts immediately. F070G02A-AAT o Brake fluid Check brake fluid level in the brake fluid reservoir. The level should be between "MIN" and "MAX" marks on the side of the reservoir. Use onlyhydraulic brake fluid conforming to DOT 3 or DOT 4. F070H01HP-AAT
o Rear brake linings, pad and parking brake Check the rear brake linings and pads for scoring, burning, leaking fluid, bro-ken parts, and excessive wear. In- spect the parking brake system in- cluding the parking brake lever andcables. For detailed service proce- dures, refer to the Shop Manual.
Page 485 of 539
6 OWNER MAINTENANCE
8
!
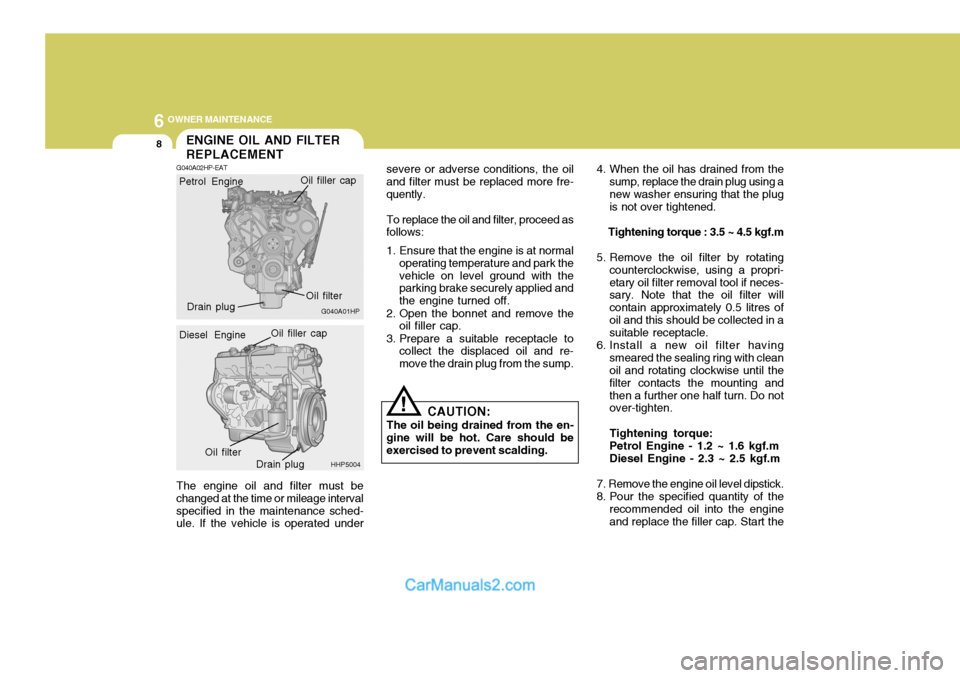
The engine oil and filter must be changed at the time or mileage intervalspecified in the maintenance sched- ule. If the vehicle is operated under severe or adverse conditions, the oil and filter must be replaced more fre-quently.
To replace the oil and filter, proceed as
follows:
1. Ensure that the engine is at normal
operating temperature and park the vehicle on level ground with the parking brake securely applied and the engine turned off.
2. Open the bonnet and remove the oil filler cap.
3. Prepare a suitable receptacle to collect the displaced oil and re-move the drain plug from the sump. 4. When the oil has drained from the
sump, replace the drain plug using anew washer ensuring that the plug is not over tightened.
Tightening torque : 3.5 ~ 4.5 kgf.m
5. Remove the oil filter by rotating counterclockwise, using a propri- etary oil filter removal tool if neces- sary. Note that the oil filter will contain approximately 0.5 litres ofoil and this should be collected in a suitable receptacle.
6. Install a new oil filter having smeared the sealing ring with cleanoil and rotating clockwise until the filter contacts the mounting andthen a further one half turn. Do not over-tighten. Tightening torque: Petrol Engine - 1.2 ~ 1.6 kgf.m Diesel Engine - 2.3 ~ 2.5 kgf.m
7. Remove the engine oil level dipstick.
8. Pour the specified quantity of the recommended oil into the engine and replace the filler cap. Start the
CAUTION:
The oil being drained from the en-
gine will be hot. Care should be exercised to prevent scalding.
ENGINE OIL AND FILTER REPLACEMENT
G040A02HP-EAT
G040A01HP
Petrol Engine
Oil filter
Drain plug Oil filler cap
HHP5004
Diesel Engine
Oil filler capOil filter
Drain plug
Page 494 of 539
6
OWNER MAINTENANCE
17
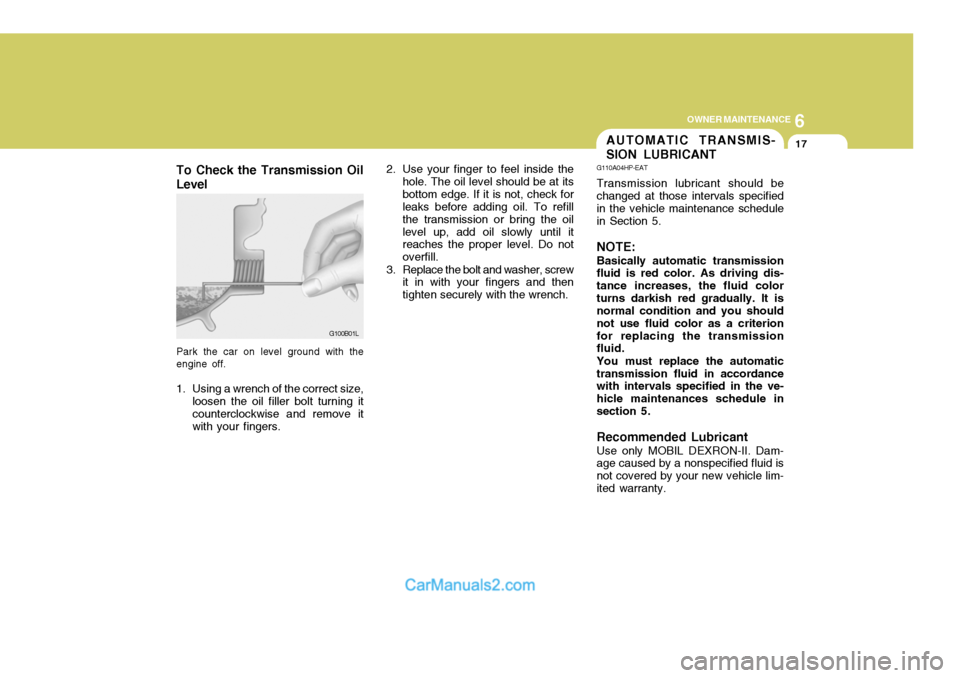
To Check the Transmission Oil Level
Park the car on level ground with the engine off.
1. Using a wrench of the correct size, loosen the oil filler bolt turning it counterclockwise and remove itwith your fingers. 2. Use your finger to feel inside the
hole. The oil level should be at itsbottom edge. If it is not, check for leaks before adding oil. To refill the transmission or bring the oillevel up, add oil slowly until it reaches the proper level. Do not overfill.
3. Replace the bolt and washer, screw it in with your fingers and thentighten securely with the wrench.
G100B01L
AUTOMATIC TRANSMIS- SION LUBRICANT
G110A04HP-EAT Transmission lubricant should be changed at those intervals specified in the vehicle maintenance schedulein Section 5. NOTE: Basically automatic transmission fluid is red color. As driving dis- tance increases, the fluid colorturns darkish red gradually. It is normal condition and you should not use fluid color as a criterionfor replacing the transmission fluid. You must replace the automatic transmission fluid in accordance with intervals specified in the ve- hicle maintenances schedule insection 5. Recommended Lubricant Use only MOBIL DEXRON-II. Dam- age caused by a nonspecified fluid is not covered by your new vehicle lim-ited warranty.
Page 508 of 539
6
OWNER MAINTENANCE
31
!
!
3. Check to be sure that the warning
lamp illuminates when the ignition key is turned to "ON", and that it goes off when the engine is started. If in doubt, consult your nearest authorised HYUNDAI dealer.
NOTE: It is recommended that water accu- mulated in the fuel filter should be removed by an authorised Hyundai dealer.
WARNING:
Be sure to carefully wipe away anywater drained out in this manner, because the fuel mixed in the water might be ignited and resultin a fire. Before attempting to replace a head-
light bulb, be sure the switch is turned to the "OFF" position.
The next paragraph shows how to
reach the headlight bulbs so they may be changed. Be sure to replacethe burned-out bulb with one of the same number and wattage rating.
Ensure that the replacement bulb has
the same cap configuration and watt-age as the original.
See page 6-35 for the wattage descrip-
tions.
CAUTION:
Keep the lamps out of contact with
petroleum product, such as oil, petrol, etc.
REPLACING HEADLIGHT BULBS
G260A01HP-EAT
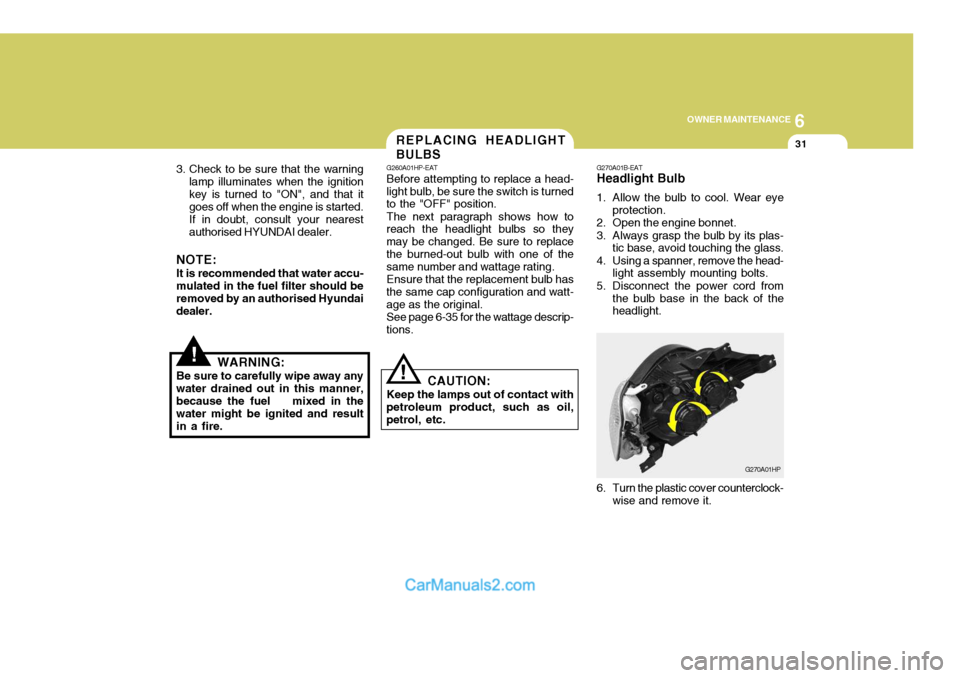
G270A01B-EAT Headlight Bulb
1. Allow the bulb to cool. Wear eye
protection.
2. Open the engine bonnet.
3. Always grasp the bulb by its plas- tic base, avoid touching the glass.
4. Using a spanner, remove the head- light assembly mounting bolts.
5. Disconnect the power cord from the bulb base in the back of the headlight.
G270A01HP
6. Turn the plastic cover counterclock- wise and remove it.