headlights Hyundai Terracan 2006 Owner's Manual
[x] Cancel search | Manufacturer: HYUNDAI, Model Year: 2006, Model line: Terracan, Model: Hyundai Terracan 2006Pages: 539, PDF Size: 18.11 MB
Page 72 of 539
1FEATURES OF YOUR HYUNDAI
58WARNING AND INDICATOR LIGHTS
!
B260D01A-AAT
Turn Signal Indicator Lights
The blinking green arrows on the in- strument panel show the direction indi-cated by the turn signals. If the arrow comes on but does not blink, blinks more rapidly than normal, or does notblink at all, a malfunction in the turn signal system is indicated. Your dealer should be consulted for repairs. B260P02Y-AAT
ABS Service Reminder Indicator (SRI)(If Installed)
When the key is turned to the "ON" position, the Anti-Lock Brake System SRI will come on and then go off in afew seconds. If the ABS SRI remains on, comes on while driving, or does not come on when the key is turned to the"ON" position, this indicates that there may be a problem with the ABS. If this occurs, have your vehiclechecked by your Hyundai dealer as soon as possible. The normal braking system will still be operational, butwithout the assistance of the anti-lock brake system. WARNING:
If the both ABS SRI and ParkingBrake/ Low Brake fluid level warn- ing lights remain "ON" or come onwhile driving, there may be a prob- lem with E.B.D (Electronic Brake Force Distribution).If this occurs, avoid sudden stops and have your vehicle checked by your Hyundai dealer as soon aspossible. B260F01A-AAT High Beam Indicator Light
The high beam indicator light comes on whenever the headlights areswitched to the high beam or flash position.
Page 87 of 539
1
FEATURES OF YOUR HYUNDAI
73MULTI-FUNCTION LIGHT SWITCH
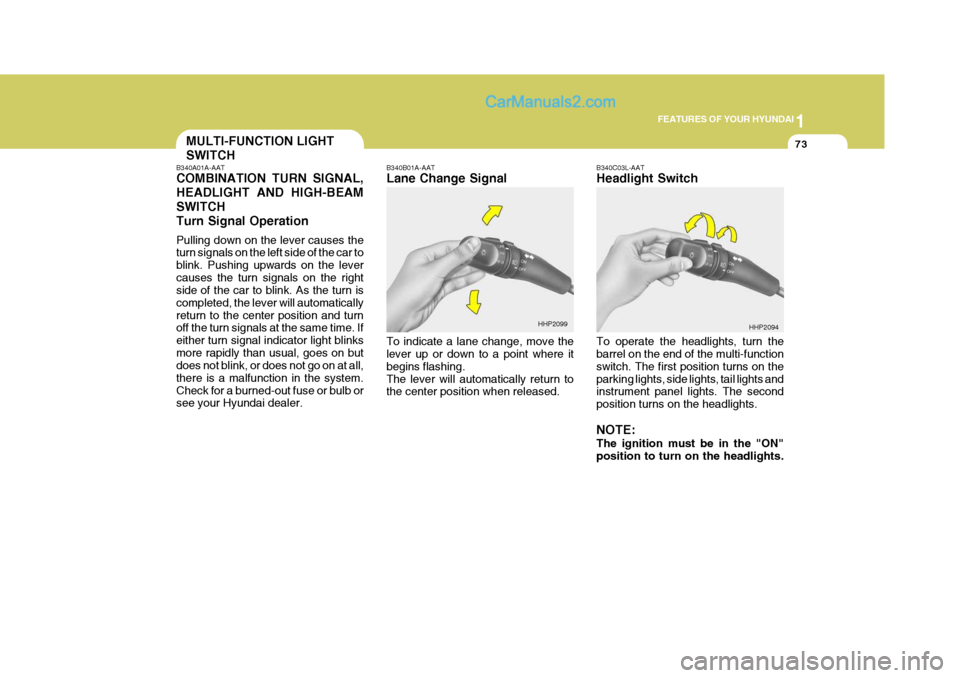
B340A01A-AAT COMBINATION TURN SIGNAL, HEADLIGHT AND HIGH-BEAMSWITCHTurn Signal Operation Pulling down on the lever causes the turn signals on the left side of the car to blink. Pushing upwards on the levercauses the turn signals on the right side of the car to blink. As the turn is completed, the lever will automaticallyreturn to the center position and turn off the turn signals at the same time. If either turn signal indicator light blinksmore rapidly than usual, goes on but does not blink, or does not go on at all, there is a malfunction in the system.Check for a burned-out fuse or bulb or see your Hyundai dealer. B340B01A-AAT Lane Change Signal To indicate a lane change, move the lever up or down to a point where it begins flashing.The lever will automatically return to the center position when released.
B340C03L-AAT Headlight Switch To operate the headlights, turn the barrel on the end of the multi-function switch. The first position turns on theparking lights, side lights, tail lights and instrument panel lights. The second position turns on the headlights. NOTE: The ignition must be in the "ON" position to turn on the headlights.
HHP2099
HHP2094
Page 88 of 539
1FEATURES OF YOUR HYUNDAI
74
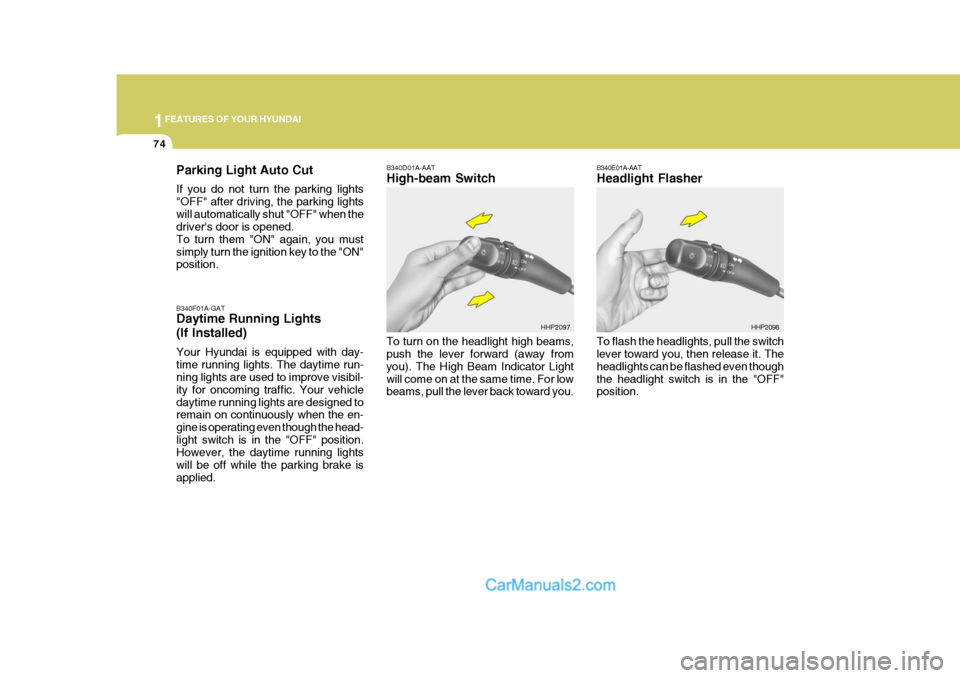
B340E01A-AAT Headlight Flasher To flash the headlights, pull the switch lever toward you, then release it. The headlights can be flashed even thoughthe headlight switch is in the "OFF" position. HHP2098
B340F01A-GAT Daytime Running Lights (If Installed) Your Hyundai is equipped with day- time running lights. The daytime run- ning lights are used to improve visibil- ity for oncoming traffic. Your vehicledaytime running lights are designed to remain on continuously when the en- gine is operating even though the head-light switch is in the "OFF" position. However, the daytime running lights will be off while the parking brake isapplied. B340D01A-AAT High-beam Switch
Parking Light Auto Cut If you do not turn the parking lights "OFF" after driving, the parking lightswill automatically shut "OFF" when the driver's door is opened. To turn them "ON" again, you mustsimply turn the ignition key to the "ON" position.
To turn on the headlight high beams,push the lever forward (away from you). The High Beam Indicator Lightwill come on at the same time. For low beams, pull the lever back toward you.HHP2097
Page 104 of 539
1FEATURES OF YOUR HYUNDAI
90DAY/NIGHT INSIDE REAR- VIEW MIRROR
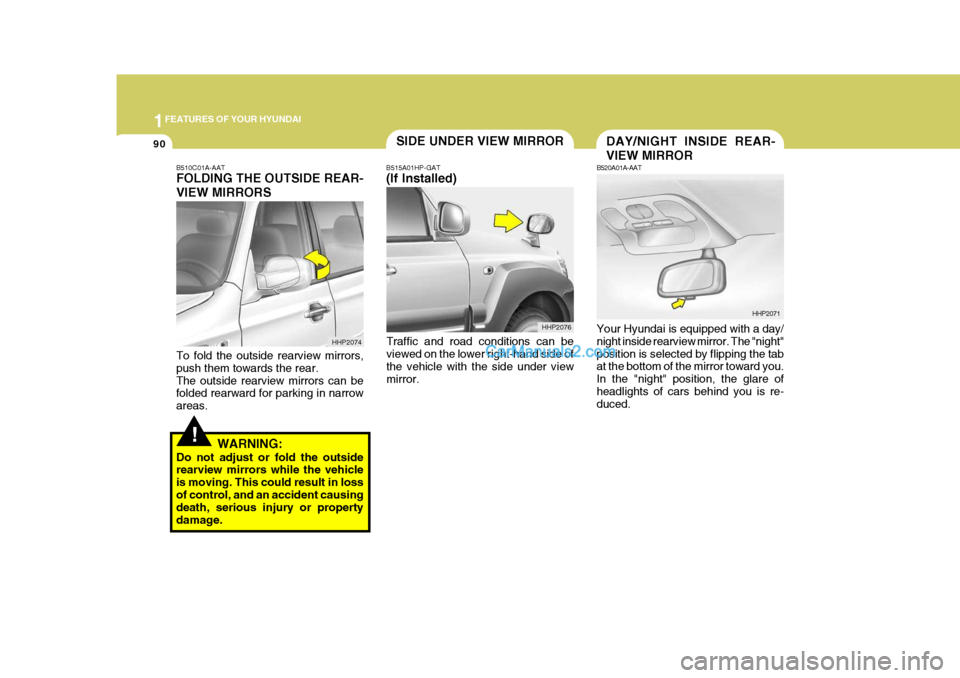
B520A01A-AAT Your Hyundai is equipped with a day/ night inside rearview mirror. The "night" position is selected by flipping the tab at the bottom of the mirror toward you. In the "night" position, the glare ofheadlights of cars behind you is re- duced. HHP2071
!
B510C01A-AAT FOLDING THE OUTSIDE REAR- VIEW MIRRORS To fold the outside rearview mirrors, push them towards the rear.The outside rearview mirrors can be folded rearward for parking in narrow areas.
WARNING:
Do not adjust or fold the outside rearview mirrors while the vehicle is moving. This could result in lossof control, and an accident causing death, serious injury or property damage. B515A01HP-GAT (If Installed)
Traffic and road conditions can be viewed on the lower right-hand side of the vehicle with the side under viewmirror.
HHP2074 SIDE UNDER VIEW MIRROR
HHP2076
Page 105 of 539
1
FEATURES OF YOUR HYUNDAI
91PARKING BRAKE
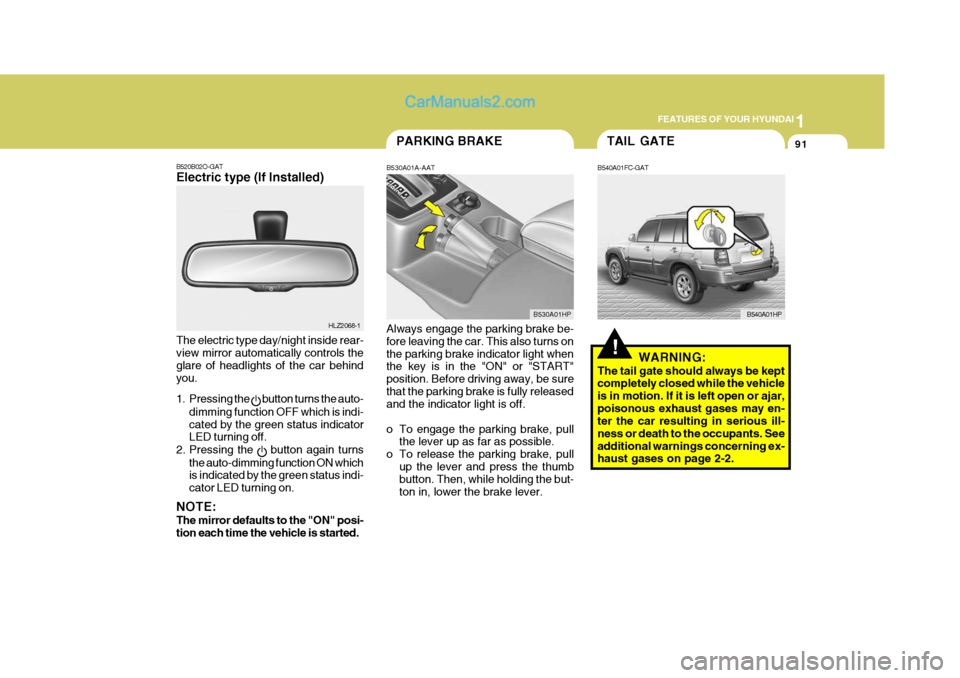
B530A01A-AAT Always engage the parking brake be- fore leaving the car. This also turns on the parking brake indicator light when the key is in the "ON" or "START" position. Before driving away, be surethat the parking brake is fully released and the indicator light is off.
o To engage the parking brake, pull the lever up as far as possible.
o To release the parking brake, pull up the lever and press the thumb button. Then, while holding the but- ton in, lower the brake lever. B530A01HP
B520B02O-GAT Electric type (If Installed) The electric type day/night inside rear- view mirror automatically controls the glare of headlights of the car behindyou.
1. Pressing the
button turns the auto-
dimming function OFF which is indi- cated by the green status indicator LED turning off.
2. Pressing the
button again turns
the auto-dimming function ON which is indicated by the green status indi- cator LED turning on.
NOTE: The mirror defaults to the "ON" posi- tion each time the vehicle is started. HLZ2068-1
TAIL GATE
!
B540A01FC-GAT
WARNING:
The tail gate should always be kept completely closed while the vehicle is in motion. If it is left open or ajar,poisonous exhaust gases may en- ter the car resulting in serious ill- ness or death to the occupants. Seeadditional warnings concerning ex- haust gases on page 2-2. B540A01HP
Page 164 of 539
2
DRIVING YOUR HYUNDAI
9AUTOMATIC TRANSMIS- SION
!
o Exercise extreme caution when driv-
ing on a slippery surface. Be espe- cially careful when braking, acceler- ating or shifting gears. On a slippery surface, an abrupt change in ve-hicle speed can cause the drive wheels to lose traction and the ve- hicle to go out of control. o In the event your vehicle leaves
the roadway, do not steer sharply.Instead, slow down before pull- ing back into the travel lanes.
o Never exceed posted speed lim- its.
WARNING:
o Avoid high cornering speeds.
o Do not make quick steering wheel movements, such as sharp lanechanges or fast, sharp turns.
o Always wear your seat belts. In a collision crash, an unbeltedperson is significantly more likelyto die than a person wearing a seatbelt.
o The risk of rollover is greatly in-
creased if you lose control ofyour vehicle at highway speeds.
o Loss of control often occurs if
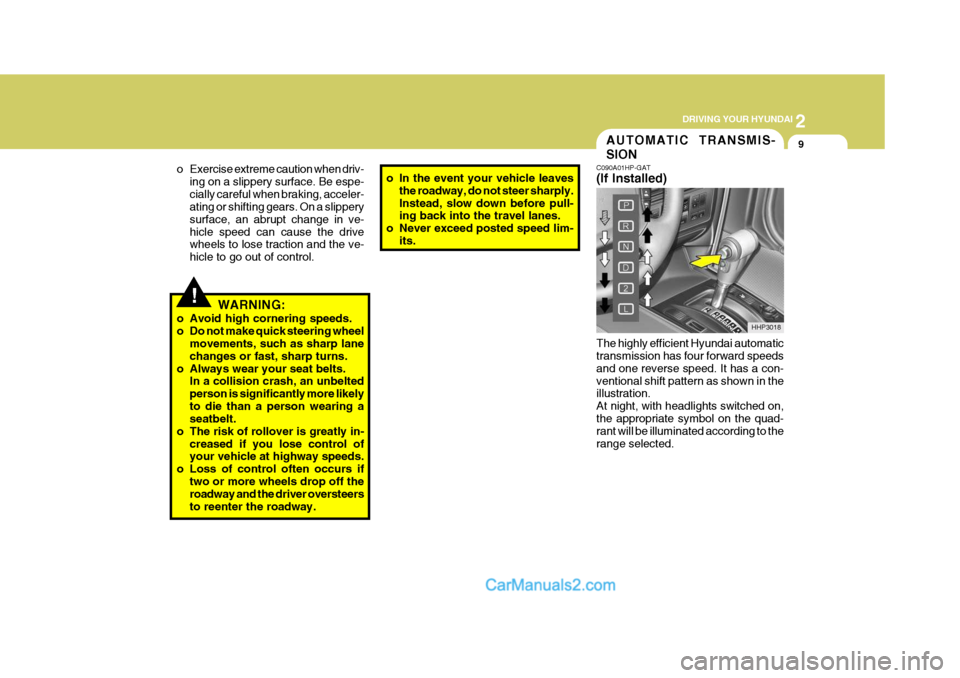
two or more wheels drop off theroadway and the driver oversteers to reenter the roadway. C090A01HP-GAT (If Installed) The highly efficient Hyundai automatic transmission has four forward speeds and one reverse speed. It has a con-ventional shift pattern as shown in the illustration. At night, with headlights switched on,the appropriate symbol on the quad- rant will be illuminated according to the range selected.
HHP3018
Page 183 of 539
2 DRIVING YOUR HYUNDAI
28
C190B01S-AAT Trailer Hitches Select the proper hitch and ball combi- nation, making sure that it's location is compatible with that of the trailer or vehicle being towed.Use a quality non-equalizing hitch which distributes the tongue load uniformly throughout the chassis. The hitch should be bolted securely to the car and installed by a qualifiedtechnician. DO NOT USE A HITCH DESIGNED FOR TEMPORARY IN- STALLATION AND NEVER USE ONETHAT ATTACHES ONLY TO THE BUMPER.TRAILER OR VEHICLE TOWING
!
C190A01HP-GAT If you are considering towing with your car, you should first check with your Province Department of Motor Vehicles to determine their legal requirements.Since laws vary from province to prov- ince the requirements for towing trail- ers, cars, or other types of vehicles orapparatus may differ. Ask your Hyundai dealer for further details before towing.
CAUTION:
Do not do any towing with your carduring its first 2,000 km (1,200 miles) in order to allow the engine to prop-erly break in. Failure to heed this caution may result in serious en- gine or transmission damage.
USE OF LIGHTS
C180A01A-AAT Check your lights regularly for correct operation and always keep them clean. When driving during the day in condi- tions of poor visibility, it is helpful todrive with headlights on low beam. This enables you to be seen, as well as to see.
Page 257 of 539
6 DO-IT-YOURSELF MAINTENANCE
30
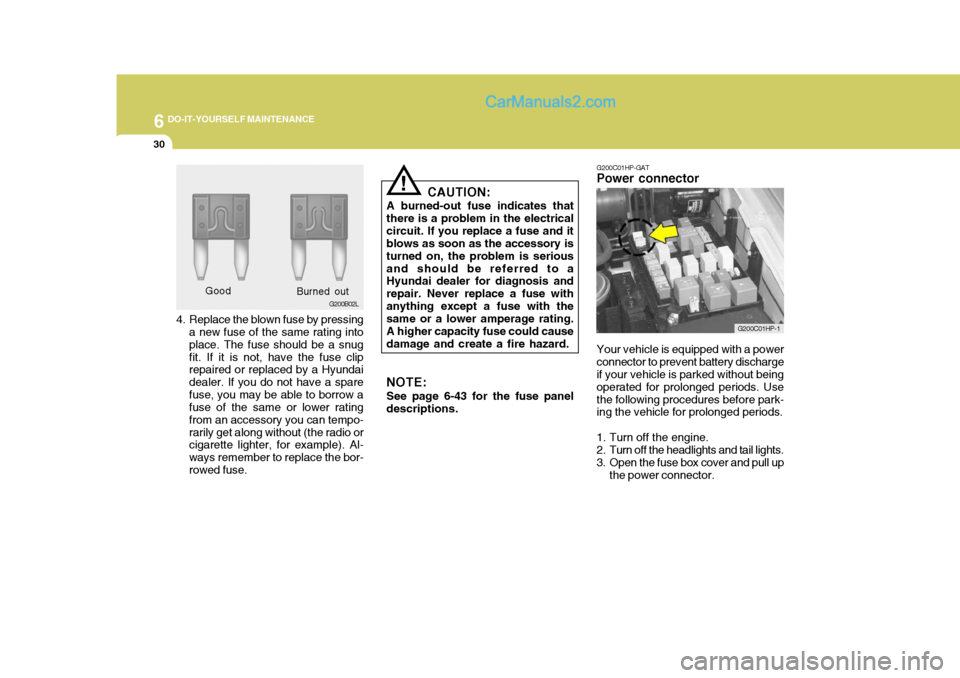
4. Replace the blown fuse by pressing
a new fuse of the same rating into place. The fuse should be a snugfit. If it is not, have the fuse clip repaired or replaced by a Hyundai dealer. If you do not have a sparefuse, you may be able to borrow a fuse of the same or lower rating from an accessory you can tempo-rarily get along without (the radio or cigarette lighter, for example). Al- ways remember to replace the bor-rowed fuse. Good
G200B02L
Burned out CAUTION:
A burned-out fuse indicates thatthere is a problem in the electricalcircuit. If you replace a fuse and it blows as soon as the accessory is turned on, the problem is seriousand should be referred to a Hyundai dealer for diagnosis and repair. Never replace a fuse withanything except a fuse with the same or a lower amperage rating. A higher capacity fuse could causedamage and create a fire hazard. NOTE: See page 6-43 for the fuse panel descriptions.
! G200C01HP-GAT
Power connector
Your vehicle is equipped with a power connector to prevent battery discharge if your vehicle is parked without being operated for prolonged periods. Usethe following procedures before park- ing the vehicle for prolonged periods.
1. Turn off the engine.
2. Turn off the headlights and tail lights.
3. Open the fuse box cover and pull up the power connector.
G200C01HP-1
Page 258 of 539
6
DO-IT-YOURSELF MAINTENANCE
31CHECKING THE BATTERY
!
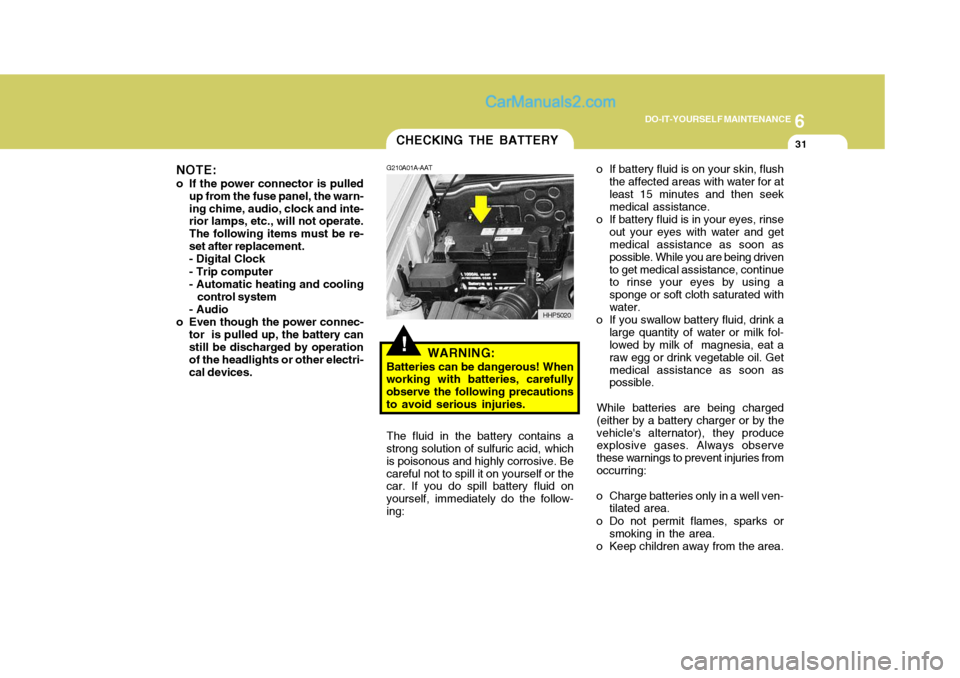
G210A01A-AAT
WARNING:
Batteries can be dangerous! When
working with batteries, carefully observe the following precautionsto avoid serious injuries. o If battery fluid is on your skin, flush
the affected areas with water for atleast 15 minutes and then seek medical assistance.
o If battery fluid is in your eyes, rinse out your eyes with water and getmedical assistance as soon as possible. While you are being drivento get medical assistance, continue to rinse your eyes by using a sponge or soft cloth saturated withwater.
o If you swallow battery fluid, drink a large quantity of water or milk fol- lowed by milk of magnesia, eat a raw egg or drink vegetable oil. Getmedical assistance as soon as possible.
While batteries are being charged (either by a battery charger or by thevehicle's alternator), they produce explosive gases. Always observe these warnings to prevent injuries fromoccurring:
o Charge batteries only in a well ven- tilated area.
o Do not permit flames, sparks or smoking in the area.
o Keep children away from the area.
The fluid in the battery contains a
strong solution of sulfuric acid, whichis poisonous and highly corrosive. Becareful not to spill it on yourself or the car. If you do spill battery fluid on yourself, immediately do the follow-ing: HHP5020
NOTE:
o If the power connector is pulled up from the fuse panel, the warn-ing chime, audio, clock and inte- rior lamps, etc., will not operate. The following items must be re-set after replacement.- Digital Clock - Trip computer
- Automatic heating and cooling
control system
- Audio
o Even though the power connec- tor is pulled up, the battery can still be discharged by operation of the headlights or other electri-cal devices.
Page 268 of 539
6
DO-IT-YOURSELF MAINTENANCE
41
"W" Distance between each headlight center :Low Beam : 1,316 mm (51.8 in.) High Beam : 1,076 mm (42.4 in.) "L" Distance between the headlightsand the wall that the lights are tested against : Low Beam : 3,000 mm (118.11 in.) High Beam : 3,000 mm (118.11in.)
If the vehicle has had front body repair
and the headlight assembly has beenreplaced, the headlight aiming should be checked using an aiming screen as shown in the illustration. Turn on theheadlight switch. (Low Beam or High Beam Position).
1. Adjust headlights so that main axis of light is parallel to center line of the body and is aligned with point "P" shown in the illustration.
2. Dotted lines in the illustration show the center of headlights. "H" Horizontal center line of headlightsfrom ground :Low Beam : 894 mm (35.1 in.) High Beam : 839 mm (33 in.)