key Hyundai Tiburon 2003 Owner's Manual
[x] Cancel search | Manufacturer: HYUNDAI, Model Year: 2003, Model line: Tiburon, Model: Hyundai Tiburon 2003Pages: 169, PDF Size: 3.04 MB
Page 10 of 169
FEATURES OF YOUR HYUNDAI
1- 2
B020A01S-AAT
BREAKING IN YOUR NEW HYUNDAI
During the First 1,200 Miles (2,000
Km)
No formal “break-in” procedure is required with
your new Hyundai. However, you can contrib-
ute to the economical operation and durability of
your Hyundai by observing the following recom-
mendations during the first 1,200 miles (2,000
km).
o Don't drive faster than 55 MPH (88 km/h).
o While driving, keep your engine speed (rpm,
or revolutions per minute) between 2,000
rpm and 4,000 rpm.
o Use moderate acceleration. Don't start quick-
ly or depress the accelerator pedal fully.
o For the first 200 miles (300 km), try to avoid
hard stops.
o Don't lug the engine (in other words, don't
drive so slowly in too high a gear that the
engine "bucks"-shift to a lower gear).
o Whether going fast or slow, vary your speed
from time to time.
o Don't let the engine idle longer than 3 min-
utes at one time.
o Don't tow a trailer during the first 1,200 miles
(2,000 km) of operation.
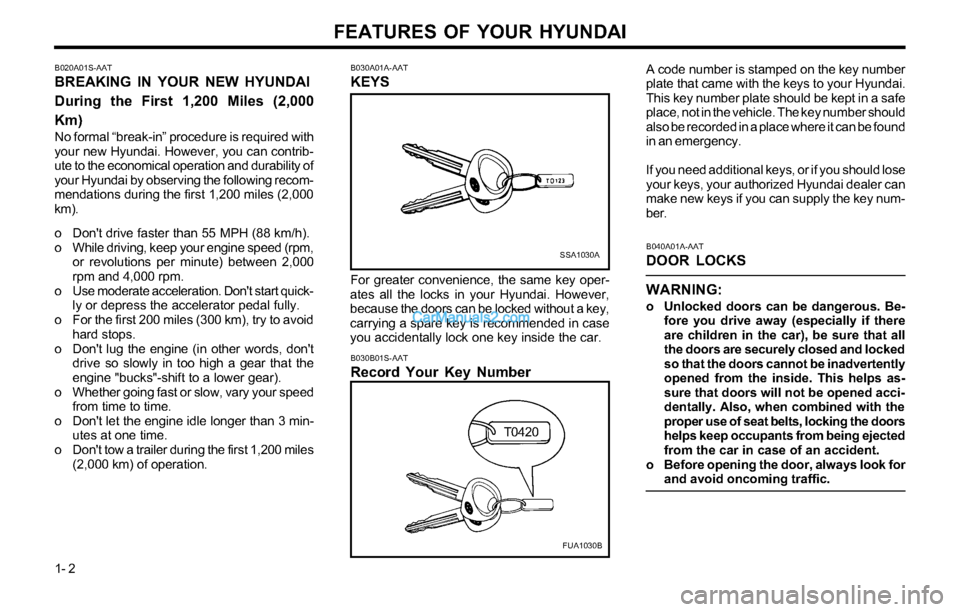
B030B01S-AAT
Record Your Key Number
A code number is stamped on the key number
plate that came with the keys to your Hyundai.
This key number plate should be kept in a safe
place, not in the vehicle. The key number should
also be recorded in a place where it can be found
in an emergency.
If you need additional keys, or if you should lose
your keys, your authorized Hyundai dealer can
make new keys if you can supply the key num-
ber.
B040A01A-AAT
DOOR LOCKS
WARNING:
o Unlocked doors can be dangerous. Be-
fore you drive away (especially if there
are children in the car), be sure that all
the doors are securely closed and locked
so that the doors cannot be inadvertently
opened from the inside. This helps as-
sure that doors will not be opened acci-
dentally. Also, when combined with the
proper use of seat belts, locking the doors
helps keep occupants from being ejected
from the car in case of an accident.
o Before opening the door, always look for
and avoid oncoming traffic.
B030A01A-AAT
KEYS
SSA1030A
For greater convenience, the same key oper-
ates all the locks in your Hyundai. However,
because the doors can be locked without a key,
carrying a spare key is recommended in case
you accidentally lock one key inside the car.
FUA1030B
T0420
Page 11 of 169
FEATURES OF YOUR HYUNDAI
1- 3
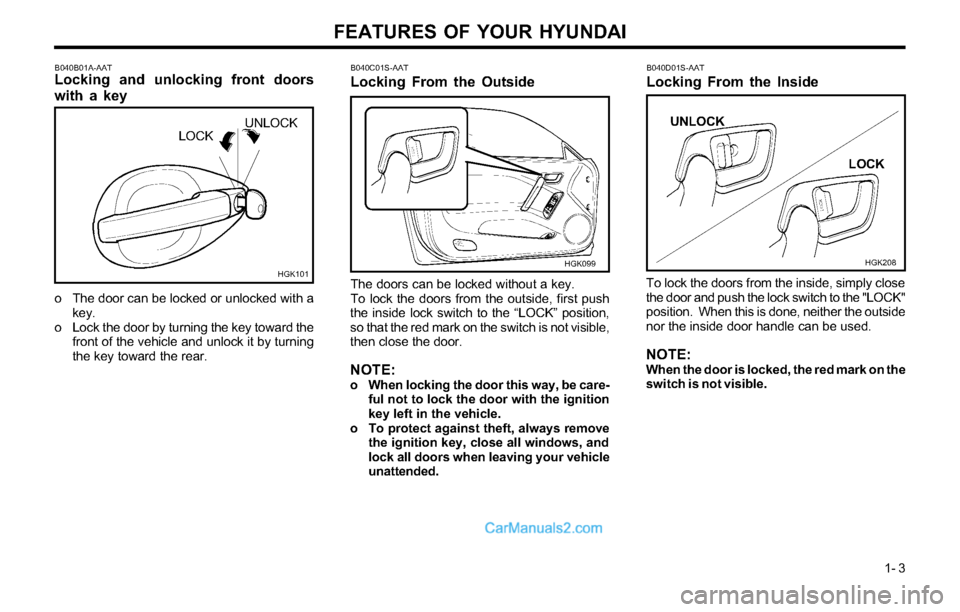
B040B01A-AATLocking and unlocking front doors
with a key
o The door can be locked or unlocked with a
key.
o Lock the door by turning the key toward the
front of the vehicle and unlock it by turning
the key toward the rear.
HGK101
UNLOCK
LOCK
HGK099 B040C01S-AAT
Locking From the Outside
The doors can be locked without a key.
To lock the doors from the outside, first push
the inside lock switch to the “LOCK” position,
so that the red mark on the switch is not visible,
then close the door.
NOTE:o When locking the door this way, be care-
ful not to lock the door with the ignition
key left in the vehicle.
o To protect against theft, always remove
the ignition key, close all windows, and
lock all doors when leaving your vehicle
unattended.
B040D01S-AAT
Locking From the Inside
To lock the doors from the inside, simply close
the door and push the lock switch to the "LOCK"
position. When this is done, neither the outside
nor the inside door handle can be used.
NOTE:When the door is locked, the red mark on the
switch is not visible.
HGK208
UNLOCK
LOCK
Page 12 of 169
FEATURES OF YOUR HYUNDAI
1- 4
B070A01A-AAT
THEFT-ALARM SYSTEM (If Installed)
This system is designed to provide protection
from unauthorized entry into the car. This sys-
tem is operated in three stages: the first is the
"Armed" stage, the second is the "Alarm" stage,
and the third is the "Disarmed" stage. If trig-
gered, the system provides an audible alarm
with blinking of the turn signal light.
HGK099B070C01GK-AAT
Alarm Stage
The alarm will be activated if any of the follow-
ing occur while the car is parked and the sys-
tem is armed.
1) A front door is opened without using the key
or the transmitter.
2) The tail gate is opened without using the
key.
3) The engine hood is opened.
The siren will sound and the turn signal lamp
will blink continuously for 30 seconds. (This
happens 3 times). To turn off the system, un-
lock the door with the transmitter.
CAUTION:Avoid trying to start the engine while the
system is armed.
B070B02GK-AAT
Armed Stage
Park the car and stop the engine. Arm the
system as described below.
1) Remove the ignition key from the ignition
switch.
2) Make sure that the engine hood and tail gate
are locked.
3) Lock the doors using the transmitter of the
keyless entry system.
After completion of the steps above, the turn
signal lamp will blink once to indicate that the
system is armed.
NOTE:1) If any door, tail gate or engine hood
remains open, the system will not be
armed.
2) If this happens, rearm the system as
described above.
3) Once the system is armed, only the tail
gate may be unlocked using the key with-
out disarming the system.4) When unlocking all doors by the trans-
mitter, if you don't open any doors within
30 seconds after all doors are unlocked
by the transmitter, all doors are relocked
and the system is rearmed automatically.
CAUTION:Do not arm the system until all passengers
have left the car. If the system is armed
while a passenger(s) remains in the car, the
alarm may be activated when the remaining
passenger(s) leaves the car.
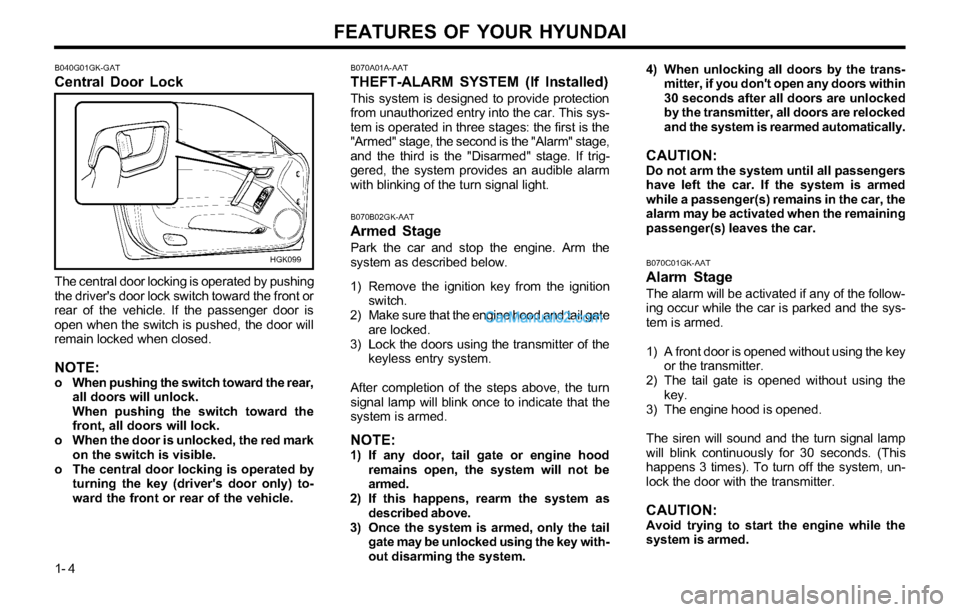
B040G01GK-GAT
Central Door Lock
The central door locking is operated by pushing
the driver's door lock switch toward the front or
rear of the vehicle. If the passenger door is
open when the switch is pushed, the door will
remain locked when closed.
NOTE:o When pushing the switch toward the rear,
all doors will unlock.
When pushing the switch toward the
front, all doors will lock.
o When the door is unlocked, the red mark
on the switch is visible.
o The central door locking is operated by
turning the key (driver's door only) to-
ward the front or rear of the vehicle.
Page 13 of 169
FEATURES OF YOUR HYUNDAI
1- 5
B070D02GK-AAT
Disarmed Stage
The system will be disarmed when either of the
following steps are taken:
1) The driver's or passenger's door is unlocked
by depressing the "UNLOCK" button on the
transmitter.
2) In the middle of arming or after being armed,
it disarms after 30 seconds if the key is
turned to and kept in the "ON" position.
After completing the steps above, the turn sig-
nal lamp will blink twice to indicate that the
system is disarmed.
NOTE:Once the system has been disarmed, it can
not be rearmed except by repeating the
arming procedures.
HGK102
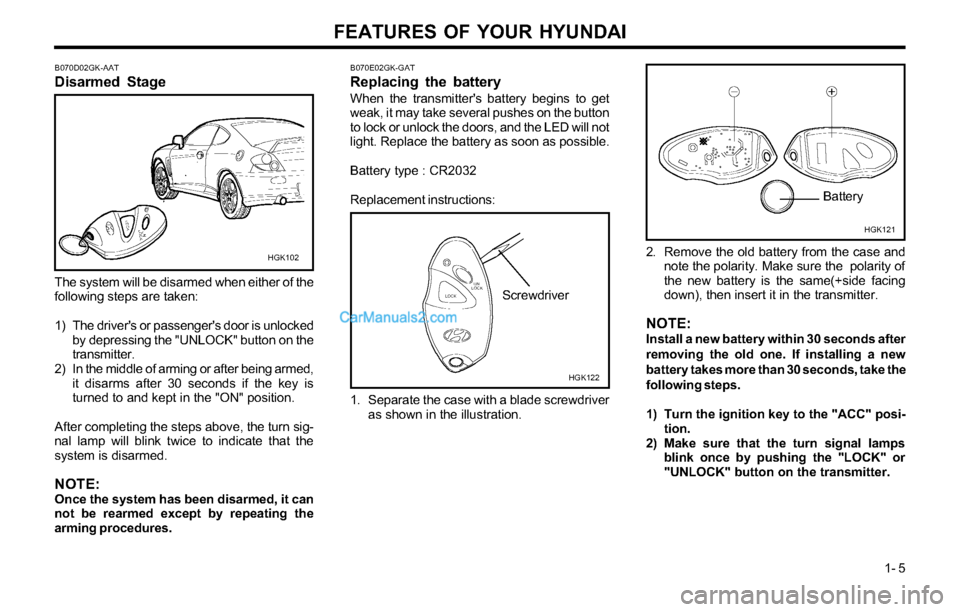
B070E02GK-GAT
Replacing the battery
When the transmitter's battery begins to get
weak, it may take several pushes on the button
to lock or unlock the doors, and the LED will not
light. Replace the battery as soon as possible.
Battery type : CR2032
Replacement instructions:
1. Separate the case with a blade screwdriver
as shown in the illustration.
HGK122
Screwdriver
HGK121
Battery
2. Remove the old battery from the case and
note the polarity. Make sure the polarity of
the new battery is the same(+side facing
down), then insert it in the transmitter.
NOTE:Install a new battery within 30 seconds after
removing the old one. If installing a new
battery takes more than 30 seconds, take the
following steps.
1) Turn the ignition key to the "ACC" posi-
tion.
2) Make sure that the turn signal lamps
blink once by pushing the "LOCK" or
"UNLOCK" button on the transmitter.
Page 14 of 169
FEATURES OF YOUR HYUNDAI
1- 6
B080A01A-AAT
ADJUSTABLE FRONT SEATS
WARNING:
Never attempt to adjust the seat while the
vehicle is moving. This could result in loss
of control, or an accident which may cause
death, serious injury, or property damage.
B050A01GK-AAT
WINDOW GLASS
Power Window
HGK096
(1)
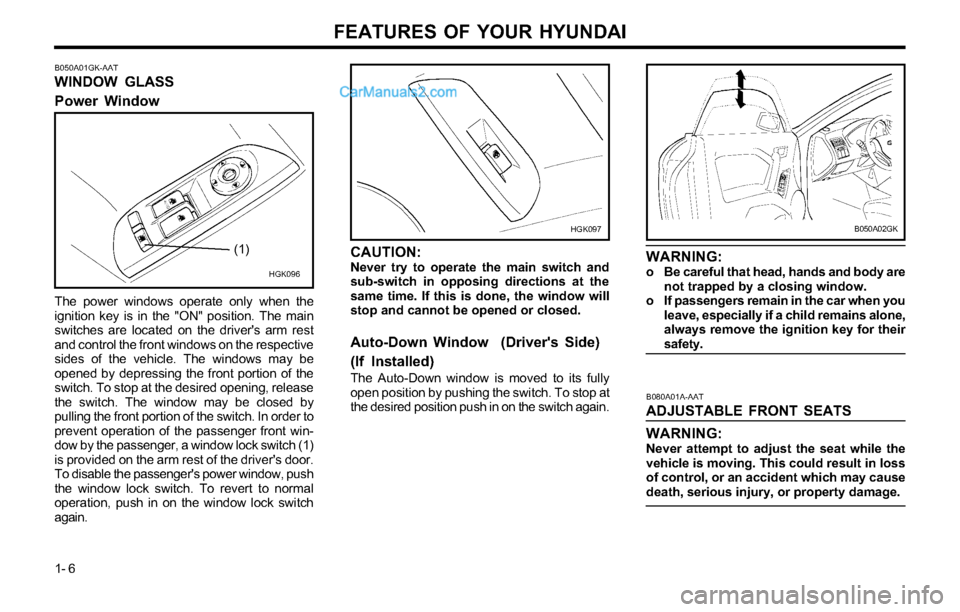
The power windows operate only when the
ignition key is in the "ON" position. The main
switches are located on the driver's arm rest
and control the front windows on the respective
sides of the vehicle. The windows may be
opened by depressing the front portion of the
switch. To stop at the desired opening, release
the switch. The window may be closed by
pulling the front portion of the switch. In order to
prevent operation of the passenger front win-
dow by the passenger, a window lock switch (1)
is provided on the arm rest of the driver's door.
To disable the passenger's power window, push
the window lock switch. To revert to normal
operation, push in on the window lock switch
again.
B050A02GK
CAUTION:Never try to operate the main switch and
sub-switch in opposing directions at the
same time. If this is done, the window will
stop and cannot be opened or closed.
Auto-Down Window (Driver's Side)
(If Installed)
The Auto-Down window is moved to its fully
open position by pushing the switch. To stop at
the desired position push in on the switch again.
WARNING:o Be careful that head, hands and body are
not trapped by a closing window.
o If passengers remain in the car when you
leave, especially if a child remains alone,
always remove the ignition key for their
safety.
HGK097
Page 20 of 169
FEATURES OF YOUR HYUNDAI
1- 12
B190A01GK-AAT
SEAT BELTS Rear Seat 3-Point Sys-
tem with Combination Locking Re-
tractor
To Fasten Your Belt
Combination retractor type seat belts are in-
stalled in the rear seat positions to help accom-
modate the installation of child restraint sys-
tems. Although a combination retractor is also
installed in the front passenger seat position,
Hyundai strongly recommends that children al-
ways be seated in the rear seat. NEVER place
any infant restraint system in the front seat of
the vehicle.
This type of seat belt combines the features of
both an emergency locking retractor seat belt
and an automatic locking retractor seat belt. To
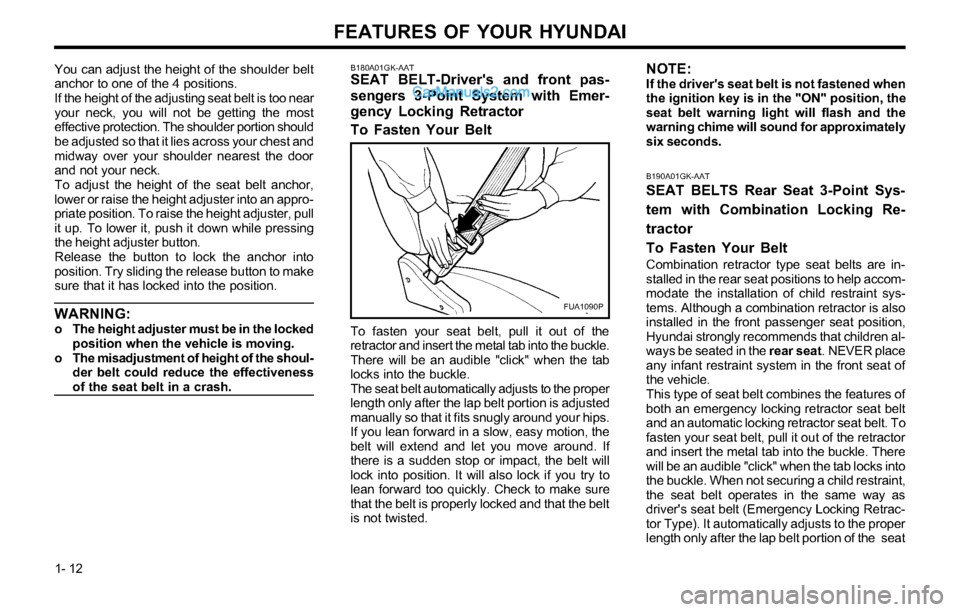
fasten your seat belt, pull it out of the retractor
and insert the metal tab into the buckle. There
will be an audible "click" when the tab locks into
the buckle. When not securing a child restraint,
the seat belt operates in the same way as
driver's seat belt (Emergency Locking Retrac-
tor Type). It automatically adjusts to the proper
length only after the lap belt portion of the seat
FUA1090P B180A01GK-AAT
SEAT BELT-Driver's and front pas-
sengers 3-Point System with Emer-
gency Locking Retractor
To Fasten Your BeltYou can adjust the height of the shoulder belt
anchor to one of the 4 positions.
If the height of the adjusting seat belt is too near
your neck, you will not be getting the most
effective protection. The shoulder portion should
be adjusted so that it lies across your chest and
midway over your shoulder nearest the door
and not your neck.
To adjust the height of the seat belt anchor,
lower or raise the height adjuster into an appro-
priate position. To raise the height adjuster, pull
it up. To lower it, push it down while pressing
the height adjuster button.
Release the button to lock the anchor into
position. Try sliding the release button to make
sure that it has locked into the position.
WARNING:o The height adjuster must be in the locked
position when the vehicle is moving.
o The misadjustment of height of the shoul-
der belt could reduce the effectiveness
of the seat belt in a crash.To fasten your seat belt, pull it out of the
retractor and insert the metal tab into the buckle.
There will be an audible "click" when the tab
locks into the buckle.
The seat belt automatically adjusts to the proper
length only after the lap belt portion is adjusted
manually so that it fits snugly around your hips.
If you lean forward in a slow, easy motion, the
belt will extend and let you move around. If
there is a sudden stop or impact, the belt will
lock into position. It will also lock if you try to
lean forward too quickly. Check to make sure
that the belt is properly locked and that the belt
is not twisted.
NOTE:If the driver's seat belt is not fastened when
the ignition key is in the "ON" position, the
seat belt warning light will flash and the
warning chime will sound for approximately
six seconds.
Page 26 of 169
FEATURES OF YOUR HYUNDAI
1- 18
B240A01GK-GAT
SUPPLEMENTAL RESTRAINT
(AIRBAG) SYSTEM (SRS) (If Installed)
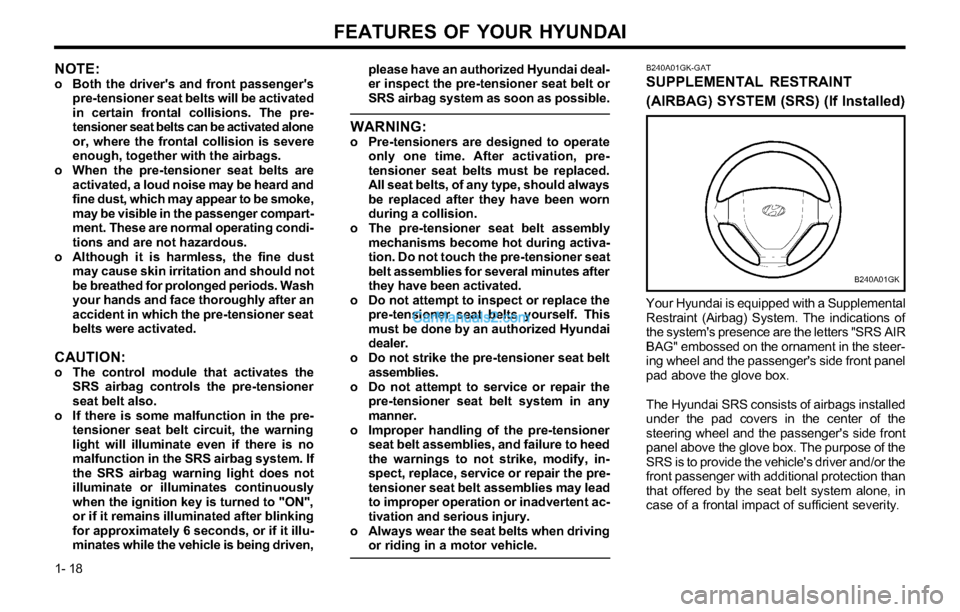
Your Hyundai is equipped with a Supplemental
Restraint (Airbag) System. The indications of
the system's presence are the letters "SRS AIR
BAG" embossed on the ornament in the steer-
ing wheel and the passenger's side front panel
pad above the glove box.
The Hyundai SRS consists of airbags installed
under the pad covers in the center of the
steering wheel and the passenger's side front
panel above the glove box. The purpose of the
SRS is to provide the vehicle's driver and/or the
front passenger with additional protection than
that offered by the seat belt system alone, in
case of a frontal impact of sufficient severity.
NOTE:o Both the driver's and front passenger's
pre-tensioner seat belts will be activated
in certain frontal collisions. The pre-
tensioner seat belts can be activated alone
or, where the frontal collision is severe
enough, together with the airbags.
o When the pre-tensioner seat belts are
activated, a loud noise may be heard and
fine dust, which may appear to be smoke,
may be visible in the passenger compart-
ment. These are normal operating condi-
tions and are not hazardous.
o Although it is harmless, the fine dust
may cause skin irritation and should not
be breathed for prolonged periods. Wash
your hands and face thoroughly after an
accident in which the pre-tensioner seat
belts were activated.
CAUTION:o The control module that activates the
SRS airbag controls the pre-tensioner
seat belt also.
o If there is some malfunction in the pre-
tensioner seat belt circuit, the warning
light will illuminate even if there is no
malfunction in the SRS airbag system. If
the SRS airbag warning light does not
illuminate or illuminates continuously
when the ignition key is turned to "ON",
or if it remains illuminated after blinking
for approximately 6 seconds, or if it illu-
minates while the vehicle is being driven,please have an authorized Hyundai deal-
er inspect the pre-tensioner seat belt or
SRS airbag system as soon as possible.
WARNING:o Pre-tensioners are designed to operate
only one time. After activation, pre-
tensioner seat belts must be replaced.
All seat belts, of any type, should always
be replaced after they have been worn
during a collision.
o The pre-tensioner seat belt assembly
mechanisms become hot during activa-
tion. Do not touch the pre-tensioner seat
belt assemblies for several minutes after
they have been activated.
o Do not attempt to inspect or replace the
pre-tensioner seat belts yourself. This
must be done by an authorized Hyundai
dealer.
o Do not strike the pre-tensioner seat belt
assemblies.
o Do not attempt to service or repair the
pre-tensioner seat belt system in any
manner.
o Improper handling of the pre-tensioner
seat belt assemblies, and failure to heed
the warnings to not strike, modify, in-
spect, replace, service or repair the pre-
tensioner seat belt assemblies may lead
to improper operation or inadvertent ac-
tivation and serious injury.
o Always wear the seat belts when driving
or riding in a motor vehicle.
B240A01GK
Page 28 of 169
FEATURES OF YOUR HYUNDAI
1- 20
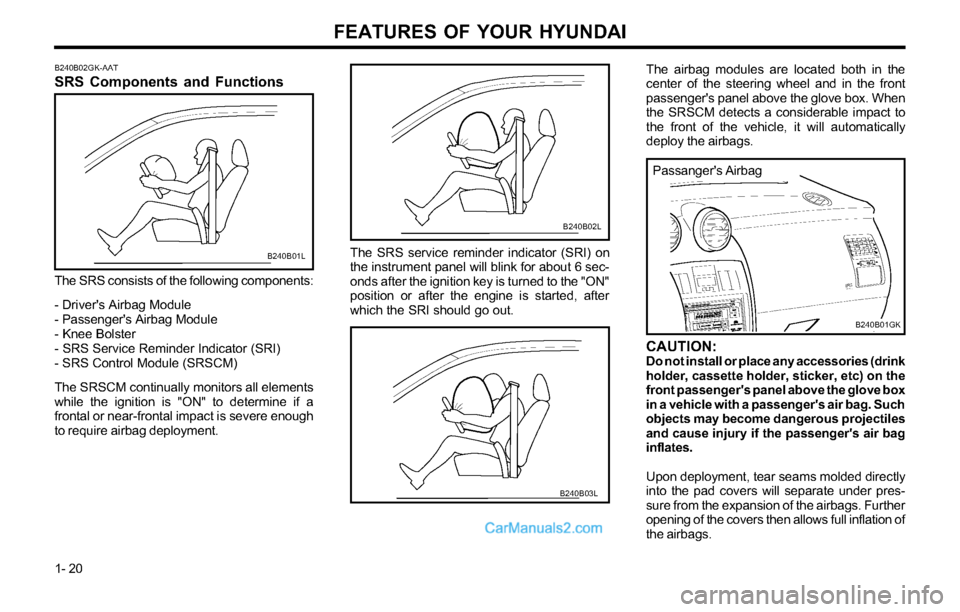
The airbag modules are located both in the
center of the steering wheel and in the front
passenger's panel above the glove box. When
the SRSCM detects a considerable impact to
the front of the vehicle, it will automatically
deploy the airbags.
Passanger's Airbag
B240B01GK
CAUTION:Do not install or place any accessories (drink
holder, cassette holder, sticker, etc) on the
front passenger's panel above the glove box
in a vehicle with a passenger's air bag. Such
objects may become dangerous projectiles
and cause injury if the passenger's air bag
inflates.
Upon deployment, tear seams molded directly
into the pad covers will separate under pres-
sure from the expansion of the airbags. Further
opening of the covers then allows full inflation of
the airbags. The SRS service reminder indicator (SRI) on
the instrument panel will blink for about 6 sec-
onds after the ignition key is turned to the "ON"
position or after the engine is started, after
which the SRI should go out.
B240B02L
B240B03L B240B02GK-AAT
SRS Components and Functions
The SRS consists of the following components:
- Driver's Airbag Module
- Passenger's Airbag Module
- Knee Bolster
- SRS Service Reminder Indicator (SRI)
- SRS Control Module (SRSCM)
The SRSCM continually monitors all elements
while the ignition is "ON" to determine if a
frontal or near-frontal impact is severe enough
to require airbag deployment.
B240B01L
Page 29 of 169
FEATURES OF YOUR HYUNDAI
1- 21
WARNING:o When the SRS is activated, there may be
a loud noise and fine dust will be re-
leased throughout the vehicle. These
conditions are normal and are not haz-
ardous. However, the fine dust generat-
ed during airbag deployment may cause
skin irritation. Be sure to wash your hands
and face thoroughly with lukewarm wa-
ter and a mild soap after an accident in
which the airbags were deployed.
o The SRS can function only when the
ignition key is in the "ON" position. If the
SRS SRI does not come on or illumi-
nates continuously when the ignition key
is turned to "ON", or continuously re-
mains on after flashing for about 6 sec-
onds when the ignition key is turned to
the "ON" position, or after the engine is
started, or comes on while driving, the
SRS is not working properly. If this oc-
curs, have your vehicle immediately in-
spected by your Hyundai dealer.
o Before you replace a fuse or disconnect
a battery terminal, turn the ignition key to
the "LOCK" position or remove the igni-
tion key. Never remove or replace the air
bag related fuse(s) when the ignition key
is in the "ON" position. Failure to heed
this warning will cause the SRS SRI to
illuminate.
FUA1115A
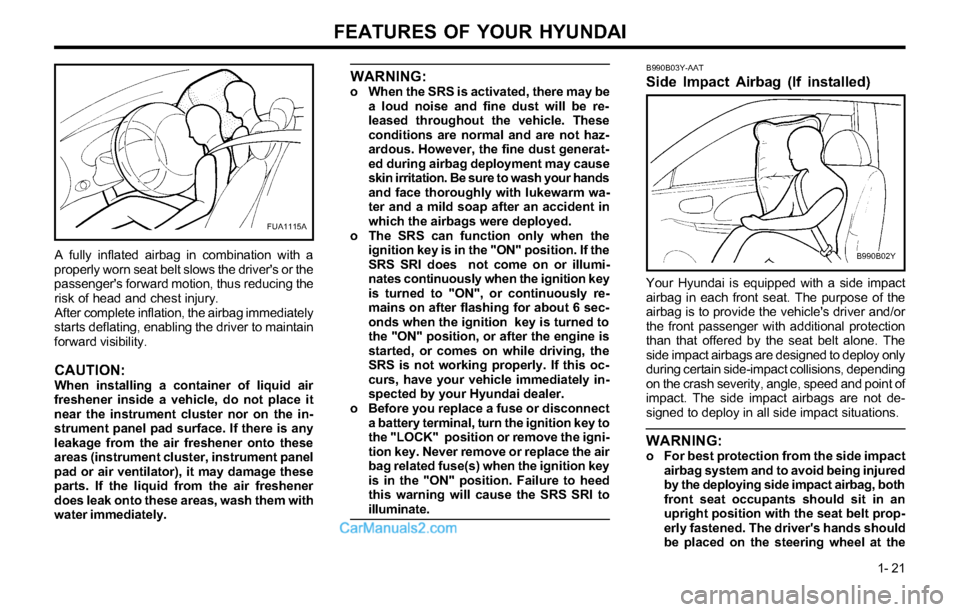
A fully inflated airbag in combination with a
properly worn seat belt slows the driver's or the
passenger's forward motion, thus reducing the
risk of head and chest injury.
After complete inflation, the airbag immediately
starts deflating, enabling the driver to maintain
forward visibility.
CAUTION:When installing a container of liquid air
freshener inside a vehicle, do not place it
near the instrument cluster nor on the in-
strument panel pad surface. If there is any
leakage from the air freshener onto these
areas (instrument cluster, instrument panel
pad or air ventilator), it may damage these
parts. If the liquid from the air freshener
does leak onto these areas, wash them with
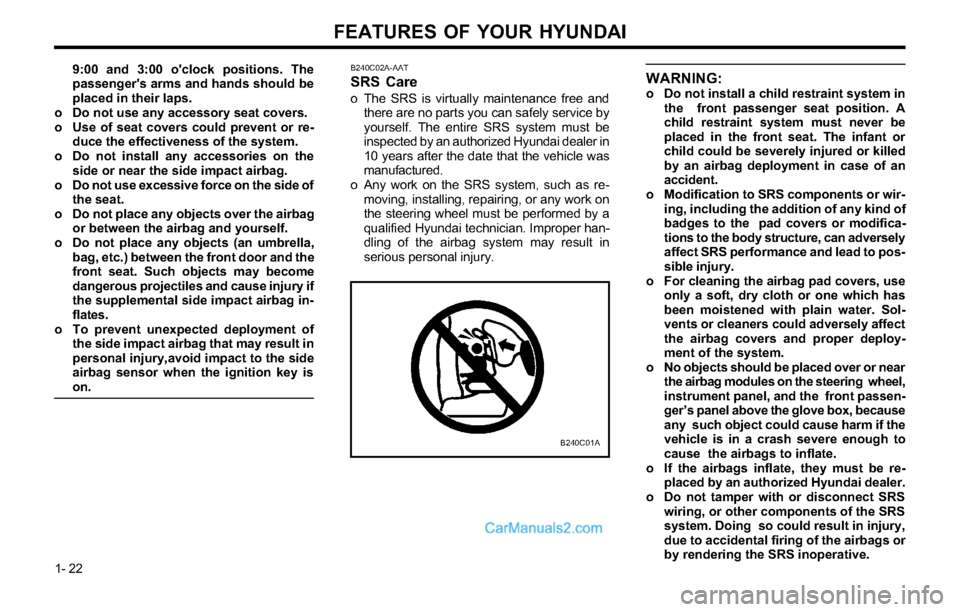
water immediately.Your Hyundai is equipped with a side impact
airbag in each front seat. The purpose of the
airbag is to provide the vehicle's driver and/or
the front passenger with additional protection
than that offered by the seat belt alone. The
side impact airbags are designed to deploy only
during certain side-impact collisions, depending
on the crash severity, angle, speed and point of
impact. The side impact airbags are not de-
signed to deploy in all side impact situations.
WARNING:o For best protection from the side impact
airbag system and to avoid being injured
by the deploying side impact airbag, both
front seat occupants should sit in an
upright position with the seat belt prop-
erly fastened. The driver's hands should
be placed on the steering wheel at the
B990B03Y-AAT
Side Impact Airbag (If installed)
B990B02Y
Page 30 of 169
FEATURES OF YOUR HYUNDAI
1- 22
WARNING:o Do not install a child restraint system in
the front passenger seat position. A
child restraint system must never be
placed in the front seat. The infant or
child could be severely injured or killed
by an airbag deployment in case of an
accident.
o Modification to SRS components or wir-
ing, including the addition of any kind of
badges to the pad covers or modifica-
tions to the body structure, can adversely
affect SRS performance and lead to pos-
sible injury.
o For cleaning the airbag pad covers, use
only a soft, dry cloth or one which has
been moistened with plain water. Sol-
vents or cleaners could adversely affect
the airbag covers and proper deploy-
ment of the system.
o No objects should be placed over or near
the airbag modules on the steering wheel,
instrument panel, and the front passen-
ger’s panel above the glove box, because
any such object could cause harm if the
vehicle is in a crash severe enough to
cause the airbags to inflate.
o If the airbags inflate, they must be re-
placed by an authorized Hyundai dealer.
o Do not tamper with or disconnect SRS
wiring, or other components of the SRS
system. Doing so could result in injury,
due to accidental firing of the airbags or
by rendering the SRS inoperative.
B240C02A-AAT
SRS Care
o The SRS is virtually maintenance free and
there are no parts you can safely service by
yourself. The entire SRS system must be
inspected by an authorized Hyundai dealer in
10 years after the date that the vehicle was
manufactured.
o Any work on the SRS system, such as re-
moving, installing, repairing, or any work on
the steering wheel must be performed by a
qualified Hyundai technician. Improper han-
dling of the airbag system may result in
serious personal injury.
B240C01A
9:00 and 3:00 o'clock positions. The
passenger's arms and hands should be
placed in their laps.
o Do not use any accessory seat covers.
o Use of seat covers could prevent or re-
duce the effectiveness of the system.
o Do not install any accessories on the
side or near the side impact airbag.
o Do not use excessive force on the side of
the seat.
o Do not place any objects over the airbag
or between the airbag and yourself.
o Do not place any objects (an umbrella,
bag, etc.) between the front door and the
front seat. Such objects may become
dangerous projectiles and cause injury if
the supplemental side impact airbag in-
flates.
o To prevent unexpected deployment of
the side impact airbag that may result in
personal injury,avoid impact to the side
airbag sensor when the ignition key is
on.