key Hyundai Tiburon 2004 Owner's Guide
[x] Cancel search | Manufacturer: HYUNDAI, Model Year: 2004, Model line: Tiburon, Model: Hyundai Tiburon 2004Pages: 224, PDF Size: 18.86 MB
Page 62 of 224
1FEATURES OF YOUR HYUNDAI
49INTERIOR LIGHT
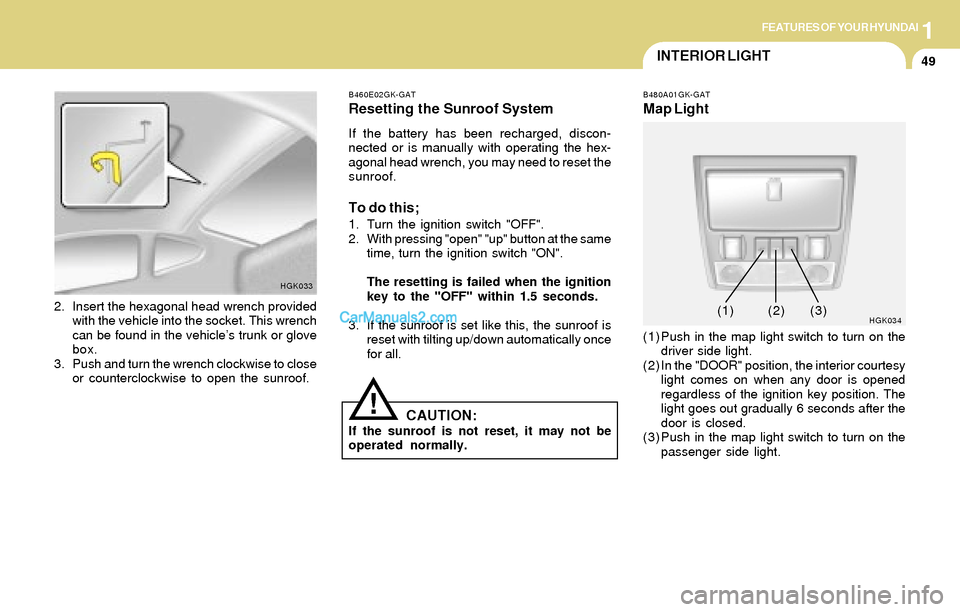
B480A01GK-GAT
Map Light
(1) Push in the map light switch to turn on the
driver side light.
(2) In the "DOOR" position, the interior courtesy
light comes on when any door is opened
regardless of the ignition key position. The
light goes out gradually 6 seconds after the
door is closed.
(3) Push in the map light switch to turn on the
passenger side light.
HGK0342. Insert the hexagonal head wrench provided
with the vehicle into the socket. This wrench
can be found in the vehicle’s trunk or glove
box.
3. Push and turn the wrench clockwise to close
or counterclockwise to open the sunroof.
HGK033B460E02GK-GAT
Resetting the Sunroof System
If the battery has been recharged, discon-
nected or is manually with operating the hex-
agonal head wrench, you may need to reset the
sunroof.
To do this;
1. Turn the ignition switch "OFF".
2. With pressing "open" "up" button at the same
time, turn the ignition switch "ON".
The resetting is failed when the ignition
key to the "OFF" within 1.5 seconds.
3. If the sunroof is set like this, the sunroof is
reset with tilting up/down automatically once
for all.
CAUTION:If the sunroof is not reset, it may not be
operated normally.
!
(1)(2) (3)
Page 65 of 224
1FEATURES OF YOUR HYUNDAI
52PARKING BRAKE
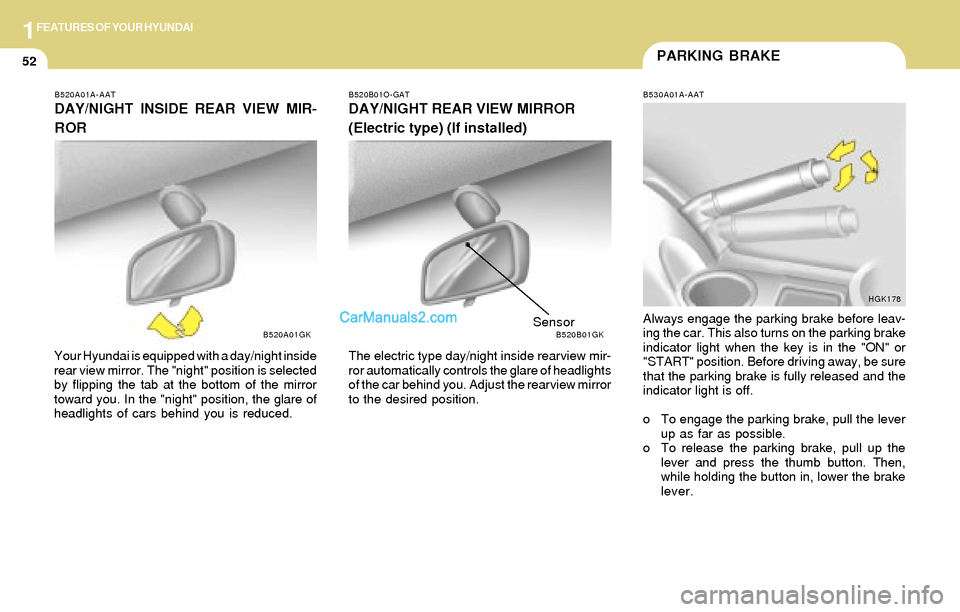
B530A01A-AAT
Always engage the parking brake before leav-
ing the car. This also turns on the parking brake
indicator light when the key is in the "ON" or
"START" position. Before driving away, be sure
that the parking brake is fully released and the
indicator light is off.
o To engage the parking brake, pull the lever
up as far as possible.
o To release the parking brake, pull up the
lever and press the thumb button. Then,
while holding the button in, lower the brake
lever.
HGK178
B520A01A-AAT
DAY/NIGHT INSIDE REAR VIEW MIR-
ROR
Your Hyundai is equipped with a day/night inside
rear view mirror. The "night" position is selected
by flipping the tab at the bottom of the mirror
toward you. In the "night" position, the glare of
headlights of cars behind you is reduced.
B520A01GKB520B01O-GAT
DAY/NIGHT REAR VIEW MIRROR
(Electric type) (If installed)
The electric type day/night inside rearview mir-
ror automatically controls the glare of headlights
of the car behind you. Adjust the rearview mirror
to the desired position.
B520B01GKSensor
Page 68 of 224
1FEATURES OF YOUR HYUNDAI
55
!
TAIL GATE
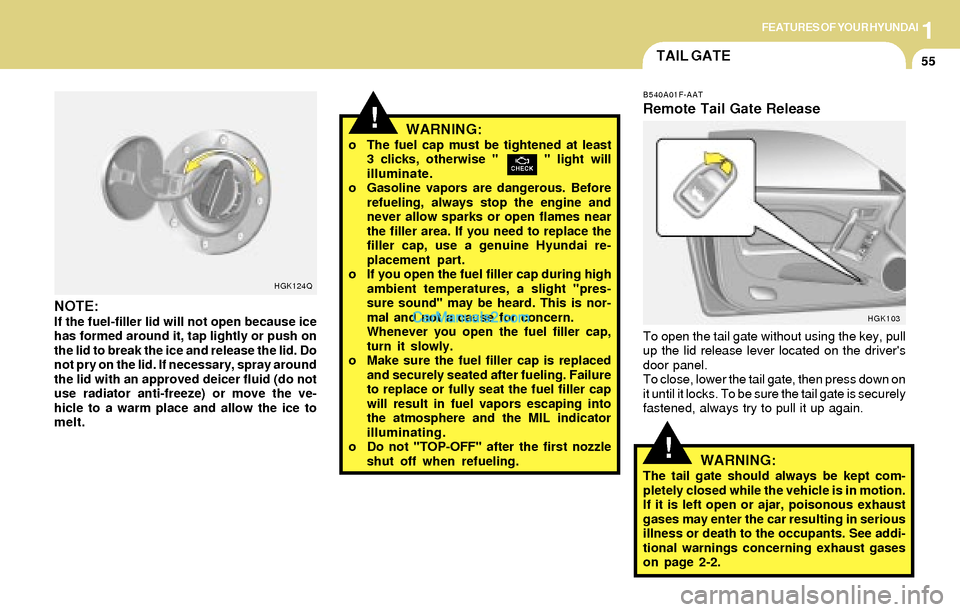
B540A01F-AAT
Remote Tail Gate Release
To open the tail gate without using the key, pull
up the lid release lever located on the driver's
door panel.
To close, lower the tail gate, then press down on
it until it locks. To be sure the tail gate is securely
fastened, always try to pull it up again.
HGK103
WARNING:The tail gate should always be kept com-
pletely closed while the vehicle is in motion.
If it is left open or ajar, poisonous exhaust
gases may enter the car resulting in serious
illness or death to the occupants. See addi-
tional warnings concerning exhaust gases
on page 2-2.
WARNING:o The fuel cap must be tightened at least
3 clicks, otherwise " " light will
illuminate.
o Gasoline vapors are dangerous. Before
refueling, always stop the engine and
never allow sparks or open flames near
the filler area. If you need to replace the
filler cap, use a genuine Hyundai re-
placement part.
o If you open the fuel filler cap during high
ambient temperatures, a slight "pres-
sure sound" may be heard. This is nor-
mal and not a cause for concern.
Whenever you open the fuel filler cap,
turn it slowly.
o Make sure the fuel filler cap is replaced
and securely seated after fueling. Failure
to replace or fully seat the fuel filler cap
will result in fuel vapors escaping into
the atmosphere and the MIL indicator
illuminating.
o Do not "TOP-OFF" after the first nozzle
shut off when refueling.
!
NOTE:If the fuel-filler lid will not open because ice
has formed around it, tap lightly or push on
the lid to break the ice and release the lid. Do
not pry on the lid. If necessary, spray around
the lid with an approved deicer fluid (do not
use radiator anti-freeze) or move the ve-
hicle to a warm place and allow the ice to
melt.
HGK124Q
Page 69 of 224
1FEATURES OF YOUR HYUNDAI
56
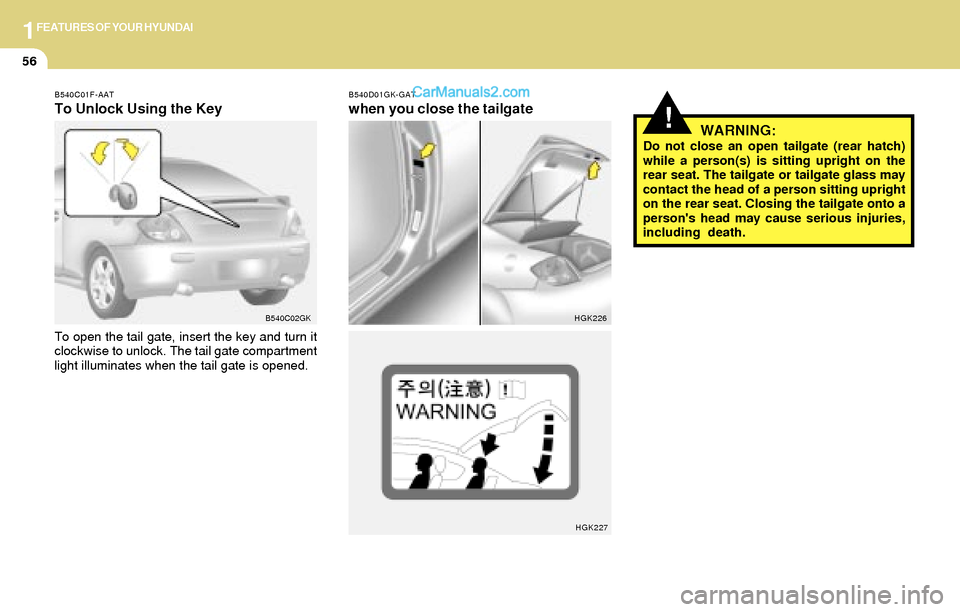
!WARNING:Do not close an open tailgate (rear hatch)
while a person(s) is sitting upright on the
rear seat. The tailgate or tailgate glass may
contact the head of a person sitting upright
on the rear seat. Closing the tailgate onto a
person's head may cause serious injuries,
including death.
B540C01F-AAT
To Unlock Using the Key
To open the tail gate, insert the key and turn it
clockwise to unlock. The tail gate compartment
light illuminates when the tail gate is opened.
B540C02GKB540D01GK-GAT
when you close the tailgate
HGK226
HGK227
Page 95 of 224
1FEATURES OF YOUR HYUNDAI
82
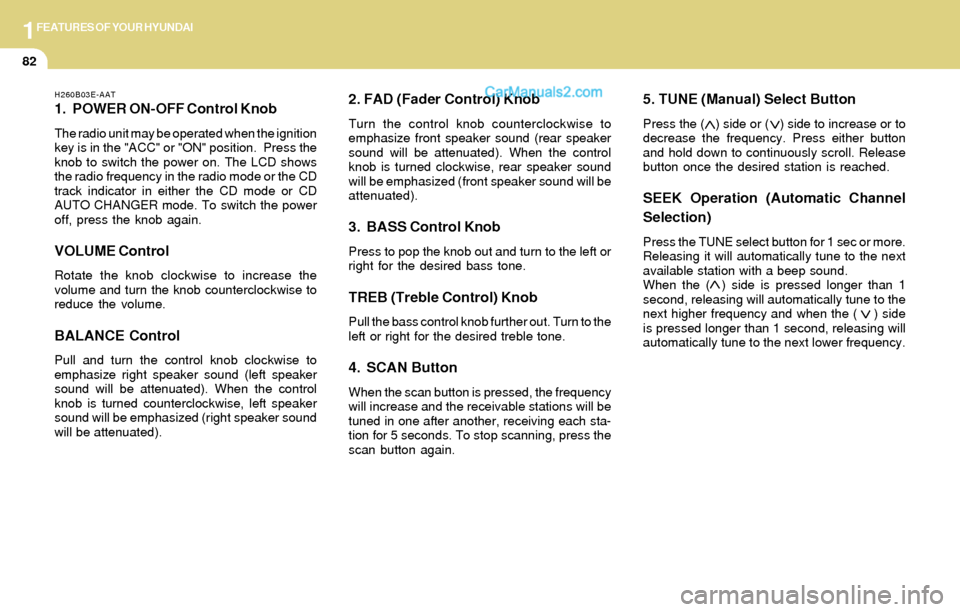
H260B03E-AAT
1. POWER ON-OFF Control Knob
The radio unit may be operated when the ignition
key is in the "ACC" or "ON" position. Press the
knob to switch the power on. The LCD shows
the radio frequency in the radio mode or the CD
track indicator in either the CD mode or CD
AUTO CHANGER mode. To switch the power
off, press the knob again.
VOLUME Control
Rotate the knob clockwise to increase the
volume and turn the knob counterclockwise to
reduce the volume.
BALANCE Control
Pull and turn the control knob clockwise to
emphasize right speaker sound (left speaker
sound will be attenuated). When the control
knob is turned counterclockwise, left speaker
sound will be emphasized (right speaker sound
will be attenuated).
2. FAD (Fader Control) Knob
Turn the control knob counterclockwise to
emphasize front speaker sound (rear speaker
sound will be attenuated). When the control
knob is turned clockwise, rear speaker sound
will be emphasized (front speaker sound will be
attenuated).
3. BASS Control Knob
Press to pop the knob out and turn to the left or
right for the desired bass tone.
TREB (Treble Control) Knob
Pull the bass control knob further out. Turn to the
left or right for the desired treble tone.
4. SCAN Button
When the scan button is pressed, the frequency
will increase and the receivable stations will be
tuned in one after another, receiving each sta-
tion for 5 seconds. To stop scanning, press the
scan button again.
5. TUNE (Manual) Select Button
Press the ( ) side or ( ) side to increase or to
decrease the frequency. Press either button
and hold down to continuously scroll. Release
button once the desired station is reached.
SEEK Operation (Automatic Channel
Selection)
Press the TUNE select button for 1 sec or more.
Releasing it will automatically tune to the next
available station with a beep sound.
When the ( ) side is pressed longer than 1
second, releasing will automatically tune to the
next higher frequency and when the ( ) side
is pressed longer than 1 second, releasing will
automatically tune to the next lower frequency.
Page 104 of 224
1FEATURES OF YOUR HYUNDAI
91
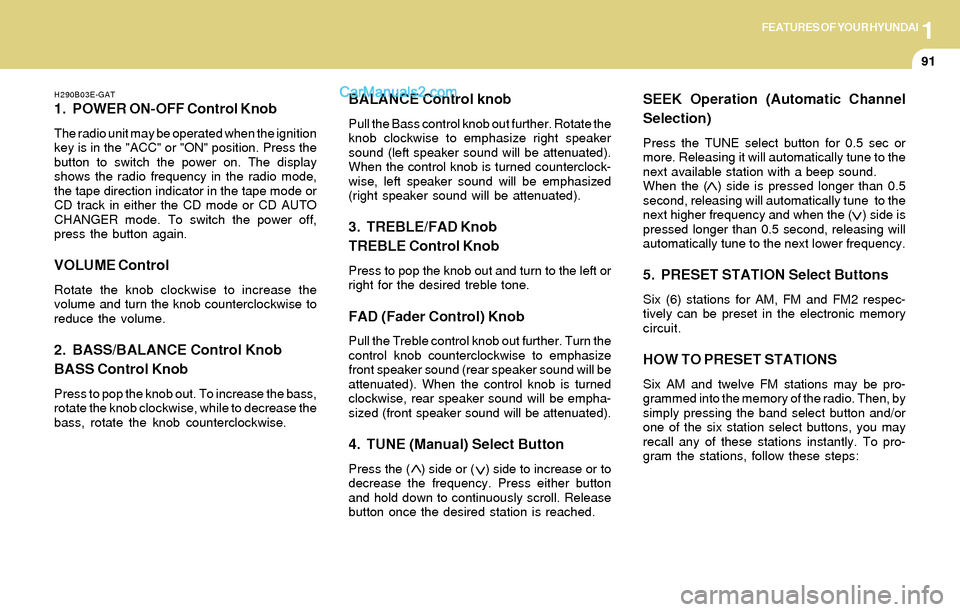
H290B03E-GAT
1. POWER ON-OFF Control Knob
The radio unit may be operated when the ignition
key is in the "ACC" or "ON" position. Press the
button to switch the power on. The display
shows the radio frequency in the radio mode,
the tape direction indicator in the tape mode or
CD track in either the CD mode or CD AUTO
CHANGER mode. To switch the power off,
press the button again.
VOLUME Control
Rotate the knob clockwise to increase the
volume and turn the knob counterclockwise to
reduce the volume.
2. BASS/BALANCE Control Knob
BASS Control Knob
Press to pop the knob out. To increase the bass,
rotate the knob clockwise, while to decrease the
bass, rotate the knob counterclockwise.
BALANCE Control knob
Pull the Bass control knob out further. Rotate the
knob clockwise to emphasize right speaker
sound (left speaker sound will be attenuated).
When the control knob is turned counterclock-
wise, left speaker sound will be emphasized
(right speaker sound will be attenuated).
3. TREBLE/FAD Knob
TREBLE Control Knob
Press to pop the knob out and turn to the left or
right for the desired treble tone.
FAD (Fader Control) Knob
Pull the Treble control knob out further. Turn the
control knob counterclockwise to emphasize
front speaker sound (rear speaker sound will be
attenuated). When the control knob is turned
clockwise, rear speaker sound will be empha-
sized (front speaker sound will be attenuated).
4. TUNE (Manual) Select Button
Press the ( ) side or ( ) side to increase or to
decrease the frequency. Press either button
and hold down to continuously scroll. Release
button once the desired station is reached.
SEEK Operation (Automatic Channel
Selection)
Press the TUNE select button for 0.5 sec or
more. Releasing it will automatically tune to the
next available station with a beep sound.
When the ( ) side is pressed longer than 0.5
second, releasing will automatically tune to the
next higher frequency and when the ( ) side is
pressed longer than 0.5 second, releasing will
automatically tune to the next lower frequency.
5. PRESET STATION Select Buttons
Six (6) stations for AM, FM and FM2 respec-
tively can be preset in the electronic memory
circuit.
HOW TO PRESET STATIONS
Six AM and twelve FM stations may be pro-
grammed into the memory of the radio. Then, by
simply pressing the band select button and/or
one of the six station select buttons, you may
recall any of these stations instantly. To pro-
gram the stations, follow these steps:
Page 118 of 224
DRIVING YOUR HYUNDAI
2
Before Starting the Engine ............................................ 2-3
Key Positions ................................................................ 2-3
Starting..........................................................................2-4
Manual Transaxle ......................................................... 2-5
Automatic Transaxle ..................................................... 2-8
Good Braking Practices..............................................2-11
Anti-Lock Brake System (ABS) ..................................2-12
Traction Control System (TCS) ..................................2-13
Driving for Economy...................................................2-14
Winter Driving.............................................................2-16
Trailer or Vehicle Towing ............................................2-18
2
Page 120 of 224
2DRIVING YOUR HYUNDAI
3
!
BEFORE STARTING THE ENGINE
C020A01A-AAT
Before you start the engine, you should always:
1. Look around the vehicle to be sure there are
no flat tires, puddles of oil, water or other
indications of possible trouble.
2. After entering the car, check to be sure the
parking brake is engaged.
3. Check that all windows, and lights are clean.
4. Check that the interior and exterior mirrors
are clean and in position.
5. Check your seat, seatback and headrest to
be sure they are in their proper positions.
6. Close all the doors.
7. Fasten your seat belt and be sure that all
other occupants have fastened theirs.
8. Turn off all lights and accessories that are
not needed.
9. When you turn the ignition switch to "ON",
check that all appropriate warning lights are
operating and that you have sufficient fuel.
10.Check the operation of warning lights and all
bulbs when key is in the "ON" position.
TO START THE ENGINE
C030A01A-AAT
COMBINATION IGNITION SWITCH
o If your Hyundai is equipped with a manual
transaxle, place the shift lever in neutral and
depress the clutch pedal fully.
o If your Hyundai has an automatic transaxle,
place the shift lever in "P" (park).
o To start the engine, insert the ignition key and
turn it to the "START" position. Release it as
soon as the engine starts. Do not hold the
key in the "START" position for more than 15
seconds.
NOTE:o For safety, the engine will not start if the
clutch pedal is not depressed fully
(Manual transaxle) or the shift lever is
not in "P" or "N" Position (Automatic
transaxle).
o The ignition key cannot be turned from
"ACC" position to "LOCK" position un-
less the shift lever is in the "P" (Park)
position or the negative battery terminal
is disconnected from the battery. To
remove the key, always confirm that the
shift lever is securely positioned in "P"
(Park) (For Automatic transaxle)
o For additional information about start-
ing, see page 2-5.
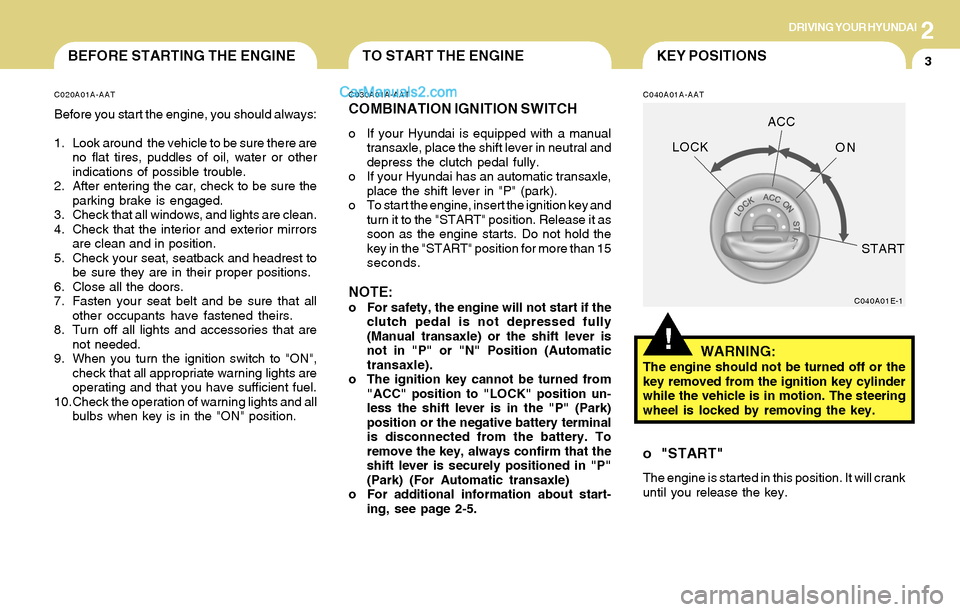
KEY POSITIONS
C040A01A-AAT
WARNING:The engine should not be turned off or the
key removed from the ignition key cylinder
while the vehicle is in motion. The steering
wheel is locked by removing the key.
C040A01E-1
LOCKACC
ON
START
o "START"
The engine is started in this position. It will crank
until you release the key.
Page 121 of 224
2DRIVING YOUR HYUNDAI
4STARTING
!
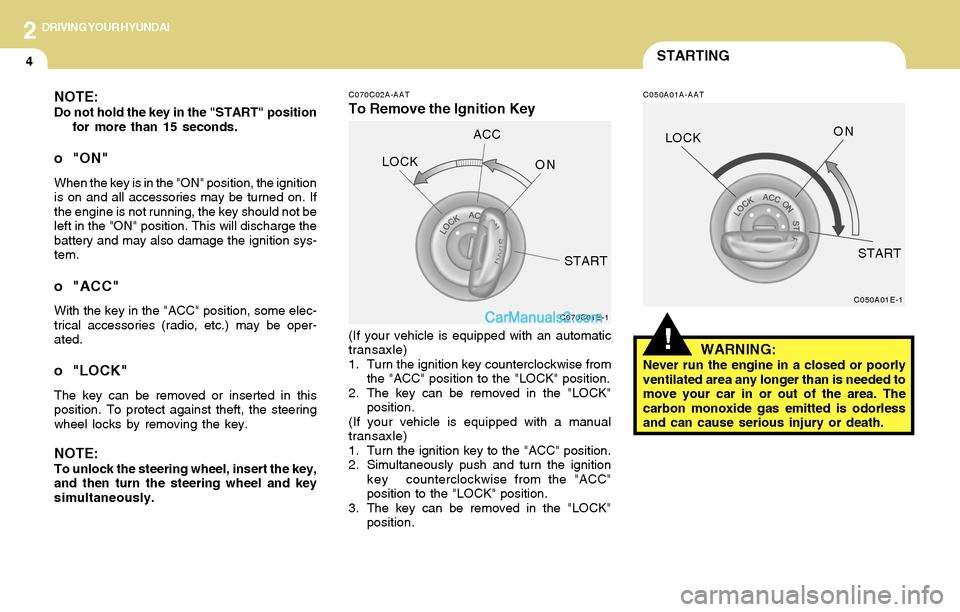
C070C02A-AAT
To Remove the Ignition Key
C050A01A-AATNOTE:Do not hold the key in the "START" position
for more than 15 seconds.
o "ON"
When the key is in the "ON" position, the ignition
is on and all accessories may be turned on. If
the engine is not running, the key should not be
left in the "ON" position. This will discharge the
battery and may also damage the ignition sys-
tem.
o "ACC"
With the key in the "ACC" position, some elec-
trical accessories (radio, etc.) may be oper-
ated.
o "LOCK"
The key can be removed or inserted in this
position. To protect against theft, the steering
wheel locks by removing the key.
NOTE:To unlock the steering wheel, insert the key,
and then turn the steering wheel and key
simultaneously.(If your vehicle is equipped with an automatic
transaxle)
1. Turn the ignition key counterclockwise from
the "ACC" position to the "LOCK" position.
2. The key can be removed in the "LOCK"
position.
(If your vehicle is equipped with a manual
transaxle)
1. Turn the ignition key to the "ACC" position.
2. Simultaneously push and turn the ignition
key counterclockwise from the "ACC"
position to the "LOCK" position.
3. The key can be removed in the "LOCK"
position.
WARNING:Never run the engine in a closed or poorly
ventilated area any longer than is needed to
move your car in or out of the area. The
carbon monoxide gas emitted is odorless
and can cause serious injury or death.
C070C01E-1C050A01E-1
LOCKACC
ON
STARTLOCKON
START
Page 122 of 224
2DRIVING YOUR HYUNDAI
5
C050B01A-AAT
NORMAL CONDITIONS:
The Starting Procedure:
1. Insert key, and fasten the seat belt.
2. Depress the clutch pedal fully and place the
gearshift lever (manual transaxle) in neutral
or the selector lever (automatic transaxle) in
"P" (park) position.
3. After turning the ignition key to the "ON"
position, make certain all warning lights and
gauges are functioning properly before start-
ing the engine.
WARNING:Be sure that the clutch is fully depressed
when starting a manual transaxle vehicle.
Your manual transaxle equipped vehicle
will not start unless the clutch pedal is fully
depressed. On a manual transaxle equipped
vehicle that can be started without de-
pressing the clutch, there is the potential to
cause damage to the vehicle or injury to
someone inside or outside the vehicle as a
result of the forward or backward move-
ment of the vehicle that will occur if the
clutch is not depressed when the vehicle is
started.
!
4. Turn the ignition key to the "Start" position
and release it when the engine starts.
After the engine has started, allow the engine
to run for 10 to 20 seconds prior to placing
the vehicle in gear.
The starter should not be operated for more
than 15 seconds at a time. Wait 15-30 sec-
onds between starting attempts to protect
the starter from overheating.
MANUAL TRANSAXLE
C070A01GK-AAT
OPERATING THE MANUAL
TRANSAXLE
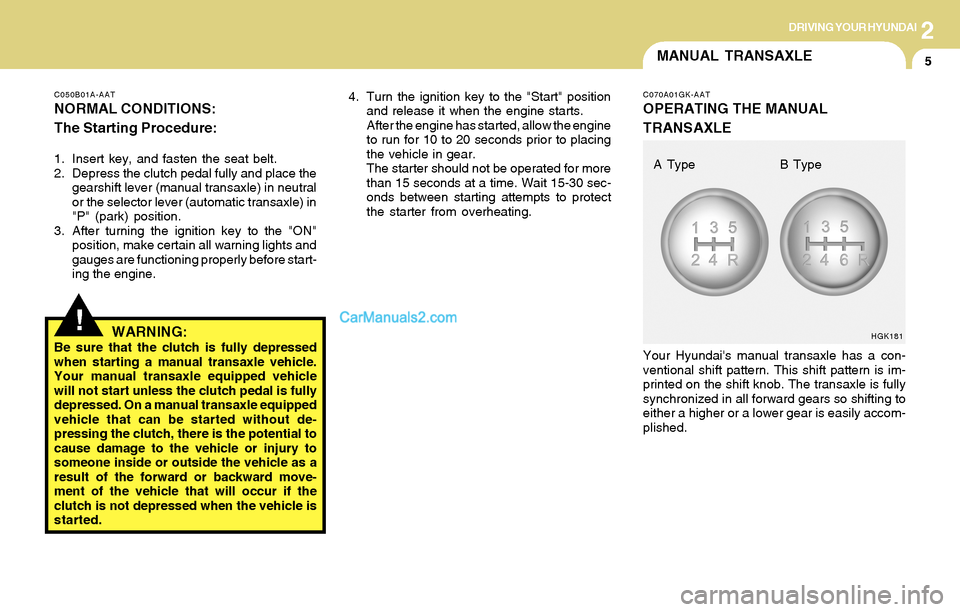
Your Hyundai's manual transaxle has a con-
ventional shift pattern. This shift pattern is im-
printed on the shift knob. The transaxle is fully
synchronized in all forward gears so shifting to
either a higher or a lower gear is easily accom-
plished.
HGK181
A Type B Type