instrument cluster Hyundai Tiburon 2004 Owner's Manual
[x] Cancel search | Manufacturer: HYUNDAI, Model Year: 2004, Model line: Tiburon, Model: Hyundai Tiburon 2004Pages: 224, PDF Size: 18.86 MB
Page 12 of 224
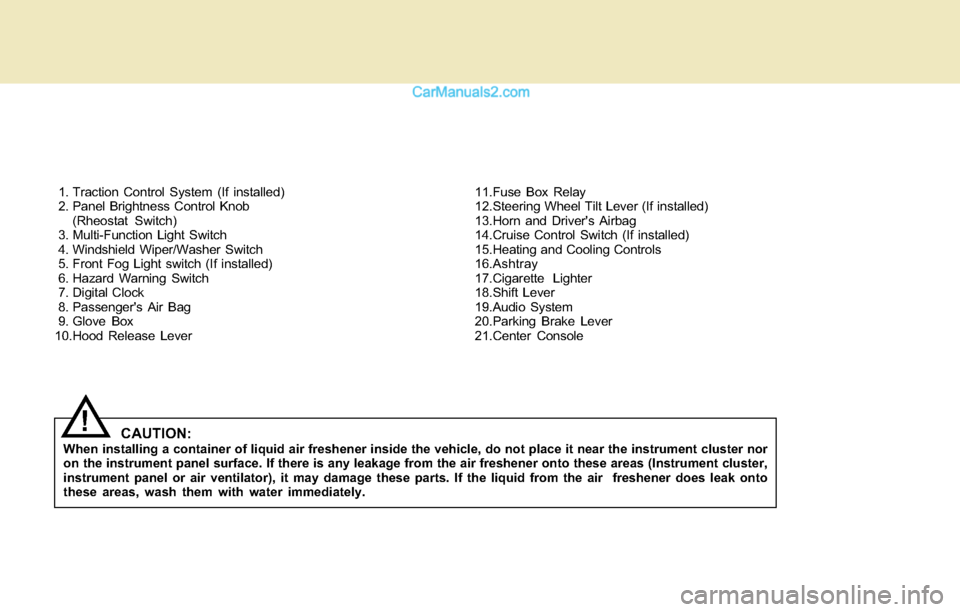
1. Traction Control System (If installed)
2. Panel Brightness Control Knob
(Rheostat Switch)
3. Multi-Function Light Switch
4. Windshield Wiper/Washer Switch
5. Front Fog Light switch (If installed)
6. Hazard Warning Switch
7. Digital Clock
8. Passenger's Air Bag
9. Glove Box
10.Hood Release Lever11.Fuse Box Relay
12.Steering Wheel Tilt Lever (If installed)
13.Horn and Driver's Airbag
14.Cruise Control Switch (If installed)
15.Heating and Cooling Controls
16.Ashtray
17.Cigarette Lighter
18.Shift Lever
19.Audio System
20.Parking Brake Lever
21.Center Console
CAUTION:When installing a container of liquid air freshener inside the vehicle, do not place it near the instrument cluster nor
on the instrument panel surface. If there is any leakage from the air freshener onto these areas (Instrument cluster,
instrument panel or air ventilator), it may damage these parts. If the liquid from the air freshener does leak onto
these areas, wash them with water immediately.
!
Page 14 of 224
FEATURES OF YOUR HYUNDAI
1
Fuel Recommendations ................................................ 1-2
Breaking in Your New Hyundai ..................................... 1-3
Keys.............................................................................. 1-3
Door.............................................................................. 1-4
Power Windows ............................................................ 1-8
Seats ............................................................................. 1-9
Seat Belts....................................................................1-14
Child Restraint System...............................................1-19
Supplemental Restraint (AIRBAG) system .................1-25
Instrument Cluster and Indicator Lights ...................... 1-32
Warning and Indicator Lights ......................................1-34
Multi-Function Light Switch.........................................1-41
Windshield Wiper/Washer Switch...............................1-43
Sunroof.......................................................................1-47
Mirror...........................................................................1-51
Hood Release.............................................................1-54
Cruise Control.............................................................1-59
Heating and Cooling Control .......................................1-62
Stereo Sound System.................................................1-79
Audio System..............................................................1-81
Antenna.....................................................................1-1041
Page 41 of 224
1FEATURES OF YOUR HYUNDAI
28
CAUTION:When installing a container of liquid air
freshener inside a vehicle, do not place it
near the instrument cluster nor on the in-
strument panel pad surface. If there is any
leakage from the air freshener onto these
areas (instrument cluster, instrument panel
pad or air ventilator), it may damage these
parts. If the liquid from the air freshener
does leak onto these areas, wash them with
water immediately.
!
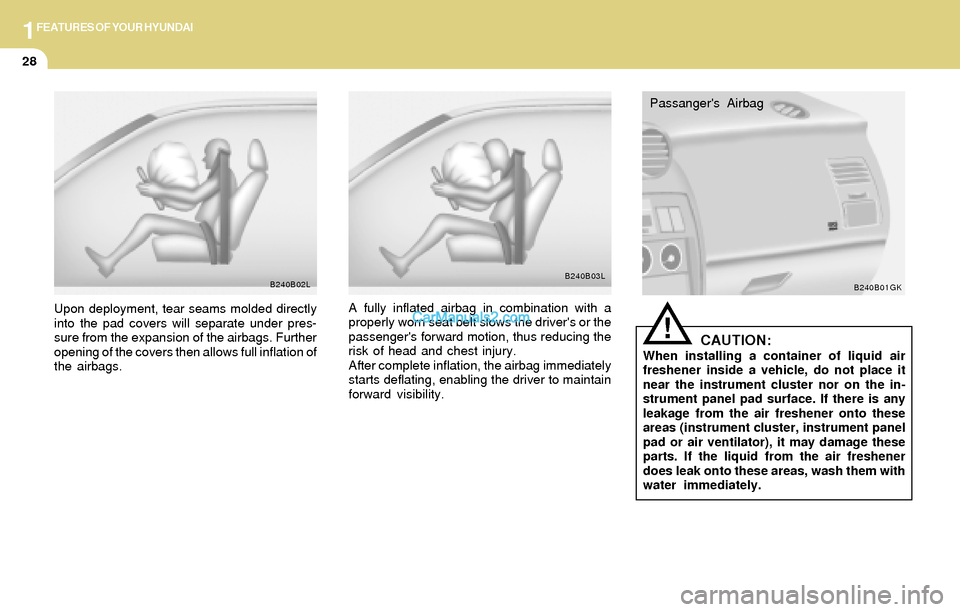
Passanger's Airbag
B240B01GK
A fully inflated airbag in combination with a
properly worn seat belt slows the driver's or the
passenger's forward motion, thus reducing the
risk of head and chest injury.
After complete inflation, the airbag immediately
starts deflating, enabling the driver to maintain
forward visibility.
B240B03L
Upon deployment, tear seams molded directly
into the pad covers will separate under pres-
sure from the expansion of the airbags. Further
opening of the covers then allows full inflation of
the airbags.
B240B02L
Page 45 of 224
1FEATURES OF YOUR HYUNDAI
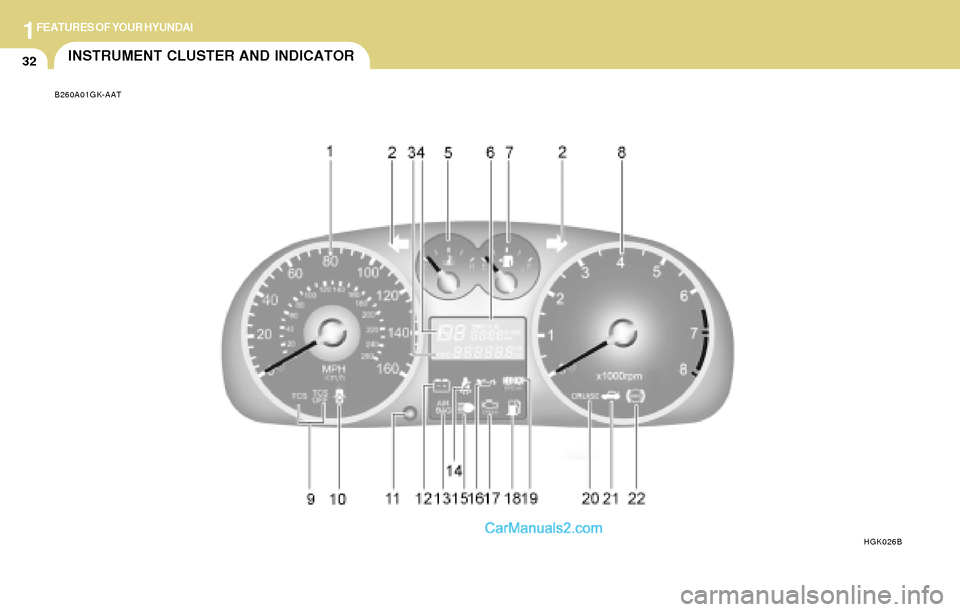
32INSTRUMENT CLUSTER AND INDICATOR
B260A01GK-AAT
HGK026B
Page 50 of 224
1FEATURES OF YOUR HYUNDAI
37INSTRUMENT CLUSTER
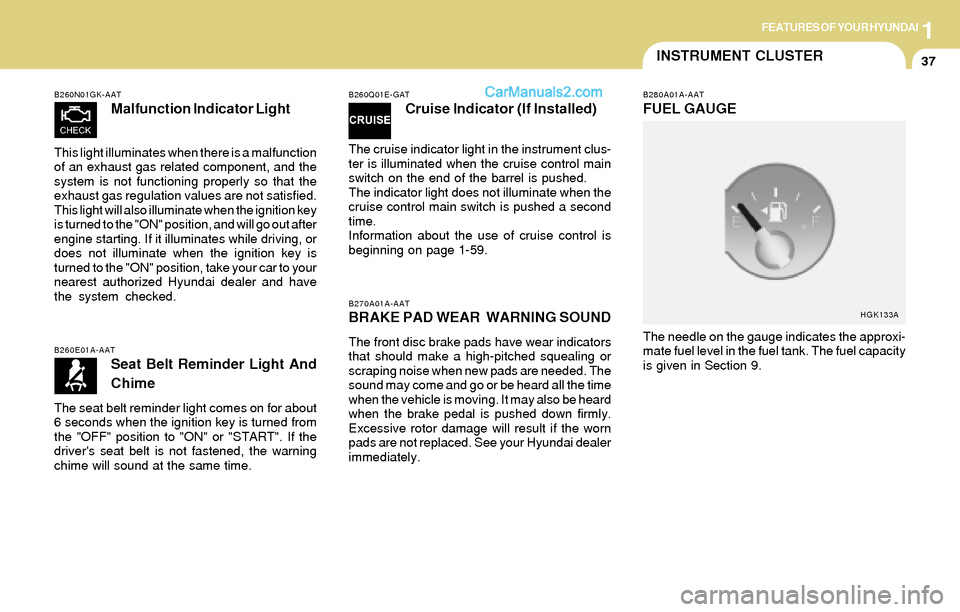
B260N01GK-AAT
Malfunction Indicator Light
This light illuminates when there is a malfunction
of an exhaust gas related component, and the
system is not functioning properly so that the
exhaust gas regulation values are not satisfied.
This light will also illuminate when the ignition key
is turned to the "ON" position, and will go out after
engine starting. If it illuminates while driving, or
does not illuminate when the ignition key is
turned to the "ON" position, take your car to your
nearest authorized Hyundai dealer and have
the system checked.
B260E01A-AAT
Seat Belt Reminder Light And
Chime
The seat belt reminder light comes on for about
6 seconds when the ignition key is turned from
the "OFF" position to "ON" or "START". If the
driver's seat belt is not fastened, the warning
chime will sound at the same time.
B260Q01E-GAT
Cruise Indicator (If Installed)
The cruise indicator light in the instrument clus-
ter is illuminated when the cruise control main
switch on the end of the barrel is pushed.
The indicator light does not illuminate when the
cruise control main switch is pushed a second
time.
Information about the use of cruise control is
beginning on page 1-59.
B270A01A-AATBRAKE PAD WEAR WARNING SOUND
The front disc brake pads have wear indicators
that should make a high-pitched squealing or
scraping noise when new pads are needed. The
sound may come and go or be heard all the time
when the vehicle is moving. It may also be heard
when the brake pedal is pushed down firmly.
Excessive rotor damage will result if the worn
pads are not replaced. See your Hyundai dealer
immediately.
B280A01A-AAT
FUEL GAUGE
The needle on the gauge indicates the approxi-
mate fuel level in the fuel tank. The fuel capacity
is given in Section 9.
HGK133A
Page 72 of 224
1FEATURES OF YOUR HYUNDAI
59CRUISE CONTROL
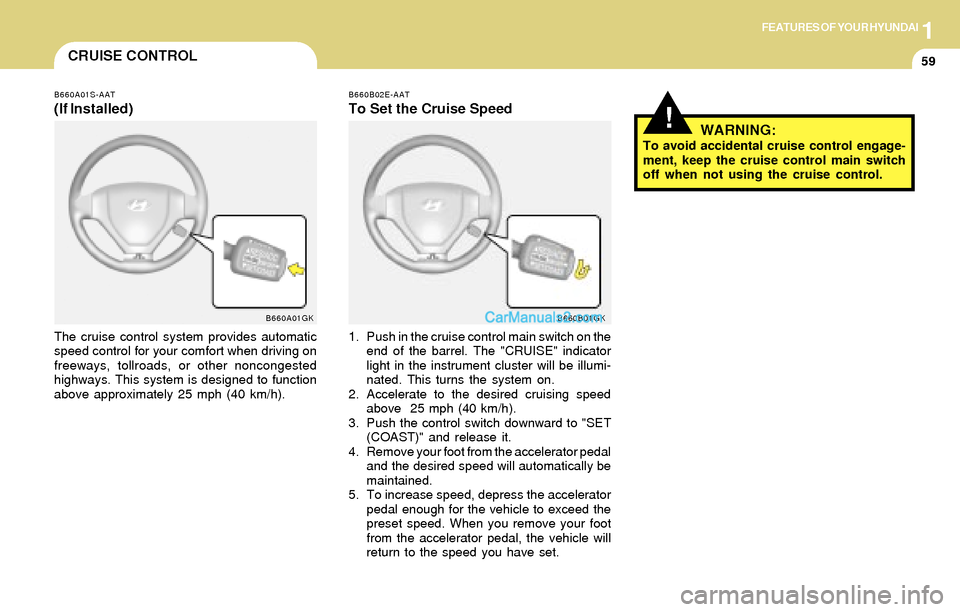
B660A01S-AAT
(If Installed)
The cruise control system provides automatic
speed control for your comfort when driving on
freeways, tollroads, or other noncongested
highways. This system is designed to function
above approximately 25 mph (40 km/h).
B660A01GKB660B02E-AAT
To Set the Cruise Speed
1. Push in the cruise control main switch on the
end of the barrel. The "CRUISE" indicator
light in the instrument cluster will be illumi-
nated. This turns the system on.
2. Accelerate to the desired cruising speed
above 25 mph (40 km/h).
3. Push the control switch downward to "SET
(COAST)" and release it.
4. Remove your foot from the accelerator pedal
and the desired speed will automatically be
maintained.
5. To increase speed, depress the accelerator
pedal enough for the vehicle to exceed the
preset speed. When you remove your foot
from the accelerator pedal, the vehicle will
return to the speed you have set.
B660B01GK
!WARNING:To avoid accidental cruise control engage-
ment, keep the cruise control main switch
off when not using the cruise control.
Page 125 of 224
2DRIVING YOUR HYUNDAI
8AUTOMATIC TRANSAXLE
The indicator lights in the instrument cluster
indicate the selector lever position when the
ignition is switched "ON". During the sports
mode operation, the gear currently in use dis-
plays in the numeral indicator.
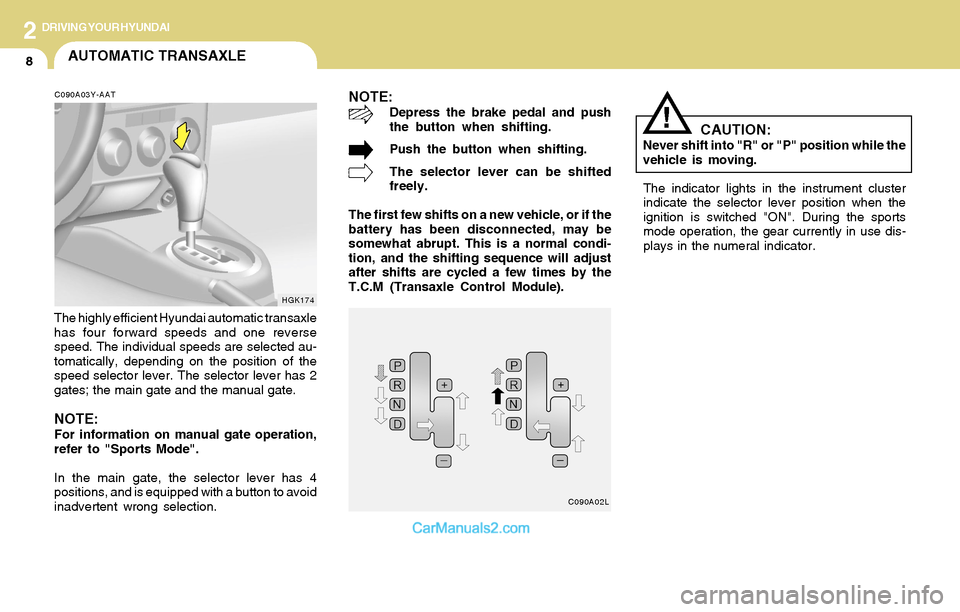
C090A03Y-AAT
The highly efficient Hyundai automatic transaxle
has four forward speeds and one reverse
speed. The individual speeds are selected au-
tomatically, depending on the position of the
speed selector lever. The selector lever has 2
gates; the main gate and the manual gate.
NOTE:For information on manual gate operation,
refer to "Sports Mode".
In the main gate, the selector lever has 4
positions, and is equipped with a button to avoid
inadvertent wrong selection.
NOTE:Depress the brake pedal and push
the button when shifting.
Push the button when shifting.
The selector lever can be shifted
freely.
The first few shifts on a new vehicle, or if the
battery has been disconnected, may be
somewhat abrupt. This is a normal condi-
tion, and the shifting sequence will adjust
after shifts are cycled a few times by the
T.C.M (Transaxle Control Module).
CAUTION:Never shift into "R" or "P" position while the
vehicle is moving.
HGK174
C090A02L
!
Page 131 of 224
2DRIVING YOUR HYUNDAI
14DRIVING FOR ECONOMY
C310B01O-AAT
TCS ON/OFF Mode
When the TCS is running, the TCS indicator light
in the instrument cluster will blink.
If you turn the system off by pressing the TCS
switch, the TCS-OFF indicator light will come on
and stay on. In the TCS-OFF mode, the SLIP
control will be deactivated. Adjust you driving
accordingly. To turn the system back on, press
the switch again. The TCS-OFF indicator light
should go off.
NOTE:1) The TCS mode will automatically be
turned ON after the engine is turned off
and restarted.
2) When the traction control system is
operating properly, you can feel a slight
pulsation in the vehicle. This is only the
effect of brake control and indicates
nothing unusual.
3) When the engine starts, a click is heard
from the engine compartment; however,
this is only the sound of traction control
being checked.
4) When moving out of the mud or fresh
snow, pressing the accelerator pedal
may not cause the engine speed to in-
crease due to TCS operation.
C310D01O-AAT
Indicators and Warning
The TCS indicators should illuminate when the
ignition key is turned to ON or START but should
go out after three seconds.
If the indicator does not illuminate, or the TCS or
TCS-OFF indicator does not go out after 3
seconds, have it checked by an authorized
dealer.
Should there be any unusual conditions in the
device while driving, TCS-OFF indicator illumi-
nates as a warning.
If TCS-OFF indicator illuminates, pull your car
to a safe place and stop the engine.
Then, start the engine again to check if the TCS-
OFF indicator goes out.
If the indicator remains lit even after the engine
has been started, have your car checked by an
authorized Hyundai dealer.
NOTE:1) When the TCS-OFF indicator illuminates,
traction control is automatically deacti-
vated for safety.
2) This warning function is not provided
when the driver selects the TCS-OFF
mode.
C140A01A-AAT
You can save fuel and get more miles from your
car if you follow these suggestions:
o Drive smoothly. Accelerate at a moderate
rate. Don't make "jack-rabbit" starts or full-
throttle shifts and maintain a steady cruising
speed. Don't race between stoplights. Try to
adjust your speed to that of the other traffic
so you don't have to change speeds unnec-
essarily. Avoid heavy traffic whenever pos-
sible. Always maintain a safe distance from
other vehicles so you can avoid unneces-
sary braking. This also reduces brake wear.
o Drive at a moderate speed. The faster you
drive, the more fuel your car uses. Driving at
a moderate speed, especially on the high-
way, is one of the most effective ways to
reduce fuel consumption.
o Don't "ride" the brake or clutch pedal. This
can increase fuel consumption and also
increase wear on these components. In
addition, driving with your foot resting on the
brake pedal may cause the brakes to over-
heat, which reduces their effectiveness and
may lead to more serious consequences.
o Take care of your tires. Keep them inflated
to the recommended pressure. Incorrect
inflation, either too much or too little, results
in unnecessary tire wear. Check the tire
pressures at least once a month.
Page 222 of 224
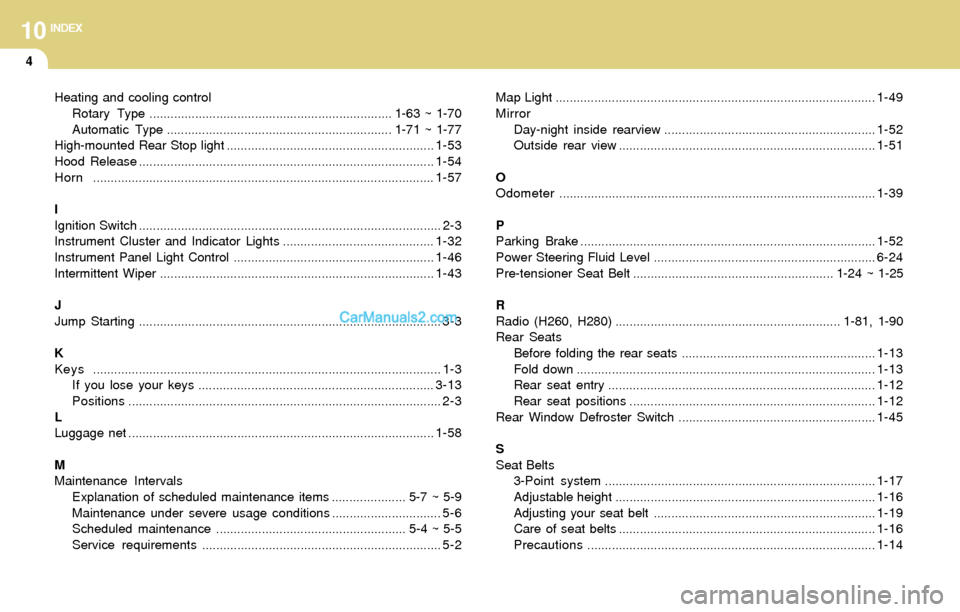
10INDEX
4
Heating and cooling control
Rotary Type..................................................................... 1-63 ~ 1-70
Automatic Type ................................................................ 1-71 ~ 1-77
High-mounted Rear Stop light ...........................................................1-53
Hood Release....................................................................................1-54
Horn.................................................................................................1-57
I
Ignition Switch ...................................................................................... 2-3
Instrument Cluster and Indicator Lights...........................................1-32
Instrument Panel Light Control .........................................................1-46
Intermittent Wiper..............................................................................1-43
J
Jump Starting...................................................................................... 3-3
K
Keys................................................................................................... 1-3
If you lose your keys ...................................................................3-13
Positions......................................................................................... 2-3
L
Luggage net.......................................................................................1-58
M
Maintenance Intervals
Explanation of scheduled maintenance items ..................... 5-7 ~ 5-9
Maintenance under severe usage conditions............................... 5-6
Scheduled maintenance...................................................... 5-4 ~ 5-5
Service requirements.................................................................... 5-2Map Light...........................................................................................1-49
Mirror
Day-night inside rearview ............................................................1-52
Outside rear view .........................................................................1-51
O
Odometer..........................................................................................1-39
P
Parking Brake....................................................................................1-52
Power Steering Fluid Level ...............................................................6-24
Pre-tensioner Seat Belt......................................................... 1-24 ~ 1-25
R
Radio (H260, H280)................................................................ 1-81, 1-90
Rear Seats
Before folding the rear seats .......................................................1-13
Fold down.....................................................................................1-13
Rear seat entry ............................................................................1-12
Rear seat positions......................................................................1-12
Rear Window Defroster Switch ........................................................1-45
S
Seat Belts
3-Point system.............................................................................1-17
Adjustable height..........................................................................1-16
Adjusting your seat belt ...............................................................1-19
Care of seat belts .........................................................................1-16
Precautions..................................................................................1-14