ESP Hyundai Tiburon 2005 Owner's Manual
[x] Cancel search | Manufacturer: HYUNDAI, Model Year: 2005, Model line: Tiburon, Model: Hyundai Tiburon 2005Pages: 262, PDF Size: 11.12 MB
Page 2 of 262
A010A02A-AAT
WARRANTIES FOR YOUR HYUNDAI VEHICLE
o New Vehicle 60 Months/60,000 Miles Limited Warranty
o New Vehicle 120 Months/100,000 Miles Limited Powertrain Warranty (original owner only)
o Anti-Perforation Limited Warranty
o Emission Defect Warranty - Federal Vehicle
o California Emission Control System Warranty (if applicable)
o Emission Performance Warranty - Federal Vehicle
o Replacement Parts and Accessories Limited WarrantyNOTE:Detailed warranty information is provided in your Hyundai Owner's Handbook.A020A01A-AAT
RESPONSIBILITY FOR MAINTENANCE
The maintenance requirements for your new Hyundai are found in Section 5. As the owner, it is your responsibility
to see that all maintenance operations specified by the manufacturer are carried out at the appropriate intervals.
When the vehicle is used in severe driving conditions, more frequent maintenance is required for some operations.
Maintenance requirements for severe operating conditions are also included in Section 5.
Page 10 of 262
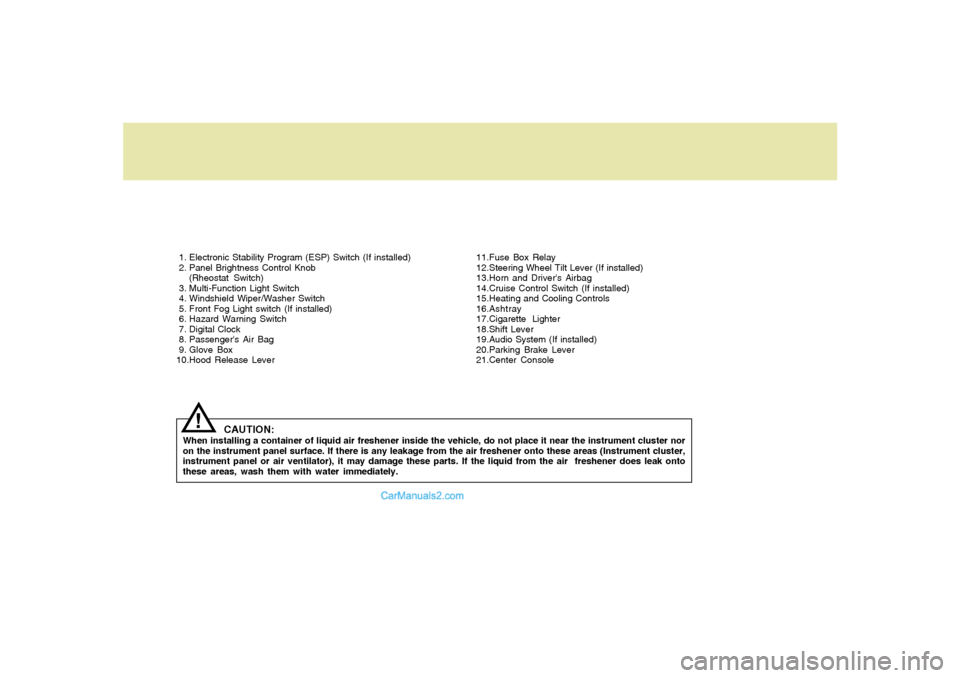
1. Electronic Stability Program (ESP) Switch (If installed)
2. Panel Brightness Control Knob
(Rheostat Switch)
3. Multi-Function Light Switch
4. Windshield Wiper/Washer Switch
5. Front Fog Light switch (If installed)
6. Hazard Warning Switch
7. Digital Clock
8. Passenger's Air Bag
9. Glove Box
10.Hood Release Lever11.Fuse Box Relay
12.Steering Wheel Tilt Lever (If installed)
13.Horn and Driver's Airbag
14.Cruise Control Switch (If installed)
15.Heating and Cooling Controls
16.Ashtray
17.Cigarette Lighter
18.Shift Lever
19.Audio System (If installed)
20.Parking Brake Lever
21.Center Console
CAUTION:
When installing a container of liquid air freshener inside the vehicle, do not place it near the instrument cluster nor
on the instrument panel surface. If there is any leakage from the air freshener onto these areas (Instrument cluster,
instrument panel or air ventilator), it may damage these parts. If the liquid from the air freshener does leak onto
these areas, wash them with water immediately.
!
Page 11 of 262
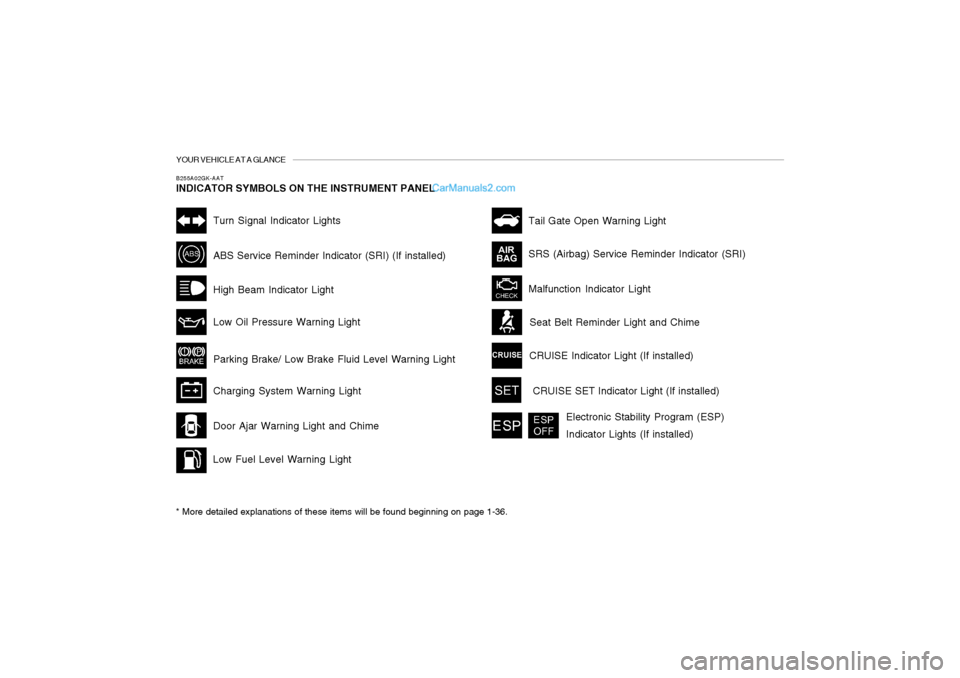
YOUR VEHICLE AT A GLANCEB255A02GK-AATINDICATOR SYMBOLS ON THE INSTRUMENT PANEL* More detailed explanations of these items will be found beginning on page 1-36.
Malfunction Indicator LightSRS (Airbag) Service Reminder Indicator (SRI) Tail Gate Open Warning Light
Low Fuel Level Warning LightDoor Ajar Warning Light and ChimeABS Service Reminder Indicator (SRI) (If installed)Turn Signal Indicator LightsHigh Beam Indicator Light
Low Oil Pressure Warning Light
Parking Brake/ Low Brake Fluid Level Warning Light
Charging System Warning LightCRUISE Indicator Light (If installed)
Seat Belt Reminder Light and Chime
CRUISE SET Indicator Light (If installed)
Electronic Stability Program (ESP)
Indicator Lights (If installed)
Page 15 of 262
1FEATURES OF YOUR HYUNDAI4
WARNING:
o Unlocked doors can be dangerous. Be-
fore you drive away (especially if there
are children in the car), be sure that all the
doors are securely closed and locked so
that the doors cannot be inadvertently
opened from the inside. This helps en-
sure that the doors will not be opened
accidentally. Also, when combined with
the proper use of seat belts, locking the
doors helps keep occupants from being
ejected from the car in case of an acci-
dent.
o Before opening the door, always look for
and avoid oncoming traffic.
o In case of accident, the door is unlocked
automatically (If installed).
!DOORB040A02Y-AATDOOR LOCKS
B030C01Y-AATILLUMINATED IGNITION SWITCH
(If installed)Whenever a door is opened, the ignition switch
will be illuminated for your convenience, pro-
vided the ignition switch is not in the "ON"
position.
The light will go off approximately 10 seconds
after closing the door or when the ignition switch
is turned on.
B030C01E-1
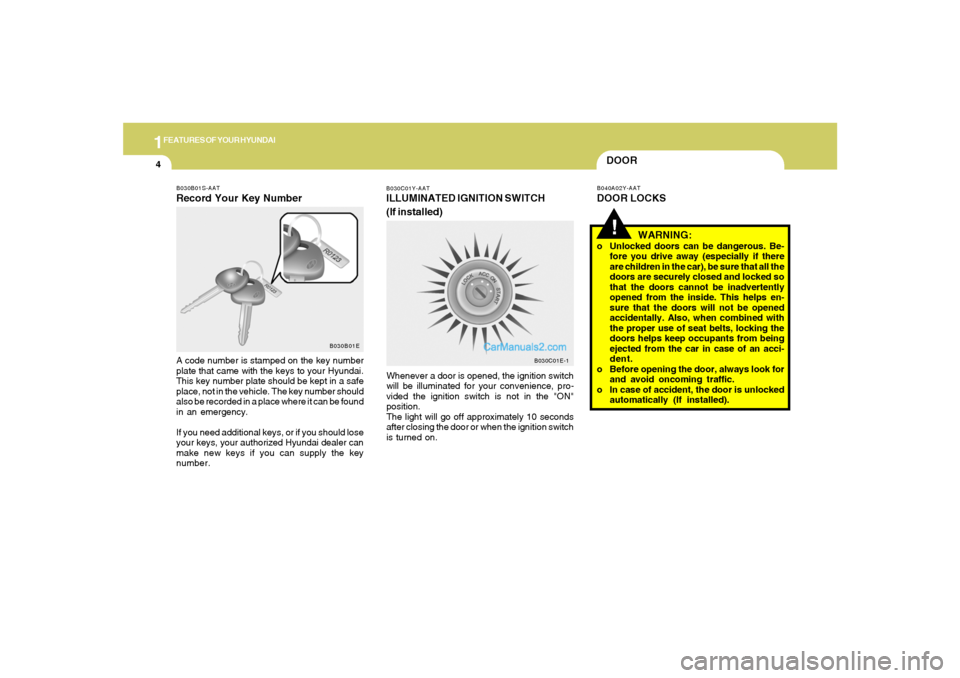
B030B01S-AATRecord Your Key NumberA code number is stamped on the key number
plate that came with the keys to your Hyundai.
This key number plate should be kept in a safe
place, not in the vehicle. The key number should
also be recorded in a place where it can be found
in an emergency.
If you need additional keys, or if you should lose
your keys, your authorized Hyundai dealer can
make new keys if you can supply the key
number.
B030B01E
Page 18 of 262
1
FEATURES OF YOUR HYUNDAI
7
!
B070C01GK-AATAlarm StageThe alarm will be activated if any of the following
occur while the car is parked and the system is
armed.
1) A front door is unlocked and opened without
using the transmitter.
2) The tail gate is opened without using the key.
3) The engine hood is opened.
The siren will sound and the turn signal lamp will
blink continuously for 30 seconds. (This hap-
pens 3 times). To turn off the system, unlock the
door with the transmitter.
CAUTION:
Avoid trying to start the engine while the
system is armed.
!
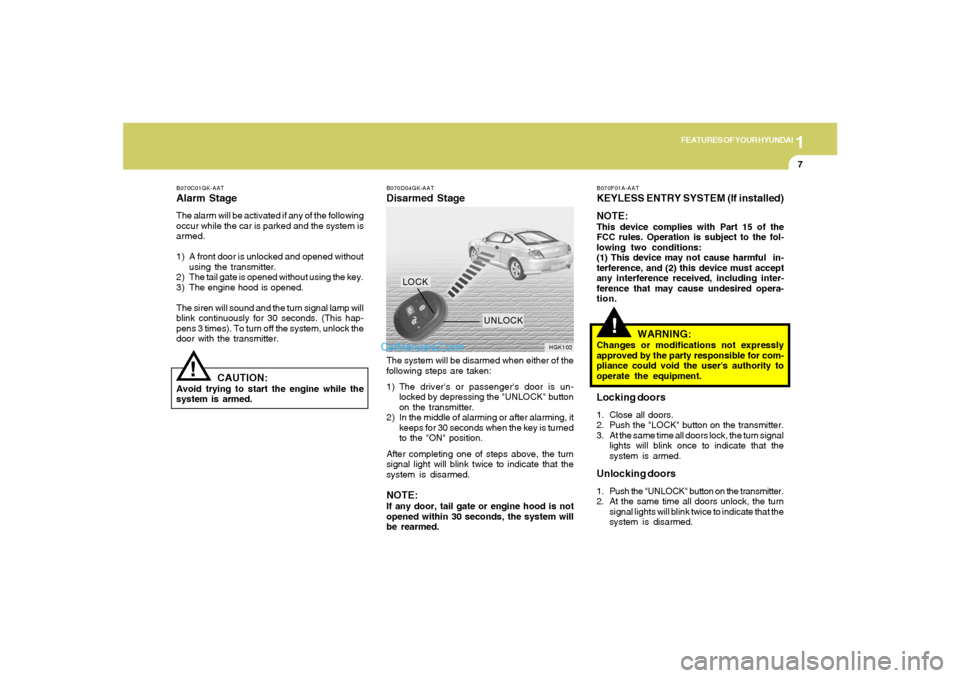
B070D04GK-AATDisarmed StageThe system will be disarmed when either of the
following steps are taken:
1) The driver's or passenger's door is un-
locked by depressing the "UNLOCK" button
on the transmitter.
2) In the middle of alarming or after alarming, it
keeps for 30 seconds when the key is turned
to the "ON" position.
After completing one of steps above, the turn
signal light will blink twice to indicate that the
system is disarmed.NOTE:If any door, tail gate or engine hood is not
opened within 30 seconds, the system will
be rearmed.
HGK102
LOCK
UNLOCK
B070F01A-AATKEYLESS ENTRY SYSTEM (If installed)
NOTE:This device complies with Part 15 of the
FCC rules. Operation is subject to the fol-
lowing two conditions:
(1) This device may not cause harmful in-
terference, and (2) this device must accept
any interference received, including inter-
ference that may cause undesired opera-
tion.
WARNING:
Changes or modifications not expressly
approved by the party responsible for com-
pliance could void the user's authority to
operate the equipment.Locking doors1. Close all doors.
2. Push the "LOCK" button on the transmitter.
3. At the same time all doors lock, the turn signal
lights will blink once to indicate that the
system is armed.Unlocking doors1. Push the "UNLOCK" button on the transmitter.
2. At the same time all doors unlock, the turn
signal lights will blink twice to indicate that the
system is disarmed.
Page 19 of 262
1FEATURES OF YOUR HYUNDAI8
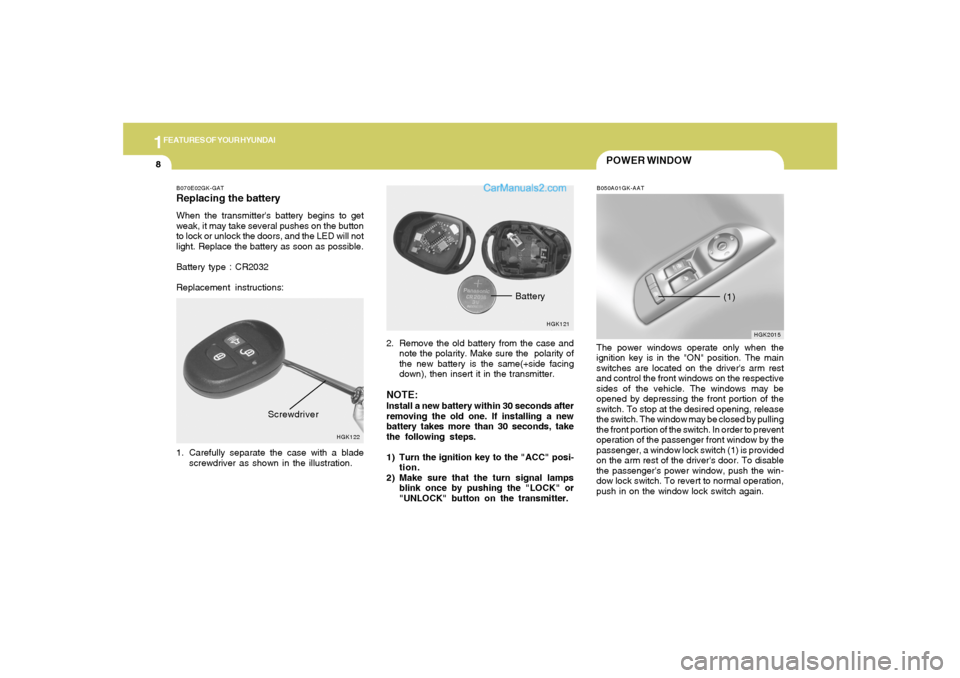
POWER WINDOWB050A01GK-AATThe power windows operate only when the
ignition key is in the "ON" position. The main
switches are located on the driver's arm rest
and control the front windows on the respective
sides of the vehicle. The windows may be
opened by depressing the front portion of the
switch. To stop at the desired opening, release
the switch. The window may be closed by pulling
the front portion of the switch. In order to prevent
operation of the passenger front window by the
passenger, a window lock switch (1) is provided
on the arm rest of the driver's door. To disable
the passenger's power window, push the win-
dow lock switch. To revert to normal operation,
push in on the window lock switch again.
HGK2015
(1)
B070E02GK-GATReplacing the batteryWhen the transmitter's battery begins to get
weak, it may take several pushes on the button
to lock or unlock the doors, and the LED will not
light. Replace the battery as soon as possible.
Battery type : CR2032
Replacement instructions:
1. Carefully separate the case with a blade
screwdriver as shown in the illustration.
HGK122
Screwdriver
2. Remove the old battery from the case and
note the polarity. Make sure the polarity of
the new battery is the same(+side facing
down), then insert it in the transmitter.NOTE:Install a new battery within 30 seconds after
removing the old one. If installing a new
battery takes more than 30 seconds, take
the following steps.
1) Turn the ignition key to the "ACC" posi-
tion.
2) Make sure that the turn signal lamps
blink once by pushing the "LOCK" or
"UNLOCK" button on the transmitter.
HGK121
Battery
Page 46 of 262
1
FEATURES OF YOUR HYUNDAI
35
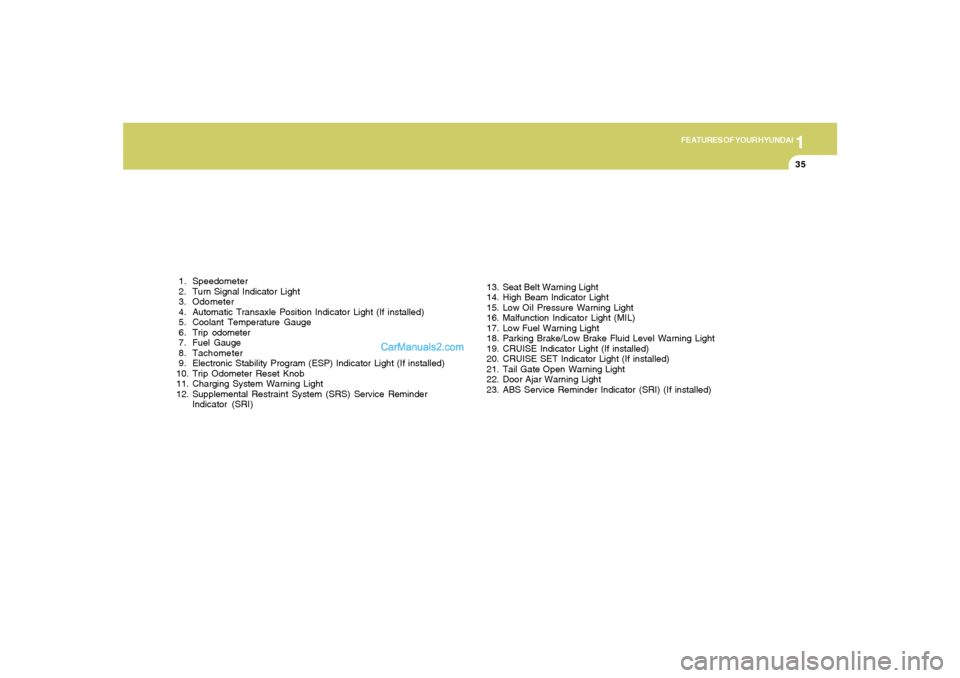
1. Speedometer
2. Turn Signal Indicator Light
3. Odometer
4. Automatic Transaxle Position Indicator Light (If installed)
5. Coolant Temperature Gauge
6. Trip odometer
7. Fuel Gauge
8. Tachometer
9. Electronic Stability Program (ESP) Indicator Light (If installed)
10. Trip Odometer Reset Knob
11. Charging System Warning Light
12. Supplemental Restraint System (SRS) Service Reminder
Indicator (SRI)13. Seat Belt Warning Light
14. High Beam Indicator Light
15. Low Oil Pressure Warning Light
16. Malfunction Indicator Light (MIL)
17. Low Fuel Warning Light
18. Parking Brake/Low Brake Fluid Level Warning Light
19. CRUISE Indicator Light (If installed)
20. CRUISE SET Indicator Light (If installed)
21. Tail Gate Open Warning Light
22. Door Ajar Warning Light
23. ABS Service Reminder Indicator (SRI) (If installed)
Page 50 of 262
1
FEATURES OF YOUR HYUNDAI
39
B260Q01E-GAT
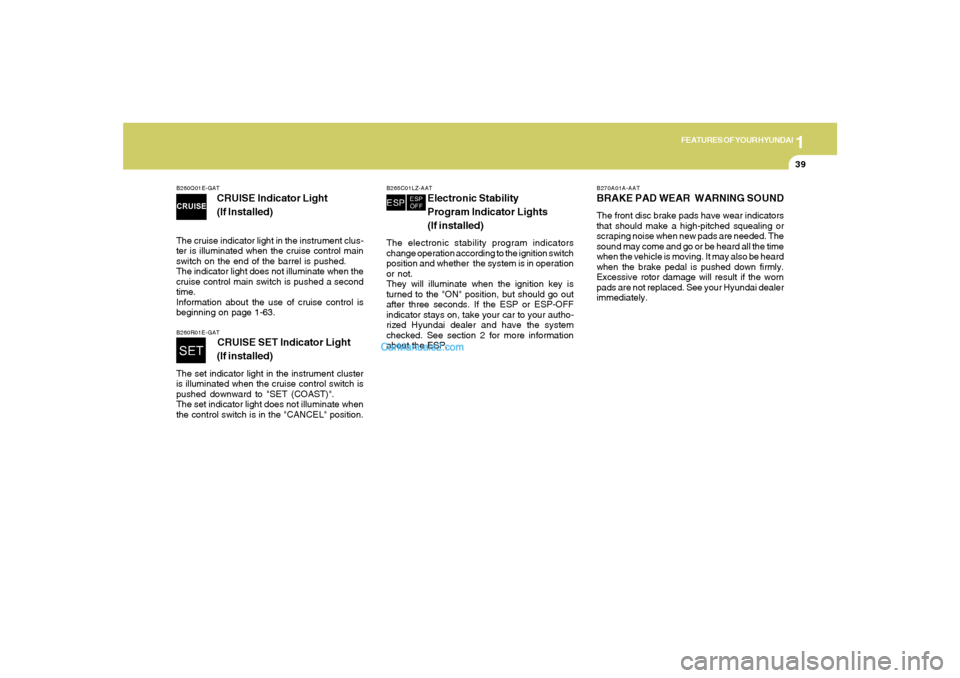
CRUISE Indicator Light
(If Installed)
The cruise indicator light in the instrument clus-
ter is illuminated when the cruise control main
switch on the end of the barrel is pushed.
The indicator light does not illuminate when the
cruise control main switch is pushed a second
time.
Information about the use of cruise control is
beginning on page 1-63.
B270A01A-AATBRAKE PAD WEAR WARNING SOUNDThe front disc brake pads have wear indicators
that should make a high-pitched squealing or
scraping noise when new pads are needed. The
sound may come and go or be heard all the time
when the vehicle is moving. It may also be heard
when the brake pedal is pushed down firmly.
Excessive rotor damage will result if the worn
pads are not replaced. See your Hyundai dealer
immediately.
B260R01E-GAT
CRUISE SET Indicator Light
(If installed)
The set indicator light in the instrument cluster
is illuminated when the cruise control switch is
pushed downward to "SET (COAST)".
The set indicator light does not illuminate when
the control switch is in the "CANCEL" position.
B265C01LZ-AAT
Electronic Stability
Program Indicator Lights
(If installed)
The electronic stability program indicators
change operation according to the ignition switch
position and whether the system is in operation
or not.
They will illuminate when the ignition key is
turned to the "ON" position, but should go out
after three seconds. If the ESP or ESP-OFF
indicator stays on, take your car to your autho-
rized Hyundai dealer and have the system
checked. See section 2 for more information
about the ESP.
Page 56 of 262
1
FEATURES OF YOUR HYUNDAI
45
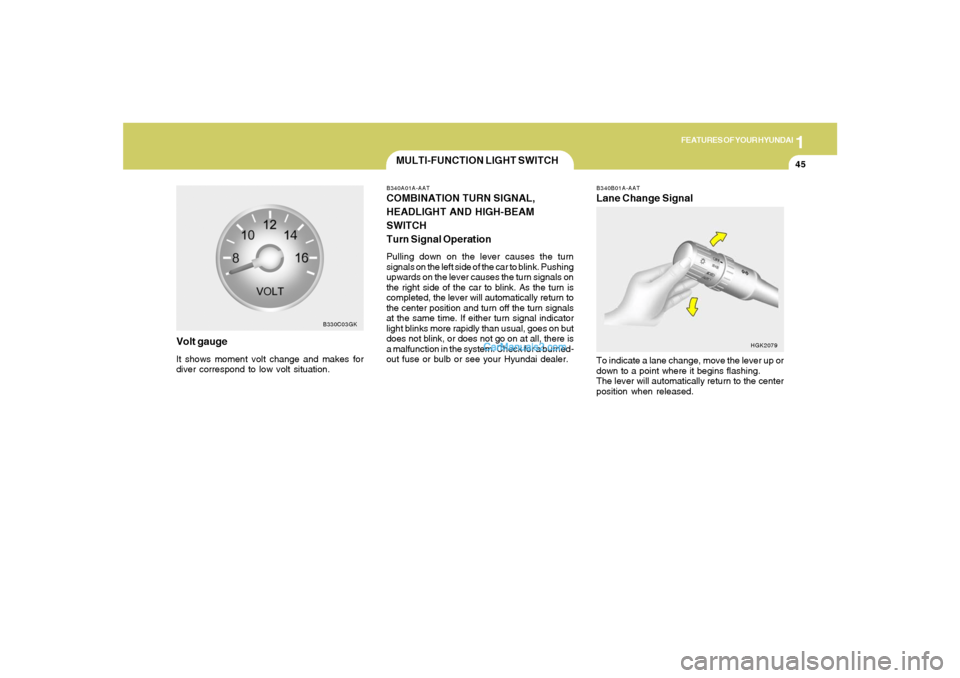
Volt gaugeIt shows moment volt change and makes for
diver correspond to low volt situation.
B330C03GK
MULTI-FUNCTION LIGHT SWITCHB340A01A-AATCOMBINATION TURN SIGNAL,
HEADLIGHT AND HIGH-BEAM
SWITCH
Turn Signal OperationPulling down on the lever causes the turn
signals on the left side of the car to blink. Pushing
upwards on the lever causes the turn signals on
the right side of the car to blink. As the turn is
completed, the lever will automatically return to
the center position and turn off the turn signals
at the same time. If either turn signal indicator
light blinks more rapidly than usual, goes on but
does not blink, or does not go on at all, there is
a malfunction in the system. Check for a burned-
out fuse or bulb or see your Hyundai dealer.
B340B01A-AATLane Change SignalTo indicate a lane change, move the lever up or
down to a point where it begins flashing.
The lever will automatically return to the center
position when released.
HGK2079
Page 67 of 262
1FEATURES OF YOUR HYUNDAI56
!
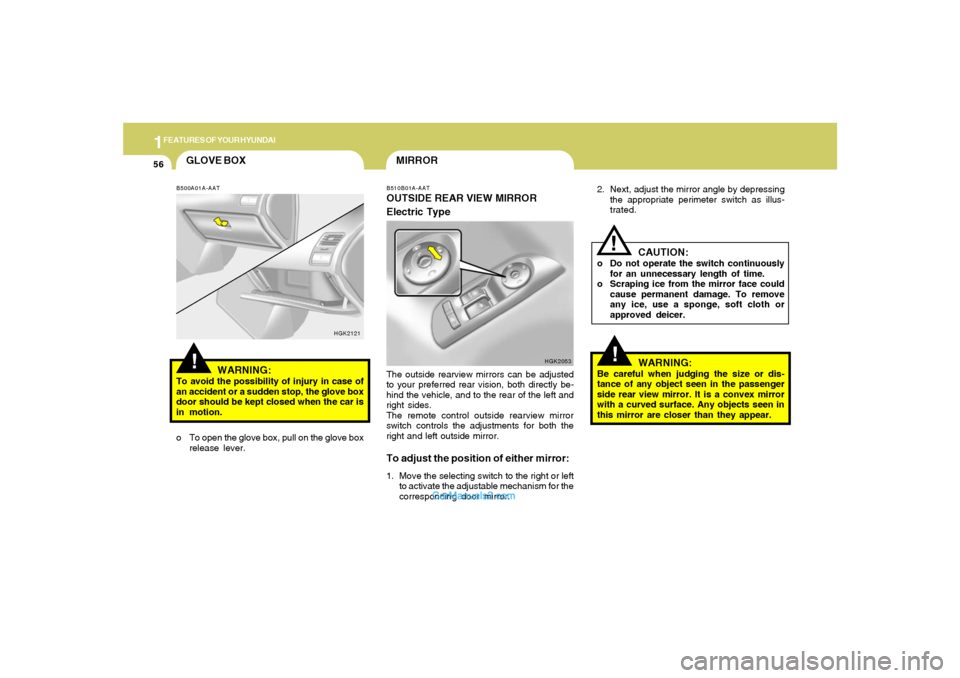
2. Next, adjust the mirror angle by depressing
the appropriate perimeter switch as illus-
trated.
CAUTION:
o Do not operate the switch continuously
for an unnecessary length of time.
o Scraping ice from the mirror face could
cause permanent damage. To remove
any ice, use a sponge, soft cloth or
approved deicer.
WARNING:
Be careful when judging the size or dis-
tance of any object seen in the passenger
side rear view mirror. It is a convex mirror
with a curved surface. Any objects seen in
this mirror are closer than they appear.
!
GLOVE BOX
MIRRORB510B01A-AATOUTSIDE REAR VIEW MIRROR
Electric Type
HGK2053
The outside rearview mirrors can be adjusted
to your preferred rear vision, both directly be-
hind the vehicle, and to the rear of the left and
right sides.
The remote control outside rearview mirror
switch controls the adjustments for both the
right and left outside mirror.To adjust the position of either mirror:1. Move the selecting switch to the right or left
to activate the adjustable mechanism for the
corresponding door mirror.
!
B500A01A-AAT
WARNING:
To avoid the possibility of injury in case of
an accident or a sudden stop, the glove box
door should be kept closed when the car is
in motion.
HGK2121
o To open the glove box, pull on the glove box
release lever.