change time Hyundai Tiburon 2005 Owner's Manual
[x] Cancel search | Manufacturer: HYUNDAI, Model Year: 2005, Model line: Tiburon, Model: Hyundai Tiburon 2005Pages: 262, PDF Size: 11.12 MB
Page 3 of 262
OWNER'S MANUALA030A05F-AATOperation
Maintenance
SpecificationsAll information in this Owner's Manual is current at the time of publication. However, Hyundai reserves the right to make changes at any
time so that our policy of continual product improvement may be carried out.
This manual applies to all Hyundai Tiburon models and includes descriptions and explanations of optional as well as standard equipment.
As a result, you may find material in this manual that does not apply to your specific vehicle.
HGK037
Page 18 of 262
1
FEATURES OF YOUR HYUNDAI
7
!
B070C01GK-AATAlarm StageThe alarm will be activated if any of the following
occur while the car is parked and the system is
armed.
1) A front door is unlocked and opened without
using the transmitter.
2) The tail gate is opened without using the key.
3) The engine hood is opened.
The siren will sound and the turn signal lamp will
blink continuously for 30 seconds. (This hap-
pens 3 times). To turn off the system, unlock the
door with the transmitter.
CAUTION:
Avoid trying to start the engine while the
system is armed.
!
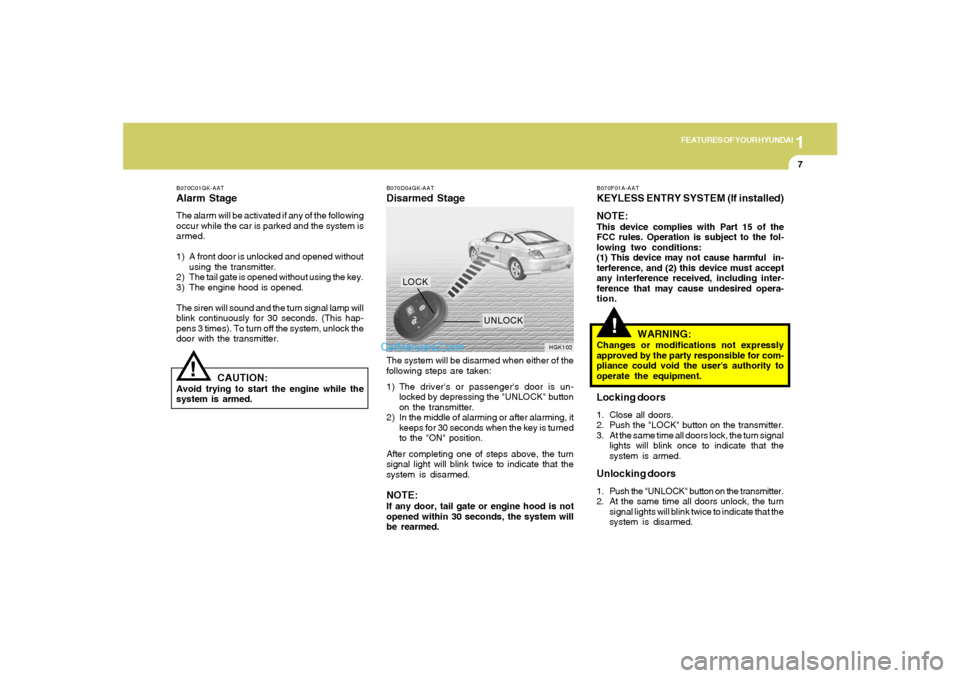
B070D04GK-AATDisarmed StageThe system will be disarmed when either of the
following steps are taken:
1) The driver's or passenger's door is un-
locked by depressing the "UNLOCK" button
on the transmitter.
2) In the middle of alarming or after alarming, it
keeps for 30 seconds when the key is turned
to the "ON" position.
After completing one of steps above, the turn
signal light will blink twice to indicate that the
system is disarmed.NOTE:If any door, tail gate or engine hood is not
opened within 30 seconds, the system will
be rearmed.
HGK102
LOCK
UNLOCK
B070F01A-AATKEYLESS ENTRY SYSTEM (If installed)
NOTE:This device complies with Part 15 of the
FCC rules. Operation is subject to the fol-
lowing two conditions:
(1) This device may not cause harmful in-
terference, and (2) this device must accept
any interference received, including inter-
ference that may cause undesired opera-
tion.
WARNING:
Changes or modifications not expressly
approved by the party responsible for com-
pliance could void the user's authority to
operate the equipment.Locking doors1. Close all doors.
2. Push the "LOCK" button on the transmitter.
3. At the same time all doors lock, the turn signal
lights will blink once to indicate that the
system is armed.Unlocking doors1. Push the "UNLOCK" button on the transmitter.
2. At the same time all doors unlock, the turn
signal lights will blink twice to indicate that the
system is disarmed.
Page 50 of 262
1
FEATURES OF YOUR HYUNDAI
39
B260Q01E-GAT
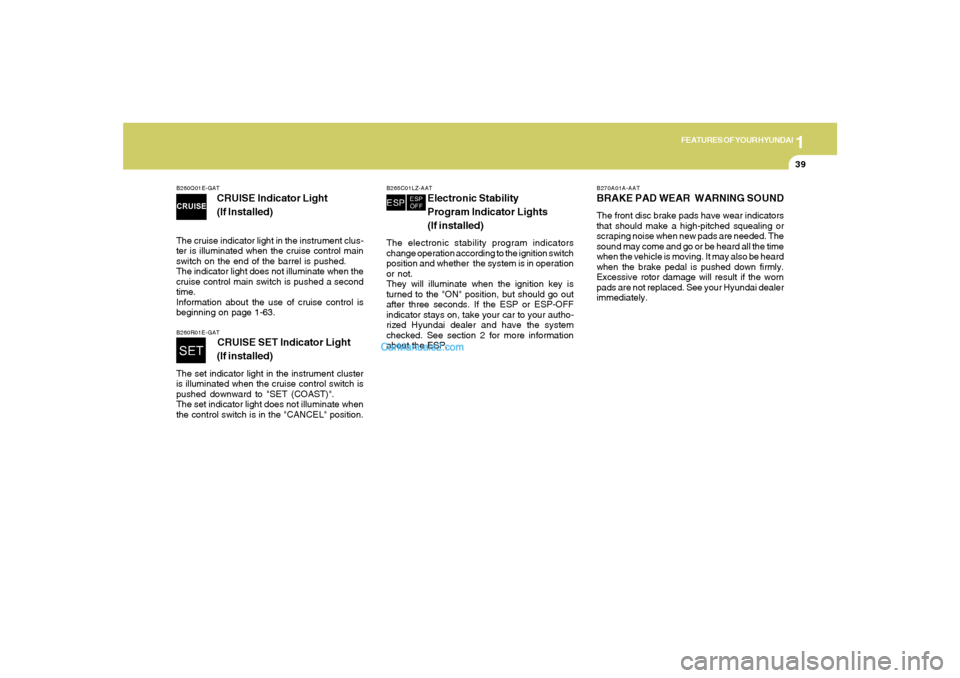
CRUISE Indicator Light
(If Installed)
The cruise indicator light in the instrument clus-
ter is illuminated when the cruise control main
switch on the end of the barrel is pushed.
The indicator light does not illuminate when the
cruise control main switch is pushed a second
time.
Information about the use of cruise control is
beginning on page 1-63.
B270A01A-AATBRAKE PAD WEAR WARNING SOUNDThe front disc brake pads have wear indicators
that should make a high-pitched squealing or
scraping noise when new pads are needed. The
sound may come and go or be heard all the time
when the vehicle is moving. It may also be heard
when the brake pedal is pushed down firmly.
Excessive rotor damage will result if the worn
pads are not replaced. See your Hyundai dealer
immediately.
B260R01E-GAT
CRUISE SET Indicator Light
(If installed)
The set indicator light in the instrument cluster
is illuminated when the cruise control switch is
pushed downward to "SET (COAST)".
The set indicator light does not illuminate when
the control switch is in the "CANCEL" position.
B265C01LZ-AAT
Electronic Stability
Program Indicator Lights
(If installed)
The electronic stability program indicators
change operation according to the ignition switch
position and whether the system is in operation
or not.
They will illuminate when the ignition key is
turned to the "ON" position, but should go out
after three seconds. If the ESP or ESP-OFF
indicator stays on, take your car to your autho-
rized Hyundai dealer and have the system
checked. See section 2 for more information
about the ESP.
Page 53 of 262
1FEATURES OF YOUR HYUNDAI42
1. OdometerThe odometer records the total driving distance
in miles, and is useful for keeping a record for
maintenance intervals.NOTE:Any alteration of the odometer may void
your warranty coverage.2,3 Trip odometerRecords the distance of 2 trips in miles.
TRIP A: first distance you have traveled from
your origination point to a first destination.
TRIP B: Second distance from the first destina-
tion to the final destination.
To shift from TRIP A to TRIP B, press the reset
switch. When pressed for 1 second, it will reset
to 0.
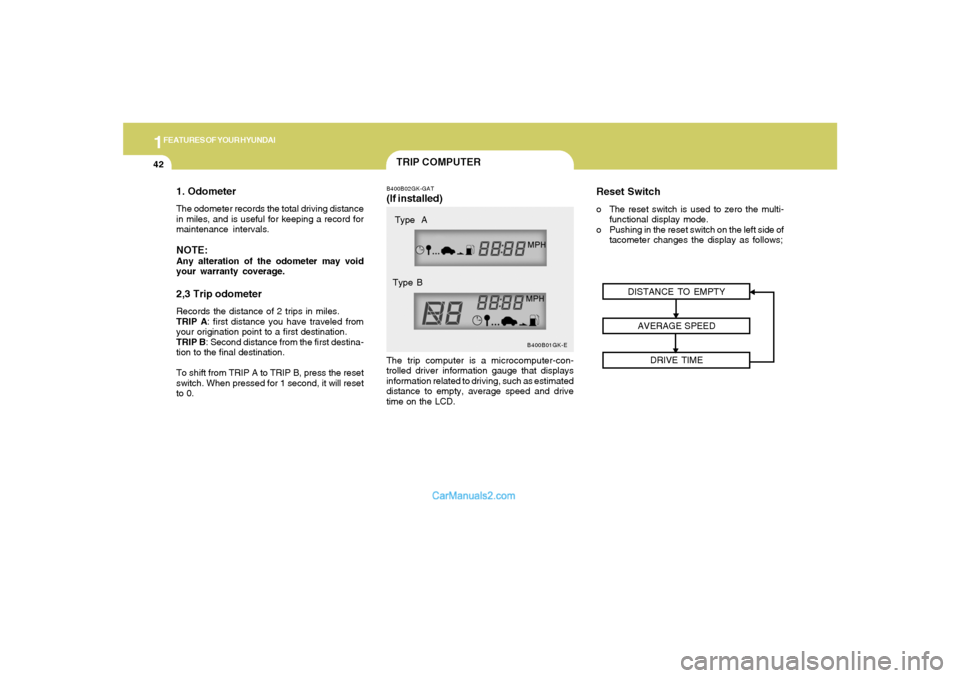
TRIP COMPUTERB400B02GK-GAT(If installed)The trip computer is a microcomputer-con-
trolled driver information gauge that displays
information related to driving, such as estimated
distance to empty, average speed and drive
time on the LCD.
Reset Switcho The reset switch is used to zero the multi-
functional display mode.
o Pushing in the reset switch on the left side of
tacometer changes the display as follows;
DISTANCE TO EMPTY
AVERAGE SPEED
DRIVE TIME
B400B01GK-E
Type A
Type B
Page 55 of 262
1FEATURES OF YOUR HYUNDAI44
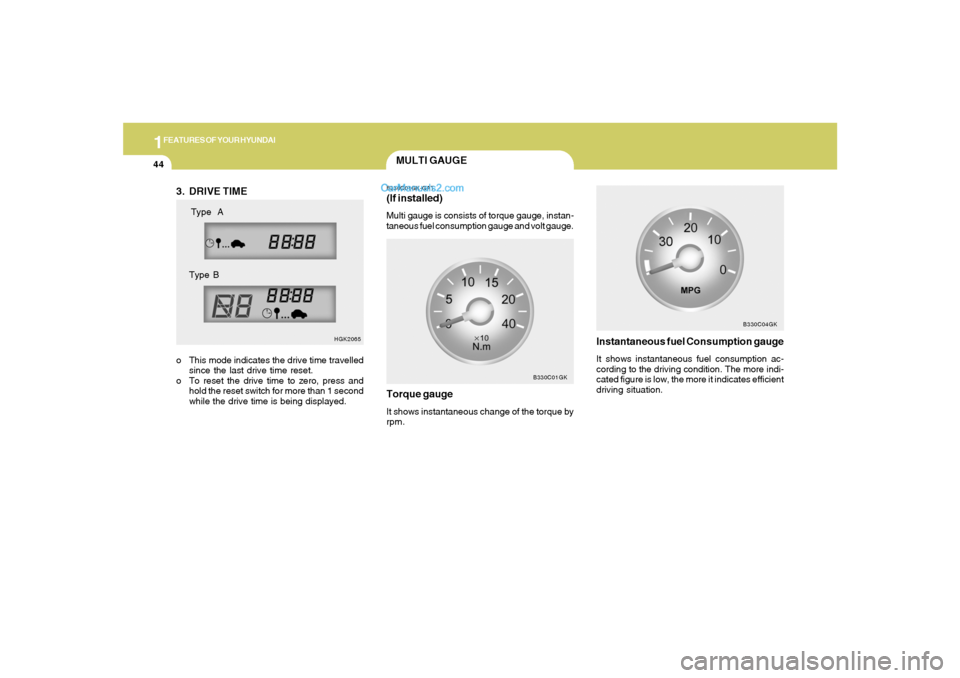
MULTI GAUGEB330C01GK-GAT(If installed)Multi gauge is consists of torque gauge, instan-
taneous fuel consumption gauge and volt gauge.
B330C01GK
Torque gaugeIt shows instantaneous change of the torque by
rpm.
Instantaneous fuel Consumption gaugeIt shows instantaneous fuel consumption ac-
cording to the driving condition. The more indi-
cated figure is low, the more it indicates efficient
driving situation.
B330C04GK
3. DRIVE TIMEo This mode indicates the drive time travelled
since the last drive time reset.
o To reset the drive time to zero, press and
hold the reset switch for more than 1 second
while the drive time is being displayed.
HGK2065
Type A
Type B
Page 56 of 262
1
FEATURES OF YOUR HYUNDAI
45
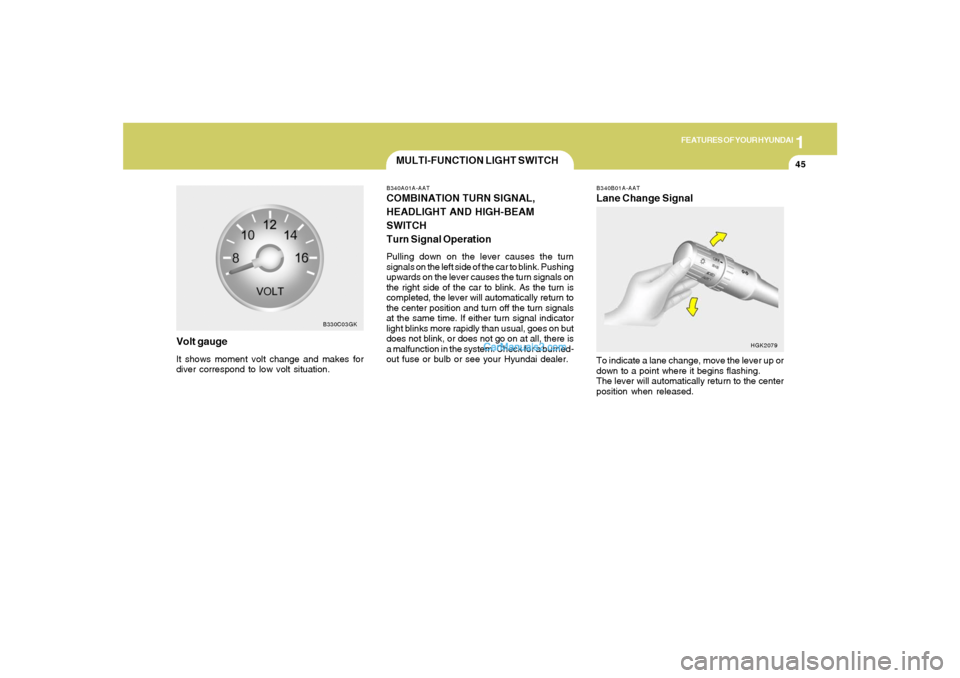
Volt gaugeIt shows moment volt change and makes for
diver correspond to low volt situation.
B330C03GK
MULTI-FUNCTION LIGHT SWITCHB340A01A-AATCOMBINATION TURN SIGNAL,
HEADLIGHT AND HIGH-BEAM
SWITCH
Turn Signal OperationPulling down on the lever causes the turn
signals on the left side of the car to blink. Pushing
upwards on the lever causes the turn signals on
the right side of the car to blink. As the turn is
completed, the lever will automatically return to
the center position and turn off the turn signals
at the same time. If either turn signal indicator
light blinks more rapidly than usual, goes on but
does not blink, or does not go on at all, there is
a malfunction in the system. Check for a burned-
out fuse or bulb or see your Hyundai dealer.
B340B01A-AATLane Change SignalTo indicate a lane change, move the lever up or
down to a point where it begins flashing.
The lever will automatically return to the center
position when released.
HGK2079
Page 62 of 262
1
FEATURES OF YOUR HYUNDAI
51
CIGARETTE LIGHTER
INSTRUMENT PANEL LIGHT
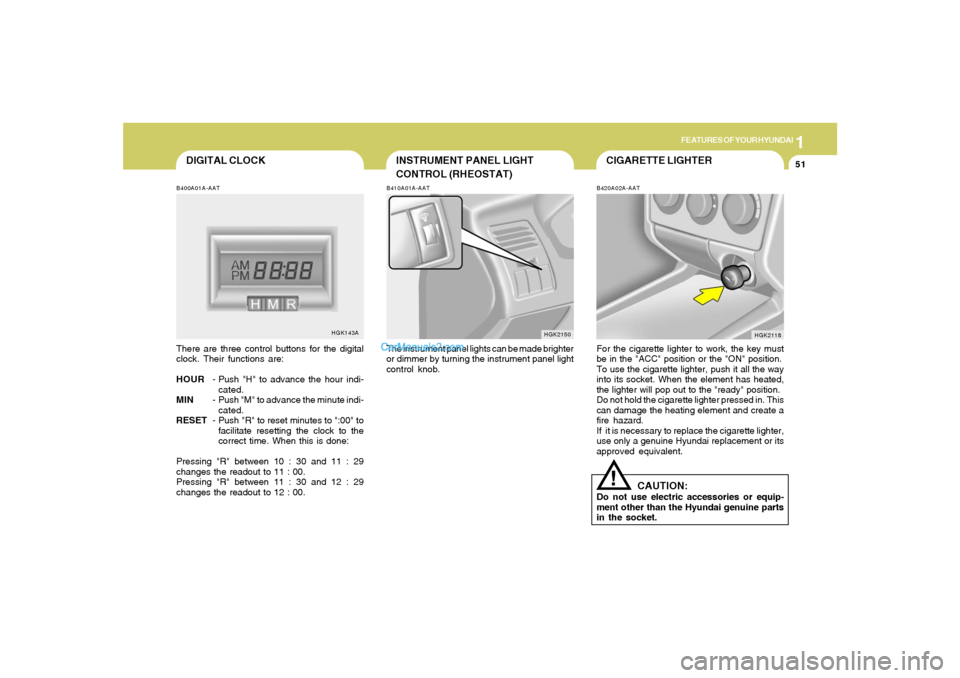
CONTROL (RHEOSTAT)B410A01A-AATThe instrument panel lights can be made brighter
or dimmer by turning the instrument panel light
control knob.
HGK2150B420A02A-AAT
For the cigarette lighter to work, the key must
be in the "ACC" position or the "ON" position.
To use the cigarette lighter, push it all the way
into its socket. When the element has heated,
the lighter will pop out to the "ready" position.
Do not hold the cigarette lighter pressed in. This
can damage the heating element and create a
fire hazard.
If it is necessary to replace the cigarette lighter,
use only a genuine Hyundai replacement or its
approved equivalent.
HGK2118
DIGITAL CLOCKB400A01A-AATThere are three control buttons for the digital
clock. Their functions are:
HOUR- Push "H" to advance the hour indi-
cated.
MIN- Push "M" to advance the minute indi-
cated.
RESET- Push "R" to reset minutes to ":00" to
facilitate resetting the clock to the
correct time. When this is done:
Pressing "R" between 10 : 30 and 11 : 29
changes the readout to 11 : 00.
Pressing "R" between 11 : 30 and 12 : 29
changes the readout to 12 : 00.
HGK143A
!
CAUTION:
Do not use electric accessories or equip-
ment other than the Hyundai genuine parts
in the socket.
Page 111 of 262
1FEATURES OF YOUR HYUNDAI
100
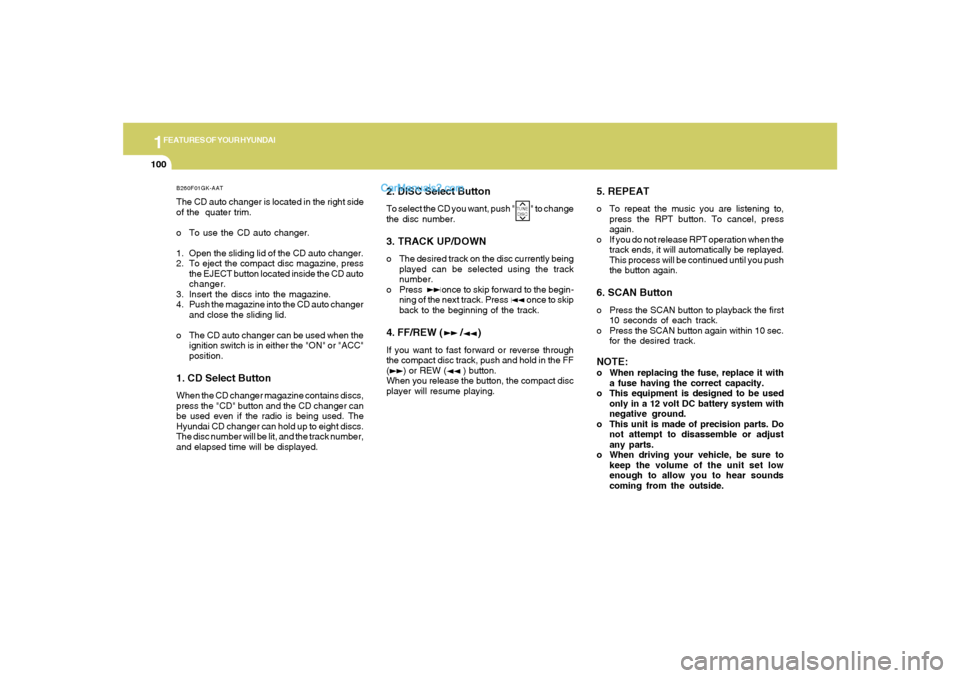
B260F01GK-AATThe CD auto changer is located in the right side
of the quater trim.
o To use the CD auto changer.
1. Open the sliding lid of the CD auto changer.
2. To eject the compact disc magazine, press
the EJECT button located inside the CD auto
changer.
3. Insert the discs into the magazine.
4. Push the magazine into the CD auto changer
and close the sliding lid.
o The CD auto changer can be used when the
ignition switch is in either the "ON" or "ACC"
position.1. CD Select ButtonWhen the CD changer magazine contains discs,
press the "CD" button and the CD changer can
be used even if the radio is being used. The
Hyundai CD changer can hold up to eight discs.
The disc number will be lit, and the track number,
and elapsed time will be displayed.
2. DISC Select ButtonTo select the CD you want, push " " to change
the disc number.3. TRACK UP/DOWNo The desired track on the disc currently being
played can be selected using the track
number.
o Press once to skip forward to the begin-
ning of the next track. Press once to skip
back to the beginning of the track.4. FF/REW ( / )If you want to fast forward or reverse through
the compact disc track, push and hold in the FF
( ) or REW ( ) button.
When you release the button, the compact disc
player will resume playing.
5. REPEATo To repeat the music you are listening to,
press the RPT button. To cancel, press
again.
o If you do not release RPT operation when the
track ends, it will automatically be replayed.
This process will be continued until you push
the button again.6. SCAN Buttono Press the SCAN button to playback the first
10 seconds of each track.
o Press the SCAN button again within 10 sec.
for the desired track.NOTE:o When replacing the fuse, replace it with
a fuse having the correct capacity.
o This equipment is designed to be used
only in a 12 volt DC battery system with
negative ground.
o This unit is made of precision parts. Do
not attempt to disassemble or adjust
any parts.
o When driving your vehicle, be sure to
keep the volume of the unit set low
enough to allow you to hear sounds
coming from the outside.
TUNE
DISC
Page 122 of 262
1
FEATURES OF YOUR HYUNDAI
111
B290H01GK-GATThe CD auto changer is located in the right side
of the quater trim.
o To use the CD auto changer.
1. Open the sliding lid of the CD auto changer.
2. To eject the compact disc magazine, press
the EJECT button located inside the CD auto
changer.
3. Insert the discs into the magazine.
4. Push the magazine into the CD auto changer
and close the sliding lid.
o The CD auto changer can be used when the
ignition switch is in either "ON" or "ACC"
position.1. CD CHANGER Select ButtonWhen the CD changer magazine contains discs,
press the "CD/CDC" button and the CD changer
can be used even if the radio or cassette player
is being used. The Hyundai CD changer can
hold up to eight discs. The disc number will be
lit, and the track number, and elapsed time will
be displayed.2. DISC Select ButtonTo select the CD you want, push " " to change
the disc number.
3. TRACK UP/DOWNo The desired track on the disc currently being
played can be selected using the track
number.
o Press once to skip forward to the beginn-
ing of the next track. Press once to skip
back to the beginning of the track.4. FF/REW ( / )If you want to fast forward or reverse through
the compact disc track, push and hold in the FF
( ) or REW ( ) button.
When you release the button, the compact disc
player will resume playing.5. REPEATo To repeat the music you are listening to,
press the RPT button. To cancel, press
again.
o If you do not release RPT operation when the
track ends, it will automatically be replayed.
This process will be continued until you push
the button again.
6. SCAN Button (If installed)o Press the SCAN button to playback the first
10 seconds of each track.
o Press the SCAN button again within 10 sec.
for the desired track.7. EQ ButtonPress the EQ button to select the CLASSIC,
JAZZ, ROCK and DEFEAT MODE for the
desired tone quality. Each press of the button
changes the display as follows;
TUNE
DISC
CLASSIC → JAZZ → ROCK → DEFEATNOTE:o When replacing the fuse, replace it with
a fuse having the correct capacity.
o This equipment is designed to be used
only in a 12 volt DC battery system with
negative ground.
o This unit is made of precision parts. Do
not attempt to disassemble or adjust
any parts.
o When driving your vehicle, be sure to
keep the volume of the unit set low
enough to allow you to hear sounds
coming from the outside.
Page 130 of 262
1
FEATURES OF YOUR HYUNDAI
119
J290F02JM-GAT1. LOAD ButtonThis compact disc playing will accommodate up
to six discs.
To insert one disc do the following:
1. Press and release the LOAD Button.
2. Green light on both sides of the slot will be
illuminated and the will blink ten times on
the display.
3. Load a disc while the is blinking. Insert a
disc partway into the slot, label side up. The
player will pull the disc in.NOTE:o The disc can be only inserted while the
light is blinking.
o This CD player is suitable only for 12 cm
discs, do not use irregular shaped CDs.
When the disc is inserted, the disc will begin to
play automatically.
To insert multiple discs do the followings:
1. Press and hold the LOAD button for two
seconds or more.
You will then hear two beeps and the green
light on the both sides of the slot will be
illuminated.2. Load a disc while the is blinking. Insert
a disc partway into the slot, label side up. The
player will pull the disc in.
Once the disc is loaded, the numbers of the
vacant disc will blink on the display continu-
ously. If the next "DISC NO." is appeared on
the display with the both side of the slot
illuminated, you can then load another disc.
3. Load the remaining disc by following the same
procedures 1 and 2.
When you finished loading 6 discs, the CD
player will begin to play the last CD loaded.
4. To load more than one disc but less than six,
complete Steps 1 and 2. When you have
finished loading discs, press LOAD button to
cancel the loading function or wait for 10
seconds. The CD player will begin to play the
last CD loaded.
As each CD starts to play, the DISC number will
appear on the display.
NOTE:The disc player takes up to six discs. Do not
try to load more than six.
2. Playing CDo Press the 6CDC to start CD playback,
during radio operation or cassette tape play-
ing.
o When discs are in the CD deck, if you press
the 6CDC button the CD player will begin
playing even if the radio or cassette player
is being used.
o The CD player can be used when the ignition
switch is in either the "ON" or "ACC" position.3. EJECT Buttono When the EJECT button is pressed with
a CD loaded, the CD will eject.
o To eject all of the discs, press this button for
2 seconds or more.4.DISC Select ButtonTo select the CD you want, push "DISC
" or "DISC " to change the disc number.