brake light Hyundai Tiburon 2008 Owner's Manual
[x] Cancel search | Manufacturer: HYUNDAI, Model Year: 2008, Model line: Tiburon, Model: Hyundai Tiburon 2008Pages: 268, PDF Size: 9.93 MB
Page 11 of 268
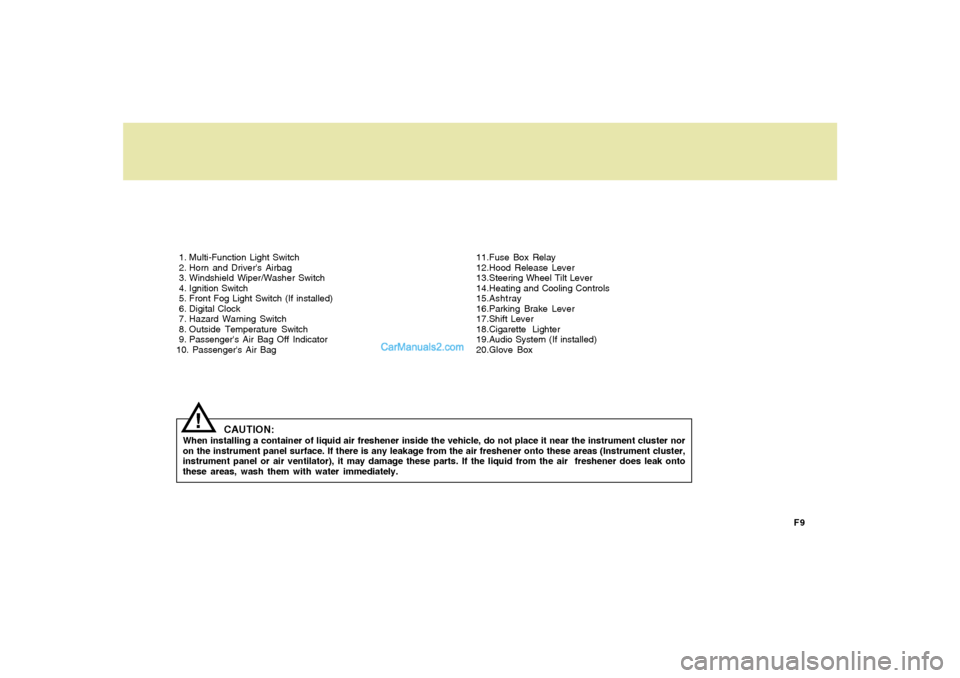
F9 1. Multi-Function Light Switch
2. Horn and Driver's Airbag
3. Windshield Wiper/Washer Switch
4. Ignition Switch
5. Front Fog Light Switch (If installed)
6. Digital Clock
7. Hazard Warning Switch
8. Outside Temperature Switch
9. Passenger's Air Bag Off Indicator
10. Passenger's Air Bag11.Fuse Box Relay
12.Hood Release Lever
13.Steering Wheel Tilt Lever
14.Heating and Cooling Controls
15.Ashtray
16.Parking Brake Lever
17.Shift Lever
18.Cigarette Lighter
19.Audio System (If installed)
20.Glove Box
CAUTION:
When installing a container of liquid air freshener inside the vehicle, do not place it near the instrument cluster nor
on the instrument panel surface. If there is any leakage from the air freshener onto these areas (Instrument cluster,
instrument panel or air ventilator), it may damage these parts. If the liquid from the air freshener does leak onto
these areas, wash them with water immediately.
!
Page 12 of 268
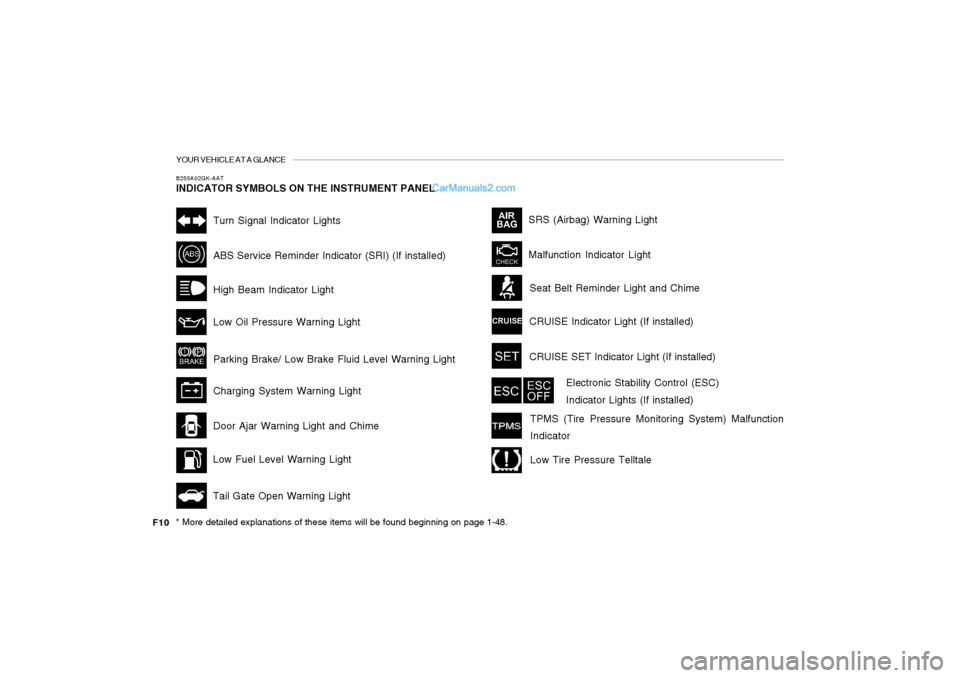
YOUR VEHICLE AT A GLANCEB255A02GK-AATINDICATOR SYMBOLS ON THE INSTRUMENT PANEL* More detailed explanations of these items will be found beginning on page 1-48.
Malfunction Indicator LightSRS (Airbag) Warning Light
Tail Gate Open Warning Light
Low Fuel Level Warning LightDoor Ajar Warning Light and ChimeABS Service Reminder Indicator (SRI) (If installed)Turn Signal Indicator LightsHigh Beam Indicator Light
Low Oil Pressure Warning Light
Parking Brake/ Low Brake Fluid Level Warning Light
Charging System Warning LightCRUISE Indicator Light (If installed)
Seat Belt Reminder Light and Chime
CRUISE SET Indicator Light (If installed)
Electronic Stability Control (ESC)
Indicator Lights (If installed)
TPMS (Tire Pressure Monitoring System) Malfunction
IndicatorLow Tire Pressure Telltale
F10
Page 59 of 268
1
FEATURES OF YOUR HYUNDAI
47
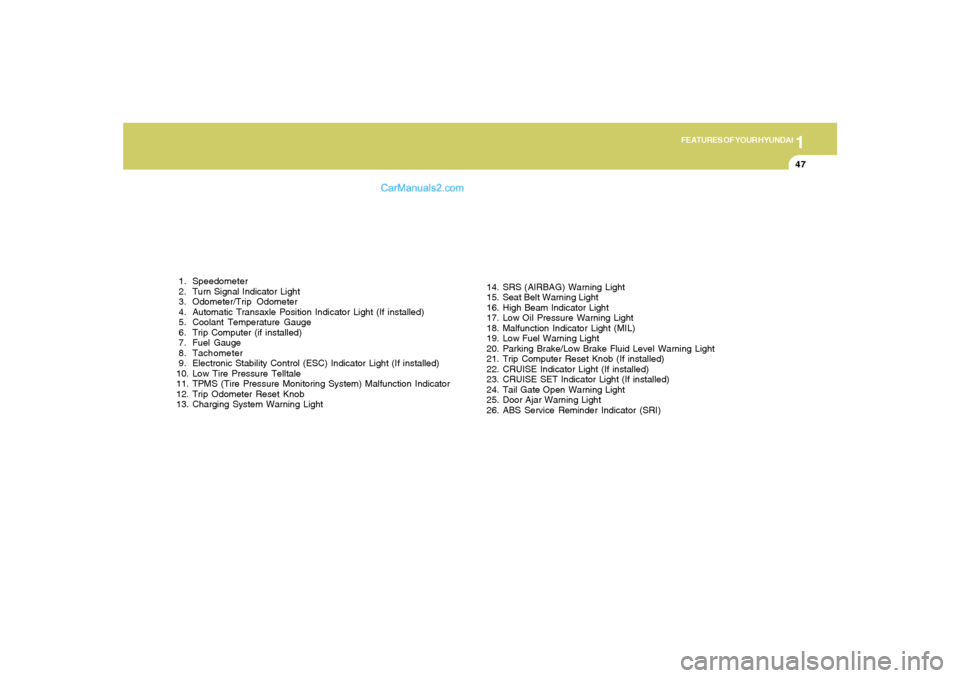
1. Speedometer
2. Turn Signal Indicator Light
3. Odometer/Trip Odometer
4. Automatic Transaxle Position Indicator Light (If installed)
5. Coolant Temperature Gauge
6. Trip Computer (if installed)
7. Fuel Gauge
8. Tachometer
9. Electronic Stability Control (ESC) Indicator Light (If installed)
10. Low Tire Pressure Telltale
11. TPMS (Tire Pressure Monitoring System) Malfunction Indicator
12. Trip Odometer Reset Knob
13. Charging System Warning Light14. SRS (AIRBAG) Warning Light
15. Seat Belt Warning Light
16. High Beam Indicator Light
17. Low Oil Pressure Warning Light
18. Malfunction Indicator Light (MIL)
19. Low Fuel Warning Light
20. Parking Brake/Low Brake Fluid Level Warning Light
21. Trip Computer Reset Knob (If installed)
22. CRUISE Indicator Light (If installed)
23. CRUISE SET Indicator Light (If installed)
24. Tail Gate Open Warning Light
25. Door Ajar Warning Light
26. ABS Service Reminder Indicator (SRI)
Page 62 of 268
1FEATURES OF YOUR HYUNDAI50
B260G01A-AAT
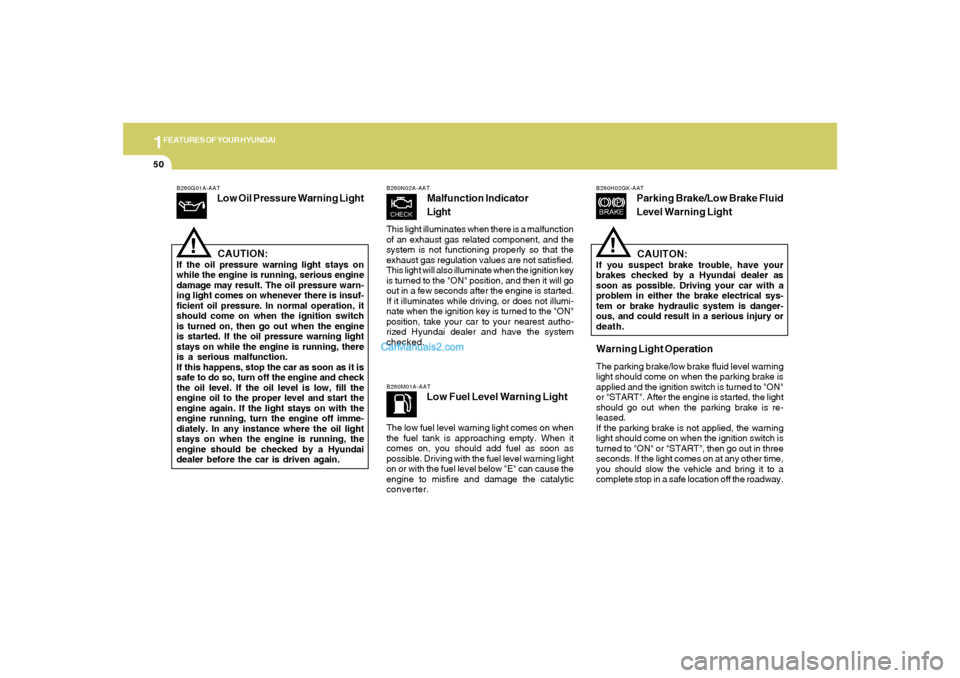
Low Oil Pressure Warning Light
CAUTION:
If the oil pressure warning light stays on
while the engine is running, serious engine
damage may result. The oil pressure warn-
ing light comes on whenever there is insuf-
ficient oil pressure. In normal operation, it
should come on when the ignition switch
is turned on, then go out when the engine
is started. If the oil pressure warning light
stays on while the engine is running, there
is a serious malfunction.
If this happens, stop the car as soon as it is
safe to do so, turn off the engine and check
the oil level. If the oil level is low, fill the
engine oil to the proper level and start the
engine again. If the light stays on with the
engine running, turn the engine off imme-
diately. In any instance where the oil light
stays on when the engine is running, the
engine should be checked by a Hyundai
dealer before the car is driven again.
!
B260N02A-AAT
Malfunction Indicator
Light
This light illuminates when there is a malfunction
of an exhaust gas related component, and the
system is not functioning properly so that the
exhaust gas regulation values are not satisfied.
This light will also illuminate when the ignition key
is turned to the "ON" position, and then it will go
out in a few seconds after the engine is started.
If it illuminates while driving, or does not illumi-
nate when the ignition key is turned to the "ON"
position, take your car to your nearest autho-
rized Hyundai dealer and have the system
checked.B260M01A-AAT
Low Fuel Level Warning Light
The low fuel level warning light comes on when
the fuel tank is approaching empty. When it
comes on, you should add fuel as soon as
possible. Driving with the fuel level warning light
on or with the fuel level below "E" can cause the
engine to misfire and damage the catalytic
converter.
B260H02GK-AAT
Parking Brake/Low Brake Fluid
Level Warning Light
CAUITON:
If you suspect brake trouble, have your
brakes checked by a Hyundai dealer as
soon as possible. Driving your car with a
problem in either the brake electrical sys-
tem or brake hydraulic system is danger-
ous, and could result in a serious injury or
death.Warning Light OperationThe parking brake/low brake fluid level warning
light should come on when the parking brake is
applied and the ignition switch is turned to "ON"
or "START". After the engine is started, the light
should go out when the parking brake is re-
leased.
If the parking brake is not applied, the warning
light should come on when the ignition switch is
turned to "ON" or "START", then go out in three
seconds. If the light comes on at any other time,
you should slow the vehicle and bring it to a
complete stop in a safe location off the roadway.
!
Page 63 of 268
1
FEATURES OF YOUR HYUNDAI
51
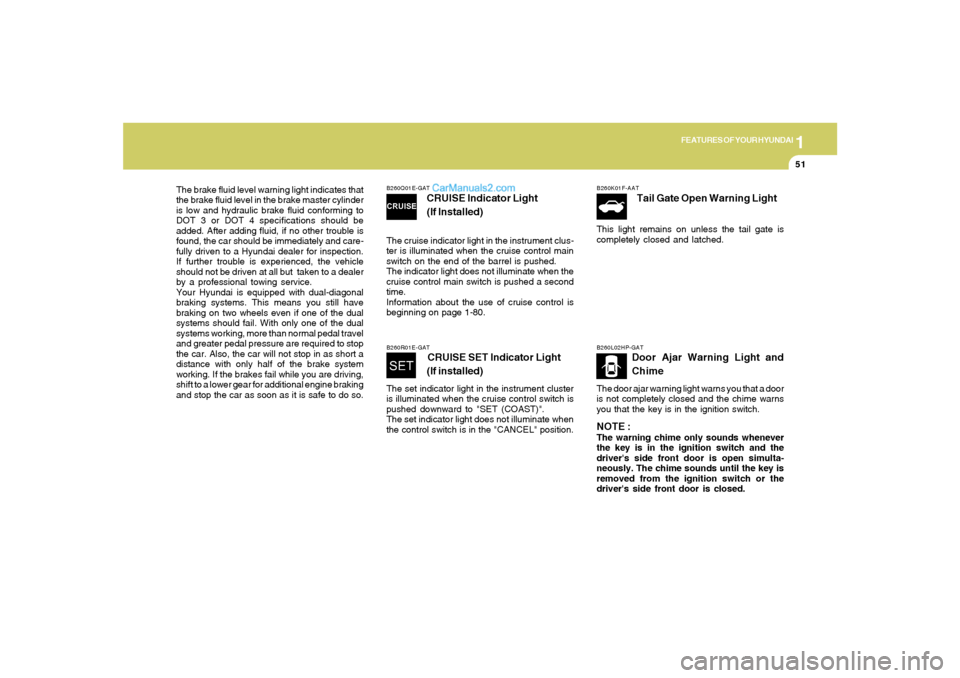
The brake fluid level warning light indicates that
the brake fluid level in the brake master cylinder
is low and hydraulic brake fluid conforming to
DOT 3 or DOT 4 specifications should be
added. After adding fluid, if no other trouble is
found, the car should be immediately and care-
fully driven to a Hyundai dealer for inspection.
If further trouble is experienced, the vehicle
should not be driven at all but taken to a dealer
by a professional towing service.
Your Hyundai is equipped with dual-diagonal
braking systems. This means you still have
braking on two wheels even if one of the dual
systems should fail. With only one of the dual
systems working, more than normal pedal travel
and greater pedal pressure are required to stop
the car. Also, the car will not stop in as short a
distance with only half of the brake system
working. If the brakes fail while you are driving,
shift to a lower gear for additional engine braking
and stop the car as soon as it is safe to do so.
B260Q01E-GAT
CRUISE Indicator Light
(If Installed)
The cruise indicator light in the instrument clus-
ter is illuminated when the cruise control main
switch on the end of the barrel is pushed.
The indicator light does not illuminate when the
cruise control main switch is pushed a second
time.
Information about the use of cruise control is
beginning on page 1-80.B260R01E-GAT
CRUISE SET Indicator Light
(If installed)
The set indicator light in the instrument cluster
is illuminated when the cruise control switch is
pushed downward to "SET (COAST)".
The set indicator light does not illuminate when
the control switch is in the "CANCEL" position.
B260K01F-AAT
Tail Gate Open Warning Light
This light remains on unless the tail gate is
completely closed and latched.B260L02HP-GAT
Door Ajar Warning Light and
Chime
The door ajar warning light warns you that a door
is not completely closed and the chime warns
you that the key is in the ignition switch.NOTE :The warning chime only sounds whenever
the key is in the ignition switch and the
driver's side front door is open simulta-
neously. The chime sounds until the key is
removed from the ignition switch or the
driver's side front door is closed.
Page 64 of 268
1FEATURES OF YOUR HYUNDAI52
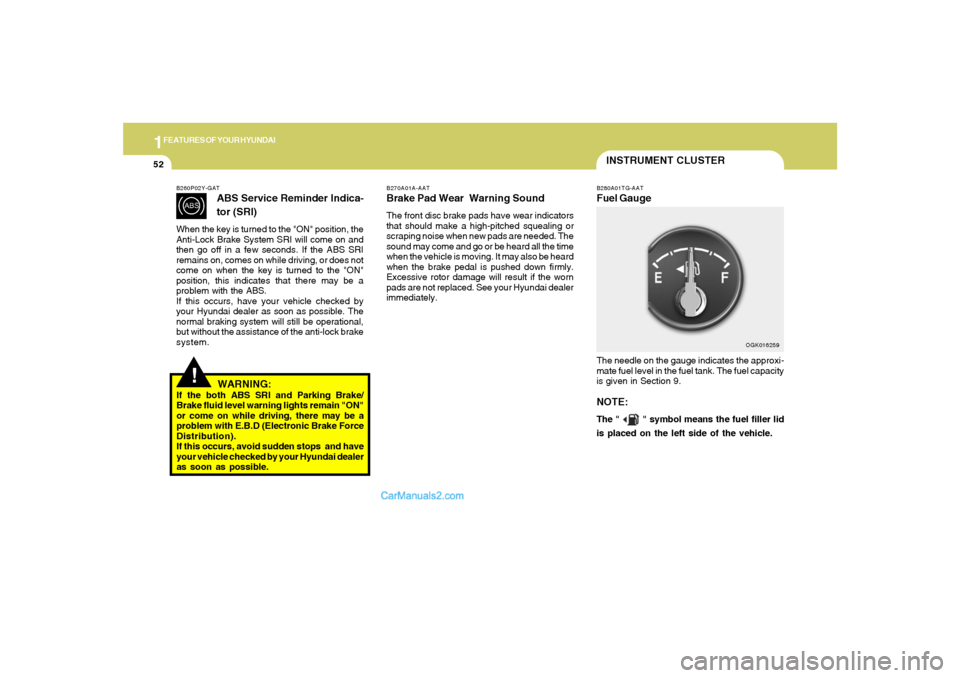
INSTRUMENT CLUSTERB280A01TG-AATFuel GaugeThe needle on the gauge indicates the approxi-
mate fuel level in the fuel tank. The fuel capacity
is given in Section 9.NOTE:The "
" symbol means the fuel filler lid
is placed on the left side of the vehicle.
OGK016259 B270A01A-AAT
Brake Pad Wear Warning SoundThe front disc brake pads have wear indicators
that should make a high-pitched squealing or
scraping noise when new pads are needed. The
sound may come and go or be heard all the time
when the vehicle is moving. It may also be heard
when the brake pedal is pushed down firmly.
Excessive rotor damage will result if the worn
pads are not replaced. See your Hyundai dealer
immediately.
!
B260P02Y-GAT
ABS Service Reminder Indica-
tor (SRI)
When the key is turned to the "ON" position, the
Anti-Lock Brake System SRI will come on and
then go off in a few seconds. If the ABS SRI
remains on, comes on while driving, or does not
come on when the key is turned to the "ON"
position, this indicates that there may be a
problem with the ABS.
If this occurs, have your vehicle checked by
your Hyundai dealer as soon as possible. The
normal braking system will still be operational,
but without the assistance of the anti-lock brake
system.
WARNING:
If the both ABS SRI and Parking Brake/
Brake fluid level warning lights remain "ON"
or come on while driving, there may be a
problem with E.B.D (Electronic Brake Force
Distribution).
If this occurs, avoid sudden stops and have
your vehicle checked by your Hyundai dealer
as soon as possible.
Page 84 of 268
1FEATURES OF YOUR HYUNDAI72
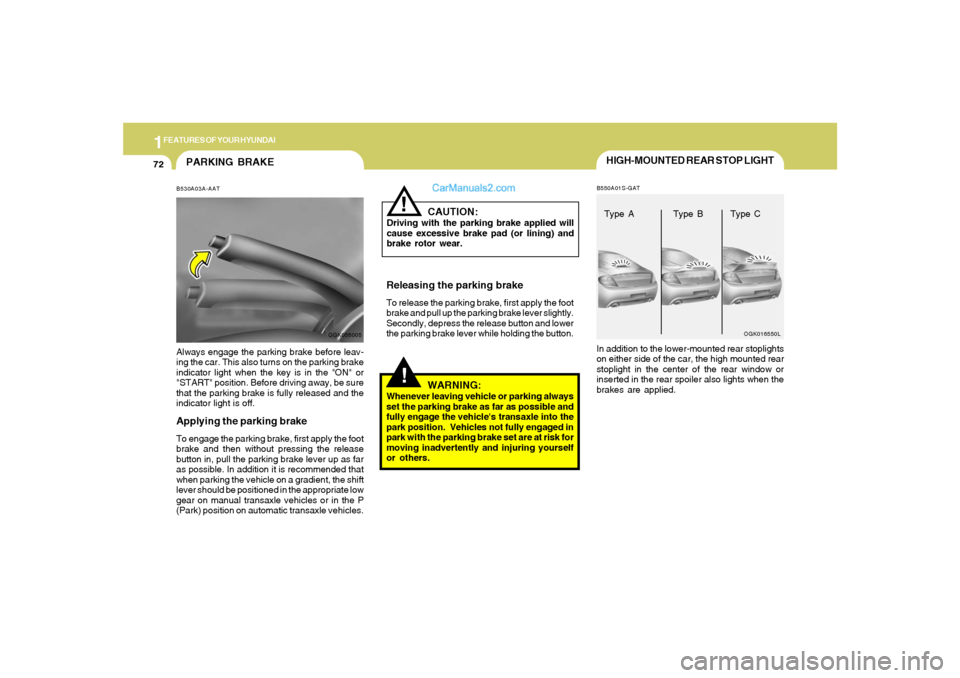
HIGH-MOUNTED REAR STOP LIGHTB550A01S-GATIn addition to the lower-mounted rear stoplights
on either side of the car, the high mounted rear
stoplight in the center of the rear window or
inserted in the rear spoiler also lights when the
brakes are applied.
OGK016550L
Type A Type B Type C
PARKING BRAKEB530A03A-AATAlways engage the parking brake before leav-
ing the car. This also turns on the parking brake
indicator light when the key is in the "ON" or
"START" position. Before driving away, be sure
that the parking brake is fully released and the
indicator light is off.Applying the parking brakeTo engage the parking brake, first apply the foot
brake and then without pressing the release
button in, pull the parking brake lever up as far
as possible. In addition it is recommended that
when parking the vehicle on a gradient, the shift
lever should be positioned in the appropriate low
gear on manual transaxle vehicles or in the P
(Park) position on automatic transaxle vehicles.
OGK056005
!
CAUTION:
Driving with the parking brake applied will
cause excessive brake pad (or lining) and
brake rotor wear.Releasing the parking brakeTo release the parking brake, first apply the foot
brake and pull up the parking brake lever slightly.
Secondly, depress the release button and lower
the parking brake lever while holding the button.
!
WARNING:
Whenever leaving vehicle or parking always
set the parking brake as far as possible and
fully engage the vehicle's transaxle into the
park position. Vehicles not fully engaged in
park with the parking brake set are at risk for
moving inadvertently and injuring yourself
or others.
Page 142 of 268
2
DRIVING YOUR HYUNDAI
3
BEFORE STARTING THE ENGINEC020A02A-AATBefore you start the engine, you should always:
1. Look around the vehicle to be sure there are
no flat tires, puddles of oil, water or other
indications of possible trouble.
2. After entering the car, check to be sure the
parking brake is engaged.
3. Check that all windows, and lights are clean.
4. Check that the interior and exterior mirrors
are clean and in position.
5. Check your seat, seatback and headrest to
be sure they are in their proper positions.
6. Close all the doors.
7. Fasten your seat belt and be sure that all
other occupants have fastened theirs.
8. Turn off all lights and accessories that are
not needed.
9. When you turn the ignition switch to "ON",
check that all appropriate warning lights are
operating and that you have sufficient fuel.
10.Check the operation of warning lights and all
bulbs when key is in the "ON" position.
TO START THE ENGINEC030A01A-AATCombination Ignition Switcho If your Hyundai is equipped with a manual
transaxle, place the shift lever in neutral and
depress the clutch pedal fully.
o If your Hyundai has an automatic transaxle,
place the shift lever in "P" (park).
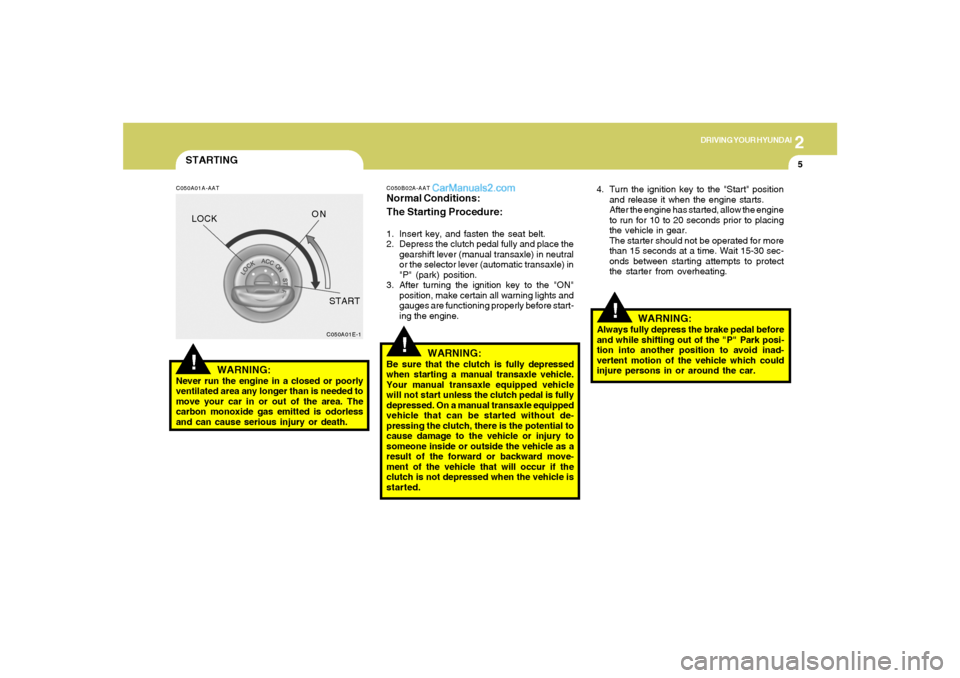
o To start the engine, insert the ignition key and
turn it to the "START" position. Release it as
soon as the engine starts. Do not hold the
key in the "START" position for more than 15
seconds.NOTE:o For safety, the engine will not start if the
clutch pedal is not depressed fully
(Manual transaxle) or the shift lever is
not in "P" or "N" Position (Automatic
transaxle).
o The ignition key cannot be turned from
"ACC" position to "LOCK" position un-
less the shift lever is in the "P" (Park)
position or the negative battery terminal
is disconnected from the battery. To
remove the key, always confirm that the
shift lever is securely positioned in "P"
(Park) (For Automatic transaxle)
!
WARNING:
o All passengers must be properly belted
whenever the vehicle is moving. Refer to
pages: 1-16 through 1-20 for more infor-
mation on their proper use.
o Always check the surrounding areas near
your vehicle for people, especially chil-
dren, before putting a car into 'drive.'
o Always wear appropriate shoes when
operating your vehicle.
Unsuitable shoes (high heels, ski boots,
etc.) may interfere with your ability to
use the brake and accelerator pedal, and
the clutch (if installed).
Page 144 of 268
2
DRIVING YOUR HYUNDAI
5
STARTING!
C050A01A-AAT
WARNING:
Never run the engine in a closed or poorly
ventilated area any longer than is needed to
move your car in or out of the area. The
carbon monoxide gas emitted is odorless
and can cause serious injury or death.
C050A01E-1
LOCKON
START
C050B02A-AATNormal Conditions:
The Starting Procedure:1. Insert key, and fasten the seat belt.
2. Depress the clutch pedal fully and place the
gearshift lever (manual transaxle) in neutral
or the selector lever (automatic transaxle) in
"P" (park) position.
3. After turning the ignition key to the "ON"
position, make certain all warning lights and
gauges are functioning properly before start-
ing the engine.
WARNING:
Be sure that the clutch is fully depressed
when starting a manual transaxle vehicle.
Your manual transaxle equipped vehicle
will not start unless the clutch pedal is fully
depressed. On a manual transaxle equipped
vehicle that can be started without de-
pressing the clutch, there is the potential to
cause damage to the vehicle or injury to
someone inside or outside the vehicle as a
result of the forward or backward move-
ment of the vehicle that will occur if the
clutch is not depressed when the vehicle is
started.
!
4. Turn the ignition key to the "Start" position
and release it when the engine starts.
After the engine has started, allow the engine
to run for 10 to 20 seconds prior to placing
the vehicle in gear.
The starter should not be operated for more
than 15 seconds at a time. Wait 15-30 sec-
onds between starting attempts to protect
the starter from overheating.
!
WARNING:
Always fully depress the brake pedal before
and while shifting out of the "P" Park posi-
tion into another position to avoid inad-
vertent motion of the vehicle which could
injure persons in or around the car.
Page 148 of 268
2
DRIVING YOUR HYUNDAI
9
!
C090B01A-AATThe function of each position is as fol-
lows:
o P (Park):Use to hold the vehicle in place when parked or
while starting the engine. Whenever parking the
car, apply the parking brake and shift the selec-
tor lever to the "P" (Park) position.
CAUTION:
Never place the selector lever in the "P"
(Park) position unless the vehicle is fully
stopped. Failure to observe this caution
will cause severe damage to the transaxle.NOTE:
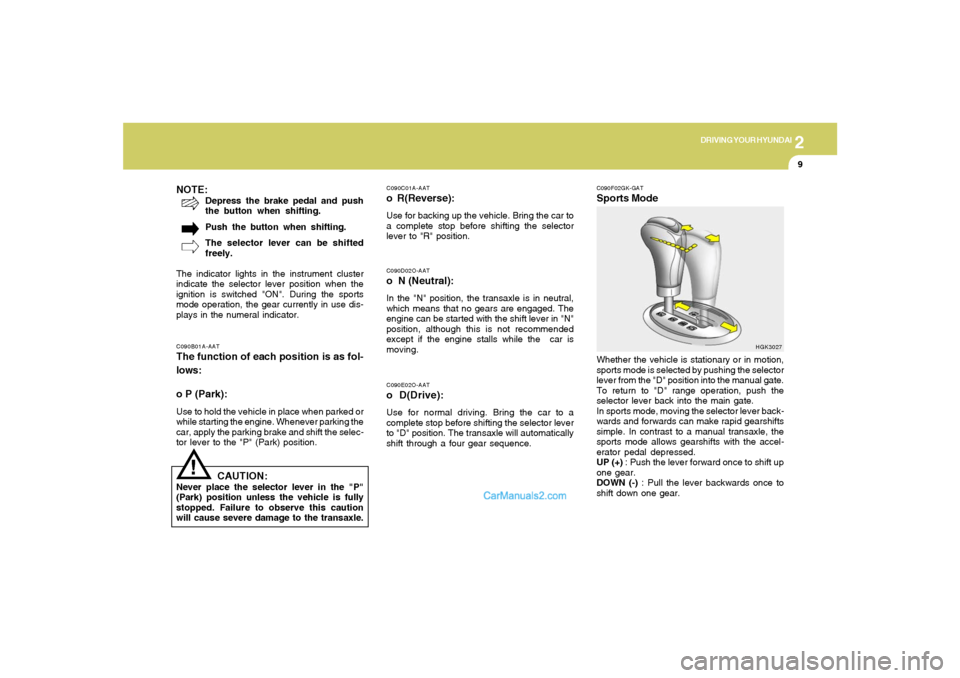
Depress the brake pedal and push
the button when shifting.
Push the button when shifting.
The selector lever can be shifted
freely.
The indicator lights in the instrument cluster
indicate the selector lever position when the
ignition is switched "ON". During the sports
mode operation, the gear currently in use dis-
plays in the numeral indicator.
C090E02O-AATo D(Drive):Use for normal driving. Bring the car to a
complete stop before shifting the selector lever
to "D" position. The transaxle will automatically
shift through a four gear sequence.C090D02O-AATo N (Neutral):In the "N" position, the transaxle is in neutral,
which means that no gears are engaged. The
engine can be started with the shift lever in "N"
position, although this is not recommended
except if the engine stalls while the car is
moving.C090C01A-AATo R(Reverse):Use for backing up the vehicle. Bring the car to
a complete stop before shifting the selector
lever to "R" position.
C090F02GK-GATSports ModeWhether the vehicle is stationary or in motion,
sports mode is selected by pushing the selector
lever from the "D" position into the manual gate.
To return to "D" range operation, push the
selector lever back into the main gate.
In sports mode, moving the selector lever back-
wards and forwards can make rapid gearshifts
simple. In contrast to a manual transaxle, the
sports mode allows gearshifts with the accel-
erator pedal depressed.
UP (+) : Push the lever forward once to shift up
one gear.
DOWN (-) : Pull the lever backwards once to
shift down one gear.
HGK3027