buttons HYUNDAI VERACRUZ 2008 User Guide
[x] Cancel search | Manufacturer: HYUNDAI, Model Year: 2008, Model line: VERACRUZ, Model: HYUNDAI VERACRUZ 2008Pages: 440, PDF Size: 8.08 MB
Page 222 of 440
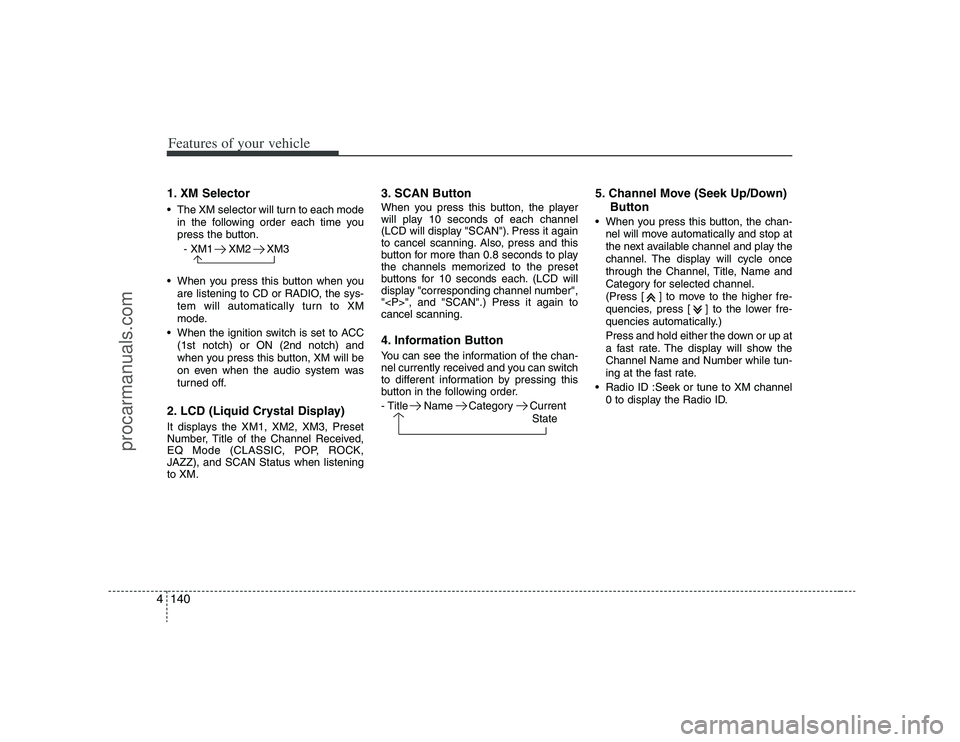
Features of your vehicle140 41. XM Selector The XM selector will turn to each mode
in the following order each time you
press the button.
- XM1 XM2 XM3
When you press this button when you
are listening to CD or RADIO, the sys-
tem will automatically turn to XM
mode.
When the ignition switch is set to ACC
(1st notch) or ON (2nd notch) and
when you press this button, XM will be
on even when the audio system was
turned off.2. LCD (Liquid Crystal Display)It displays the XM1, XM2, XM3, Preset
Number, Title of the Channel Received,
EQ Mode (CLASSIC, POP, ROCK,
JAZZ), and SCAN Status when listening
to XM.
3. SCAN ButtonWhen you press this button, the player
will play 10 seconds of each channel
(LCD will display "SCAN"). Press it again
to cancel scanning. Also, press and this
button for more than 0.8 seconds to play
the channels memorized to the preset
buttons for 10 seconds each. (LCD will
display "corresponding channel number",
"
", and "SCAN".) Press it again to
cancel scanning.4. Information ButtonYou can see the information of the chan-
nel currently received and you can switch
to different information by pressing this
button in the following order.
- Title Name Category Current
State
5. Channel Move (Seek Up/Down)
Button When you press this button, the chan-
nel will move automatically and stop at
the next available channel and play the
channel. The display will cycle once
through the Channel, Title, Name and
Category for selected channel.
(Press [ ] to move to the higher fre-
quencies, press [ ] to the lower fre-
quencies automatically.)
Press and hold either the down or up at
a fast rate. The display will show the
Channel Name and Number while tun-
ing at the fast rate.
Radio ID :Seek or tune to XM channel
0 to display the Radio ID.
procarmanuals.com
Page 234 of 440
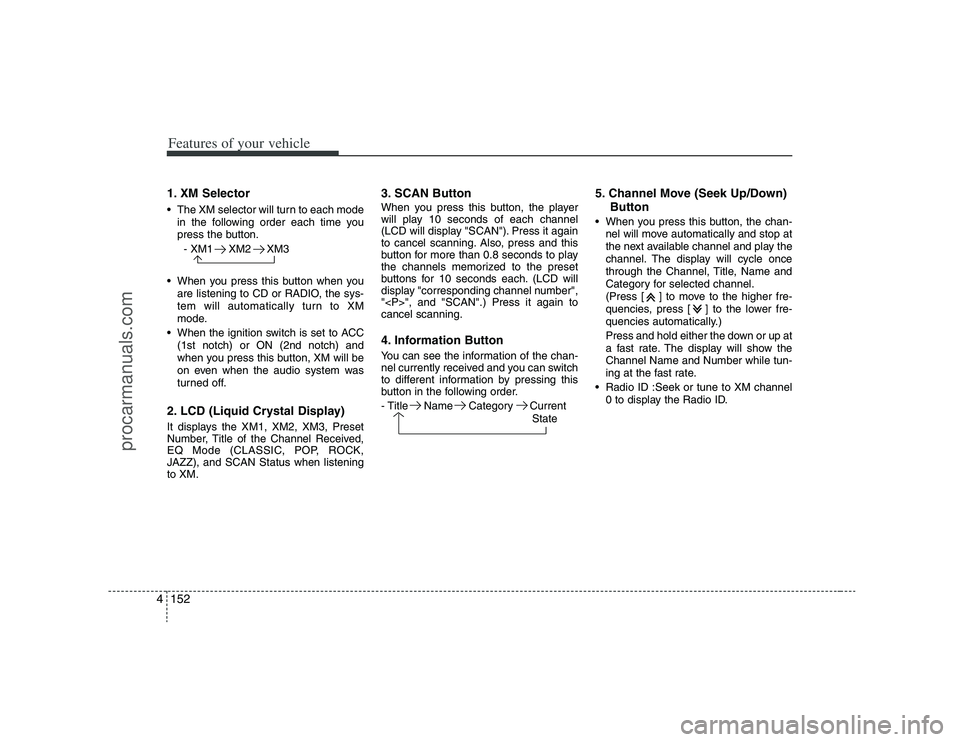
Features of your vehicle152 41. XM Selector The XM selector will turn to each mode
in the following order each time you
press the button.
- XM1 XM2 XM3
When you press this button when you
are listening to CD or RADIO, the sys-
tem will automatically turn to XM
mode.
When the ignition switch is set to ACC
(1st notch) or ON (2nd notch) and
when you press this button, XM will be
on even when the audio system was
turned off.2. LCD (Liquid Crystal Display)It displays the XM1, XM2, XM3, Preset
Number, Title of the Channel Received,
EQ Mode (CLASSIC, POP, ROCK,
JAZZ), and SCAN Status when listening
to XM.
3. SCAN ButtonWhen you press this button, the player
will play 10 seconds of each channel
(LCD will display "SCAN"). Press it again
to cancel scanning. Also, press and this
button for more than 0.8 seconds to play
the channels memorized to the preset
buttons for 10 seconds each. (LCD will
display "corresponding channel number",
"
", and "SCAN".) Press it again to
cancel scanning.4. Information ButtonYou can see the information of the chan-
nel currently received and you can switch
to different information by pressing this
button in the following order.
- Title Name Category Current
State
5. Channel Move (Seek Up/Down)
Button When you press this button, the chan-
nel will move automatically and stop at
the next available channel and play the
channel. The display will cycle once
through the Channel, Title, Name and
Category for selected channel.
(Press [ ] to move to the higher fre-
quencies, press [ ] to the lower fre-
quencies automatically.)
Press and hold either the down or up at
a fast rate. The display will show the
Channel Name and Number while tun-
ing at the fast rate.
Radio ID :Seek or tune to XM channel
0 to display the Radio ID.
procarmanuals.com
Page 246 of 440
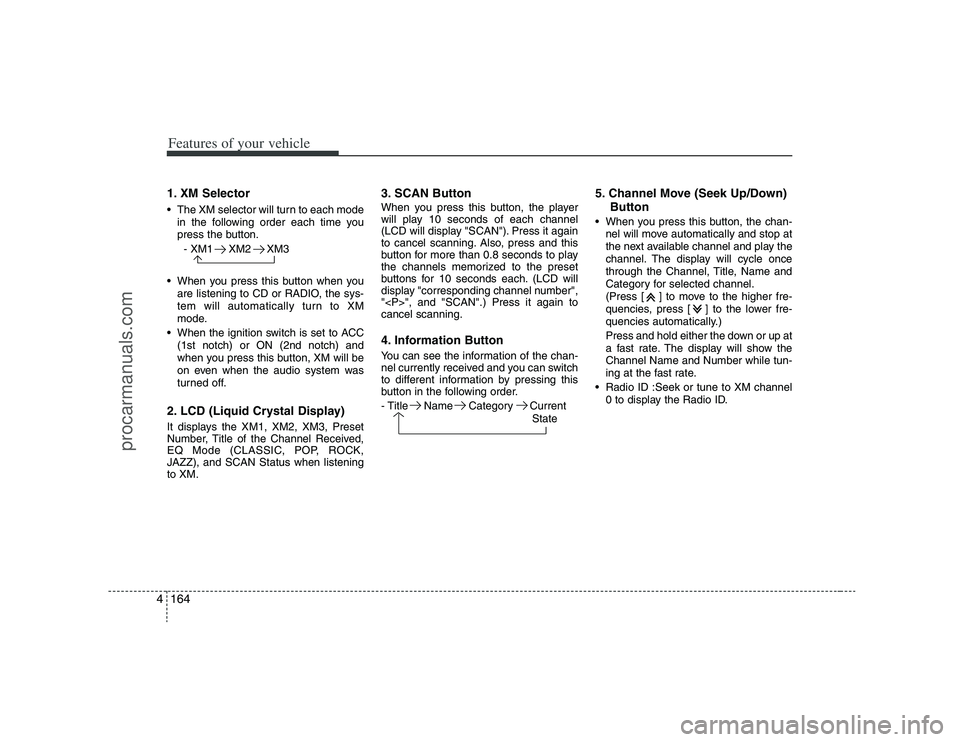
Features of your vehicle164 41. XM Selector The XM selector will turn to each mode
in the following order each time you
press the button.
- XM1 XM2 XM3
When you press this button when you
are listening to CD or RADIO, the sys-
tem will automatically turn to XM
mode.
When the ignition switch is set to ACC
(1st notch) or ON (2nd notch) and
when you press this button, XM will be
on even when the audio system was
turned off.2. LCD (Liquid Crystal Display)It displays the XM1, XM2, XM3, Preset
Number, Title of the Channel Received,
EQ Mode (CLASSIC, POP, ROCK,
JAZZ), and SCAN Status when listening
to XM.
3. SCAN ButtonWhen you press this button, the player
will play 10 seconds of each channel
(LCD will display "SCAN"). Press it again
to cancel scanning. Also, press and this
button for more than 0.8 seconds to play
the channels memorized to the preset
buttons for 10 seconds each. (LCD will
display "corresponding channel number",
"
", and "SCAN".) Press it again to
cancel scanning.4. Information ButtonYou can see the information of the chan-
nel currently received and you can switch
to different information by pressing this
button in the following order.
- Title Name Category Current
State
5. Channel Move (Seek Up/Down)
Button When you press this button, the chan-
nel will move automatically and stop at
the next available channel and play the
channel. The display will cycle once
through the Channel, Title, Name and
Category for selected channel.
(Press [ ] to move to the higher fre-
quencies, press [ ] to the lower fre-
quencies automatically.)
Press and hold either the down or up at
a fast rate. The display will show the
Channel Name and Number while tun-
ing at the fast rate.
Radio ID :Seek or tune to XM channel
0 to display the Radio ID.
procarmanuals.com
Page 251 of 440
4169
Features of your vehicle
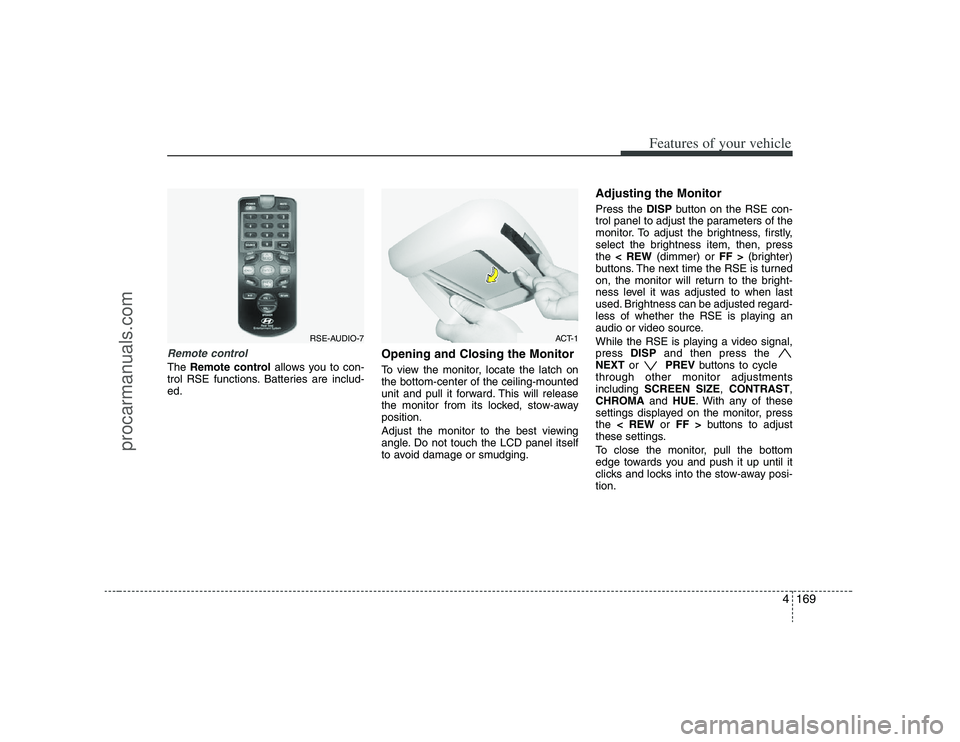
Remote controlThe Remote controlallows you to con-
trol RSE functions. Batteries are includ-
ed.
Opening and Closing the MonitorTo view the monitor, locate the latch on
the bottom-center of the ceiling-mounted
unit and pull it forward. This will release
the monitor from its locked, stow-away
position.
Adjust the monitor to the best viewing
angle. Do not touch the LCD panel itself
to avoid damage or smudging.
Adjusting the MonitorPress the DISPbutton on the RSE con-
trol panel to adjust the parameters of the
monitor. To adjust the brightness, firstly,
select the brightness item, then, press
the < REW(dimmer) or FF >(brighter)
buttons. The next time the RSE is turned
on, the monitor will return to the bright-
ness level it was adjusted to when last
used. Brightness can be adjusted regard-
less of whether the RSE is playing an
audio or video source.
While the RSE is playing a video signal,
press DISPand then press the
NEXTor PREVbuttons to cycle
through other monitor adjustments
including SCREEN SIZE,CONTRAST,
CHROMAand HUE. With any of these
settings displayed on the monitor, press
the < REWor FF >buttons to adjust
these settings.
To close the monitor, pull the bottom
edge towards you and push it up until it
clicks and locks into the stow-away posi-
tion.
RSE-AUDIO-7
ACT-1
procarmanuals.com
Page 254 of 440
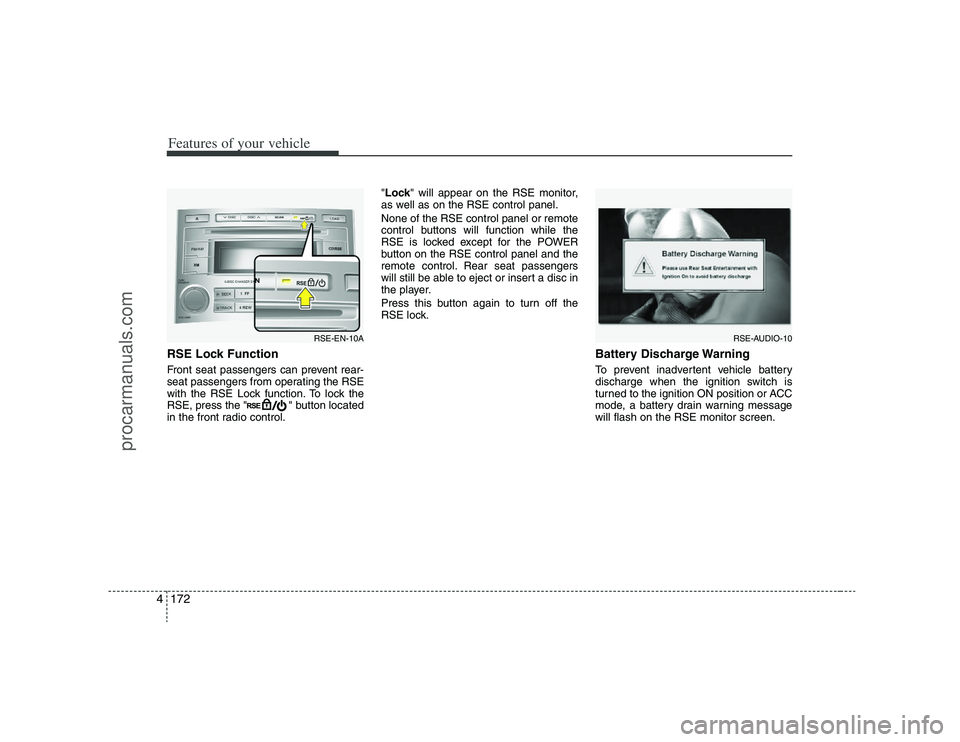
Features of your vehicle172 4RSE Lock Function Front seat passengers can prevent rear-
seat passengers from operating the RSE
with the RSE Lock function. To lock the
RSE, press the " " button located
in the front radio control."Lock" will appear on the RSE monitor,
as well as on the RSE control panel.
None of the RSE control panel or remote
control buttons will function while the
RSE is locked except for the POWER
button on the RSE control panel and the
remote control. Rear seat passengers
will still be able to eject or insert a disc in
the player.
Press this button again to turn off the
RSE lock.
Battery Discharge WarningTo prevent inadvertent vehicle battery
discharge when the ignition switch is
turned to the ignition ON position or ACC
mode, a battery drain warning message
will flash on the RSE monitor screen.
RSE-AUDIO-10
RSE-EN-10A
procarmanuals.com
Page 255 of 440
4173
Features of your vehicle
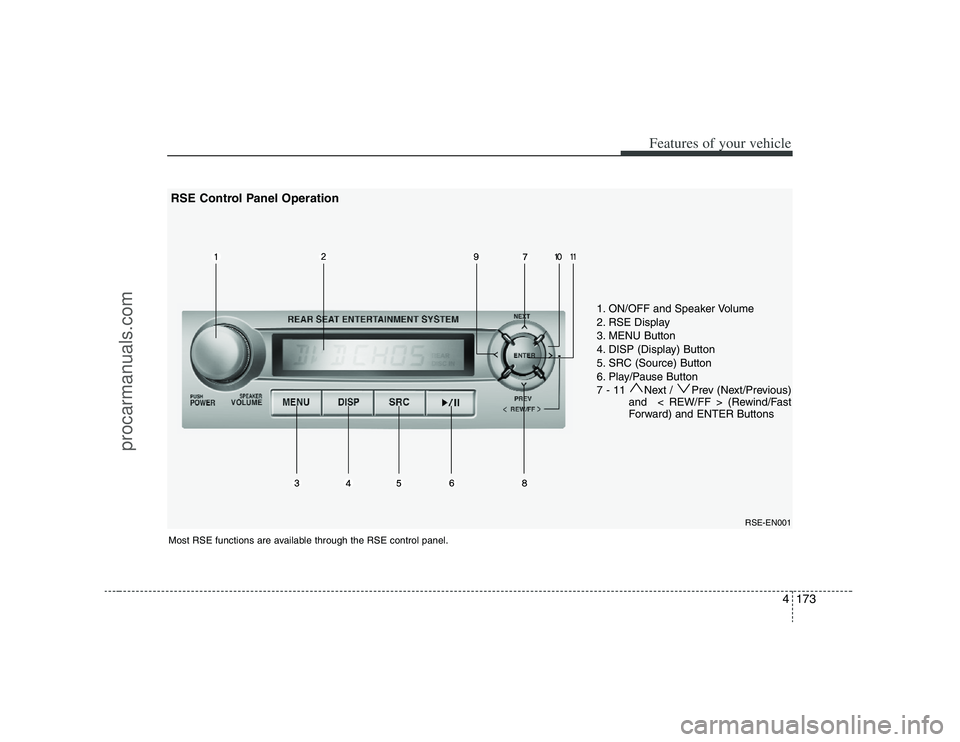
1. ON/OFF and Speaker Volume
2. RSE Display
3. MENU Button
4. DISP (Display) Button
5. SRC (Source) Button
6. Play/Pause Button
7 - 11 Next / Prev (Next/Previous)
and < REW/FF > (Rewind/Fast
Forward) and ENTER Buttons
Most RSE functions are available through the RSE control panel.
RSE-EN001
RSE Control Panel Operation
procarmanuals.com
Page 257 of 440
4175
Features of your vehicle
5. SRC (Source) Button After inserting a disc in the RSE, it will
automatically use that as the source and
begin playing that disc. The RSE control
panel will display "DISC IN" when there is
disc loaded in the player.
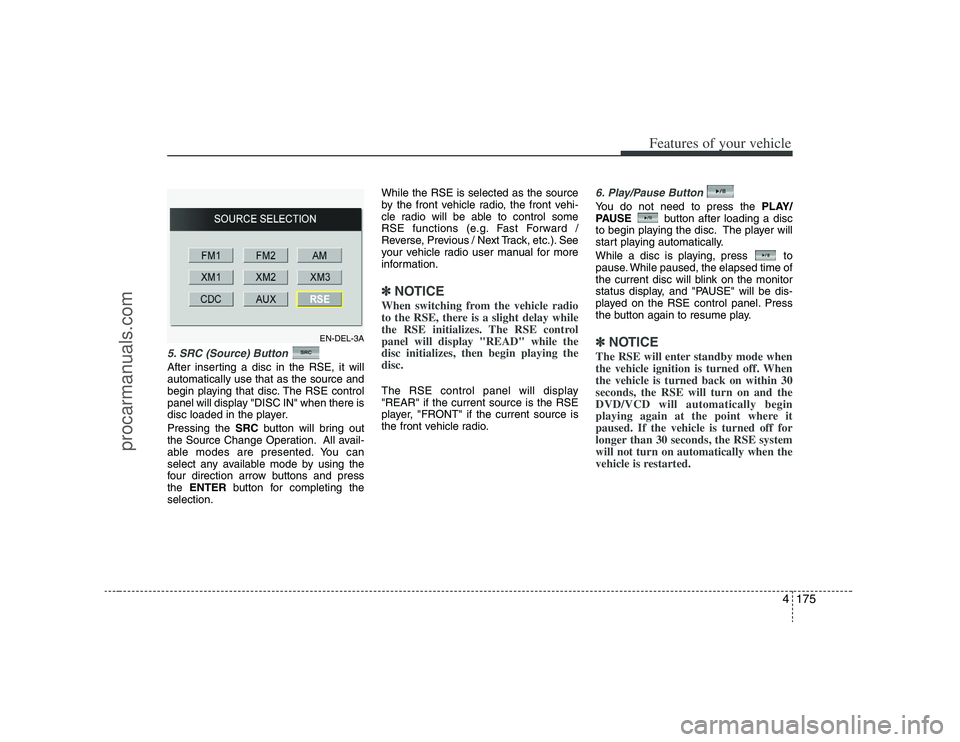
Pressing the SRCbutton will bring out
the Source Change Operation. All avail-
able modes are presented. You can
select any available mode by using the
four direction arrow buttons and press
the ENTERbutton for completing the
selection.While the RSE is selected as the source
by the front vehicle radio, the front vehi-
cle radio will be able to control some
RSE functions (e.g. Fast Forward /
Reverse, Previous / Next Track, etc.). See
your vehicle radio user manual for more
information.
✽ ✽
NOTICEWhen switching from the vehicle radio
to the RSE, there is a slight delay while
the RSE initializes. The RSE control
panel will display "READ" while the
disc initializes, then begin playing the
disc. The RSE control panel will display
"REAR" if the current source is the RSE
player, "FRONT" if the current source is
the front vehicle radio.
6. Play/Pause ButtonYou do not need to press the PLAY/
PAUSEbutton after loading a disc
to begin playing the disc. The player will
start playing automatically.
While a disc is playing, press to
pause. While paused, the elapsed time of
the current disc will blink on the monitor
status display, and "PAUSE" will be dis-
played on the RSE control panel. Press
the button again to resume play.✽ ✽
NOTICEThe RSE will enter standby mode when
the vehicle ignition is turned off. When
the vehicle is turned back on within 30
seconds, the RSE will turn on and the
DVD/VCD will automatically begin
playing again at the point where it
paused. If the vehicle is turned off for
longer than 30 seconds, the RSE system
will not turn on automatically when the
vehicle is restarted.
EN-DEL-3A
procarmanuals.com
Page 258 of 440
Features of your vehicle176 47 - 11 Next / Prev (Next/Previous)
and < REW/FF > (Rewind/Fast
Forward) and ENTER ButtonsThe NEXT/ PREVand
buttons provide a variety of functions,
depending on the media currently being
played in the RSE or the source selected.
For some of the functions, you will use
these buttons to navigate to the desired
location or option, then press the ENTER
button in the center to confirm your
selection.
For specific information about using
these buttons, see the appropriate sec-
tion for the various media types in this
manual.
DVD/VCD Player OperationDisc/Format CompatibilityYour RSE player accepts and plays all
DVDs in 4:3 (normal) and 16:9
(widescreen) video formats. With DVDs
that offer multiple formats, the default for-
mat is 16:9 and will stay that way unless
changed by the user. See "Adjusting the
Monitor" to learn how to adjust the for-
mat.
The DVD player has the capability to play
DVD-Video, DVD-R, DVD-RW, CD-DA,
CD-R, CD-RW, VCD and Video-CD.
The DVD player was factory programmed
with a region code for the assigned mar-
ket or country. If a DVD is inserted for a
region code that doesn't match with the
player, an error message will be shown
on the overhead monitor and the RSE
control panel display.
✽ ✽
NOTICEBecause there is no universal standard
for DVD/VCD programming, your disc
may behave differently. Some DVDs
may present warning messages about
unauthorized duplication, some will go
directly to a menu, some may have dif-
ferent on-disc menu and start playing
the movie immediately, and some may
be unreadable or damaged and an error
message will be shown on the monitor.✽ ✽
NOTICEWhile the player will accept DVD ROM
and CD ROM discs, the RSE cannot
play discs in these formats.
procarmanuals.com
Page 259 of 440
4177
Features of your vehicle
The player is only capable of reading the
bottom side of a disc. When inserting a
single-sided disc, the label side should
be up. When inserting a two-sided disc,
the desired play side should be down.
Press DISP on the RSE control panel or
the remote controller, then press the
NEXTor PREVbuttons to cycle
through monitor adjustments (SCREEN
SIZE, BRIGHTNESS, CONTRAST,
CHROMA, HUE). When the adjustment
for the SCREEN SIZE, use the < REWor
FF >buttons to select the preferred
screen size.
MenuDVDs can be controlled, and any special
programming or features accessed, by
using the menu. To access the menu
while playing a DVD, press the MENU
button. Press the button a second time to
exit the menu and return to the DVD pro-
gram at the point it was being viewed.
The menu is not available during disc ini-
tialization, the beginning credits or any
copyright and FBI warnings.
While viewing the menu, press the
NEXTbutton to move the cursor up and
the PREVbutton to move the cursor
down the menu. Press the FF >button
to move the cursor to the right, and the
< REWbutton to move the cursor to the
left.✽ ✽
NOTICEYou must repeatedly push any button to
move through several items. Pressing
and holding a button will not advance
the cursor beyond the first item.
Press ENTER or Play/Pause to select the
desired menu choice.
Playing a DVD/VCD You can control your DVD or VCD by
using the buttons on the RSE control
panel or by using the remote control.
Instructions for the controls listed below
are the same whether using the RSE
control panel or the remote control.
However, there are some additional func-
tions that are only available from the
remote control. These buttons and their
functions are discussed in the "Remote
Control" section of this manual.
procarmanuals.com
Page 260 of 440
Features of your vehicle178 4Play/Pause ButtonYou do not need to press the
PLAY/PAUSEbutton after loading a disc
to begin playing the disc. The player will
start playing automatically.
While a disc is playing, press PLAY/
PAUSEto pause. While paused, the
elapsed time of the current disc will blink
on the monitor status display, and
"PAUSE" will be displayed on the RSE
control panel. Press the button again to
resume play.✽ ✽
NOTICEThe RSE will enter standby mode when
the vehicle ignition is turned off. When
the vehicle is turned back on within 30
seconds, the RSE will turn on and the
CD will automatically begin playing
again at the point where it paused. If the
vehicle is turned off for longer than 30
seconds, the RSE system will not turn on
automatically when the vehicle is
restarted.
Fast Forward/ReversePress and hold the FF >or < REWbut-
ton and the player will fast forward or
reverse at 32 times the normal speed.
Release the FWD >or < REWbutton to
return to normal speed play.Previous/Next ChapterWhile a DVD/VCD is playing, press the
NEXTbutton to skip to the next chapter.
Press the PREVbutton to jump to
the beginning of the current chapter.
Press PREVagain to go move
through earlier chapters. Press the but-
ton repeatedly to move quickly through
chapters.✽ ✽
NOTICESome VCDs do not have track informa-
tion. If the VCD has no chapter infor-
mation, pressing either of these buttons
will restart the VCD.
While pressing the NEXTor
PREVbuttons, the Status Display, includ-
ing the current medium (DVD or VCD),
chapter and title information is displayed.
It will automatically disappear after five
seconds.✽ ✽
NOTICESome DVDs do not permit chapter nav-
igation. Instead of using the PREV /
NEXTbuttons, you can also enter the
chapter number using the numbers on
the remote controller. While a DVD/VCD
is playing, press the number button(s)
that correspond to the desired chapter
and press ENTER.
procarmanuals.com