phone INFINITI JX 2013 Owner's Manual
[x] Cancel search | Manufacturer: INFINITI, Model Year: 2013, Model line: JX, Model: INFINITI JX 2013Pages: 554, PDF Size: 5.48 MB
Page 5 of 554
INFINITI CARES...
Both INFINITI and your INFINITI retailer are dedicated to serving all your automotive needs. Your satisfaction with your vehicle and your INFINITI retailer are
our primary concerns. Your INFINITI retailer is always available to assist you with all your automobile sales and service needs.
However, if there is something that your INFINITI
retailer cannot assist you with or you would like to
provide INFINITI directly with comments or ques-
tions, please contact our (INFINITI’s) Consumer
Affairs Department using our toll-free number:
For U.S. customers1-800-662-6200
For Canadian customers 1-800-361-4792 The Consumer Affairs Department will ask for the
following information:
– Your name, address, and telephone number
– Vehicle identification number (on dash panel)
– Date of purchase
– Current odometer reading
– Your INFINITI retailer’s name
– Your comments or questions
OR You can write to INFINITI with the information on
the left at:
For U.S. customers
INFINITI Division
Nissan North America, Inc. Consumer Affairs Department
P.O. Box 685003
Franklin, TN 37068-5003
or via e-mail at:
[email protected]
For Canadian customers INFINITI Division
Nissan Canada Inc.
5290 Orbitor Drive
Mississauga, Ontario L4W 4Z5
or via e-mail at:
information.centre@nissancanada. com
If you prefer, visit us at:
www.infinitiUSA.com (for U.S. customers)
or
www.infiniti.ca (for Canadian customers)
We appreciate your interest in INFINITI and thank you for buying a quality INFINITI vehicle.
INFINITI CUSTOMER CARE PROGRAM
Page 6 of 554
Table of
ContentsIllustrated table of contents
Safety—Seats, seat belts and supplemental restraint system
Instruments and controls
Pre-driving checks and adjustments
Monitor, climate, audio, phone and voice recognition systems
Starting and driving
In case of emergency
Appearance and care
Maintenance and do-it-yourself
Technical and consumer information
Index
0
1
2
3
4
5
6
7
8
9
10
Page 14 of 554
23. Ignition switch (P. 5-10)
24. Cruise control main/set switches (if soequipped) and Intelligent cruise control
main/set switches (if so equipped)
(P. 5-47, P.5-49)
25. Distance Control Assist (DCA) system
switch (if so equipped) (P. 5-68)
26. Tilt steering wheel control (P. 3-26)
27. Bluetooth® Hands-Free Phone System
(P. 4-115, 4-129)
28. Steering wheel switch for audio control
(P.4-101)
29. Hood release (P. 3-20)
30. Vehicle dynamic control (VDC) OFF
switch (P. 2-41)
Heated steering wheel switch
(if so equipped) (P.2-39)
Headlight aiming control (P. 2-33)
Warning System switch
(if so equipped) (P. 2-40)
Power inverter switch (if so equipped)
(P. 2-41)
Liftgate release switch (P.3-20)
Power liftgate main switch (P. 3-23)
31. Control panel and Vehicle Information
Display switches (P.4-17, 2-14)*: Refer to the separate Navigation System Own-
er’s Manual (if so equipped) .
See the page number indicated in paren-
theses for operating details.
Illustrated table of contents0-7
Page 86 of 554
23. Ignition switch (P. 5-10)
24. Cruise control main/set switches (if soequipped) and Intelligent cruise control
main/set switches (if so equipped)
(P. 5-47, P.5-49)
25. Distance Control Assist (DCA) system
switch (if so equipped) (P. 5-68)
26. Tilt steering wheel control (P. 3-26)
27. Bluetooth® Hands-Free Phone System
(P. 4-115, 4-129)
28. Steering wheel switch for audio control
(P.4-101)
29. Hood release (P. 3-20)
30. Vehicle dynamic control (VDC) OFF
switch (P. 2-41)
Heated steering wheel switch
(if so equipped) (P.2-39)
Headlight aiming control (P. 2-33)
Warning System switch
(if so equipped) (P. 2-40)
Power inverter switch (if so equipped)
(P. 2-41)
Liftgate release switch (P.3-20)
Power liftgate main switch (P. 3-23) 31. Control panel and Vehicle Information
Display switches (P.4-17, 2-14)
*: Refer to the separate Navigation System Own-
er’s Manual (if so equipped) .
See the page number indicated in paren-
theses for operating details.
Instruments and controls2-3
Page 98 of 554
The ENTER,and buttons also controls au-
dio and INFINITI controller functions. For addi-
tional information see, “Steering wheel switch for
audio control” in “Monitor, climate, audio, phone
and voice recognition systems” section.
STARTUP DISPLAY
When the vehicle in placed in the ON or ACC
position the screens that display in the vehicle
information include:
● Active system status (if so equipped)
● Trip computer
● Tire pressure information
● Fuel economy
● Warnings
Warnings will only display if there are any pres-
ent, for more information on warnings and indica-
tors see, “Vehicle information display warnings
and indicators” in this section.
To control what items display in the vehicle infor-
mation display, see “Main menu selection” in this
section.
SETTINGS
The setting mode allows you to change the infor-
mation displayed in the vehicle information display:
● Driver Assistance (if so equipped)
● Main Menu Selection
● Body Color
● Maintenance
● Alarms
● Vehicle Settings
● Language
● Unit
● Welcome Effects
Driver Assistance (if so equipped)
To change the status, warnings or turn on or off
any of the systems/warnings displayed in the
“Driver Assistance” menu:
Use the
button to select and the ENTER
button to change a menu item:
● Driving Aids (if so equipped)
● Back-up Collision Inter. (if so equipped)
● Intelligent Brake Assist (if so equipped) Driving Aids (if so equipped)
To change the status, warnings or turn on or off
any of the systems/warnings displayed in the
“Driving Aids” menu.
Use the
button to select and the ENTER
button to change a menu item:
● Forward
● Warning (FCW)
●Assistance (DCA)
●Distance — Long/Short
● Lane
● Warning (LDW)
●Assistance (LDP)
● Blind Spot
● Warning (BSW)
●Assistance (BSI)
●Brightness — Bright/STD/Dark
Instruments and controls2-15
Page 102 of 554
Exit Seat Slide
When the Exit seat slide is ON the driver’s seat
will move backward for easy exit when the ignition
switch is placed in the OFF position and the
driver’s door is opened.
After getting into the vehicle and placing the
ignition switch in the ACC position, the driver’s
seat will move to the previous set position. For
more information for setting the seat position see
“Automatic drive positioner” in the “Pre-driving
checks and adjustments” section. Use the EN-
TER button to enable/disable this function.
Exit steering up
When the exit steering up is turned ON, the
steering wheel moving upward for easy exit when
the ignition switch is in the OFF position and the
driver’s door is opened.
After getting into the vehicle and placing the
ignition switch in the ACC position, the steering
wheel moves to the previous position. For more
information for setting the steering wheel posi-
tion, see “Tilt and telescopic operation” in the
“Pre-driving checks and adjustments” section.
Use the ENTER button to enable/disable this
function.Language
The language of the vehicle information display
can be changed to:● US English
● French
● Spanish
Use the
,, and the ENTER buttons to
select and change the language of the vehicle
information display. The language of the center
display/navigation can be changed indepen-
dently of the vehicle information display. For ve-
hicles not equipped with Navigation see “Lan-
guage / Units” and vehicles equipped with
Navigation see, “Others settings” in the “Monitor,
climate, audio, phone and voice recognition sys-
tems” section of this manual.
Units
The units that are shown in the vehicle informa-
tion display can be changed:
● Mileage
● Tire pressures
● Temperature
Use the
,, and the ENTER buttons to
select and change the units of the vehicle infor- mation display. The units of the center
display/navigation can be changed indepen-
dently of the vehicle information display. For ve-
hicles not equipped with Navigation see “Lan-
guage / Units” and vehicles equipped with
Navigation see, “Others settings” and for in the
“Monitor, climate, audio, phone and voice recog-
nition systems” section of this manual.
Mileage
The unit for the mileage that displays in the ve-
hicle information display can be changed to:
● miles, MPG, Inch
● km/h, l/100km, cm
Use the
and the ENTER buttons to select
and change the unit.
Tire Pressures
The unit for tire pressure that displays in the
vehicle information display can be changed to:
● psi
● kPa
● bar
● Kgf/cm
2
Use theand the ENTER buttons to select
and change the unit.
Instruments and controls2-19
Page 124 of 554
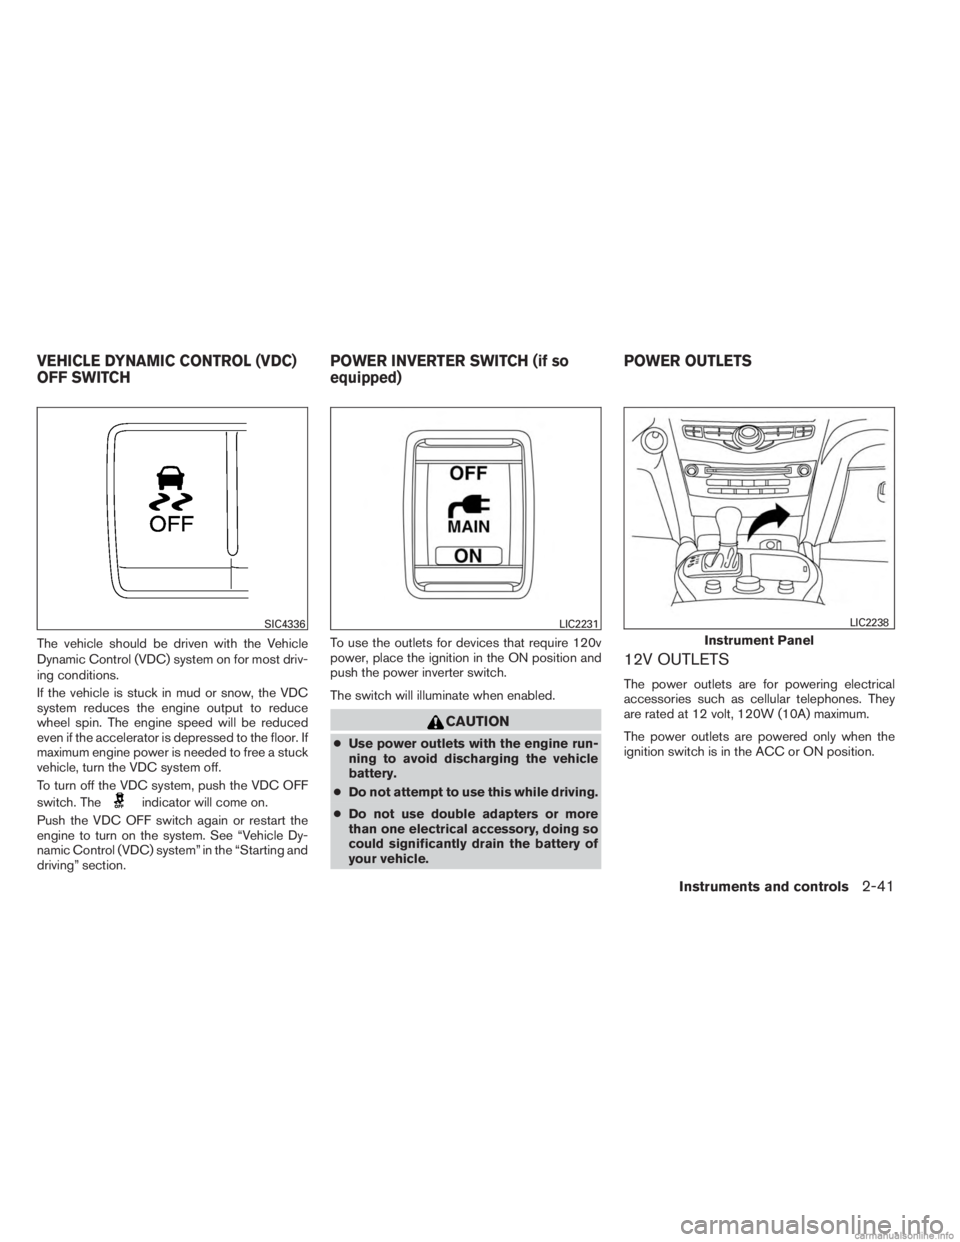
The vehicle should be driven with the Vehicle
Dynamic Control (VDC) system on for most driv-
ing conditions.
If the vehicle is stuck in mud or snow, the VDC
system reduces the engine output to reduce
wheel spin. The engine speed will be reduced
even if the accelerator is depressed to the floor. If
maximum engine power is needed to free a stuck
vehicle, turn the VDC system off.
To turn off the VDC system, push the VDC OFF
switch. The
indicator will come on.
Push the VDC OFF switch again or restart the
engine to turn on the system. See “Vehicle Dy-
namic Control (VDC) system” in the “Starting and
driving” section. To use the outlets for devices that require 120v
power, place the ignition in the ON position and
push the power inverter switch.
The switch will illuminate when enabled.
CAUTION
●
Use power outlets with the engine run-
ning to avoid discharging the vehicle
battery.
● Do not attempt to use this while driving.
● Do not use double adapters or more
than one electrical accessory, doing so
could significantly drain the battery of
your vehicle.
12V OUTLETS
The power outlets are for powering electrical
accessories such as cellular telephones. They
are rated at 12 volt, 120W (10A) maximum.
The power outlets are powered only when the
ignition switch is in the ACC or ON position.
SIC4336LIC2231
Instrument Panel
LIC2238
VEHICLE DYNAMIC CONTROL (VDC)
OFF SWITCH POWER INVERTER SWITCH (if so
equipped)POWER OUTLETS
Instruments and controls2-41
Page 130 of 554

CONSOLE BOX
Upper half
Pull up on the driver’s side latch to open the
upper half of the console box.
The upper half of the console box may be used for
storage of cellular phones. An access hole is
provided at the front of the upper half of the
console box for a phone or iPod® cord routing to
the power outlet.
Lower half
Pull up on the passenger’s side latch to open the
lower half of the console box. A power outlet is
located inside the console box and there is stor-
age for compact discs.
STORAGE TRAY
WARNING
Do not place sharp objects in the trays to
help prevent injury in an accident or sud-
den stop.
WIC1120WIC1121LIC2214
Instruments and controls2-47
Page 143 of 554
●press and hold both the HomeLink® and
hand-held transmitter buttons without inter-
ruption.
● position the hand-held transmitter 1 -
3 inches (26 - 76 mm) away from the
HomeLink® surface. Hold the transmitter in
that position for up to 15 seconds. If
HomeLink® is not programmed within that
time, try holding the transmitter in another
position – keeping the indicator light in view
at all times.
If you continue to have programming difficulties,
please contact the INFINITI Consumer Affairs
Department. The phone numbers are located in
the Foreword of this manual.
CLEARING THE PROGRAMMED
INFORMATION
Individual buttons cannot be cleared. However,
to clear all programming, press and hold the two
outside buttons and release when the indicator
light begins to flash (approximately 20 seconds) .
REPROGRAMMING A SINGLE
HOMELINK® BUTTON
To reprogram a HomeLink® Universal Trans-
ceiver button, complete the following. 1. Press and hold the desired HomeLink® but-
ton. Do not release the button until step 4
has been completed.
2. When the indicator light begins to flash slowly (after 20 seconds) , position the
hand-held transmitter1-3inches (26 -
76 mm) away from the HomeLink® surface.
3. Press and hold the hand-held transmitter button.
4. The HomeLink® indicator light will flash, first slowly and then rapidly. When the indicator
light begins to flash rapidly, release both
buttons.
The HomeLink® Universal Transceiver button
has now been reprogrammed. The new device
can be activated by pushing the HomeLink®
button that was just programmed. This procedure
will not affect any other programmed HomeLink®
buttons.
IF YOUR VEHICLE IS STOLEN
If your vehicle is stolen, you should change the
codes of any non-rolling code device that has
been programmed into HomeLink®. Consult the
Owner’s Manual of each device or call the manu-
facturer or dealer of those devices for additional
information. When your vehicle is recovered, you will
need to reprogram the HomeLink® Univer-
sal Transceiver with your new transmitter
information.
FCC Notice:
For USA:
This device complies with Part 15 of the
FCC Rules. Operation is subject to the fol-
lowing two conditions: (1) This device may
not cause harmful interference, and (2) this
device must accept any interference re-
ceived, including interference that may
cause undesired operation. Note: Changes
or modifications not expressly approved by
the party responsible for compliance could
void the user’s authority to operate the
equipment.
For Canada:
This device complies with RSS-210 of In-
dustry Canada. Operation is subject to the
following two conditions: (1) this device
may not cause interference, and (2) this
device must accept any interference, in-
cluding interference that may cause unde-
sired operation of the device.
2-60Instruments and controls
Page 147 of 554
PROGRAMMING TROUBLE-
DIAGNOSIS
If the HomeLink® does not quickly learn the
hand-held transmitter information:● replace the hand-held transmitter batteries
with new batteries.
● position the hand-held transmitter with its
battery area facing away from the
HomeLink® surface.
● press and hold both the HomeLink® and
hand-held transmitter buttons without inter-
ruption.
● position the hand-held transmitter 1 -
3 inches (26 - 76 mm) away from the
HomeLink® surface. Hold the transmitter in
that position for up to 15 seconds. If
HomeLink® is not programmed within that
time, try holding the transmitter in another
position – keeping the indicator light in view
at all times.
If you continue to have programming difficulties,
please contact the INFINITI Consumer Affairs
Department. The phone numbers are located in
the Foreword of this manual.
CLEARING THE PROGRAMMED
INFORMATION
The following procedure clears the programmed
information from both buttons. Individual buttons
cannot be cleared. However, individual buttons
can be reprogrammed, see “Reprogramming a
single HomeLink® button” in this section.
To clear all programming: 1. Press and hold the two outer HomeLink® buttons until the indicator light begins to
flash in approximately 10 seconds. Do not
hold for longer than 20 seconds.
2. Release both buttons.
HomeLink® is now in the programming mode
and can be programmed at any time beginning
with “Programming HomeLink®” - Step 1.
REPROGRAMMING A SINGLE
HOMELINK® BUTTON
To reprogram a HomeLink® Universal Trans-
ceiver button, complete the following: 1. Press and hold the desired HomeLink® but- ton. DO NOT release the button. 2. The indicator light will begin to flash after
20 seconds. Without releasing the
HomeLink® button, proceed with “Pro-
gramming HomeLink®” - Step 1.
For questions or comments, contact HomeLink®
at: www.homelink.com or 1–800–355–3515.
The HomeLink® Universal Transceiver button
has now been reprogrammed. The new device
can be activated by pushing the HomeLink®
button that was just programmed. This procedure
will not affect any other programmed HomeLink®
buttons.
IF YOUR VEHICLE IS STOLEN
If your vehicle is stolen, you should change the
codes of any non-rolling code device that has
been programmed into HomeLink®. Consult the
Owner’s Manual of each device or call the manu-
facturer or dealer of those devices for additional
information.
When your vehicle is recovered, you will
need to reprogram the HomeLink® Univer-
sal Transceiver with your new transmitter
information.
2-64Instruments and controls