display INFINITI Q50 HYBRID 2018 Infiniti Intouch
[x] Cancel search | Manufacturer: INFINITI, Model Year: 2018, Model line: Q50 HYBRID, Model: INFINITI Q50 HYBRID 2018Pages: 292, PDF Size: 1.45 MB
Page 190 of 292
![INFINITI Q50 HYBRID 2018 Infiniti Intouch 9. Navigation (if so equipped)
INFO:
.Touch [Update List] to update the listinformation.
.Touch [Details] to preview the routeon the upper display.
.Touchto display facility informa-
tion.
4. The sele INFINITI Q50 HYBRID 2018 Infiniti Intouch 9. Navigation (if so equipped)
INFO:
.Touch [Update List] to update the listinformation.
.Touch [Details] to preview the routeon the upper display.
.Touchto display facility informa-
tion.
4. The sele](/img/42/34989/w960_34989-189.png)
9. Navigation (if so equipped)
INFO:
.Touch [Update List] to update the listinformation.
.Touch [Details] to preview the routeon the upper display.
.Touchto display facility informa-
tion.
4. The selected route plan is displayed. Touch [Start] after confirming the loca-
tion of the displayed destination.
INFO:
. Journey Planner is an Infiniti InTouch
TM
Services feature. Subscription is required
to use the Infiniti InTouchTMServices.
. Journey Planner cannot be used if [De-
cline] is touched on the Start-up Screen.
. Refer to the INFINITI Owner’s Portal
Website for how to set the destination
using Journey Planner.
SEARCHING FROM HISTORY
A previous destination can be set as the
destination.
Up to 100 previous destinations will be
automatically stored. If the number of pre-
vious destinations exceeds 100, the oldest
one will be replaced by the newest one.
1. Push
Page 191 of 292
![INFINITI Q50 HYBRID 2018 Infiniti Intouch INFO:
Touch [Sort] and touch [By Distance] to
sort the list by the nearest distance.
Touch [By Road No.] to sort by the road
no.
7. Touch [Start] to start route guidance.
SETTING CITY CENTER
It is pos INFINITI Q50 HYBRID 2018 Infiniti Intouch INFO:
Touch [Sort] and touch [By Distance] to
sort the list by the nearest distance.
Touch [By Road No.] to sort by the road
no.
7. Touch [Start] to start route guidance.
SETTING CITY CENTER
It is pos](/img/42/34989/w960_34989-190.png)
INFO:
Touch [Sort] and touch [By Distance] to
sort the list by the nearest distance.
Touch [By Road No.] to sort by the road
no.
7. Touch [Start] to start route guidance.
SETTING CITY CENTER
It is possible to set the center of a specified
city as a destination.
1. Push
2. Touch [City Center]. A character input screen is displayed.
3. Enter the name of the city and touch [List]. A list screen is displayed.
INFO:
Touch [Last 5 Cities] to display the last
five cities recently set as destinations.
4. Touch the preferred destination from the list.
INFO:
Touch [Map] to preview on the upper
display. 5. The selected destination is displayed on
the upper display. Touch [Start] after
confirming the location of the displayed
destination.
SEARCHING FROM STORED LO-
CATIONS
Storing frequently used destinations in the
Address Book makes it easy to set a
destination. Locations should be stored in
the Address Book before using this function.
“Storing location” (page 9-49)
1. Push
2. Touch [Stored Locations].
3. Touch the preferred location from the list.
INFO:
Selecting [Sort] displays a list of various
sort functions.
.[By Number]: The Address Book entries are dis-
played in ascending numerical order.
.[By Name]:The Address Book entries are dis-
played in alphabetic order.
.[By Icon]:By selecting a particular icon, a list
that contains only the Address Book
entries associated with that icon is
displayed.
.[By Group]:By selecting a particular group (fa-
mily, friends, leisure, etc.), the se-
lected group is displayed at the top
of the list.
4. The selected destination is displayed on the upper display. Touch [Start] to start
route guidance.
Voice command
1. Push <
>located on the steering-
wheel.
9. Navigation (if so equipped)
9-25
Page 192 of 292

9. Navigation (if so equipped)
2. After the tone sounds, speak a com-mand.
To set the destination from the Stored
Locations:
“ Stored Locations”
SETTING BY PHONE NUMBER
If the phone number of a facility is known, it
is possible to search for a facility by entering
the phone number.
INFO:
. If the area code of the specified tele-
phone number does not exist in the map
data, the system cannot search for the
location.
. Only the locations included in the data-
base in the map data can be searched for
by phone number. Residential phone
numbers cannot be used to search for a
location.
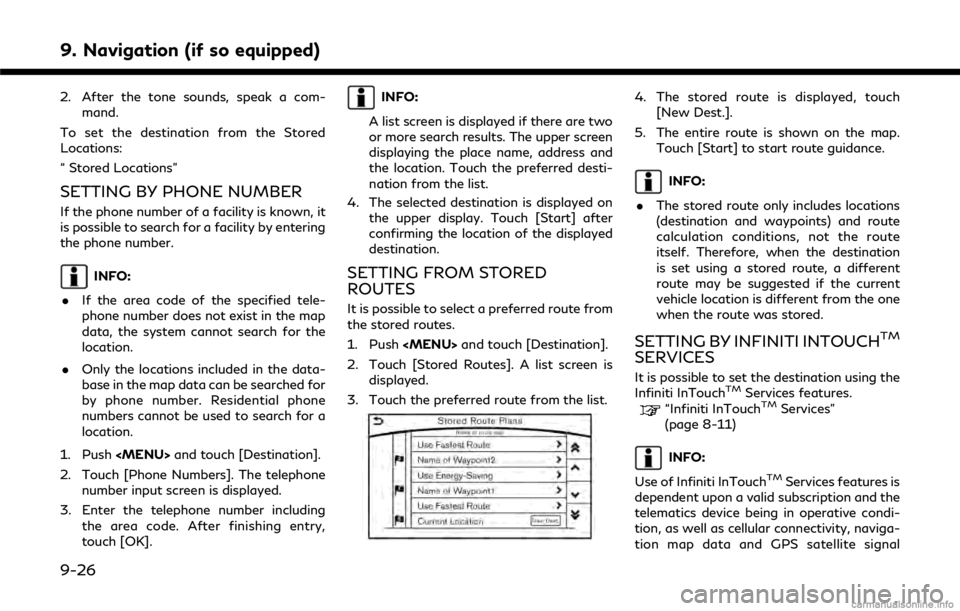
1. Push
2. Touch [Phone Numbers]. The telephone number input screen is displayed.
3. Enter the telephone number including the area code. After finishing entry,
touch [OK].
INFO:
A list screen is displayed if there are two
or more search results. The upper screen
displaying the place name, address and
the location. Touch the preferred desti-
nation from the list.
4. The selected destination is displayed on the upper display. Touch [Start] after
confirming the location of the displayed
destination.
SETTING FROM STORED
ROUTES
It is possible to select a preferred route from
the stored routes.
1. Push
2. Touch [Stored Routes]. A list screen is displayed.
3. Touch the preferred route from the list.
4. The stored route is displayed, touch [New Dest.].
5. The entire route is shown on the map. Touch [Start] to start route guidance.
INFO:
. The stored route only includes locations
(destination and waypoints) and route
calculation conditions, not the route
itself. Therefore, when the destination
is set using a stored route, a different
route may be suggested if the current
vehicle location is different from the one
when the route was stored.
SETTING BY INFINITI INTOUCHTM
SERVICES
It is possible to set the destination using the
Infiniti InTouchTMServices features.“Infiniti InTouchTMServices”
(page 8-11)
INFO:
Use of Infiniti InTouch
TMServices features is
dependent upon a valid subscription and the
telematics device being in operative condi-
tion, as well as cellular connectivity, naviga-
tion map data and GPS satellite signal
9-26
Page 193 of 292

reception being available.
Searching by connecting Data Cen-
ter
It is possible to find a point of interest by
inputting a keyword and connecting to the
Infiniti InTouch
TMServices Data Center. The
searched location can be set as a destina-
tion.
1. Push
vices].
2. Touch [Connected Search].
3. Enter the keyword and touch [Search]. The system will connect to the Infiniti
InTouch
TMServices Data Center and the
search results will be displayed.
INFO:
The search history can also be reused by
touch [History].
4. Touch the preferred destination from the list.
INFO:
.Touch [info] to display the facilityinformation on the upper display.
.Touch [Details] to display the informa- tion feeds screen.
“Screen information”
(page 8-18)
5. The entire destination is shown on the upper display. Touch [Start] to start
route guidance.
Searching by using IVR soft button
on map
It is possible to set a destination by touching
the IVR (Interactive Voice Response) soft
button
on the map. You can choose from
the options provided by the voice guidance
and speak your choice, or ask the Infiniti
InTouch
TMServices Response Specialists
directly to search for your destination.
“Connecting to Interactive Voice Menu”
(page 8-16)
Using Google send-to-car
It is possible to search for a location using
Google maps, and to download the informa-
tion to set the destination via the Infiniti
InTouch
TMServices Data Center.
1. Push
vices].
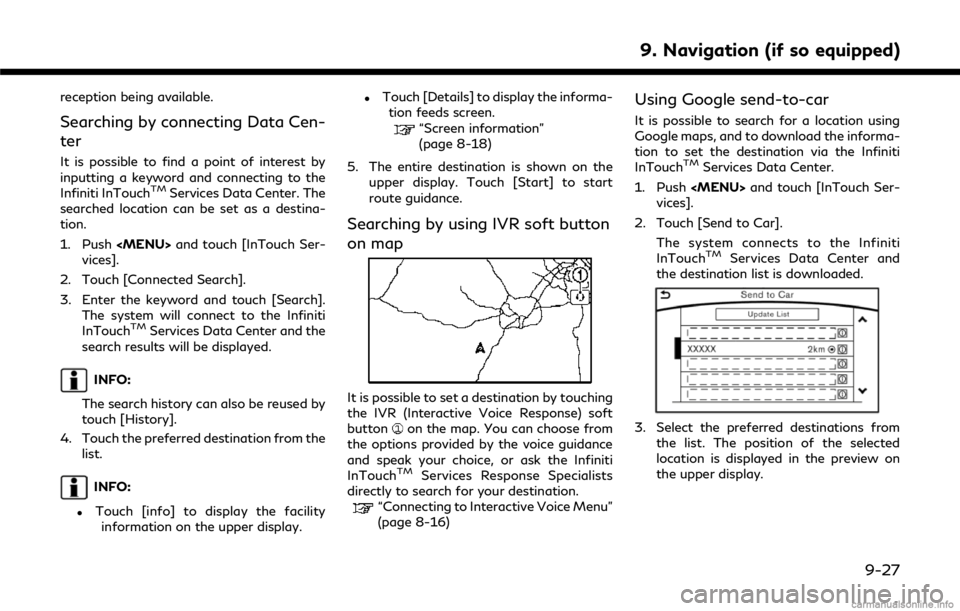
2. Touch [Send to Car]. The system connects to the Infiniti
InTouch
TMServices Data Center and
the destination list is downloaded.
3. Select the preferred destinations from
the list. The position of the selected
location is displayed in the preview on
the upper display.
9. Navigation (if so equipped)
9-27
Page 194 of 292
![INFINITI Q50 HYBRID 2018 Infiniti Intouch 9. Navigation (if so equipped)
INFO:
Select [Update List] to update the list
information.
4. The selected destination is displayed. Touch [Start] to start route guidance.
INFO:
Refer to the INFINITI O INFINITI Q50 HYBRID 2018 Infiniti Intouch 9. Navigation (if so equipped)
INFO:
Select [Update List] to update the list
information.
4. The selected destination is displayed. Touch [Start] to start route guidance.
INFO:
Refer to the INFINITI O](/img/42/34989/w960_34989-193.png)
9. Navigation (if so equipped)
INFO:
Select [Update List] to update the list
information.
4. The selected destination is displayed. Touch [Start] to start route guidance.
INFO:
Refer to the INFINITI Owner’s Portal Web-
site for the destination setting using Google
send to car.
Using Destination Send to Car
Destination Send-to-Vehicle enables you to
search for destinations from a point of
interest (POI) database accessed within the
Infiniti InTouch
TMServices website.
1. Push
2. Touch [InTouch Services].
3. Touch [Destination Send to Car].
4. Select preferred folder.
5. Select preferred channel. The list of destinations which you set at the Infiniti
InTouch
TMServices website is displayed.
6. Select preferred destination from the list.
INFO:
Select [Update List] to update the list of
point of interest.
SETTING POINT ON MAP
It is possible to set a location scrolled to on
the map as the destination and have the
system calculate a route.
Upper display
1. Scroll the map, place the cross pointer over the preferred location, and touch
[
].
INFO:
.The point on the blinking road wherethe center of the cross pointer is
located can be set as a destination.
2. Touch [New Destination]. 3. The entire route is shown on the upper
display. Touch [Start] to start route
guidance.
PROCEDURES AFTER SETTING
ROUTE
The system sets the destination to the
selected location and starts calculating a
route. After performing a route search, route
guidance can be started. Also, it is possible
to confirm or change a route.
Lower display with waypoint
Lower display without waypoint
9-28
Page 195 of 292
![INFINITI Q50 HYBRID 2018 Infiniti Intouch Available items after setting route. [Start]:
Starts route guidance to the selected
destination.
INFO:
If no operations have been performed on the
system for several seconds, [Start] is auto-
maticall INFINITI Q50 HYBRID 2018 Infiniti Intouch Available items after setting route. [Start]:
Starts route guidance to the selected
destination.
INFO:
If no operations have been performed on the
system for several seconds, [Start] is auto-
maticall](/img/42/34989/w960_34989-194.png)
Available items after setting route. [Start]:
Starts route guidance to the selected
destination.
INFO:
If no operations have been performed on the
system for several seconds, [Start] is auto-
matically selected, and the system starts
route guidance. When the vehicle is being
driven, [Start] is automatically selected and
the system will start the route guidance
function. . [Show Loc. Map]:
Display destination on the upper display.
. [Add Waypoint]:
Allows you to edit the route by adding a
destination or waypoint.
— If a waypoint is added, three alter- native routes cannot be selected.
— If a destination is added, the prior destination becomes a waypoint.
— It is possible to edit or add a destina- tion or waypoints to the route that is
already set.
“Editing route” (page 9-36) .
[Move Loc.]
The location of the destination or way-
point can be adjusted by moving the
cross pointer across the map on the
upper display.
“Moving location of destination”
(page 9-29)
. Available route conditions:
— [Fastest Route] : Prioritizes the shortest time.
— [Energy-Saving] : Energy-Saving route.
— [Shortest Distance] : Prioritizes the shortest distance.
INFO:
. The three routes may not always be
different.
. When using waypoints, you can change
the route between each waypoint.
. [Turn List]:
Display the turn list.
Moving location of destination
The location of the destination can be
adjusted by moving the cross pointer across
the map.
1. After setting destination, touch [Move
Loc.].
2. Touch map screen on the upper display. A map screen with the destination
located on the map center is displayed.
3. Adjust the location by moving the cross pointer across the map and touch [OK].
The location of the destination is mod-
ified.
INFO:
. The screen for adjusting the location also
changes when the map screen displayed
on the right side of the screen is touched.
. The map scale can be changed by
touching [
].
9. Navigation (if so equipped)
9-29
Page 200 of 292

9. Navigation (if so equipped)
areas. Voice guidance will not be provided in
these areas.” When approaching the end-
point of the suggested road, voice guidance
will announce, “Entering the road with
incomplete map data. Please use the direc-
tion arrow and distance information to
proceed to your destination.”
Route guidance screens
Various guidance screens are displayed on
the upper display during route guidance.
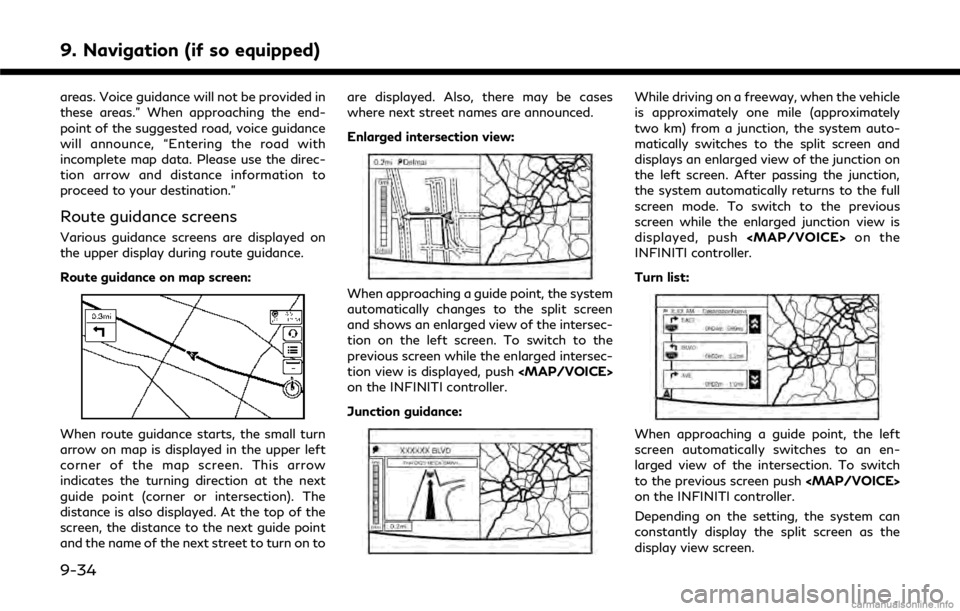
Route guidance on map screen:
When route guidance starts, the small turn
arrow on map is displayed in the upper left
corner of the map screen. This arrow
indicates the turning direction at the next
guide point (corner or intersection). The
distance is also displayed. At the top of the
screen, the distance to the next guide point
and the name of the next street to turn on toare displayed. Also, there may be cases
where next street names are announced.
Enlarged intersection view:
When approaching a guide point, the system
automatically changes to the split screen
and shows an enlarged view of the intersec-
tion on the left screen. To switch to the
previous screen while the enlarged intersec-
tion view is displayed, push
Page 201 of 292
![INFINITI Q50 HYBRID 2018 Infiniti Intouch Showing freeway exit information:
When [Show FWY Exit] is set to ON and the
route includes a freeway or toll road, all exits
along the route which have exit information
will be shown in the turn list. INFINITI Q50 HYBRID 2018 Infiniti Intouch Showing freeway exit information:
When [Show FWY Exit] is set to ON and the
route includes a freeway or toll road, all exits
along the route which have exit information
will be shown in the turn list.](/img/42/34989/w960_34989-200.png)
Showing freeway exit information:
When [Show FWY Exit] is set to ON and the
route includes a freeway or toll road, all exits
along the route which have exit information
will be shown in the turn list. The exit
information is shown as icons.
Selecting a waypoint from the exit infor-
mation list:
When exit information is displayed on the
turn list, a waypoint to a facility located near
the freeway exit can be set as a waypoint.
The facility categories that are not shown
with an icon cannot be selected.
1. Touch the exit where the exit informa-tion icon is displayed. The category list
screen is displayed.
2. Touch the landmark category. The list screen for showing facilities located near
the freeway exit is displayed.
INFO:
The facility categories that are not
shown with an icon cannot be selected.
3. Touch the preferred facility for the waypoint.
4. The waypoint is set, and the route search is performed.
“Procedures after setting route”
(page 9-28)
GUIDANCE SCREEN SETTINGS
The guidance screen can be displayed at all
times even when the vehicle is located away
from the guide point. Various types of
screens can be set.
“Display View Bar” (page 2-12)
CANCELING ROUTE
It is possible to delete a destination and all
waypoints that have already been set.
1. Push
2. Touch [Cancel Route].
3. A confirmation message is displayed.
The destination and the waypoints are
deleted.
INFO:
The deleted destination and waypoints
cannot be reactivated.
ROUTE MENU SCREEN
WARNING
Always stop the vehicle in a safe location
before modifying the route conditions.
Modifying the route conditions while
driving may cause an accident.
During route guidance, the route conditions
9. Navigation (if so equipped)
9-35
Page 202 of 292

9. Navigation (if so equipped)
can be modified and the route information
can be confirmed. Set route conditions
according to your personal preference.
Route menu screen display only when a
destination is already set
1. Push
2. The following items are available.
Available settings . [Edit Route]:
Edit or add a destination or waypoint to
the route that is already set.
“Editing route” (page 9-36)
. [Search Criteria Settings]:
Change the route calculation conditions
anywhere along the route.
“Route Settings” (page 9-43)
. [Recalculate]
Manually search for the route again after changing the search conditions and have
the system calculate a route.
“Recalculating route” (page 9-38)
. [Show Destination]:
The destination is displayed on the map
screen of the upper display.
. [Suggested Alternate Route]:
Manually search for an alternative de-
tour route taking the traffic information
into consideration.
“Searching for detour route using
traffic information” (page 9-39)
. [Detour]:
A detour of a specified distance can be
calculated.
“Setting detour route” (page 9-40)
. [Guidance Preferences]:
Activate or deactivate a route, voice
guidance and/or traffic announcements
and adjust the volume level of voice
guidance.
“Route guidance settings”
(page 9-40)
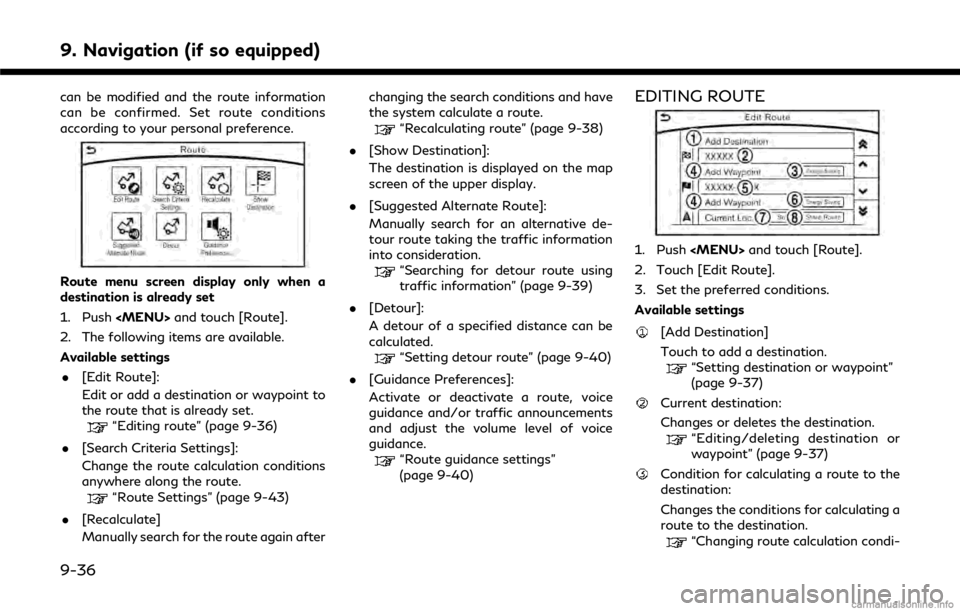
EDITING ROUTE
1. Push
2. Touch [Edit Route].
3. Set the preferred conditions.
Available settings
[Add Destination]
Touch to add a destination.
“Setting destination or waypoint”
(page 9-37)
Current destination:
Changes or deletes the destination.
“Editing/deleting destination or
waypoint” (page 9-37)
Condition for calculating a route to the
destination:
Changes the conditions for calculating a
route to the destination.
“Changing route calculation condi-
9-36
Page 203 of 292
![INFINITI Q50 HYBRID 2018 Infiniti Intouch tions” (page 9-38)
[Add Waypoint]“Setting destination or waypoint”
(page 9-37)
Current waypoint:
Changes or deletes the waypoint.
“Editing/deleting destination or
waypoint” (page 9-37)
Condi INFINITI Q50 HYBRID 2018 Infiniti Intouch tions” (page 9-38)
[Add Waypoint]“Setting destination or waypoint”
(page 9-37)
Current waypoint:
Changes or deletes the waypoint.
“Editing/deleting destination or
waypoint” (page 9-37)
Condi](/img/42/34989/w960_34989-202.png)
tions” (page 9-38)
[Add Waypoint]“Setting destination or waypoint”
(page 9-37)
Current waypoint:
Changes or deletes the waypoint.
“Editing/deleting destination or
waypoint” (page 9-37)
Condition for calculating a route to a
waypoint:
Changes the conditions for calculating a
route to a waypoint.
“Changing route calculation condi-
tions” (page 9-38)
[Sort]:
Sorts the waypoint and the destination.
[Store Route]:
Stores route include a destination, way-
points, and route condition. A maximum
of five routes can be stored. Stored
routes can be easily retrieved and set as
the suggested route.
Setting destination or waypoint
A destination or waypoint can be added to a
route that has already been set. A total of six
destinations or waypoints can be set.
1. Push
2. Touch [Edit Route].
3. Touch [Add Destination] or [Add Way- point].
INFO:
If [Add Destination] is selected, the
current destination changes to a way-
point.
4. Set a destination or waypoint. The method of searching for a destination
or waypoint is the same as the one for a
destination.
“Setting destination” (page 9-15) 5. The system will recalculate the routes.
After the route search is completed, the
display will automatically return to the
menu screen. Set the route conditions as
necessary.
“Editing/deleting destination or
waypoint” (page 9-37)
INFO:
. The prior route is automatically deleted.
Editing/deleting destination or
waypoint
A destination or waypoint that has already
been set can be modified or deleted. If a
location is modified or deleted when a
suggested route is already set, the prior
suggested route will be recalculated accord-
ingly.
1. Touch a destination or waypoint that is
already set.
9. Navigation (if so equipped)
9-37