key INFINITI Q60 CONVERTIBLE 2014 Service Manual
[x] Cancel search | Manufacturer: INFINITI, Model Year: 2014, Model line: Q60 CONVERTIBLE, Model: INFINITI Q60 CONVERTIBLE 2014Pages: 466
Page 166 of 466
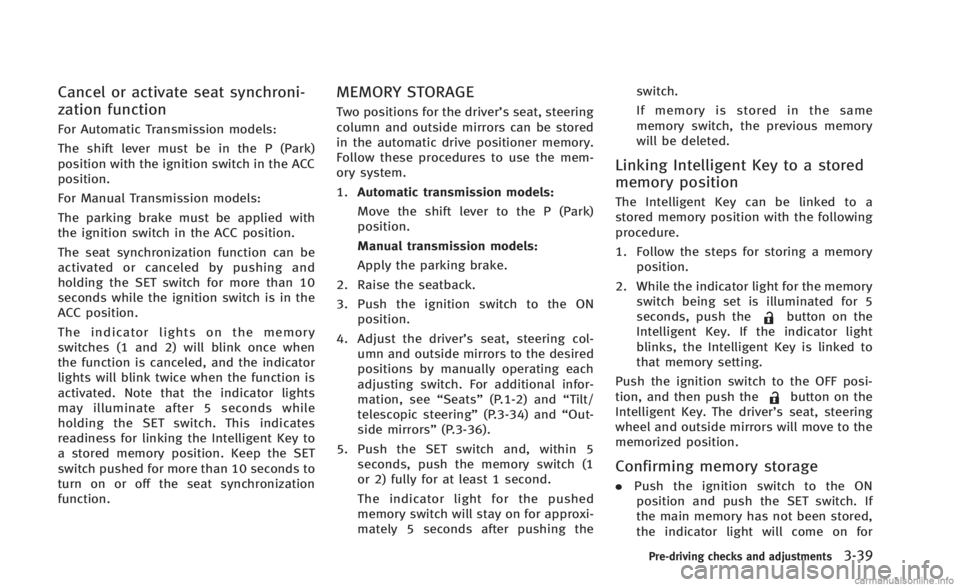
Cancel or activate seat synchroni-
zation function
For Automatic Transmission models:
The shift lever must be in the P (Park)
position with the ignition switch in the ACC
position.
For Manual Transmission models:
The parking brake must be applied with
the ignition switch in the ACC position.
The seat synchronization function can be
activated or canceled by pushing and
holding the SET switch for more than 10
seconds while the ignition switch is in the
ACC position.
The indicator lights on the memory
switches (1 and 2) will blink once when
the function is canceled, and the indicator
lights will blink twice when the function is
activated. Note that the indicator lights
may illuminate after 5 seconds while
holding the SET switch. This indicates
readiness for linking the Intelligent Key to
a stored memory position. Keep the SET
switch pushed for more than 10 seconds to
turn on or off the seat synchronization
function.
MEMORY STORAGE
Two positions for the driver’s seat, steering
column and outside mirrors can be stored
in the automatic drive positioner memory.
Follow these procedures to use the mem-
ory system.
1.Automatic transmission models:
Move the shift lever to the P (Park)
position.
Manual transmission models:
Apply the parking brake.
2. Raise the seatback.
3. Push the ignition switch to the ON position.
4. Adjust the driver’s seat, steering col- umn and outside mirrors to the desired
positions by manually operating each
adjusting switch. For additional infor-
mation, see “Seats”(P.1-2) and “Tilt/
telescopic steering” (P.3-34) and“Out-
side mirrors” (P.3-36).
5. Push the SET switch and, within 5 seconds, push the memory switch (1
or 2) fully for at least 1 second.
The indicator light for the pushed
memory switch will stay on for approxi-
mately 5 seconds after pushing the switch.
If memory is stored in the same
memory switch, the previous memory
will be deleted.
Linking Intelligent Key to a stored
memory position
The Intelligent Key can be linked to a
stored memory position with the following
procedure.
1. Follow the steps for storing a memory
position.
2. While the indicator light for the memory switch being set is illuminated for 5
seconds, push the
button on the
Intelligent Key. If the indicator light
blinks, the Intelligent Key is linked to
that memory setting.
Push the ignition switch to the OFF posi-
tion, and then push the
button on the
Intelligent Key. The driver’s seat, steering
wheel and outside mirrors will move to the
memorized position.
Confirming memory storage
. Push the ignition switch to the ON
position and push the SET switch. If
the main memory has not been stored,
the indicator light will come on for
Pre-driving checks and adjustments3-39
Page 167 of 466
3-40Pre-driving checks and adjustments
approximately 0.5 second. When the
memory has stored in position, the
indicator light will stay on for approxi-
mately 5 seconds.
. If the battery cable is disconnected, or if
the fuse opens, the memory will be
canceled. In this case, reset the desired
position using the previous procedure.
. If optional Intelligent Keys are added to
your vehicle, the memory storage pro-
cedure to switch 1 or 2 and linking
Intelligent Key procedure to a stored
memory position should be performed
again for each Intelligent Key. For
additional Intelligent Key information,
see “Keys” (P.3-3).
Selecting the memorized position
1.Automatic transmission models:
Move the shift lever to the P (Park)
position.
Manual transmission models:
Apply the parking brake.
2. Raise the seatback.
3. Use one of the following methods to move the driver’ s seat, the outside
mirrors and the steering wheel.
.Push the ignition switch to the ON position and push the memory
switch (1 or 2) fully for at least 1
second.
.Within 45 seconds of opening the
driver’ s door, push the memory
switch (1 or 2) fully for at least 1
second.
The driver’s seat, steering column
and outside mirrors will move to the
memorized position with the indica-
tor light flashing, and then the light
will stay on for approximately 5
seconds.
For manual transmission models, the
memory positions can be selected even
when the engine is running. In this case,
move the shift lever to the N (Neutral)
position and apply the parking brake.
Then, perform step 2.
SYSTEM OPERATION
The automatic drive positioner system will
not work or will stop operating under the
following conditions:
. When the vehicle speed is above 4 MPH
(7 km/h).
. When the adjusting switch for the
driver’s seat and steering column is
turned on while the automatic drive positioner is operating.
. When the memory switch 1 or 2 is not
pushed for at least 1 second.
. When the seat, steering column and
outside mirrors have already been
moved to the memorized position.
. When no position is stored in the
memory switch.
. When the parking brake is released (MT
models).
. When the speed is above 4 MPH (7
km/h) while the parking brake is
applied (MT models).
. To restart the drive positioner system,
move the parking brake to off and on.
. When the engine is started while
moving the automatic drive positioner.
. When the driver’s door remains open
for more than 45 seconds and the
ignition switch is not in the ON posi-
tion.
. When the seatback is folded.
. While the walk-in function operates.
. The seat synchronization function is
automatically disabled if the outside
mirrors or steering wheel reaches its
maximum adjustment.
Page 177 of 466
4-8Monitor, climate, audio, phone and voice recognition systems
SAA2477
With navigation system
JVH0179M
Without navigation system
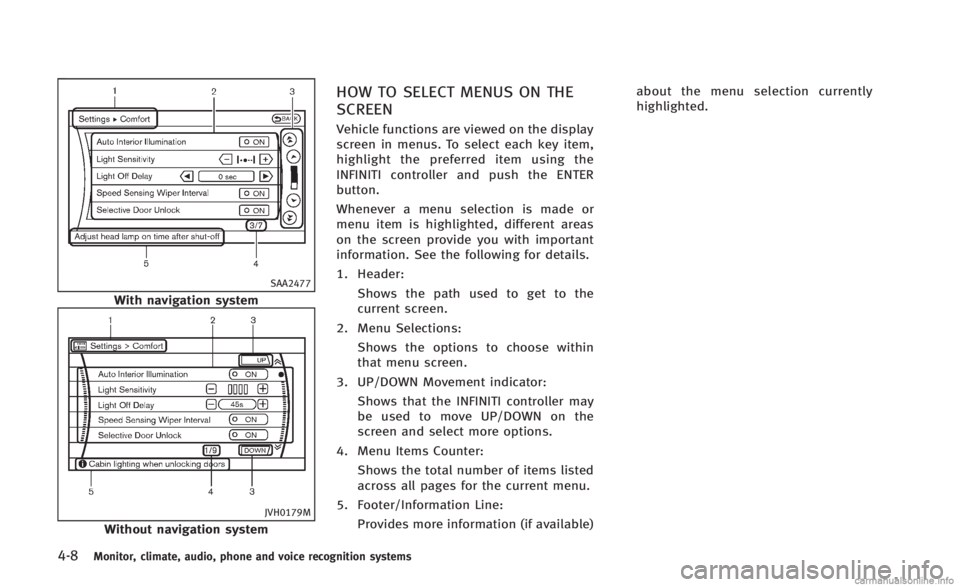
HOW TO SELECT MENUS ON THE
SCREEN
Vehicle functions are viewed on the display
screen in menus. To select each key item,
highlight the preferred item using the
INFINITI controller and push the ENTER
button.
Whenever a menu selection is made or
menu item is highlighted, different areas
on the screen provide you with important
information. See the following for details.
1. Header:Shows the path used to get to the
current screen.
2. Menu Selections: Shows the options to choose within
that menu screen.
3. UP/DOWN Movement indicator: Shows that the INFINITI controller may
be used to move UP/DOWN on the
screen and select more options.
4. Menu Items Counter: Shows the total number of items listed
across all pages for the current menu.
5. Footer/Information Line: Provides more information (if available) about the menu selection currently
highlighted.
Page 180 of 466
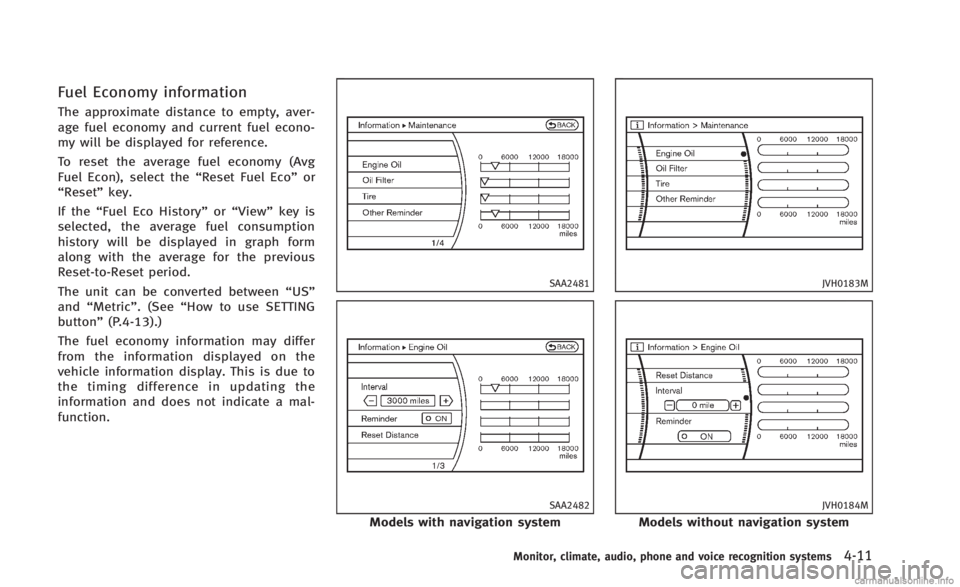
Fuel Economy information
The approximate distance to empty, aver-
age fuel economy and current fuel econo-
my will be displayed for reference.
To reset the average fuel economy (Avg
Fuel Econ), select the“Reset Fuel Eco”or
“Reset” key.
If the “Fuel Eco History” or“View” key is
selected, the average fuel consumption
history will be displayed in graph form
along with the average for the previous
Reset-to-Reset period.
The unit can be converted between “US”
and “Metric”. (See “How to use SETTING
button” (P.4-13).)
The fuel economy information may differ
from the information displayed on the
vehicle information display. This is due to
the timing difference in updating the
information and does not indicate a mal-
function.
SAA2481
SAA2482
Models with navigation system
JVH0183M
JVH0184M
Models without navigation system
Monitor, climate, audio, phone and voice recognition systems4-11
Page 181 of 466

4-12Monitor, climate, audio, phone and voice recognition systems
Maintenance information
The maintenance intervals can be dis-
played for the engine oil, oil filter, tire
and other reminders.
To set a maintenance interval, select a
preferred item from the list.
You can also set to display a message to
remind you that the maintenance needs to
be performed.
The following example shows how to set
the engine oil maintenance information.
Use the same steps to set the other
maintenance information.
1. Set the interval (mileage) of the main-tenance schedule. To determine the
recommended maintenance interval,
refer to your “INFINITI Service and
Maintenance Guide”.
2. To display the reminder automatically when the desired distance is reached,
select the “Reminder” key.
3. Reset the driving distance to the new maintenance schedule.
4. To return to the previous screen, push the BACK button.
The unit can be converted between “US”
and “Metric”. (See “How to use SETTING button”
(P.4-13).)
SAA3003
Example
The Reminder will be automatically dis-
played when the specified distance has
been driven and every time the ignition
switch is pushed to the ACC or ON position.
The reminder will not appear while driving.
Select the “OK”key to hide the reminder
for the rest of the current drive.
To stop the reminder from appearing,
perform one of the following actions:
. Select the “Reset Distance”.
. Deactivate the “Reminder”.
. Increase the “Interval”distance to be
more than the current distance being
tracked.
Page 182 of 466
SAA2483
Others information (models with
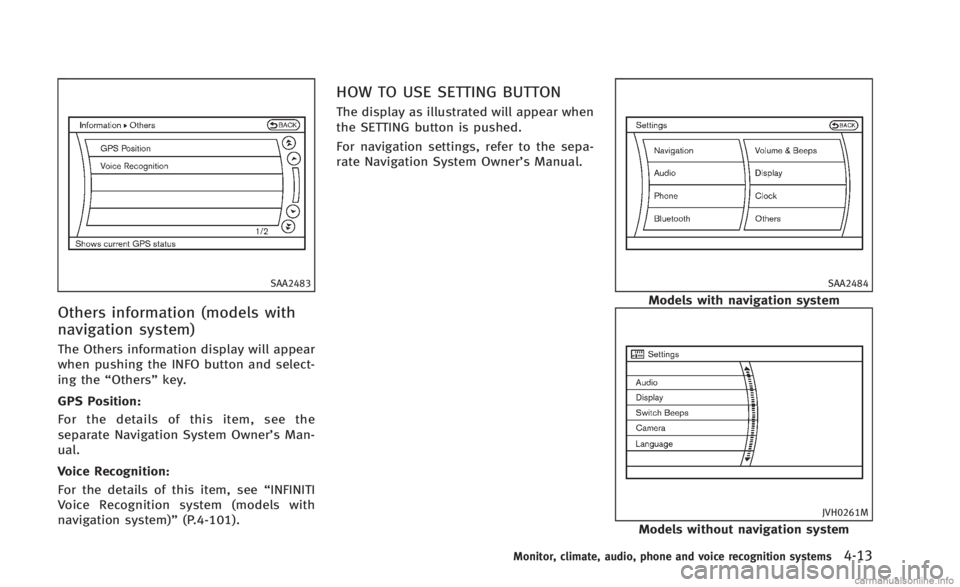
navigation system)
The Others information display will appear
when pushing the INFO button and select-
ing the“Others” key.
GPS Position:
For the details of this item, see the
separate Navigation System Owner’s Man-
ual.
Voice Recognition:
For the details of this item, see “INFINITI
Voice Recognition system (models with
navigation system)” (P.4-101).
HOW TO USE SETTING BUTTON
The display as illustrated will appear when
the SETTING button is pushed.
For navigation settings, refer to the sepa-
rate Navigation System Owner’s Manual.
SAA2484
Models with navigation system
JVH0261M
Models without navigation system
Monitor, climate, audio, phone and voice recognition systems4-13
Page 183 of 466
4-14Monitor, climate, audio, phone and voice recognition systems
SAA2975
Models with navigation system
JVH0251X
Models without navigation system
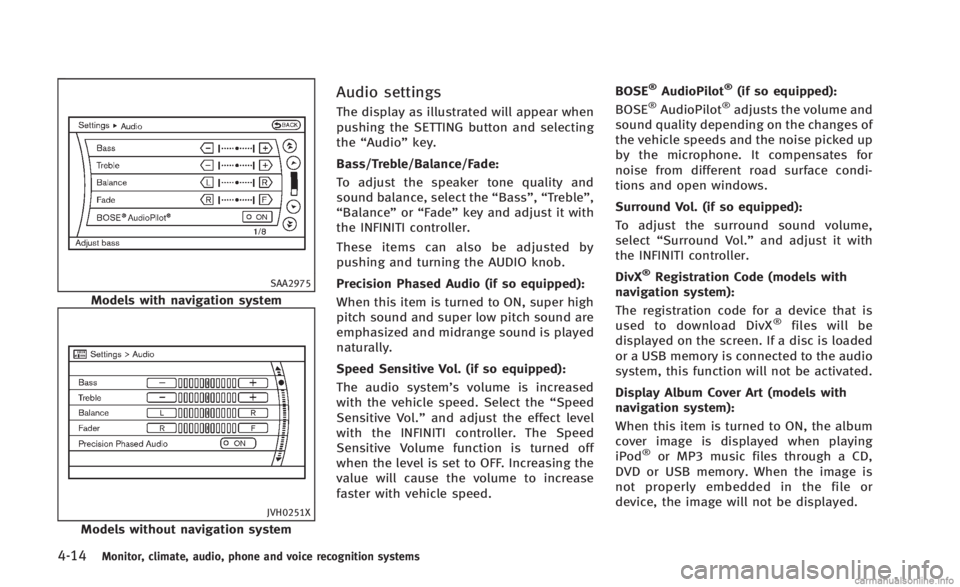
Audio settings
The display as illustrated will appear when
pushing the SETTING button and selecting
the“Audio” key.
Bass/Treble/Balance/Fade:
To adjust the speaker tone quality and
sound balance, select the “Bass”,“Treble”,
“Balance ”or “Fade” key and adjust it with
the INFINITI controller.
These items can also be adjusted by
pushing and turning the AUDIO knob.
Precision Phased Audio (if so equipped):
When this item is turned to ON, super high
pitch sound and super low pitch sound are
emphasized and midrange sound is played
naturally.
Speed Sensitive Vol. (if so equipped):
The audio system’s volume is increased
with the vehicle speed. Select the “Speed
Sensitive Vol.” and adjust the effect level
with the INFINITI controller. The Speed
Sensitive Volume function is turned off
when the level is set to OFF. Increasing the
value will cause the volume to increase
faster with vehicle speed. BOSE
®AudioPilot®(if so equipped):
BOSE®AudioPilot®adjusts the volume and
sound quality depending on the changes of
the vehicle speeds and the noise picked up
by the microphone. It compensates for
noise from different road surface condi-
tions and open windows.
Surround Vol. (if so equipped):
To adjust the surround sound volume,
select “Surround Vol.” and adjust it with
the INFINITI controller.
DivX
®Registration Code (models with
navigation system):
The registration code for a device that is
used to download DivX
®files will be
displayed on the screen. If a disc is loaded
or a USB memory is connected to the audio
system, this function will not be activated.
Display Album Cover Art (models with
navigation system):
When this item is turned to ON, the album
cover image is displayed when playing
iPod
®or MP3 music files through a CD,
DVD or USB memory. When the image is
not properly embedded in the file or
device, the image will not be displayed.
Page 184 of 466
Phone settings (models with navi-
gation system)
For details of the“Phone”settings, see
“ Bluetooth®Hands-Free Phone System
(models with navigation system)” (P.4-77).
Bluetooth®settings (models with
navigation system)
For details of the “Bluetooth®”settings,
see “Bluetooth®Hands-Free Phone System
(models with navigation system)” (P.4-77).
SAA2554
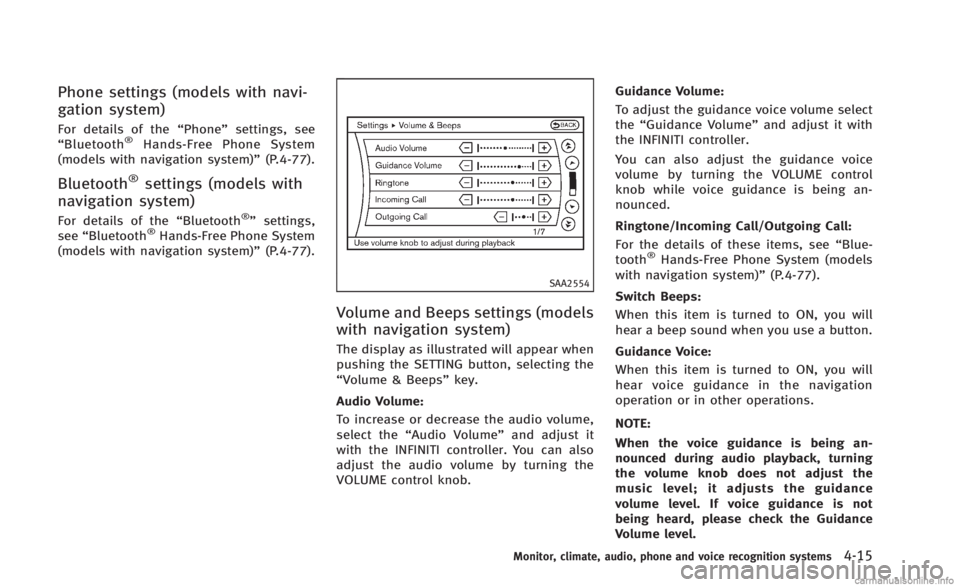
Volume and Beeps settings (models
with navigation system)
The display as illustrated will appear when
pushing the SETTING button, selecting the
“Volume & Beeps”key.
Audio Volume:
To increase or decrease the audio volume,
select the “Audio Volume” and adjust it
with the INFINITI controller. You can also
adjust the audio volume by turning the
VOLUME control knob. Guidance Volume:
To adjust the guidance voice volume select
the
“Guidance Volume” and adjust it with
the INFINITI controller.
You can also adjust the guidance voice
volume by turning the VOLUME control
knob while voice guidance is being an-
nounced.
Ringtone/Incoming Call/Outgoing Call:
For the details of these items, see “Blue-
tooth
®Hands-Free Phone System (models
with navigation system)” (P.4-77).
Switch Beeps:
When this item is turned to ON, you will
hear a beep sound when you use a button.
Guidance Voice:
When this item is turned to ON, you will
hear voice guidance in the navigation
operation or in other operations.
NOTE:
When the voice guidance is being an-
nounced during audio playback, turning
the volume knob does not adjust the
music level; it adjusts the guidance
volume level. If voice guidance is not
being heard, please check the Guidance
Volume level.
Monitor, climate, audio, phone and voice recognition systems4-15
Page 185 of 466
4-16Monitor, climate, audio, phone and voice recognition systems
JVH0176M
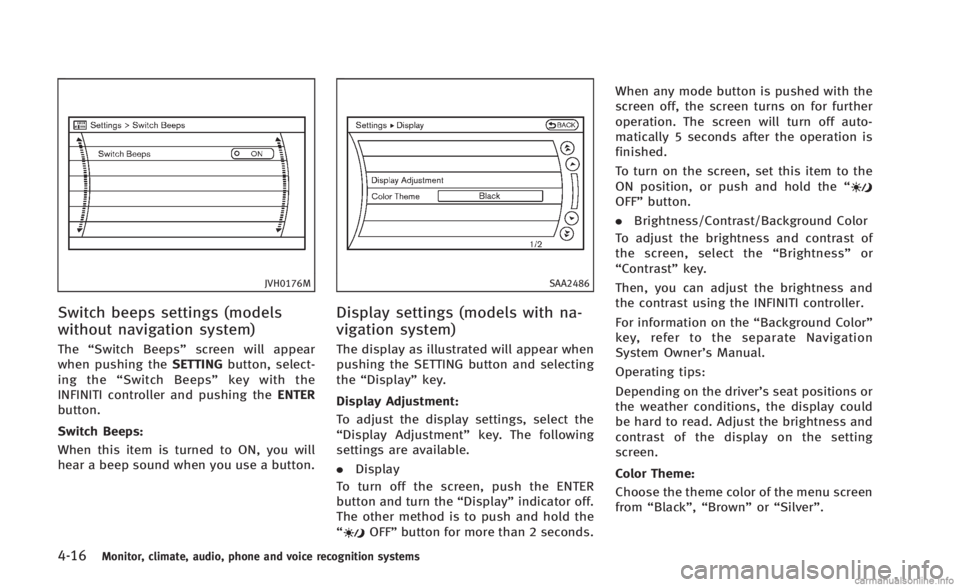
Switch beeps settings (models
without navigation system)
The“Switch Beeps” screen will appear
when pushing the SETTINGbutton, select-
ing the “Switch Beeps” key with the
INFINITI controller and pushing the ENTER
button.
Switch Beeps:
When this item is turned to ON, you will
hear a beep sound when you use a button.
SAA2486
Display settings (models with na-
vigation system)
The display as illustrated will appear when
pushing the SETTING button and selecting
the “Display” key.
Display Adjustment:
To adjust the display settings, select the
“Display Adjustment” key. The following
settings are available.
. Display
To turn off the screen, push the ENTER
button and turn the “Display”indicator off.
The other method is to push and hold the
“
OFF” button for more than 2 seconds. When any mode button is pushed with the
screen off, the screen turns on for further
operation. The screen will turn off auto-
matically 5 seconds after the operation is
finished.
To turn on the screen, set this item to the
ON position, or push and hold the
“
OFF”button.
. Brightness/Contrast/Background Color
To adjust the brightness and contrast of
the screen, select the “Brightness” or
“Contrast” key.
Then, you can adjust the brightness and
the contrast using the INFINITI controller.
For information on the “Background Color”
key, refer to the separate Navigation
System Owner’s Manual.
Operating tips:
Depending on the driver’s seat positions or
the weather conditions, the display could
be hard to read. Adjust the brightness and
contrast of the display on the setting
screen.
Color Theme:
Choose the theme color of the menu screen
from “Black”, “Brown” or“Silver”.
Page 186 of 466
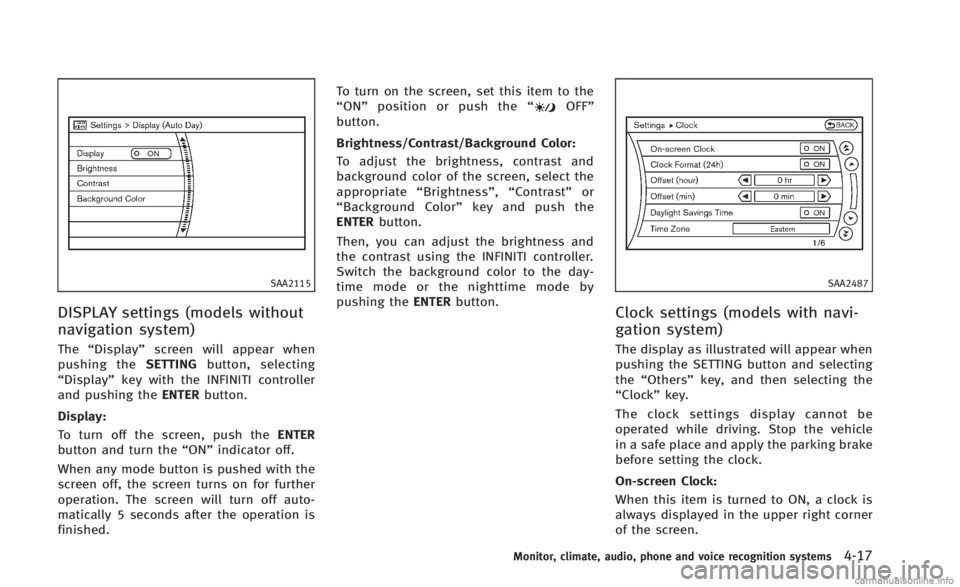
SAA2115
DISPLAY settings (models without
navigation system)
The“Display” screen will appear when
pushing the SETTINGbutton, selecting
“Display” key with the INFINITI controller
and pushing the ENTERbutton.
Display:
To turn off the screen, push the ENTER
button and turn the “ON”indicator off.
When any mode button is pushed with the
screen off, the screen turns on for further
operation. The screen will turn off auto-
matically 5 seconds after the operation is
finished. To turn on the screen, set this item to the
“
ON” position or push the “
OFF”
button.
Brightness/Contrast/Background Color:
To adjust the brightness, contrast and
background color of the screen, select the
appropriate “Brightness” ,“Contrast” or
“ Background Color” key and push the
ENTER button.
Then, you can adjust the brightness and
the contrast using the INFINITI controller.
Switch the background color to the day-
time mode or the nighttime mode by
pushing the ENTERbutton.
SAA2487
Clock settings (models with navi-
gation system)
The display as illustrated will appear when
pushing the SETTING button and selecting
the“Others” key, and then selecting the
“Clock” key.
The clock settings display cannot be
operated while driving. Stop the vehicle
in a safe place and apply the parking brake
before setting the clock.
On-screen Clock:
When this item is turned to ON, a clock is
always displayed in the upper right corner
of the screen.
Monitor, climate, audio, phone and voice recognition systems4-17