JAGUAR XFR 2010 1.G Workshop Manual
XFR 2010 1.G
JAGUAR
JAGUAR
https://www.carmanualsonline.info/img/21/7642/w960_7642-0.png
JAGUAR XFR 2010 1.G Workshop Manual
Page 928 of 3039
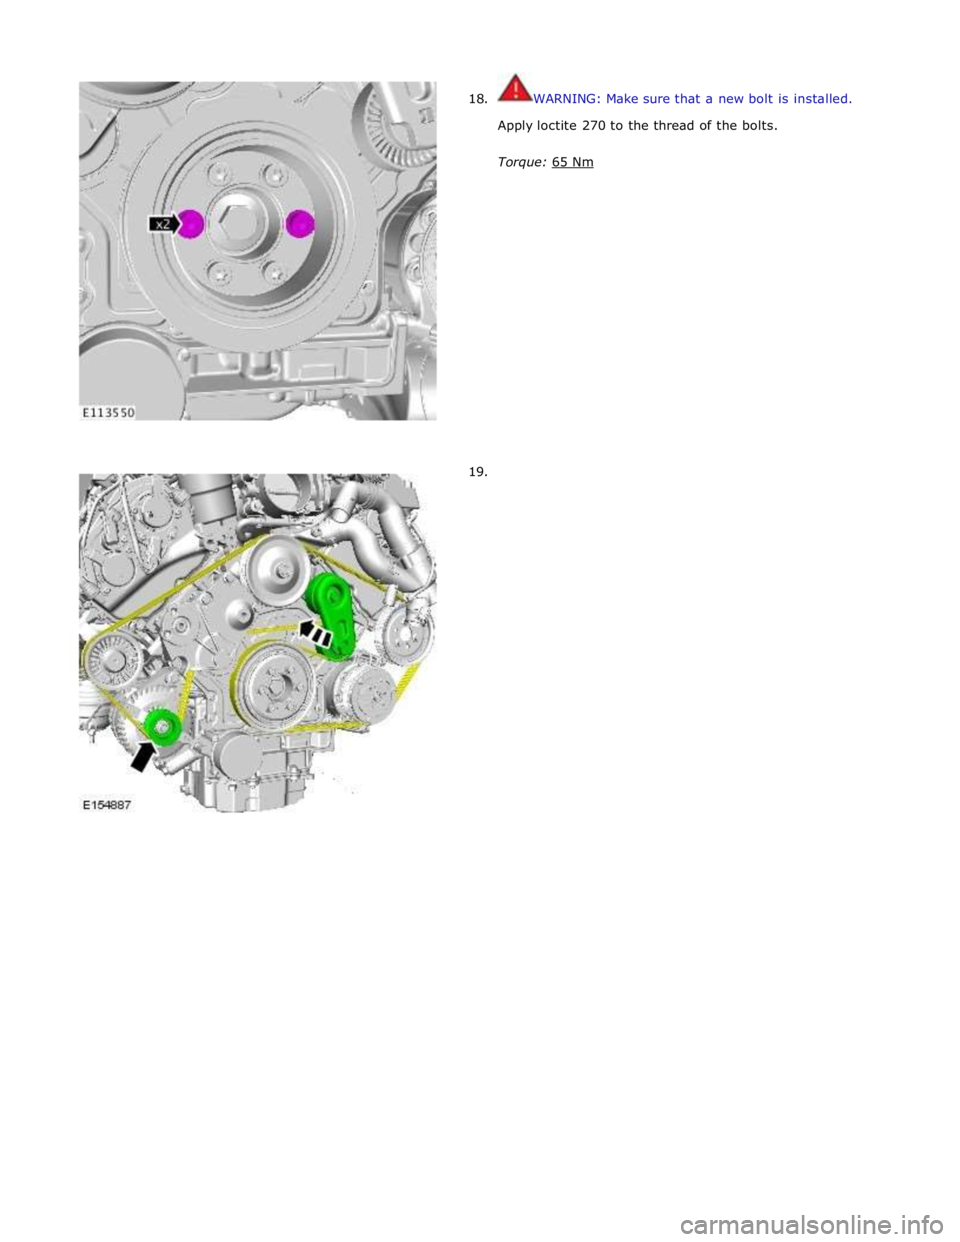
18.
19. WARNING: Make sure that a new bolt is installed.
Apply loctite 270 to the thread of the bolts.
Torque: 65 Nm
Page 934 of 3039
Engine - V8 S/C 5.0L Petrol - Cylinder Head LH
Removal and Installation
Removal
NOTE: Removal steps in this procedure may contain installation details. Published: 18-May-2012
1. Refer to: Battery Disconnect and Connect (414-01 Battery, Mounting and Cables, General Procedures).
2. WARNING: Make sure to support the vehicle with axle stands.
Raise and support the vehicle.
3. Refer to: Camshaft LH (303-01D Engine - V8 S/C 5.0L Petrol, Removal and Installation).
4. Refer to: Exhaust Manifold LH (303-01C Engine - V8 5.0L Petrol, Removal and Installation).
5.
6.
Page 939 of 3039
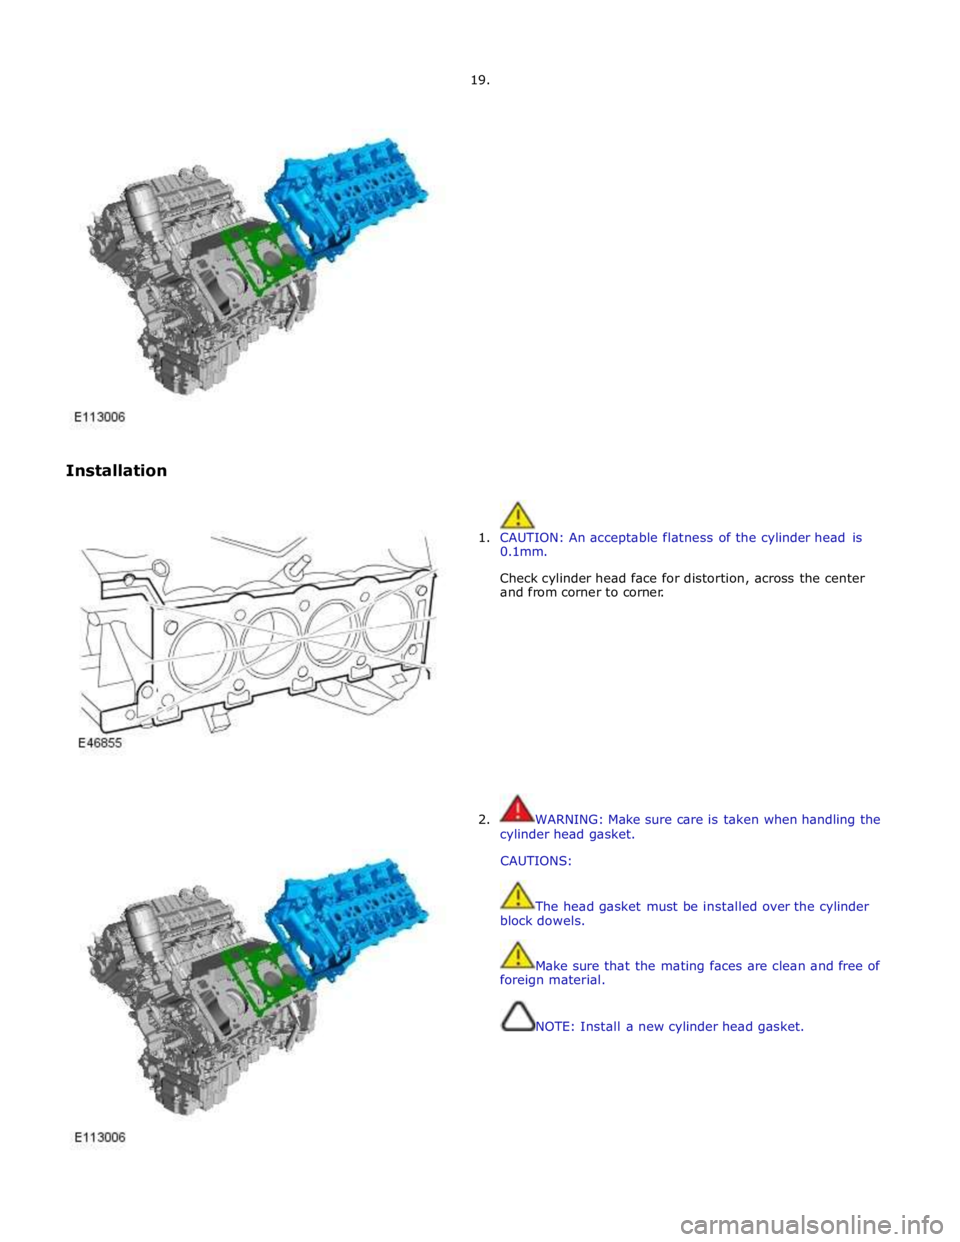
Installation 19.
1. CAUTION: An acceptable flatness of the cylinder head is
0.1mm.
Check cylinder head face for distortion, across the center
and from corner to corner.
2. WARNING: Make sure care is taken when handling the
cylinder head gasket.
CAUTIONS:
The head gasket must be installed over the cylinder
block dowels.
Make sure that the mating faces are clean and free of
foreign material.
NOTE: Install a new cylinder head gasket.
Page 954 of 3039
Installation
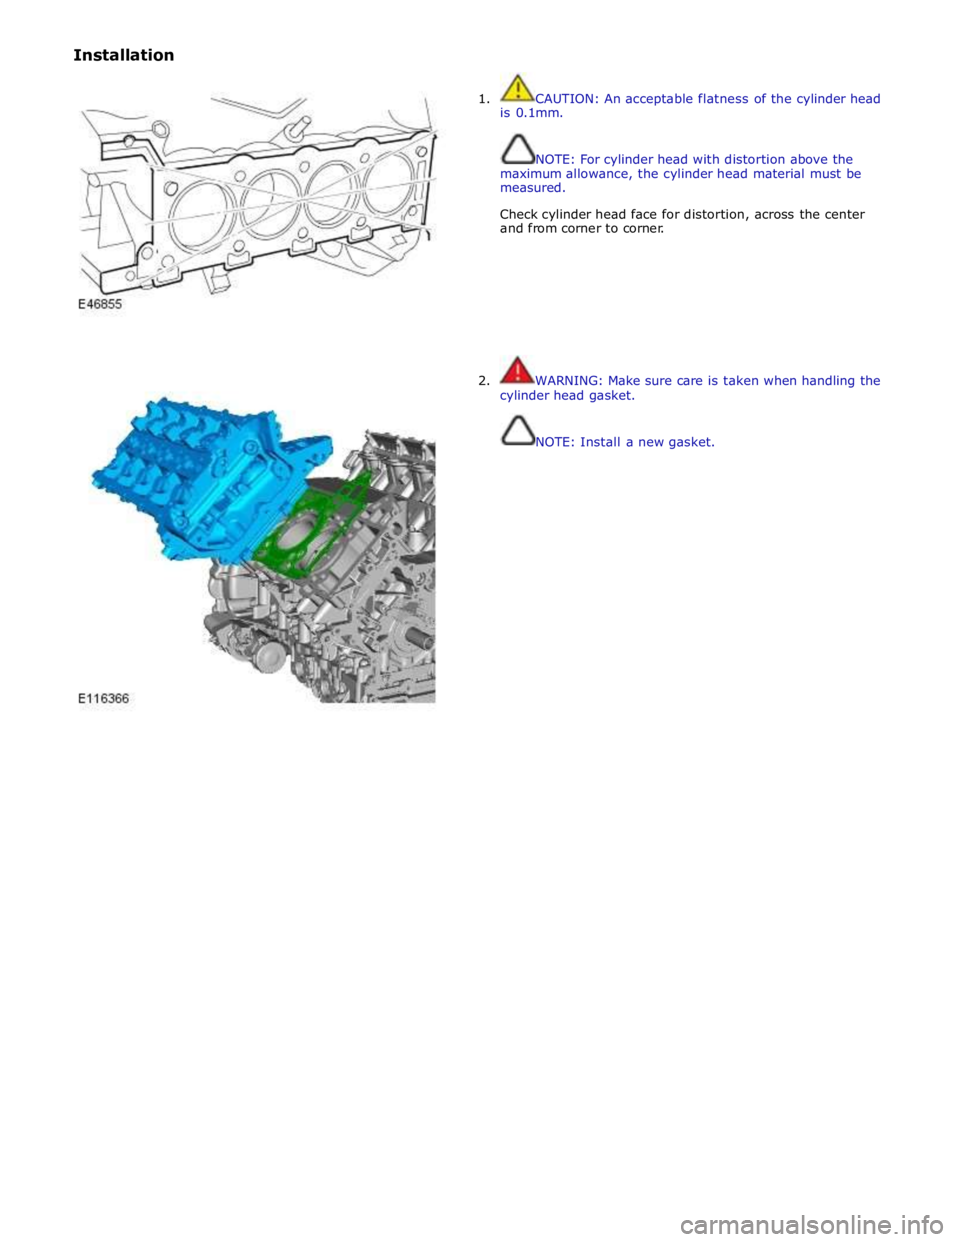
1. CAUTION: An acceptable flatness of the cylinder head
is 0.1mm.
NOTE: For cylinder head with distortion above the
maximum allowance, the cylinder head material must be
measured.
Check cylinder head face for distortion, across the center
and from corner to corner.
2. WARNING: Make sure care is taken when handling the
cylinder head gasket.
NOTE: Install a new gasket.
Page 963 of 3039
Engine - V8 S/C 5.0L Petrol - Engine Mount LH
Removal and Installation
Removal
NOTE: Removal steps in this procedure may contain installation details.
All vehicles Published: 11-May-2011
1. Refer to: Battery Disconnect and Connect (414-01 Battery, Mounting and Cables, General Procedures).
2. WARNING: Do not work on or under a vehicle supported only by a jack.
Always support the vehicle on safety stands.
Raise and support the vehicle.
3. Refer to: Air Conditioning (A/C) Compressor - V8 5.0L Petrol/V8 S/C 5.0L Petrol (412-03 Air Conditioning, Removal and Installation).
4. CAUTION: Support the engine on a jack. The angle may need to be
adjusted during this procedure.
Support the engine with the lifting equipment.
Left-hand drive vehicles
5.
6. NOTE: Note the fitted position.
Torque: 35 Nm Right-hand side shown, left-hand side similar.
Page 966 of 3039
Engine - V8 S/C 5.0L Petrol - Engine Mount RH
Removal and Installation
Removal
NOTE: Removal steps in this procedure may contain installation details.
All vehicles Published: 11-May-2011
1. Refer to: Battery Disconnect and Connect (414-01 Battery, Mounting and Cables, General Procedures).
2. WARNING: Do not work on or under a vehicle supported only by a jack.
Always support the vehicle on safety stands.
Raise and support the vehicle.
3. Refer to: Air Deflector (501-02 Front End Body Panels, Removal and Installation).
All vehicles
4. CAUTION: Support the engine on a jack. The angle may need to be
adjusted during this procedure.
Support the engine with the lifting equipment.
Right-hand drive vehicles
5. www.JagDocs.com
Page 969 of 3039
Engine - V8 S/C 5.0L Petrol - Exhaust Manifold LH
Removal and Installation
Special Tool(s)
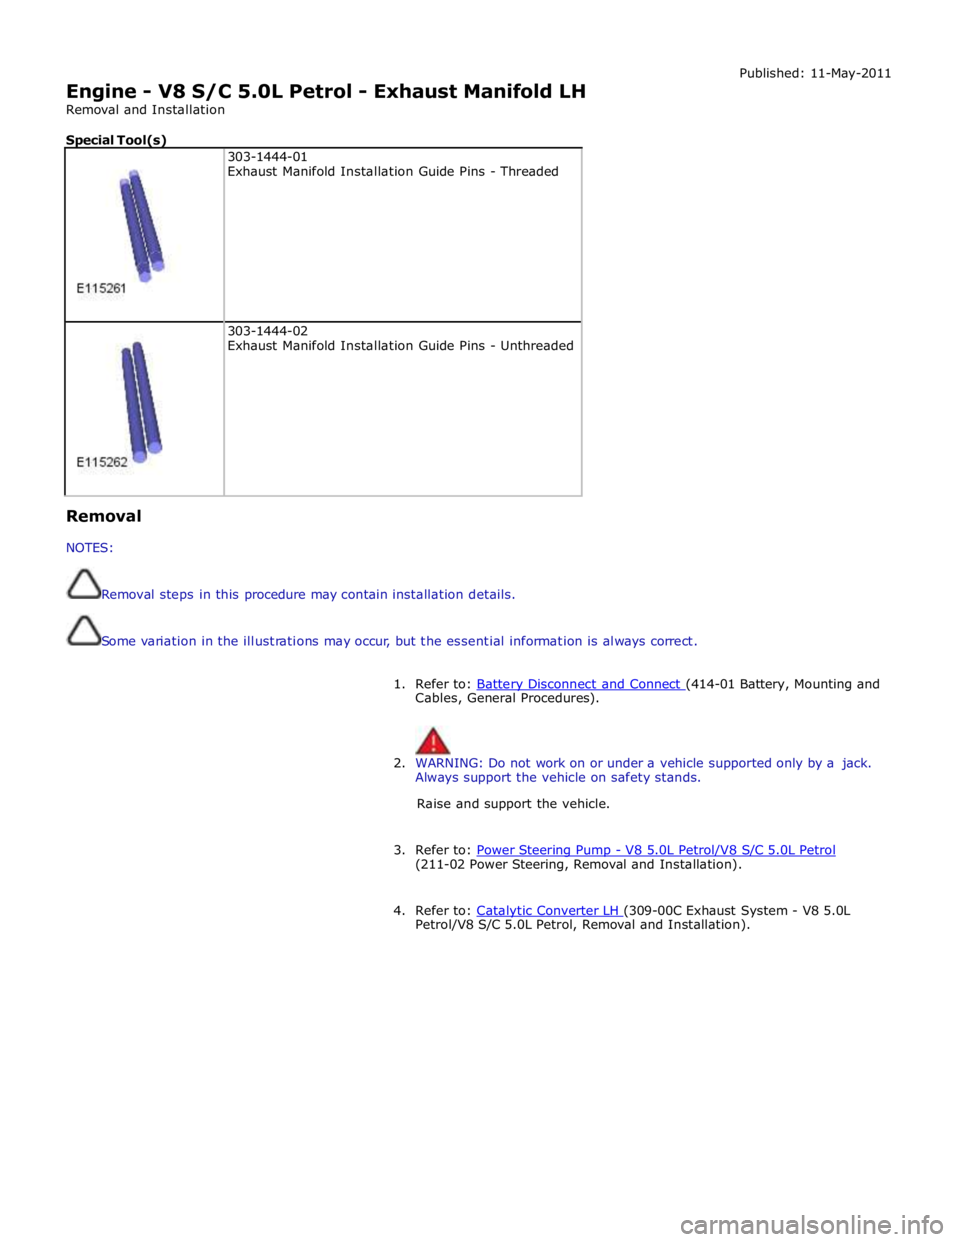
303-1444-01
Exhaust Manifold Installation Guide Pins - Threaded
303-1444-02
Exhaust Manifold Installation Guide Pins - Unthreaded Removal
NOTES:
Removal steps in this procedure may contain installation details.
Some variation in the illustrations may occur, but the essential information is always correct. Published: 11-May-2011
1. Refer to: Battery Disconnect and Connect (414-01 Battery, Mounting and Cables, General Procedures).
2. WARNING: Do not work on or under a vehicle supported only by a jack.
Always support the vehicle on safety stands.
Raise and support the vehicle.
3. Refer to: Power Steering Pump - V8 5.0L Petrol/V8 S/C 5.0L Petrol (211-02 Power Steering, Removal and Installation).
4. Refer to: Catalytic Converter LH (309-00C Exhaust System - V8 5.0L Petrol/V8 S/C 5.0L Petrol, Removal and Installation).
Page 974 of 3039
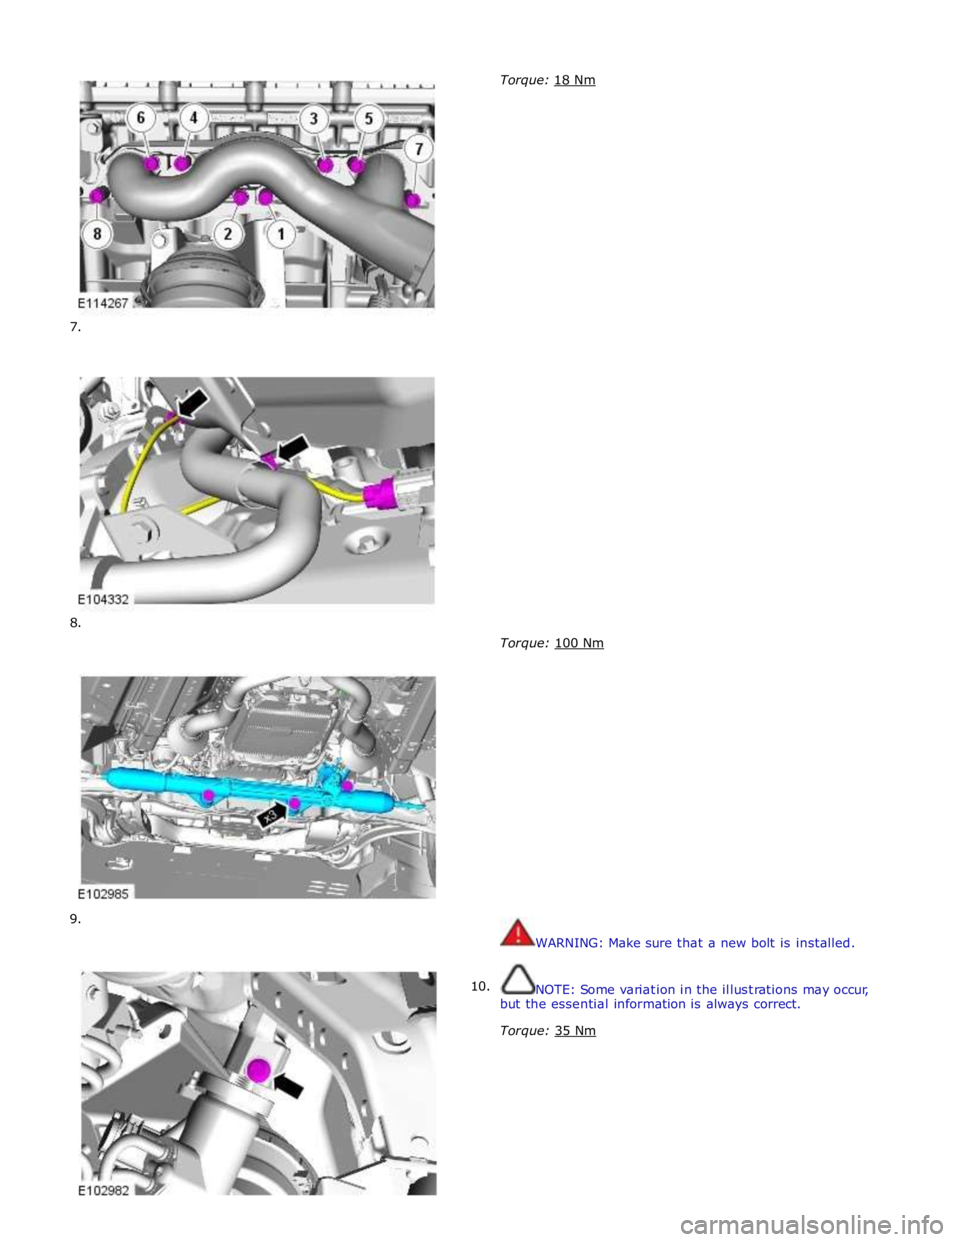
7.
8.
9.
10. Torque: 18 Nm
Torque: 100 Nm
WARNING: Make sure that a new bolt is installed.
NOTE: Some variation in the illustrations may occur,
but the essential information is always correct.
Torque: 35 Nm
Page 986 of 3039
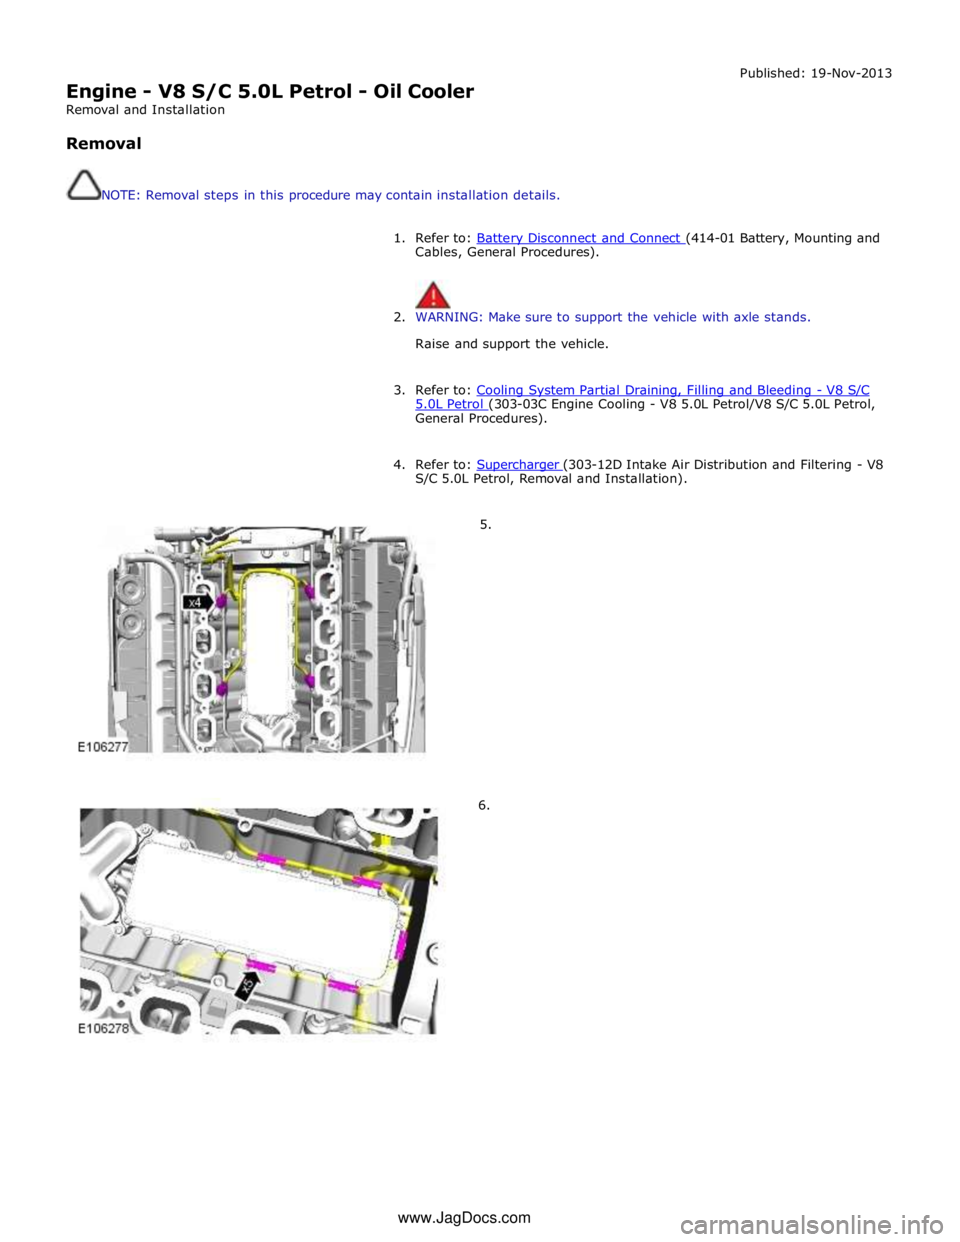
Engine - V8 S/C 5.0L Petrol - Oil Cooler
Removal and Installation
Removal
NOTE: Removal steps in this procedure may contain installation details. Published: 19-Nov-2013
1. Refer to: Battery Disconnect and Connect (414-01 Battery, Mounting and Cables, General Procedures).
2. WARNING: Make sure to support the vehicle with axle stands.
Raise and support the vehicle.
3. Refer to: Cooling System Partial Draining, Filling and Bleeding - V8 S/C 5.0L Petrol (303-03C Engine Cooling - V8 5.0L Petrol/V8 S/C 5.0L Petrol, General Procedures).
4. Refer to: Supercharger (303-12D Intake Air Distribution and Filtering - V8 S/C 5.0L Petrol, Removal and Installation).
5.
6. www.JagDocs.com
Page 991 of 3039
Engine - V8 S/C 5.0L Petrol - Oil Pan
Removal and Installation
Removal
NOTE: Removal steps in this procedure may contain installation details. Published: 11-May-2011
1. Refer to: Battery Disconnect and Connect (414-01 Battery, Mounting and Cables, General Procedures).
2. WARNING: Make sure to support the vehicle with axle stands.
Raise and support the vehicle.
3. Refer to: Engine Oil Level Sensor (303-14D Electronic Engine Controls - V8 S/C 5.0L Petrol, Removal and Installation).
4. www.JagDocs.com
