spare tire JEEP CHEROKEE 2015 KL / 5.G Owner's Manual
[x] Cancel search | Manufacturer: JEEP, Model Year: 2015, Model line: CHEROKEE, Model: JEEP CHEROKEE 2015 KL / 5.GPages: 772, PDF Size: 18.21 MB
Page 634 of 772
Jacking Instructions
WARNING!
Carefully follow these tire changing warnings to
help prevent personal injury or damage to your
vehicle:
•Always park on a firm, level surface as far from the
edge of the roadway as possible before raising the
vehicle.
•Turn on the Hazard Warning flasher.
•Chock the wheel diagonally opposite the wheel to
be raised.
•Set the parking brake firmly and set an automatic
transmission in PARK.
•Never start or run the engine with the vehicle on a
jack.
(Continued)
WARNING!(Continued)
•Do not let anyone sit in the vehicle when it is on a
jack.
•Do not get under the vehicle when it is on a jack. If
you need to get under a raised vehicle, take it to a
service center where it can be raised on a lift.
•Only use the jack in the positions indicated and for
lifting this vehicle during a tire change.
•If working on or near a roadway, be extremely
careful of motor traffic.
•To assure that spare tires, flat or inflated, are
securely stowed, spares must be stowed with the
valve stem facing the ground.
632 WHAT TO DO IN EMERGENCIES
Page 635 of 772
CAUTION!
Do not attempt to raise the vehicle by jacking on
locations other than those indicated in the Jacking
Instructions for this vehicle.
1. Remove the spare tire, jack, and wheel bolt wrench.
2. If equipped with aluminum wheels where the center
cap covers the wheel bolts, use the wheel bolt wrench
to pry the center cap off carefully before raising the
vehicle.
3. Before raising the vehicle, use the wheel bolt wrench
to loosen, but not remove, the wheel bolts on the
wheel with the flat tire. Turn the wheel bolts counter-
clockwise one turn while the wheel is still on the
ground.
4. Place the jack underneath the lift area that is closest to
the flat tire. Turn the jack screw clockwise to firmly
engage the jack saddle with the lift area of the sill
flange, centering the jack saddle inside the cutout in
the sill cladding.
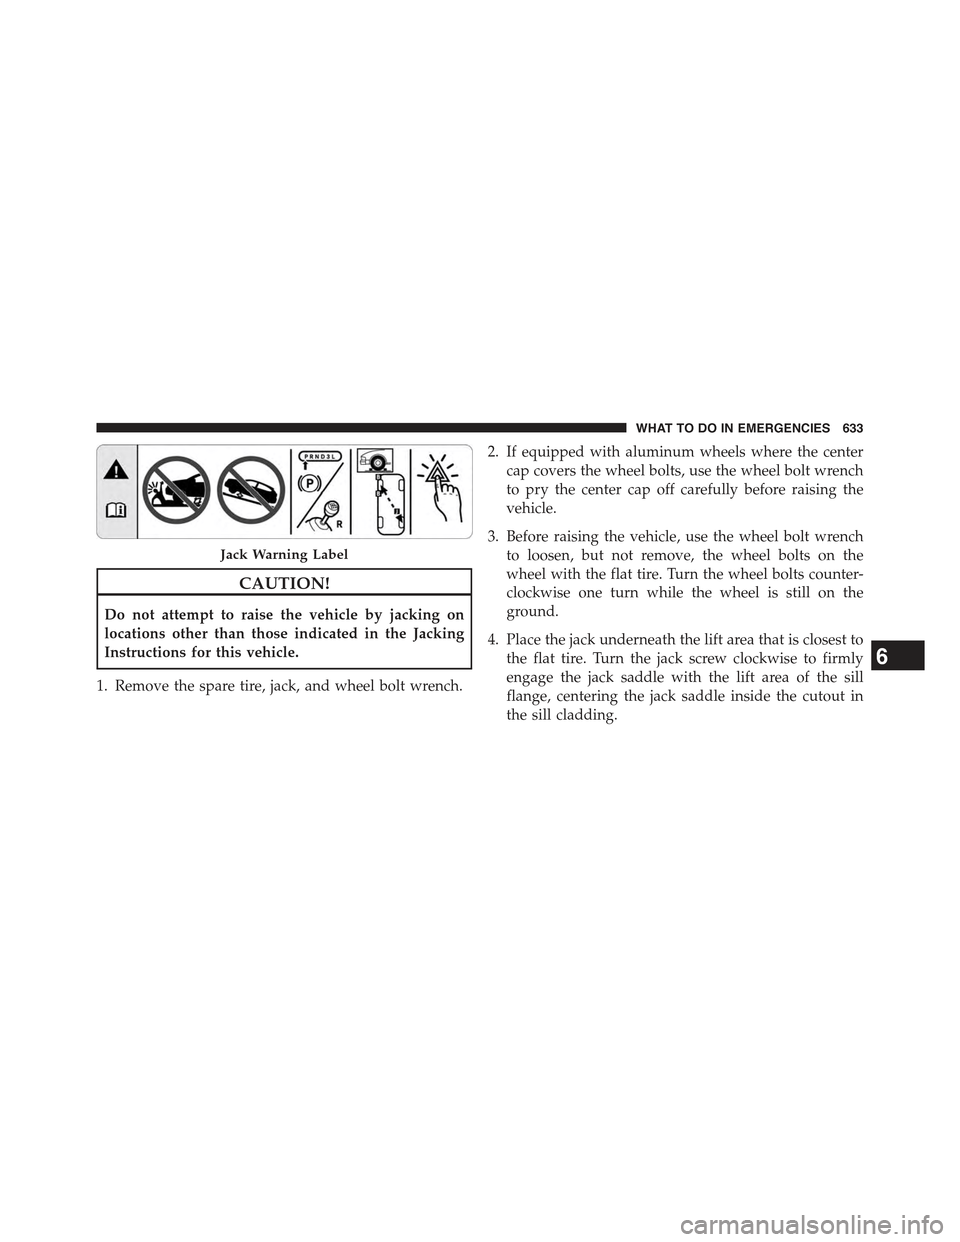
Jack Warning Label
6
WHAT TO DO IN EMERGENCIES 633
Page 638 of 772
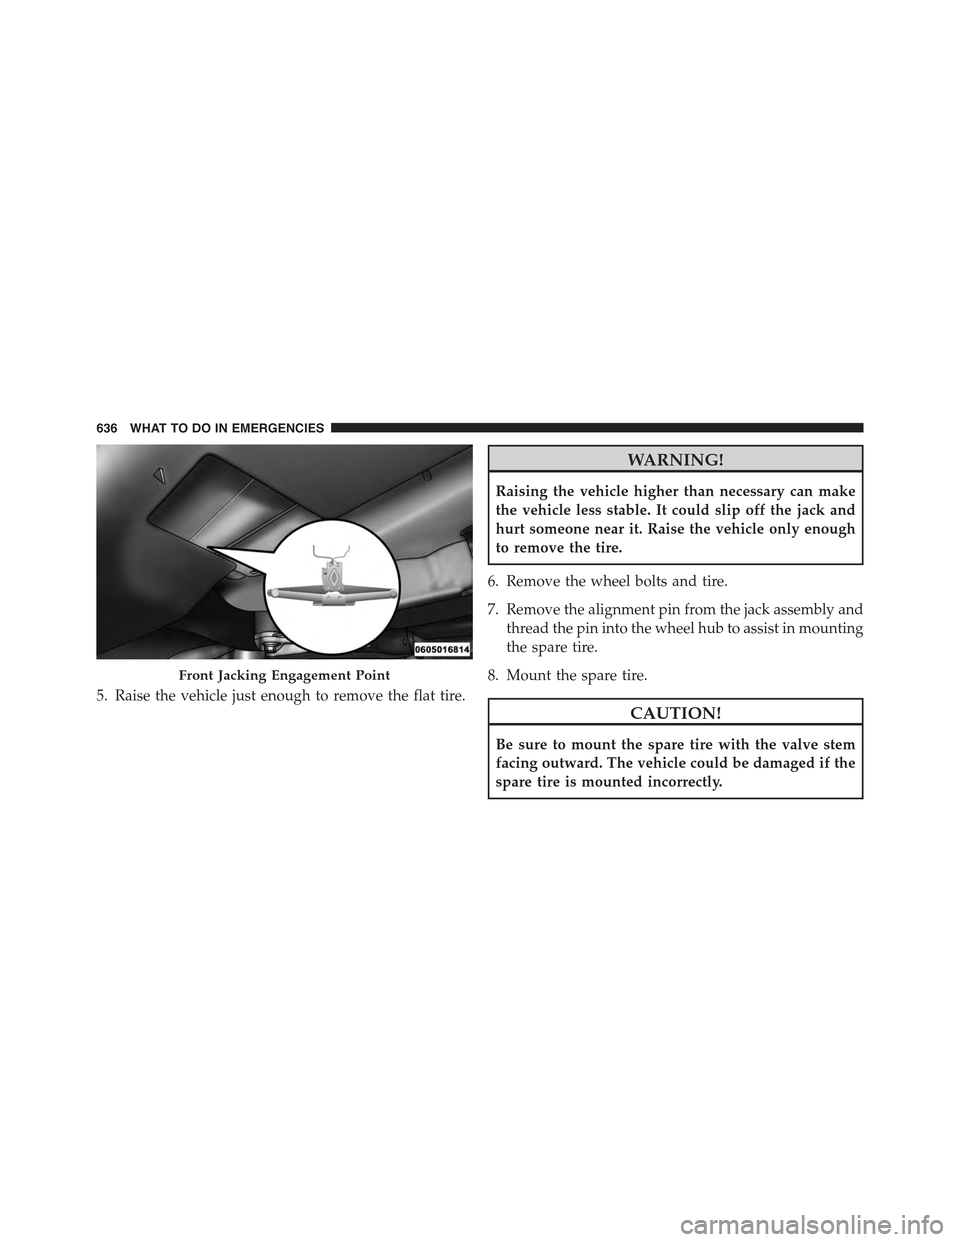
5. Raise the vehicle just enough to remove the flat tire.
WARNING!
Raising the vehicle higher than necessary can make
the vehicle less stable. It could slip off the jack and
hurt someone near it. Raise the vehicle only enough
to remove the tire.
6. Remove the wheel bolts and tire.
7. Remove the alignment pin from the jack assembly and
thread the pin into the wheel hub to assist in mounting
the spare tire.
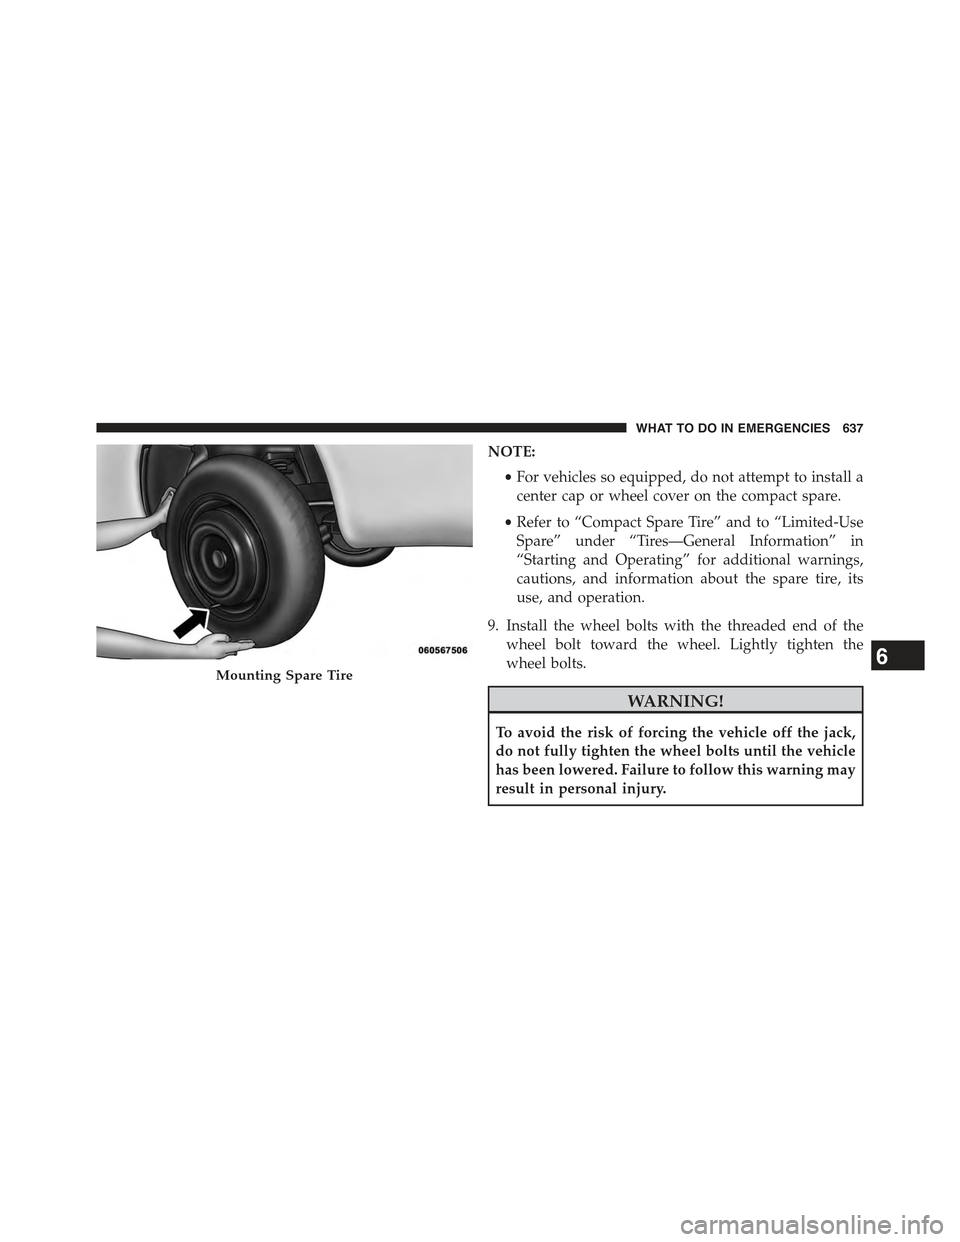
8. Mount the spare tire.
CAUTION!
Be sure to mount the spare tire with the valve stem
facing outward. The vehicle could be damaged if the
spare tire is mounted incorrectly.
Front Jacking Engagement Point
636 WHAT TO DO IN EMERGENCIES
Page 639 of 772
NOTE:
•For vehicles so equipped, do not attempt to install a
center cap or wheel cover on the compact spare.
•Refer to “Compact Spare Tire” and to “Limited-Use
Spare” under “Tires—General Information” in
“Starting and Operating” for additional warnings,
cautions, and information about the spare tire, its
use, and operation.
9. Install the wheel bolts with the threaded end of the
wheel bolt toward the wheel. Lightly tighten the
wheel bolts.
WARNING!
To avoid the risk of forcing the vehicle off the jack,
do not fully tighten the wheel bolts until the vehicle
has been lowered. Failure to follow this warning may
result in personal injury.
Mounting Spare Tire6
WHAT TO DO IN EMERGENCIES 637
Page 641 of 772
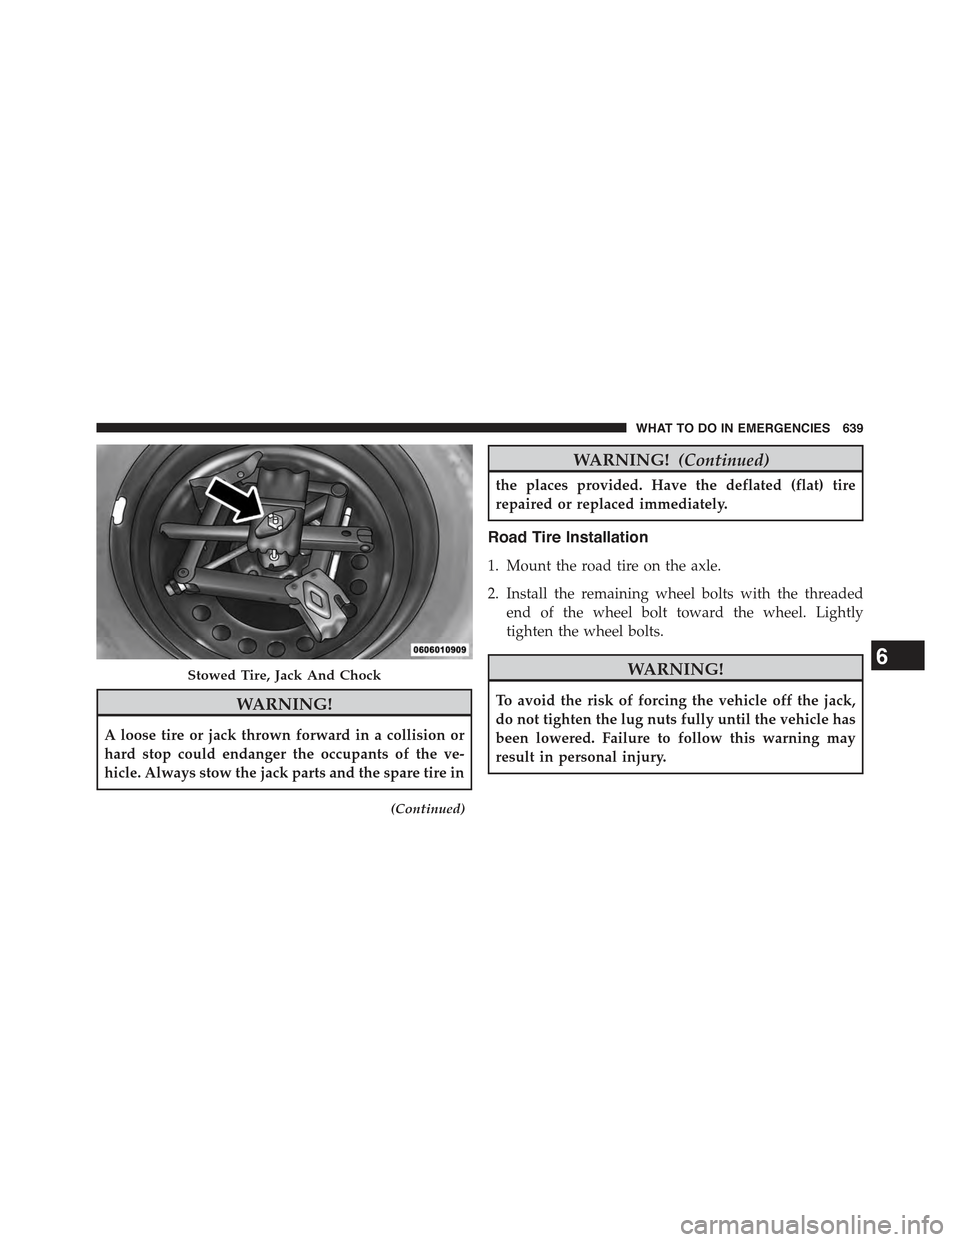
WARNING!
A loose tire or jack thrown forward in a collision or
hard stop could endanger the occupants of the ve-
hicle. Always stow the jack parts and the spare tire in
(Continued)
WARNING!(Continued)
the places provided. Have the deflated (flat) tire
repaired or replaced immediately.
Road Tire Installation
1. Mount the road tire on the axle.
2. Install the remaining wheel bolts with the threaded
end of the wheel bolt toward the wheel. Lightly
tighten the wheel bolts.
WARNING!
To avoid the risk of forcing the vehicle off the jack,
do not tighten the lug nuts fully until the vehicle has
been lowered. Failure to follow this warning may
result in personal injury.
Stowed Tire, Jack And Chock6
WHAT TO DO IN EMERGENCIES 639
Page 642 of 772
3. Lower the vehicle to the ground by turning the jack
handle counterclockwise.
4. Finish tightening the wheel bolts. Push down on the
wrench while at the end of the handle for increased
leverage. Tighten the wheel bolts in a star pattern until
each wheel bolt has been tightened twice. Refer to
“Torque Specifications” in this section for the proper
lug bolt torque. If in doubt about the correct tightness,
have them checked with a torque wrench by your
authorized dealer or service station.
5. Lower the jack until it is free. Remove the wheel
chocks. Reassemble the lug wrench to the jack assem-
bly and stow it in the spare tire area. Secure the
assembly using the means provided. Release the park-
ing brake before driving the vehicle.
6. After 25 miles (40 km) check the wheel bolt torque
with a torque wrench to ensure that all wheel bolts are
properly seated against the wheel.
JUMP-STARTING PROCEDURES
If your vehicle has a discharged battery it can be jump-
started using a set of jumper cables and a battery in
another vehicle or by using a portable battery booster
pack. Jump-starting can be dangerous if done improperly
so please follow the procedures in this section carefully.
NOTE:When using a portable battery booster pack
follow the manufacturer ’s operating instructions and
precautions.
CAUTION!
Do not use a portable battery booster pack or any
other booster source with a system voltage greater
than 12 Volts or damage to the battery, starter motor,
alternator or electrical system may occur.
640 WHAT TO DO IN EMERGENCIES
Page 753 of 772
Child Restraints
Booster Seats...........................97
Child Restraints.........................92
Child Seat Installation....................113
How To Stow An Unused ALR Seat Belt.......109
Infants And Child Restraints................95
Install A LATCH-compatible Child Restraint . . . .108
Installing Child Restraints Using The Vehicle Seat
Belt.................................110
LATCH Positions.......................101
Locating The LATCH Anchorages............104
Lower Anchors And Tethers For Children......100
Older Children And Child Restraints..........95
Seating Positions........................99
Child Safety Locks.........................37
Clean Air Gasoline........................580
Cleaning
Wheels...............................701
Climate Control..........................426
Automatic............................426
Coin Holder.............................313
Cold Weather Operation....................473
Compact Disc (CD) Maintenance..............424
Compact Spare Tire........................559
Console................................313
Console, Floor...........................313
Contract, Service..........................741
Coolant Pressure Cap (Radiator Cap)...........690
Cooling System...........................686
Adding Coolant (Antifreeze)...............688
Coolant Capacity.......................727
Coolant Level..........................691
Disposal of Used Coolant.................691
Drain, Flush, and Refill...................687
Inspection............................687
Points to Remember.....................691
Pressure Cap..........................690
Radiator Cap..........................69010
INDEX 751
Page 766 of 772
Seats..................................149
Adjustment...........................149
Easy Entry............................165
Head Restraints........................157
Memory..............................162
Rear Folding..........................159
Seatback Release........................153
Tilting...............................153
Security Alarm............................19
Arm The System........................19
Selec-Terrain.............................503
Selection of Coolant (Antifreeze)...............728
SENTRY KEY®
FCC General Information..................18
Key Programming.......................18
Sentry Key (Immobilizer)....................16
Sentry Key Replacement.....................18
Service Assistance.........................739
Service Contract..........................741
Service Manuals..........................744
Shifting
Automatic Transmission..................484
Power Transfer Unit, Shifting into Power Transfer
Unit Neutral (N)........................608
Transfer Case, Shifting into Transfer Case
Neutral (N)...........................608
Transfer Case, Shifting out of Transfer Case
Neutral (N)...........................611
Shift Lever Override.......................647
Shoulder Belts............................55
Side View Mirror Adjustment.................137
Signals, Turn............................120
Snow Chains (Tire Chains)...................564
Snow Tires..............................557
Spare Tire...............................559
Spark Plugs.............................728
Specifications
Fuel (Gasoline).........................728
764 INDEX
Page 768 of 772
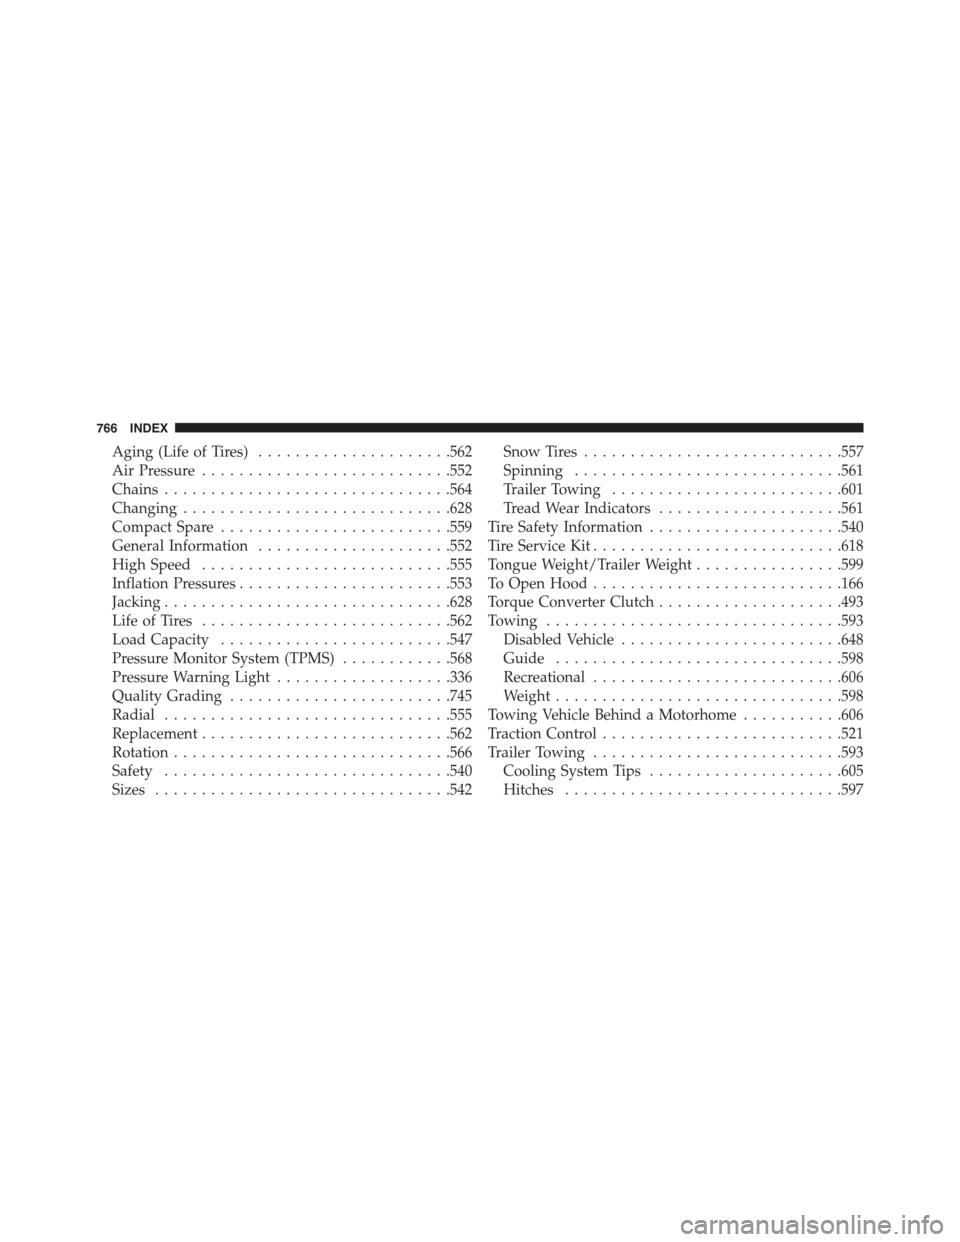
Aging (Life of Tires).....................562
Air Pressure...........................552
Chains...............................564
Changing.............................628
Compact Spare.........................559
General Information.....................552
High Speed...........................555
Inflation Pressures.......................553
Jacking...............................628
Life of Tires...........................562
Load Capacity.........................547
Pressure Monitor System (TPMS)............568
Pressure Warning Light...................336
Quality Grading........................745
Radial...............................555
Replacement...........................562
Rotation..............................566
Safety...............................540
Sizes................................542
Snow Tires............................557
Spinning.............................561
Trailer Towing.........................601
Tread Wear Indicators....................561
Tire Safety Information.....................540
Tire Service Kit...........................618
Tongue Weight/Trailer Weight................599
To Open Hood...........................166
Torque Converter Clutch....................493
Towing................................593
Disabled Vehicle........................648
Guide...............................598
Recreational...........................606
Weight...............................598
Towing Vehicle Behind a Motorhome...........606
Traction Control..........................521
Trailer Towing...........................593
Cooling System Tips.....................605
Hitches..............................597
766 INDEX