reset JEEP CHEROKEE 2015 KL / 5.G Owner's Manual
[x] Cancel search | Manufacturer: JEEP, Model Year: 2015, Model line: CHEROKEE, Model: JEEP CHEROKEE 2015 KL / 5.GPages: 244, PDF Size: 30.6 MB
Page 107 of 244
Fav
Activates the favorites menu. You can add up to 50 favorite artists or songs.
• Just press Add Fav Artist or Add Fav Song while the song is playing. You will then
be alerted any time one of these songs, or works by these artists, is playing on other
SiriusXM channels.
SiriusXM Parental Controls
You can skip or hide certain channels from view if you do not want access to them.
• Press the “More” button on the touchscreen, then the “Settings” button on the
touchscreen, next press the “Sirius Setup” button on the touchscreen, then select
“Channel Skip”. Press the box, check-mark, next to the channel you want skipped.
They will not show up in normal usage.
SiriusXM also offers the option to permanently block selected channels. Call
(1-888-601-6297 for U.S. customers, 1-877-438-9677 for Canadian customers)
and request the Family-Friendly Package.
Browse
Lets you browse the SiriusXM channel listing or Genre listing. Favorites, Game Zone,
Weather and Jump settings also provide a way to browse the SiriusXM channel list.
BrowseSub-MenuSub-Menu Description
AllShows the channel listing.
Genre Provides a list of all genres, and lets you jump to a channel within theselected genre.
Presets Lets you scroll the list of Preset satellite channels. Press the channel, orpress Enter on the Tune knob, to go to that channel. Press the trash canicon to delete a preset. Your presets are also shown at the top of the mainSatellite Radio screen.
Favorites Lets you manage artists and songs in the Favorites list and configure AlertSettings to let you know when favorite songs or artists are playing on otherchannels. Also, view a list of channels airing any of your Favorites.
Game Zone Provides alerts when your favorite sports teams are starting a game whichis being aired on other SiriusXM channels, or when their game score isannounced. You can select and manage your Teams list here, andconfigure alerts.
Jump Lets you select your favorite cities for Traffic & Weather information,which is used by the Jump feature on the main satellite radio screen.
ELECTRONICS
105
Page 138 of 244
RADIO
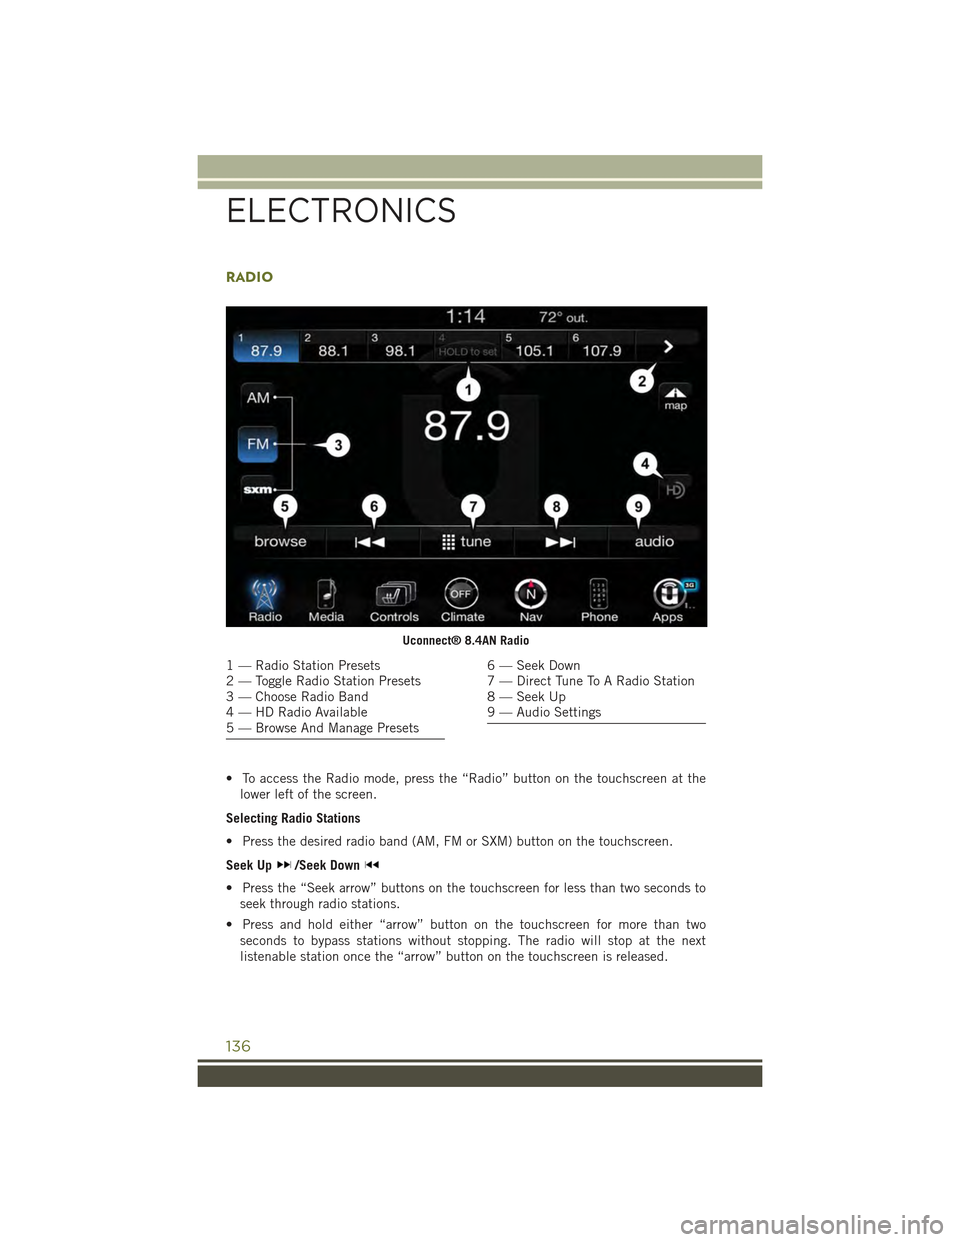
• To access the Radio mode, press the “Radio” button on the touchscreen at the
lower left of the screen.
Selecting Radio Stations
• Press the desired radio band (AM, FM or SXM) button on the touchscreen.
Seek Up/Seek Down
• Press the “Seek arrow” buttons on the touchscreen for less than two seconds to
seek through radio stations.
• Press and hold either “arrow” button on the touchscreen for more than two
seconds to bypass stations without stopping. The radio will stop at the next
listenable station once the “arrow” button on the touchscreen is released.
Uconnect® 8.4AN Radio
1 — Radio Station Presets2 — Toggle Radio Station Presets3 — Choose Radio Band4 — HD Radio Available5 — Browse And Manage Presets
6 — Seek Down7 — Direct Tune To A Radio Station8 — Seek Up9 — Audio Settings
ELECTRONICS
136
Page 139 of 244
Direct Tune
• Tune directly to a radio station by pressing the “Tune” button on the screen, and
entering the desired station number.
Store Radio Presets
Your radio can store 36 total preset stations, 12 presets per band (AM, FM and SXM).
They are shown at the top of your radio screen.
• To see the 12 preset stations per band, press the “arrow” button on the
touchscreen at the top right of the screen to toggle between the two sets of six
presets.
• To set a station into memory press and hold the desired numbered button on the
touchscreen for more than two seconds or until you hear a confirmation beep.
HD Radio
HD Radio technology (available on Uconnect®8.4AN) allows broadcasters to
transmit a high-quality digital signal.
With an HD radio receiver, the listener is provided with a clear sound that enhances
the listening experience. HD radio can also transmit data such as song title or artist.
SiriusXM Premier Over 160 Channels
Get every channel available on your satellite radio, and enjoy all you want, all in one
place. Hear commercial-free music plus sports, news, talk and entertainment. Get all
the premium programming, including Howard Stern, every NFL game, Oprah Radio®,
every MLB®and NHL®game, every NASCAR®race and more. And get 20+ Xtra
channels, including SiriusXM Latino, a selection of channels dedicated to Spanish
language programming.
• To access SiriusXM Satellite Radio, press the “SXM” button on the touchscreen on
the main Radio screen.
The following describes features that are available when in SiriusXM Satellite Radio
mode.
Seek Up/Seek Down
• Press the “Seek arrow” button on the touchscreen for less than two seconds to
seek through channels in SXM mode.
• Press and hold either “arrow” button on the touchscreen for more than two
seconds to bypass channels without stopping. The radio will stop at the next
listenable channel once the arrow button on the touchscreen is released.
ELECTRONICS
137
Page 140 of 244
Direct Tune
• Tune directly to a SXM channel by pressing the “Tune” button on the touchscreen
on the screen, and entering the desired station number.
Jump
Automatically tells you when Traffic & Weather for a favorite city is available, and
gives you the option to switch to that channel.
• Press “Jump” to activate the feature. After listening to Traffic and Weather, press
“Jump” again to return to the previous channel.
Fav
Activates the favorites menu. You can add up to 50 favorite artists or songs.
• Just press Add Fav Artist or Add Fav Song while the song is playing. You will then
be alerted any time one of these songs, or works by these artists, is playing on other
SiriusXM channels.
SiriusXM Parental Controls
You can skip or hide certain channels from view if you do not want access to them.
• Press the “More” button on the touchscreen, then the “Settings” button on the
touchscreen, next press the “Sirius Setup” button on the touchscreen, then select
“Channel Skip”. Press the box, check-mark, next to the channel you want skipped.
They will not show up in normal usage.
SiriusXM also offers the option to permanently block selected channels. Call
(1-888-601-6297 for U.S. customers, 1-877-438-9677 for Canadian customers)
and request the Family-Friendly Package.
Browse
Lets you browse the SiriusXM channel listing or Genre listing. Favorites, Game Zone,
Weather and Jump settings also provide a way to browse the SiriusXM channel list.
BrowseSub-MenuSub-Menu Description
AllShows the channel listing.
Genre Provides a list of all genres, and lets you jump to a channel within theselected genre.
Presets Lets you scroll the list of Preset satellite channels. Press the channel, orpress Enter on the Tune knob, to go to that channel. Press the trash canicon to delete a preset. Your presets are also shown at the top of the mainSatellite Radio screen.
Favorites Lets you manage artists and songs in the Favorites list and configure AlertSettings to let you know when favorite songs or artists are playing on otherchannels. Also, view a list of channels airing any of your Favorites.
ELECTRONICS
138
Page 153 of 244
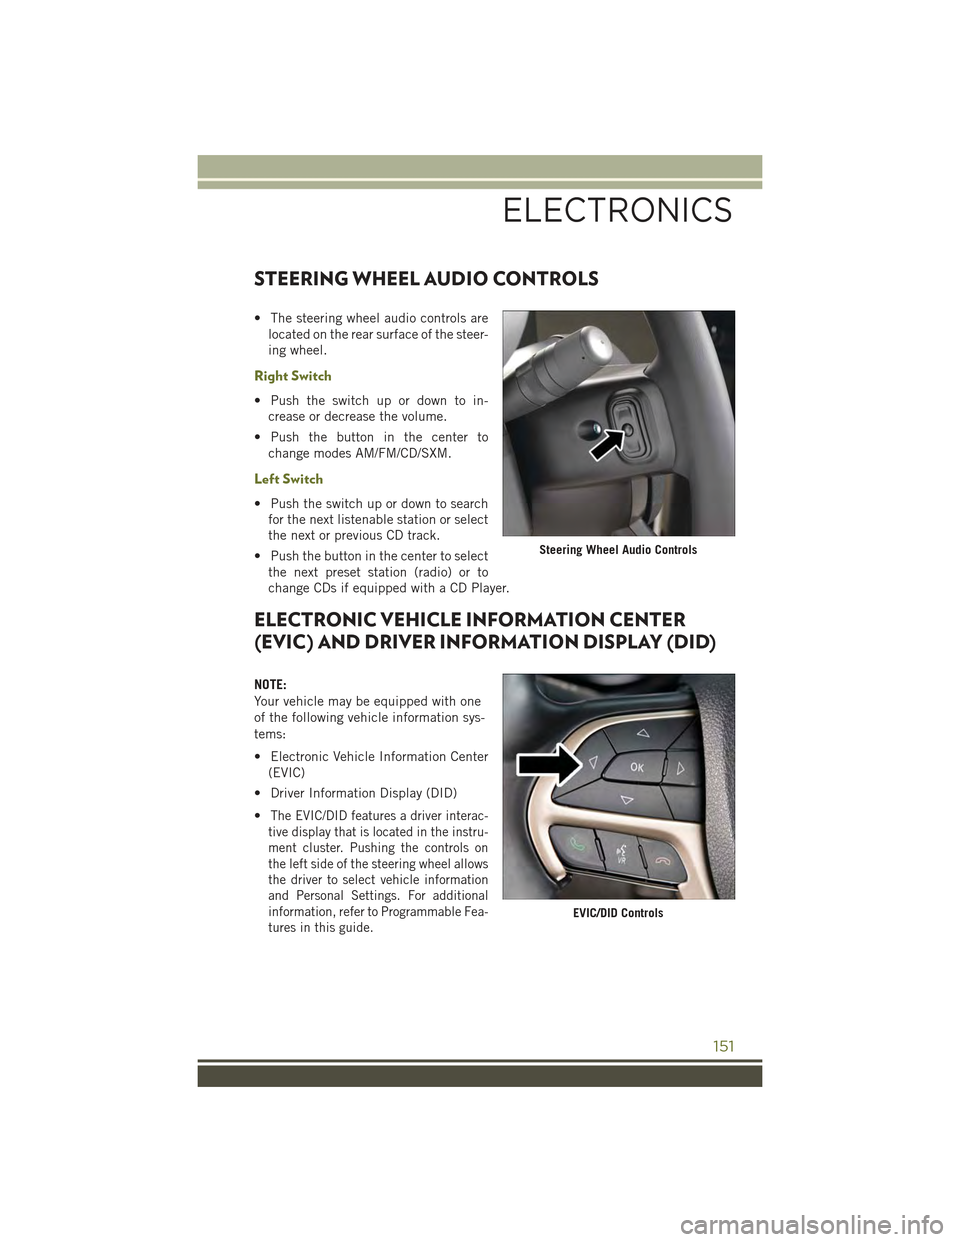
STEERING WHEEL AUDIO CONTROLS
• The steering wheel audio controls are
located on the rear surface of the steer-
ing wheel.
Right Switch
• Push the switch up or down to in-
crease or decrease the volume.
• Push the button in the center to
change modes AM/FM/CD/SXM.
Left Switch
• Push the switch up or down to search
for the next listenable station or select
the next or previous CD track.
• Push the button in the center to select
the next preset station (radio) or to
change CDs if equipped with a CD Player.
ELECTRONIC VEHICLE INFORMATION CENTER
(EVIC) AND DRIVER INFORMATION DISPLAY (DID)
NOTE:
Your vehicle may be equipped with one
of the following vehicle information sys-
tems:
• Electronic Vehicle Information Center
(EVIC)
• Driver Information Display (DID)
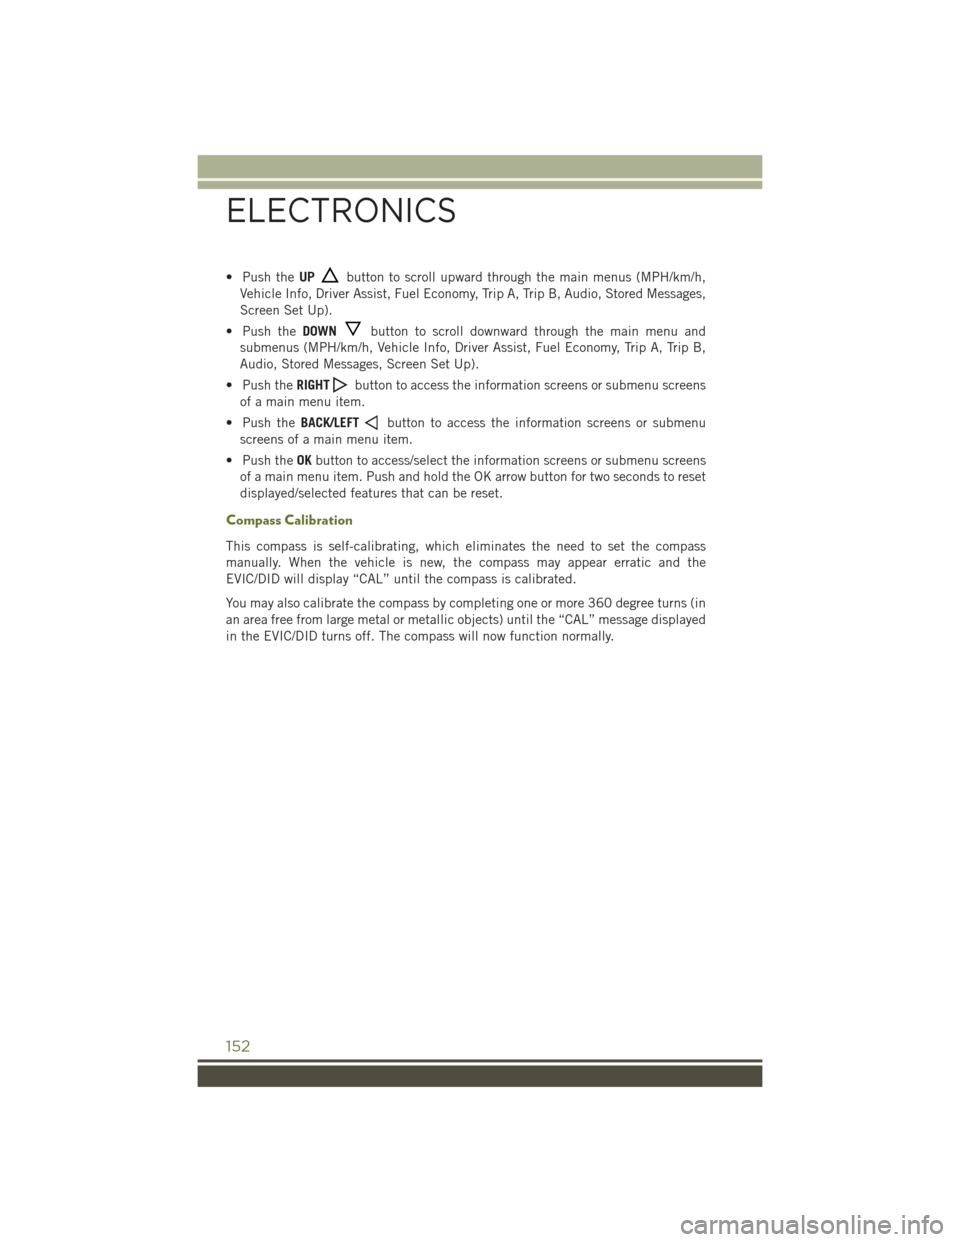
•The EVIC/DID features a driver interac-
tive display that is located in the instru-
ment cluster. Pushing the controls on
the left side of the steering wheel allows
the driver to select vehicle information
and Personal Settings. For additional
information, refer to Programmable Fea-
tures in this guide.
Steering Wheel Audio Controls
EVIC/DID Controls
ELECTRONICS
151
Page 154 of 244
• Push theUPbutton to scroll upward through the main menus (MPH/km/h,
Vehicle Info, Driver Assist, Fuel Economy, Trip A, Trip B, Audio, Stored Messages,
Screen Set Up).
• Push theDOWNbutton to scroll downward through the main menu and
submenus (MPH/km/h, Vehicle Info, Driver Assist, Fuel Economy, Trip A, Trip B,
Audio, Stored Messages, Screen Set Up).
• Push theRIGHTbutton to access the information screens or submenu screens
of a main menu item.
• Push theBACK/LEFTbutton to access the information screens or submenu
screens of a main menu item.
• Push theOKbutton to access/select the information screens or submenu screens
of a main menu item. Push and hold the OK arrow button for two seconds to reset
displayed/selected features that can be reset.
Compass Calibration
This compass is self-calibrating, which eliminates the need to set the compass
manually. When the vehicle is new, the compass may appear erratic and the
EVIC/DID will display “CAL” until the compass is calibrated.
You may also calibrate the compass by completing one or more 360 degree turns (in
an area free from large metal or metallic objects) until the “CAL” message displayed
in the EVIC/DID turns off. The compass will now function normally.
ELECTRONICS
152
Page 158 of 244
Using HomeLink®
To operate, push and release the programmed HomeLink®button. Activation will now
occur for the programmed device (i.e., garage door opener, gate operator, security
system, entry door lock, home/office lighting, etc.,). The hand-held transmitter of the
device may also be used at any time.
WARNING!
• Your motorized door or gate will open and close while you are programming the
universal transceiver. Do not program the transceiver if people or pets are in the
path of the door or gate.
• Do not run your vehicle in a closed garage or confined area while programming
the transceiver. Exhaust gas from your vehicle contains Carbon Monoxide (CO)
which is odorless and colorless. Carbon Monoxide is poisonous when inhaled
and can cause you and others to be severely injured or killed.
POWER INVERTER
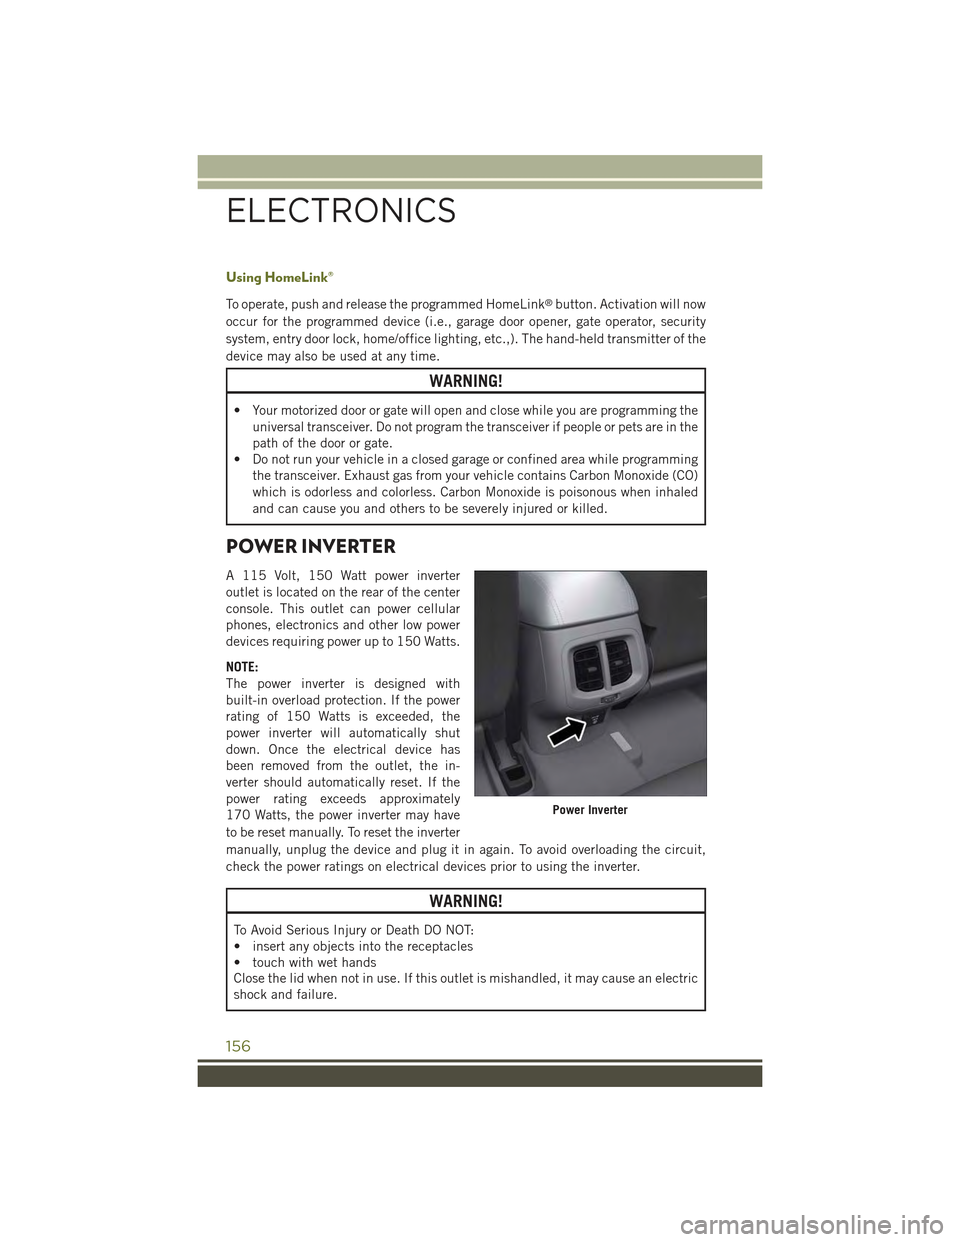
A 115 Volt, 150 Watt power inverter
outlet is located on the rear of the center
console. This outlet can power cellular
phones, electronics and other low power
devices requiring power up to 150 Watts.
NOTE:
The power inverter is designed with
built-in overload protection. If the power
rating of 150 Watts is exceeded, the
power inverter will automatically shut
down. Once the electrical device has
been removed from the outlet, the in-
verter should automatically reset. If the
power rating exceeds approximately
170 Watts, the power inverter may have
to be reset manually. To reset the inverter
manually, unplug the device and plug it in again. To avoid overloading the circuit,
check the power ratings on electrical devices prior to using the inverter.
WARNING!
To Avoid Serious Injury or Death DO NOT:
• insert any objects into the receptacles
• touch with wet hands
Close the lid when not in use. If this outlet is mishandled, it may cause an electric
shock and failure.
Power Inverter
ELECTRONICS
156
Page 180 of 244
CAUTION!
Prolonged driving with the Malfunction Indicator Light (MIL) on could cause
damage to the engine control system. It also could affect fuel economy and
driveability. If the MIL is flashing, severe catalytic converter damage and power
loss will soon occur. Immediate service is required.
WARNING!
A malfunctioning catalytic converter, as referenced above, can reach higher
temperatures than in normal operating conditions. This can cause a fire if you
drive slowly or park over flammable substances such as dry plants, wood,
cardboard, etc. This could result in death or serious injury to the driver, occupants
or others.
– SERV (Service) 4WD Indicator Light
If the light stays on or comes on during driving, it means that the 4WD system is not
functioning properly and that service is required. We recommend you drive to the
nearest service center and have the vehicle serviced immediately.
-ElectronicStabilityControl(ESC)Activation/MalfunctionIndicatorLight
• If this indicator light flashes during acceleration, apply as little throttle as
possible. While driving, ease up on the accelerator. Adapt your speed and driving
to the prevailing road conditions. To improve the vehicle's traction when starting
off in deep snow, sand or gravel, it may be desirable to switch the ESC system off.
Oil Life Reset
• Your vehicle is equipped with an engine oil change indicator system. The “Oil
Change Due” message will flash in the EVIC display for approximately 10 seconds
after a single chime has sounded, to indicate the next scheduled oil change
interval. The engine oil change indicator system is duty cycle based, which means
the engine oil change interval may fluctuate, dependent upon your personal
driving style.
• Unless reset, this message will continue to display each time you turn the ignition
switch to the ON/RUN position or cycle the ignition to the ON/RUN position if
equipped with Keyless Enter-N-Go™. To turn off the message temporarily, push
and release the MENU button. To reset the oil change indicator system (after
performing the scheduled maintenance) refer to the following procedure:
Vehicles Equipped With Passive Entry
Without pushing the brake pedal, push the ENGINE START/STOP button and cycle
the ignition to the ON/RUN position (Do not start the engine.)
1. Push theOKbutton to enter the EVIC menu screen.
WHAT TO DO IN EMERGENCIES
178
Page 181 of 244
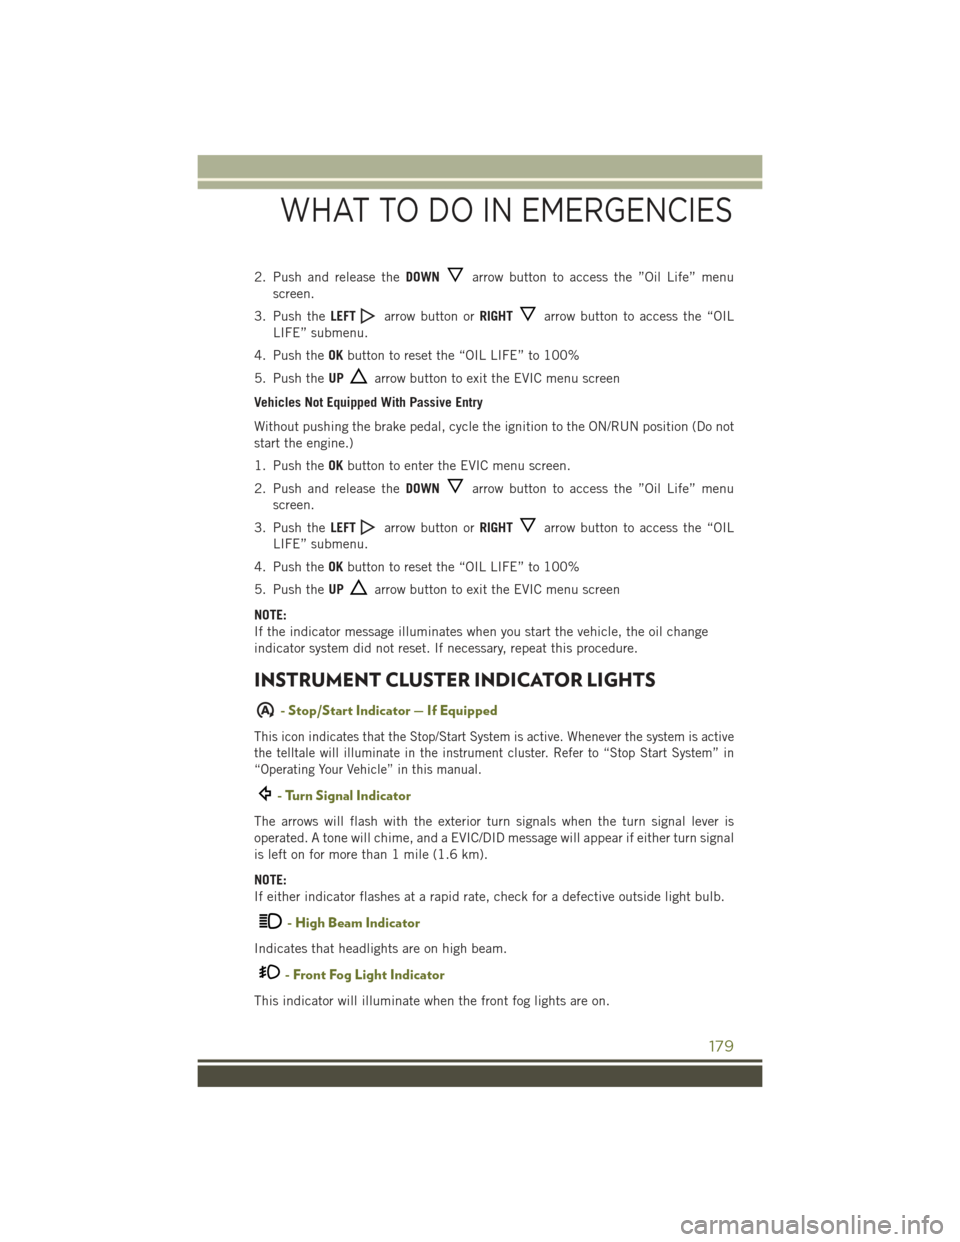
2. Push and release theDOWNarrow button to access the ”Oil Life” menu
screen.
3. Push theLEFTarrow button orRIGHTarrow button to access the “OIL
LIFE” submenu.
4. Push theOKbutton to reset the “OIL LIFE” to 100%
5. Push theUParrow button to exit the EVIC menu screen
Vehicles Not Equipped With Passive Entry
Without pushing the brake pedal, cycle the ignition to the ON/RUN position (Do not
start the engine.)
1. Push theOKbutton to enter the EVIC menu screen.
2. Push and release theDOWNarrow button to access the ”Oil Life” menu
screen.
3. Push theLEFTarrow button orRIGHTarrow button to access the “OIL
LIFE” submenu.
4. Push theOKbutton to reset the “OIL LIFE” to 100%
5. Push theUParrow button to exit the EVIC menu screen
NOTE:
If the indicator message illuminates when you start the vehicle, the oil change
indicator system did not reset. If necessary, repeat this procedure.
INSTRUMENT CLUSTER INDICATOR LIGHTS
A- Stop/Start Indicator — If Equipped
This icon indicates that the Stop/Start System is active. Whenever the system is active
the telltale will illuminate in the instrument cluster. Refer to “Stop Start System” in
“Operating Your Vehicle” in this manual.
- Turn Signal Indicator
The arrows will flash with the exterior turn signals when the turn signal lever is
operated. A tone will chime, and a EVIC/DID message will appear if either turn signal
is left on for more than 1 mile (1.6 km).
NOTE:
If either indicator flashes at a rapid rate, check for a defective outside light bulb.
- High Beam Indicator
Indicates that headlights are on high beam.
- Front Fog Light Indicator
This indicator will illuminate when the front fog lights are on.
WHAT TO DO IN EMERGENCIES
179
Page 182 of 244
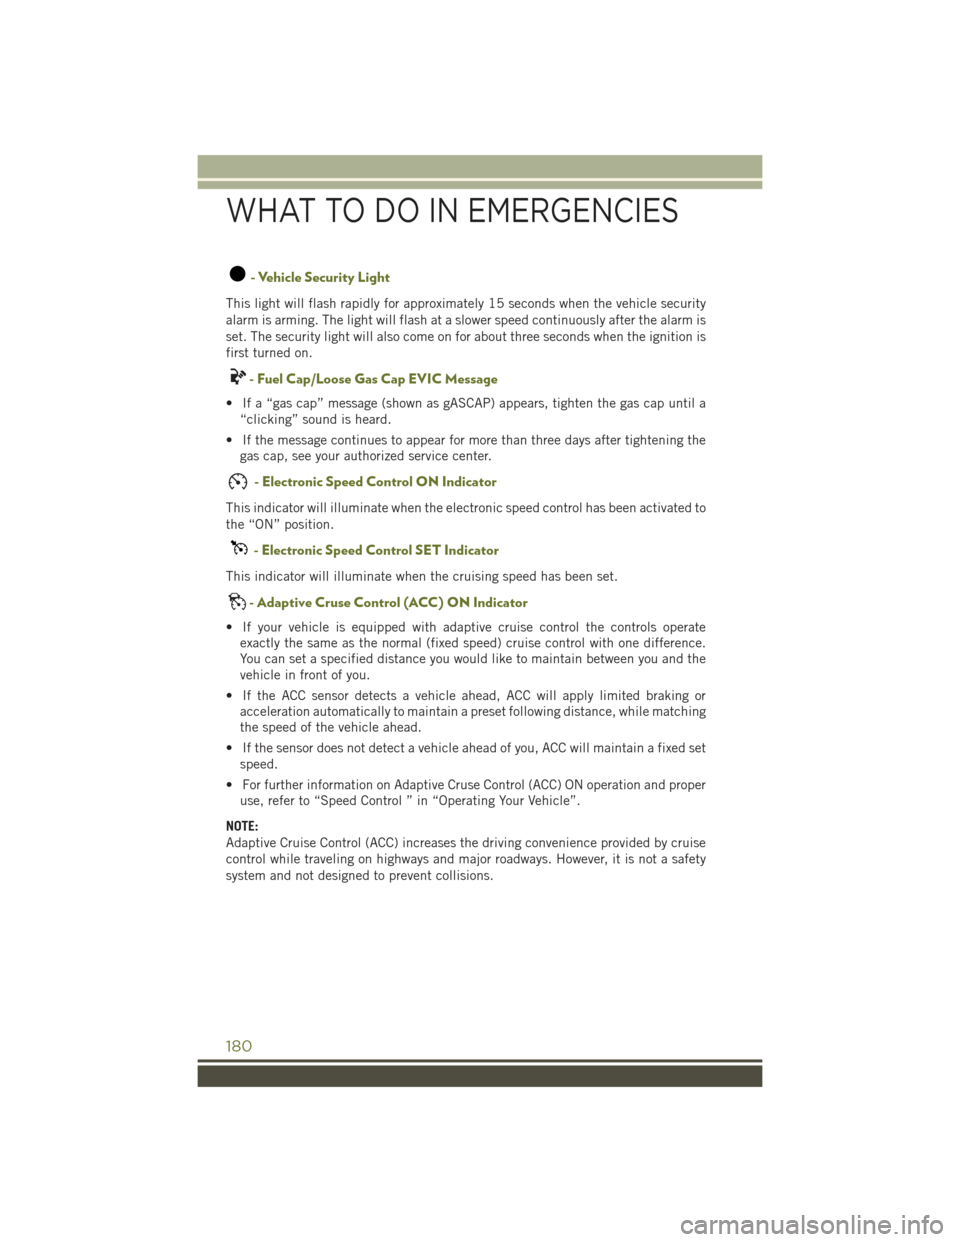
- Vehicle Security Light
This light will flash rapidly for approximately 15 seconds when the vehicle security
alarm is arming. The light will flash at a slower speed continuously after the alarm is
set. The security light will also come on for about three seconds when the ignition is
first turned on.
-FuelCap/LooseGasCapEVICMessage
• If a “gas cap” message (shown as gASCAP) appears, tighten the gas cap until a
“clicking” sound is heard.
• If the message continues to appear for more than three days after tightening the
gas cap, see your authorized service center.
- Electronic Speed Control ON Indicator
This indicator will illuminate when the electronic speed control has been activated to
the “ON” position.
- Electronic Speed Control SET Indicator
This indicator will illuminate when the cruising speed has been set.
-AdaptiveCruseControl(ACC)ONIndicator
• If your vehicle is equipped with adaptive cruise control the controls operate
exactly the same as the normal (fixed speed) cruise control with one difference.
You can set a specified distance you would like to maintain between you and the
vehicle in front of you.
• If the ACC sensor detects a vehicle ahead, ACC will apply limited braking or
acceleration automatically to maintain a preset following distance, while matching
the speed of the vehicle ahead.
• If the sensor does not detect a vehicle ahead of you, ACC will maintain a fixed set
speed.
• For further information on Adaptive Cruse Control (ACC) ON operation and proper
use, refer to “Speed Control ” in “Operating Your Vehicle”.
NOTE:
Adaptive Cruise Control (ACC) increases the driving convenience provided by cruise
control while traveling on highways and major roadways. However, it is not a safety
system and not designed to prevent collisions.
WHAT TO DO IN EMERGENCIES
180