remote control JEEP CHEROKEE 2015 KL / 5.G User Guide
[x] Cancel search | Manufacturer: JEEP, Model Year: 2015, Model line: CHEROKEE, Model: JEEP CHEROKEE 2015 KL / 5.GPages: 244, PDF Size: 30.6 MB
Page 3 of 244
INTRODUCTION/WELCOME
WELCOME FROM CHRYSLERGROUP LLC.................. 3
CONTROLS AT A GLANCE
DRIVER COCKPIT.............. 6INSTRUMENT CLUSTER.......... 8
GETTING STARTED
KEY FOB . . . . . . . . . . . . . . . . . . . 10REMOTE START............... 12VEHICLE SECURITY ALARM....... 13KEYLESS ENTER-N-GO™......... 13SEAT BELT SYSTEMS........... 17SUPPLEMENTAL RESTRAINT SYSTEM(SRS) — AIR BAGS............ 18CHILD RESTRAINTS............ 24HEAD RESTRAINTS............. 29FRONT SEATS................ 31REAR SEATS................ 34HEATED/VENTILATED SEATS....... 35HEATED STEERING WHEEL....... 36TILT/TELESCOPING STEERINGCOLUMN................... 37
OPERATING YOUR VEHICLE
ENGINE BREAK-INRECOMMENDATIONS........... 38TURN SIGNAL/HIGH BEAM LEVER . . . 38HEADLIGHT SWITCH............ 39WIPER/WASHER LEVER.......... 40ELECTRONIC SPEED CONTROL..... 41ADAPTIVE CRUISE CONTROL (ACC) . . . 44FORWARD COLLISION WARNING (FCW)WITH MITIGATION . . . . . . . . . . . . . 47MANUAL CLIMATE CONTROLSWITHOUT TOUCHSCREEN........ 49MANUAL CLIMATE CONTROLSWITH TOUCHSCREEN........... 50AUTOMATIC TEMPERATURECONTROLS (ATC).............. 53STOP/START SYSTEM — 3.2L ENGINE . . 57ELECTRIC PARKING BRAKE (EPB) . . . 59PA R K S E N S E®................ 61PARKVIEW®REAR BACK-UP CAMERA.. 63POWER SUNROOF............. 64WIND BUFFETING............. 67
ELECTRONICS
YOUR VEHICLE'S SOUND SYSTEM . . . 68IDENTIFYING YOUR RADIO........ 70Uconnect®ACCESS............. 71Uconnect®5.0 . . . . . . . . . . . . . . . . 88
Uconnect®8.4A . . . . . . . . . . . . . . 100Uconnect®8.4AN . . . . . . . . . . . . . 133STEERING WHEEL AUDIOCONTROLS................. 151ELECTRONIC VEHICLE INFORMATIONCENTER (EVIC) AND DRIVERINFORMATION DISPLAY (DID)..... 151PROGRAMMABLE FEATURES...... 153UNIVERSAL GARAGE DOOR OPENER(HomeLink®)................154POWER INVERTER............ 156POWER OUTLET............. 157WIRELESS CHARGING PAD....... 159
OFF-ROAD CAPABILITIES
FOUR-WHEEL DRIVE OPERATION . . . 162SELEC-TERRAIN™............ 165
UTILITY
CARGO AREA FEATURES........ 166TRAILER TOWING WEIGHTS (MAXIMUMTRAILER WEIGHT RATINGS)...... 167RECREATIONAL TOWING (BEHINDMOTORHOME, ETC.)........... 168
WHAT TO DO IN EMERGENCIES
ROADSIDE ASSISTANCE......... 173INSTRUMENT CLUSTER WARNINGLIGHTS................... 173INSTRUMENT CLUSTER INDICATORLIGHTS................... 179IF YOUR ENGINE OVERHEATS..... 182TIRE SERVICE KIT . . . . . . . . . . . . 183JACKING AND TIRE CHANGING.... 189JUMP-STARTING............. 194FREEING A STUCK VEHICLE...... 197RECOVERY STRAP............ 198SHIFT LEVER OVERRIDE........ 198TOWING A DISABLED VEHICLE.... 199EVENT DATA RECORDER (EDR).... 200
MAINTAINING YOUR VEHICLE
OPENING THE HOOD.......... 201ENGINE COMPARTMENT........ 202FLUID CAPACITIES............ 206FLUIDS, LUBRICANTS AND GENUINEPA RT S . . . . . . . . . . . . . . . . . . . . 2 0 6MAINTENANCE PROCEDURES..... 208MAINTENANCE SCHEDULE...... 208FUSES.................... 213TIRE PRESSURES............. 219SPARE TIRES — IF EQUIPPED..... 219WHEEL AND WHEEL TRIM CARE . . . 221REPLACEMENT BULBS......... 222
TABLE OF CONTENTS
Page 7 of 244
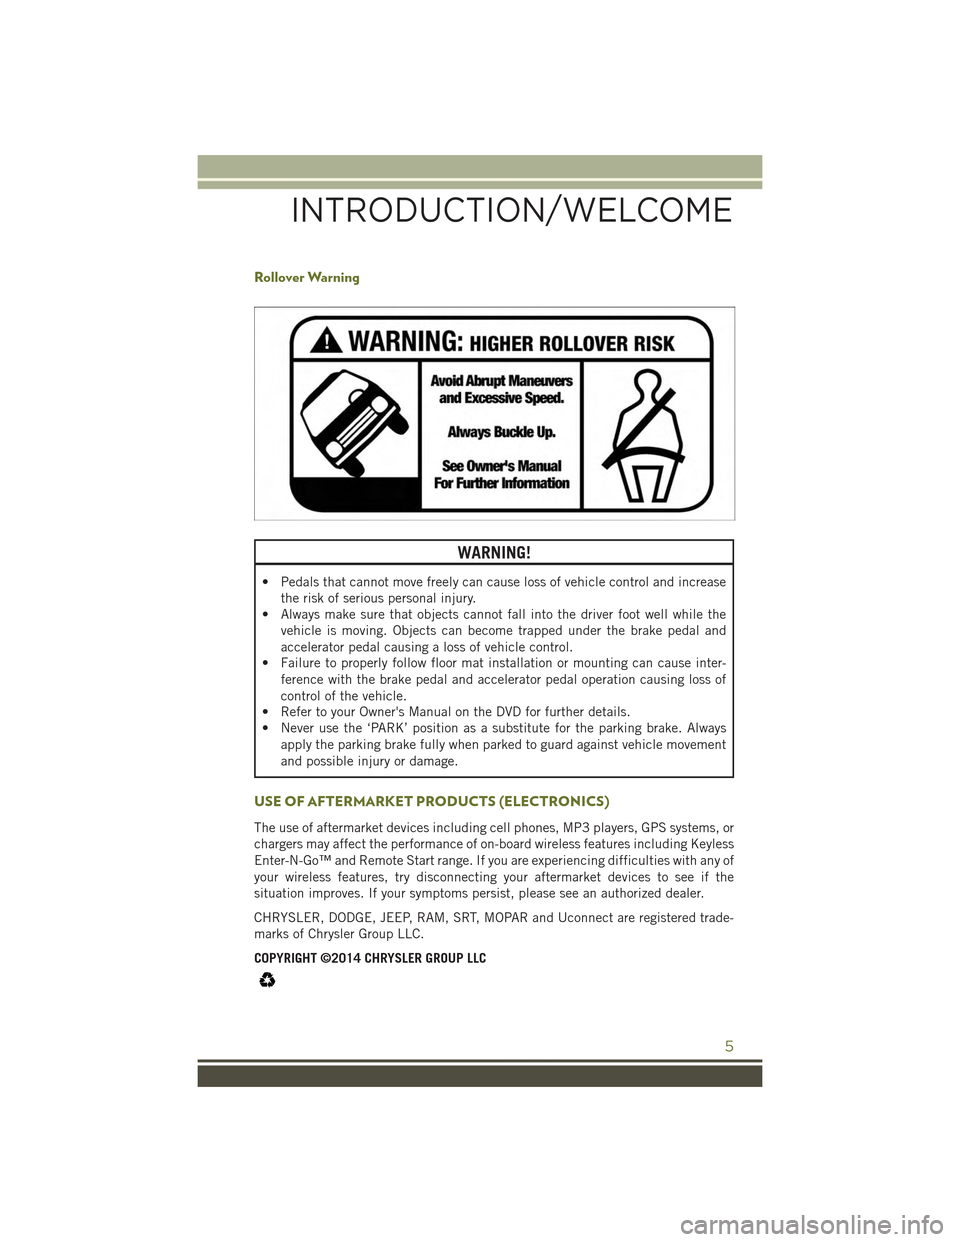
Rollover Warning
WARNING!
• Pedals that cannot move freely can cause loss of vehicle control and increase
the risk of serious personal injury.
• Always make sure that objects cannot fall into the driver foot well while the
vehicle is moving. Objects can become trapped under the brake pedal and
accelerator pedal causing a loss of vehicle control.
• Failure to properly follow floor mat installation or mounting can cause inter-
ference with the brake pedal and accelerator pedal operation causing loss of
control of the vehicle.
• Refer to your Owner's Manual on the DVD for further details.
• Never use the ‘PARK’ position as a substitute for the parking brake. Always
apply the parking brake fully when parked to guard against vehicle movement
and possible injury or damage.
USE OF AFTERMARKET PRODUCTS (ELECTRONICS)
The use of aftermarket devices including cell phones, MP3 players, GPS systems, or
chargers may affect the performance of on-board wireless features including Keyless
Enter-N-Go™ and Remote Start range. If you are experiencing difficulties with any of
your wireless features, try disconnecting your aftermarket devices to see if the
situation improves. If your symptoms persist, please see an authorized dealer.
CHRYSLER, DODGE, JEEP, RAM, SRT, MOPAR and Uconnect are registered trade-
marks of Chrysler Group LLC.
COPYRIGHT ©2014 CHRYSLER GROUP LLC
INTRODUCTION/WELCOME
5
Page 14 of 244
Panic Alarm
• Push PANIC button once to turn the panic alarm on.
• Wait approximately three seconds and push button a second time to turn the panic
alarm off.
WARNING!
• When leaving the vehicle, always remove the Key Fob from the ignition and lock
your vehicle.
• Never leave children alone in a vehicle, or with access to an unlocked vehicle.
Allowing children to be in a vehicle unattended is dangerous for a number of
reasons. A child or others could be seriously or fatally injured. Children should
be warned not to touch the parking brake, brake pedal or the transmission gear
selector.
• Do not leave the Key Fob in or near the vehicle (or in a location accessible to
children), and do not leave the ignition of a vehicle equipped with Keyless
Enter-N-Go™ in the ACC or ON/RUN mode. A child could operate power
windows, other controls, or move the vehicle.
REMOTE START
• Push REMOTE START buttonx2on the Key Fob twice within five seconds.
Pushing the REMOTE START button a third time shuts the engine off.
• To drive the vehicle, push UNLOCK button, insert the key in the ignition and turn
to the ON/RUN position.
• With remote start, the engine will only run for 15 minutes (timeout) unless the
ignition key is placed in the ON/RUN position.
• The vehicle must be started with the key after two consecutive timeouts.
WARNING!
• Do not start or run an engine in a closed garage or confined area. Exhaust gas
contains Carbon Monoxide (CO) which is odorless and colorless. Carbon
Monoxide is poisonous and can cause serious injury or death when inhaled.
• Keep Key Fob transmitters away from children. Operation of the Remote Start
System, windows, door locks or other controls could cause serious injury or
death.
Remote Start Windshield Wiper De–icer Activation — If Equipped
When Remote Start is active and the outside ambient temperature is less than 40° F
(4.4° C), the wiper De-Icer will be enabled. On exiting remote start resume previous
operation except, if the De-Icer is active, the De-Icer timer and operation will continue.
GETTING STARTED
12
Page 37 of 244
HEATED/VENTILATED SEATS
Front Heated Seats
The front heated seats control buttons are located within the climate or controls
screen of the touchscreen.
• Press the heated seat buttononce to turn the High setting On.
• Press the heated seat buttona second time to turn the Low setting On.
• Press the heated seat buttona third time to turn the heating elements Off.
If the High-level setting is selected, the system will automatically switch to Low-level
after approximately 60 minutes. The Low-level setting will turn Off automatically
after approximately 45 minutes.
NOTE:
Vehicle Equipped With Remote Start
On models that are equipped with remote start, this feature can be programmed to
come on during a remote start through the Uconnect®system. Refer to “Uconnect®
Settings” in “Understanding Your Instrument Panel” in the Owner's Manual on the
DVD.
WARNING!
• Persons who are unable to feel pain to the skin because of advanced age,
chronic illness, diabetes, spinal cord injury, medication, alcohol use, exhaus-
tion or other physical conditions must exercise care when using the seat heater.
It may cause burns even at low temperatures, especially if used for long periods
of time.
• Do not place anything on the seat that insulates against heat, such as a blanket
or cushion. This may cause the seat heater to overheat. Sitting in a seat that
has been overheated could cause serious burns due to the increased surface
temperature of the seat.
GETTING STARTED
35
Page 38 of 244
Front Ventilated Seats
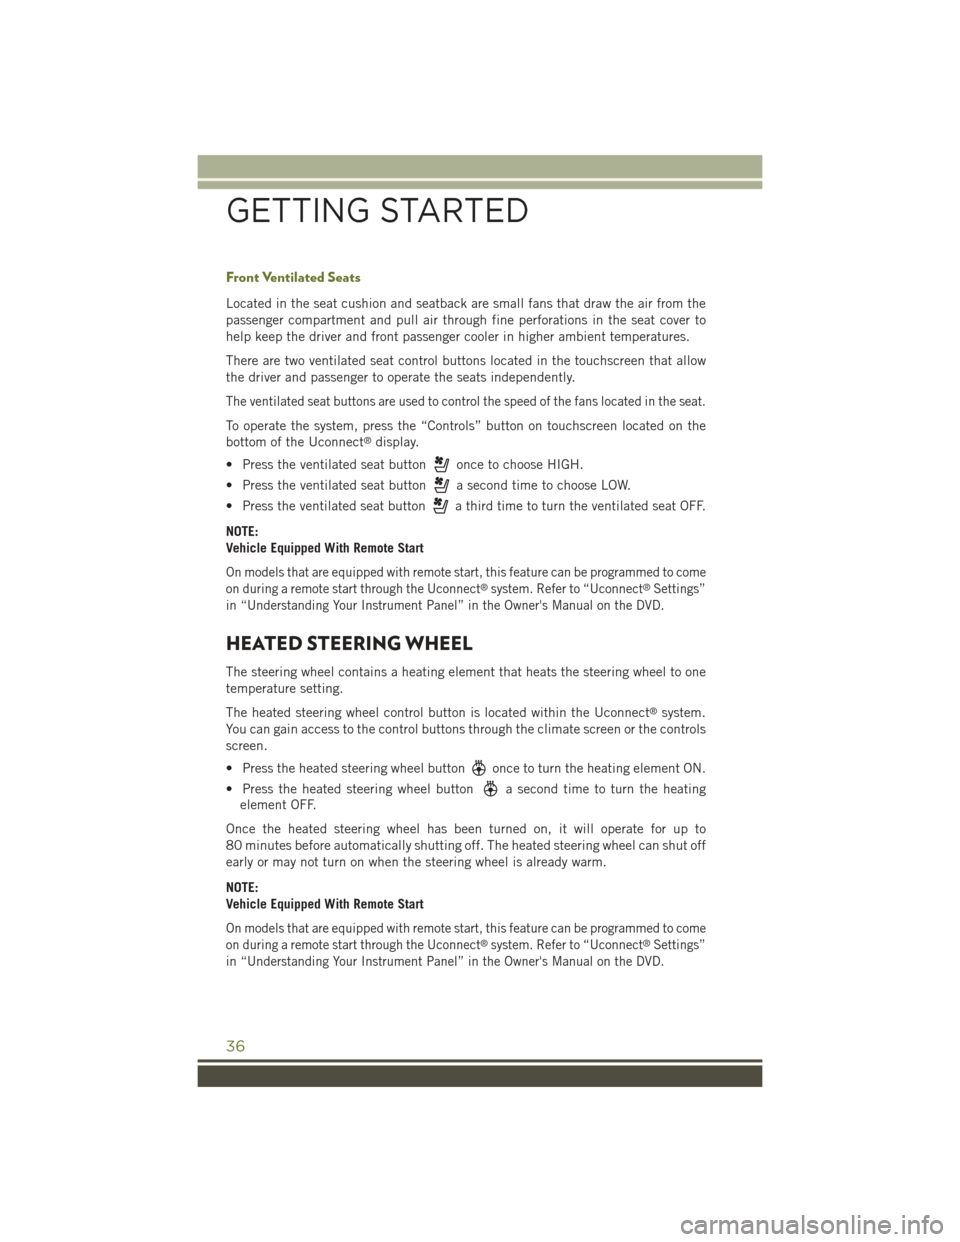
Located in the seat cushion and seatback are small fans that draw the air from the
passenger compartment and pull air through fine perforations in the seat cover to
help keep the driver and front passenger cooler in higher ambient temperatures.
There are two ventilated seat control buttons located in the touchscreen that allow
the driver and passenger to operate the seats independently.
The ventilated seat buttons are used to control the speed of the fans located in the seat.
To operate the system, press the “Controls” button on touchscreen located on the
bottom of the Uconnect®display.
• Press the ventilated seat buttononce to choose HIGH.
• Press the ventilated seat buttona second time to choose LOW.
• Press the ventilated seat buttona third time to turn the ventilated seat OFF.
NOTE:
Vehicle Equipped With Remote Start
On models that are equipped with remote start, this feature can be programmed to come
on during a remote start through the Uconnect®system. Refer to “Uconnect®Settings”
in “Understanding Your Instrument Panel” in the Owner's Manual on the DVD.
HEATED STEERING WHEEL
The steering wheel contains a heating element that heats the steering wheel to one
temperature setting.
The heated steering wheel control button is located within the Uconnect®system.
You can gain access to the control buttons through the climate screen or the controls
screen.
• Press the heated steering wheel buttononce to turn the heating element ON.
• Press the heated steering wheel buttona second time to turn the heating
element OFF.
Once the heated steering wheel has been turned on, it will operate for up to
80 minutes before automatically shutting off. The heated steering wheel can shut off
early or may not turn on when the steering wheel is already warm.
NOTE:
Vehicle Equipped With Remote Start
On models that are equipped with remote start, this feature can be programmed to come
on during a remote start through the Uconnect®system. Refer to “Uconnect®Settings”
in “Understanding Your Instrument Panel” in the Owner's Manual on the DVD.
GETTING STARTED
36
Page 58 of 244
MAX A/C
• MAX A/C sets the control for maximum cooling performance.
• Press and release to toggle between MAX A/C and the prior settings. The button on
the touchscreen illuminates when MAX A/C is ON.
• In MAX A/C, the blower level and mode position can be adjusted to desired user
settings. Pressing other settings will cause the MAX A/C operation to switch to the
prior settings and the MAX A/C indicator will turn off.
Air Recirculation
• Push the Recirculation button for maximum A/C operation.
• To turn off Recirculation for window defogging, push the Recirculation button a
second time.
• If the Recirculation button is pushed while in the AUTO mode, the indicator light
shall illuminate. In cold weather, use of Recirculation mode may lead to excessive
window fogging. The recirculation feature may be unavailable (button greyed out)
if conditions exist that could create fogging on the inside of the windshield.
Heated Mirrors
The mirrors are heated to melt frost or ice. This feature is activated whenever you turn
on the rear window defroster.
Windshield Wiper De-icer — If Equipped
The windshield wiper de-icer is a heating element located at the base of the windshield.
The windshield wiper de-icer operates automatically once the following conditions
are met:
Activation By Front Defrost
• The wiper de-icer activates automatically during a cold weather manual start with
full defrost,theblower speed is greater than five,and when theambient temperature
is below 40° F (4.4° C).
Activation By Rear Defrost
• The wiper de-icer activates automatically when the Rear Defrost is operating and
theambient temperature is below 40° F (4.4° C).
Activation By Remote Start Operation
• When the Remote Start is activated and theoutside ambient temperature is less
than 40° F (4.4° C)the windshield wiper de-icer is activated. Upon exiting Remote
Start, the climate control functions will resume their previous operation except,
if the de-icer is active, the de-icer timer and operation will continue.
OPERATING YOUR VEHICLE
56
Page 73 of 244
Uconnect® ACCESS
Uconnect® Access — If Equipped (U.S. Residents Only Available On Uconnect®
8.4A And Uconnect® 8.4AN)
Uconnect®Access enhances your ownership and driving experience by connecting
your vehicle with a 3G cellular connection. Uconnect®Access provides:
•The ability to remotely lock/unlock your doors and start your vehicle from virtually
anywhere, with the Uconnect®Access App, Owner Connect website and Uconnect®
Care (Vehicle must be within the United States and have network coverage).
• The functionality to turn your vehicle into a WiFi Hotspot on demand.
• Theft Alarm Notification via text or email.
• Voice Texting so you can compose, send and receive text messages with your voice
while keeping your hands on the wheel. Requires a cell phone that supports
Bluetooth Message Access Profile (MAP).
Before you drive, familiarize yourself with the easy-to-use Uconnect®System.
1. The ASSIST and 9-1-1 buttons are located on your rearview mirror. The ASSIST
Button is used for contacting Roadside Assistance, Vehicle Care and Uconnect®
Care. The 9-1-1 Button connects you directly to emergency assistance.
NOTE:
Vehicles sold in Canada and Mexico DO NOT have 9-1-1 Call system capabilities. 9-1-1
or other emergency line operators in Canada and Mexico may not answer or respond to
9-1-1 system calls.
2. The Uconnect®“Apps” button on the touchscreen on the menu bar at the bottom
right corner of the radio touchscreen. This is where you can begin your registration
process, manage your Apps and purchase WiFi on demand.
3. The Uconnect®Voice Command and Uconnect®Phone buttons are located on the
left side of your steering wheel. These buttons let you use your voice to give
commands, make phone calls, send and receive text messages hands-free, enter
navigation destinations, and control your radio and media devices.
Included Trial Period For New Vehicles
Your new vehicle may come with an included trial period for use of the Uconnect®
Access Services starting at the date of vehicle purchase (date based on vehicle sales
notification from your dealer). To activate the trial, you must first register with
Uconnect®Access. Once registered, Uconnect®Access customers can purchase
additional Services and Apps over the lifetime of their vehicle ownership.
ELECTRONICS
71
Page 75 of 244
7. To unlock the full potential of Uconnect®Access in your vehicle, you will need to
create or validate an existing Mopar Owner Connect account previously (Owner
Center). Uconnect®along with Mopar Owner Connect have joined forces to create
one destination to manage all of your vehicle needs, from managing your
Uconnect®Access account, to tracking service history and finding recommended
accessories for your vehicle. If you already have a Mopar Owner Connect account,
log in to the website with your existing username/email and password. For
assistance with this web based registration process, call Uconnect®Care at
1-855-792-4241.
8.Once you are logged in to your Mopar Owner Connect account, you will create a
personal Uconnect®Security PIN. The Uconnect®Security PIN will be required to
authenticate you when accessing your account via Uconnect®Care or performing any
remote services such as Remote Door Lock/Unlock or Remote Horn & Lights.
9.If your vehicle qualifies for a trial package it will be presented. Simply agree to the
Uconnect®Terms of Service (checkbox) and then select the “Start Service” button.
At this point your vehicle is registered with Uconnect®Access. Continue to set up Via
Mobile. Apps will be downloaded the next time you start your vehicle. If the Apps
have not appeared after 24 hours, please contact Uconnect®Care.
Download The Uconnect® Access App
The Uconnect®Access smartphone app allows you to remotely lock or unlock your
doors, start your engine (if equipped) and activate your horn and lights from virtually
anywhere. The smartphone app also features Via Mobile (if equipped) which uses
your smartphone’s data plan to access your personal Pandora®, iHeartRadio, Slacker
Radio and Aha™ by HARMAN accounts and control them using your vehicle
touchscreen.
The Uconnect®Access app is only compatible with select iPhone®and Android
smartphones. Visit UconnectPhone.com or call 1-877-855-8400 to confirm that
your smartphone is compatible with Uconnect®. Once you’ve confirmed your smart-
phone is compatible, Android and iPhone®users should visit their respective app
store and search for “Uconnect Access” to download the app.
Set Up Your Via Mobile Profile — If Equipped
Setting up your Via Mobile profile means entering your login information for each App
so that they can work in your vehicle. Complete your Via Mobile Profile online during
registration of your Uconnect®Access system. Access this page by logging into your
Mopar Owner Connect account (moparownerconnect.com), going to Edit Profile,
then Via Mobile Profile.
If you already have an account with these Apps, scroll down and press the “Link” button
to enter your information. If you do not have an account, you can create a new one.
ELECTRONICS
73
Page 93 of 244
Disc Operation — If Equipped
• Your vehicle may have a remote CD player.
• CD/Disc Mode is entered by either inserting a CD/Disc or by pushing the MEDIA
button located on the side of the display. Once in Media Mode, select “Disc”.
• Gently insert one CD into the CD player with the CD label facing as indicated on
the illustration located on the Disc player.
Seek Up/Down Buttons
• Press to seek through Disc tracks.
• Hold either button to bypass tracks without stopping.
Browse
• Press the “Browse” button on the touchscreen to scroll through and select a
desired track on the Disc. Press the “Exit” button on the touchscreen if you wish
to cancel the browse function.
USB/Audio Jack (AUX)/Bluetooth® Operation
USB/iPod®
• USB/iPod®Mode is entered by either inserting a USB Jump Drive or iPod®cable
into the USB port or by pushing the MEDIA button on the faceplate located left of
the display. Once in Media Mode, press the “source” button on the touchscreen
and select “USB/iPod.”
• Push the MEDIA button on the faceplate, then press the “source” button on the
touchscreen and then select “USB/iPod” to change the mode to the USB device if
the device is connected, allowing the music from your portable device to play
through the vehicle's speakers.
Audio Jack (AUX)
The AUX allows a portable device, such as an MP3 player or an iPod®, to be plugged
into the radio and utilize the vehicle’s audio system, using a 3.5 mm audio cable, to
amplify the source and play through the vehicle speakers.
• Push the MEDIA button on the faceplate, then press the “source” button on the
touchscreen and then select “AUX” to change the mode to auxiliary device if the
audio jack is connected, allowing the music from your portable device to play
through the vehicle's speakers.
The functions of the portable device are controlled using the device buttons, not the
buttons on the radio. The volume may be controlled using the radio or portable device.
ELECTRONICS
91
Page 110 of 244
Audio Jack (AUX)
The AUX allows a portable device, such as an MP3 player or an iPod®, to be plugged
into the radio and utilize the vehicle’s sound system, using a 3.5 mm audio cable, to
amplify the source and play through the vehicle speakers.
• Pressing the “AUX” button on the touchscreen will change the mode to auxiliary
device if the audio jack is connected, allowing the music from your portable device
to be heard through the vehicle's speakers. In order to activate the AUX, plug in the
audio jack.
• The functions of the portable device are controlled using the device buttons. The
volume may be controlled using the radio or portable device.
• To route the audio cable out of the center console, use the access cut out in the
front of the console.
Bluetooth® Streaming Audio
If using a Bluetooth®- equipped device, you may also be able to stream music to your
vehicle's sound system. Your connected device must be Bluetooth-compatible, and
paired with your system (see Uconnect®Phone for pairing instructions).
• You can access the music from your connected Bluetooth®device by Pressing the
“Bluetooth®” button on the touchscreen while in Media mode.
Uconnect®
8.4A & 8.4AN
Media Hub(USB, AUXPorts)
Media Hub(USB, AUXPorts)
Remote USBPort (FullyFunctional)
Remote USBPort (ChargingOnly)
-SSO
S = Standard Equipment
O = Optional Equipment
ELECTRONICS
108