lock JEEP CHEROKEE 2015 KL / 5.G Owner's Guide
[x] Cancel search | Manufacturer: JEEP, Model Year: 2015, Model line: CHEROKEE, Model: JEEP CHEROKEE 2015 KL / 5.GPages: 244, PDF Size: 30.6 MB
Page 164 of 244
FOUR-WHEEL DRIVE OPERATION
1–SPEED FOUR-WHEEL DRIVE (4X4)
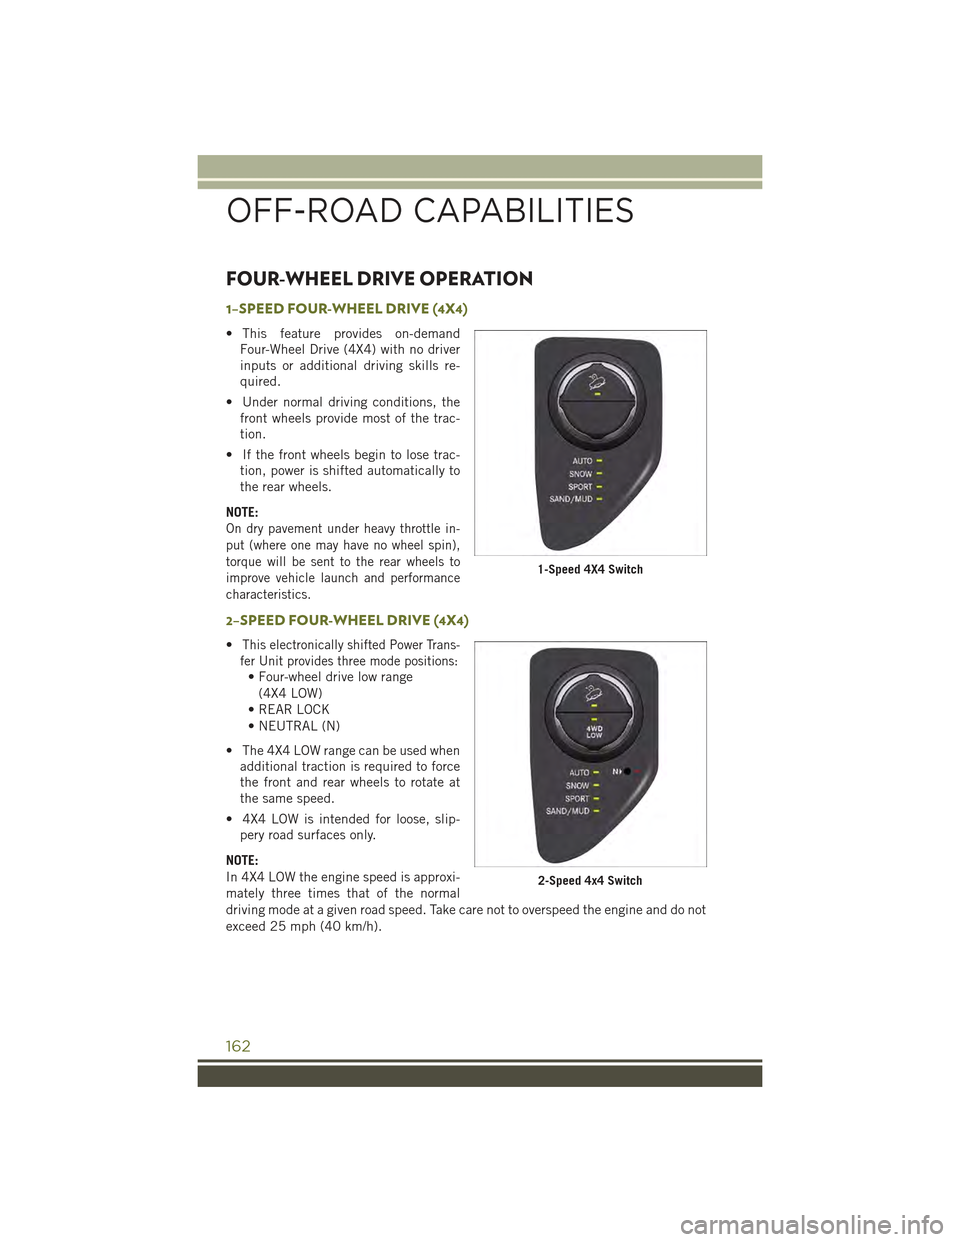
• This feature provides on-demand
Four-Wheel Drive (4X4) with no driver
inputs or additional driving skills re-
quired.
• Under normal driving conditions, the
front wheels provide most of the trac-
tion.
• If the front wheels begin to lose trac-
tion, power is shifted automatically to
the rear wheels.
NOTE:
On dry pavement under heavy throttle in-
put (where one may have no wheel spin),
torque will be sent to the rear wheels to
improve vehicle launch and performance
characteristics.
2–SPEED FOUR-WHEEL DRIVE (4X4)
•This electronically shifted Power Trans-
fer Unit provides three mode positions:
• Four-wheel drive low range
(4X4 LOW)
• REAR LOCK
• NEUTRAL (N)
• The 4X4 LOW range can be used when
additional traction is required to force
the front and rear wheels to rotate at
the same speed.
• 4X4 LOW is intended for loose, slip-
pery road surfaces only.
NOTE:
In 4X4 LOW the engine speed is approxi-
mately three times that of the normal
driving mode at a given road speed. Take care not to overspeed the engine and do not
exceed 25 mph (40 km/h).
1-Speed 4X4 Switch
2-Speed 4x4 Switch
OFF-ROAD CAPABILITIES
162
Page 165 of 244
Shifting Procedures
4X4 HI To 4X4 LOW
• With the vehicle at speeds of 0 to 3 mph (0 to 5 km/h), the ignition switch in the
ON position or the engine running, shift the transmission into NEUTRAL, and
press the “4WD LOW” button once. The “4WD LOW” indicator light in the
instrument cluster will begin to flash and remain on solid when the shift is
complete.
NOTE:
If shift conditions/interlocks are not met a message will flash from the Electronic
Vehicle Information Center (EVIC)/Driver Information Display (DID) with instructions
on how to complete the requested shift. Refer to “Electronic Vehicle Information
Center (EVIC)/Driver Information Display (DID)” in “Understanding Your Instrument
Panel” on the DVD for further information.
4X4 LOW To 4X4 HI
• With the vehicle at speeds of 0 to 3 mph (0 to 5 km/h), the ignition switch in the
ON position or the engine running, shift the transmission into NEUTRAL, and
press the “4WD LOW” button once. The “4WD LOW” indicator light in the
instrument cluster will flash and go out when the shift is complete.
NOTE:
If shift conditions/interlocks are not met a message will flash from the Electronic
Vehicle Information Center (EVIC)/Driver Information Display (DID) with instructions
on how to complete the requested shift. Refer to “Electronic Vehicle Information
Center (EVIC)/Driver Information Display (DID)” in “Understanding Your Instrument
Panel” on the DVD for further information.
NEUTRAL Shift Procedure
1. Bring the vehicle to a complete stop and shift the transmission to PARK.
2. Turn the engine OFF.
3. Turn the ignition switch to the ON/RUN position, but do not start the engine.
4. Press and hold the brake pedal.
5. Shift the transmission into NEUTRAL.
6. Using a ballpoint pen or similar object, press and hold the recessed Power
Transfer Unit NEUTRAL (N) button (located by the selector switch) for four
seconds. The light behind the NEUTRAL (N) symbol will blink, indicating shift in
progress. The light will stop blinking (stay on solid) when the shift to NEUTRAL
(N) is complete.
7. After the shift is completed and the NEUTRAL light stays on, release the
NEUTRAL (N) button.
8. Start the engine.
9. Shift the transmission into REVERSE.
OFF-ROAD CAPABILITIES
163
Page 166 of 244
10. Release the brake pedal for five seconds and ensure that there is no vehicle
movement.
11. Shift the transmission to NEUTRAL.
12. Apply the parking brake.
NOTE:
Repeat these Steps to shift out of NEUTRAL.
REAR ELECTRONIC LOCKER (E-LOCKER) SYSTEM
• The Rear E-Locker System features a mechanical locking rear differential to
provide better traction in the 4WD LOW position. The “REAR LOCK” button is on
the Selec-Terrain Knob
Activating The Rear E-Locker
To activate the Rear E-Locker System, the following conditions must be met:
• The 4WD system must be in 4WD LOW.
• The ignition switch in the ON position or the engine running.
• Vehicle speed must be below 15 MPH (24 km/h).
• To engage Rear E-Locker, press the REAR LOCK button once.
Deactivating The Rear E-Locker System
To deactivate the Rear E-Locker System, the following conditions must be met:
• Rear E-Locker must be engaged, and the REAR LOCK indicator light on.
• The ignition switch in the ON position or the engine running.
• To disengage Rear E-Locker , press the REAR LOCK button once.
NOTE:
• It may also be necessary to drive slowly steering back and forth to complete
engagement and disengagement of the E- Locker.
• When engaging Rear E-Locker, the indicator lights in the instrument cluster and
on the REAR LOCK button will begin to flash. When the shift is complete the REAR
LOCK indicator lights will remain on.
• When disengaging Rear E-Locker, the indicator lights in the instrument cluster
and on the REAR LOCK button will begin to flash. When the shift is complete the
REAR LOCK indicator lights will remain off.
OFF-ROAD CAPABILITIES
164
Page 167 of 244
• Shifting into or out of Rear E-Locker is possible with the vehicle completely
stopped; however, difficulty may occur due to the mating clutch teeth not being
properly aligned. Several attempts may be required for clutch teeth alignment and
shift completion to occur. The preferred method is for the vehicle to be rolling,
below 15 MPH (24 km/h), while including right and left steering maneuvers to
allow for the clutch teeth to align.
• The Rear E-Locker System must be disengaged prior to taking the vehicle out of
4X4 LOW range. If 4X4 LOW shift conditions/interlocks are not met, a message will
flash from the Electronic Vehicle Information Center (EVIC)/Driver Information
Display with instructions on how to complete the requested shift.
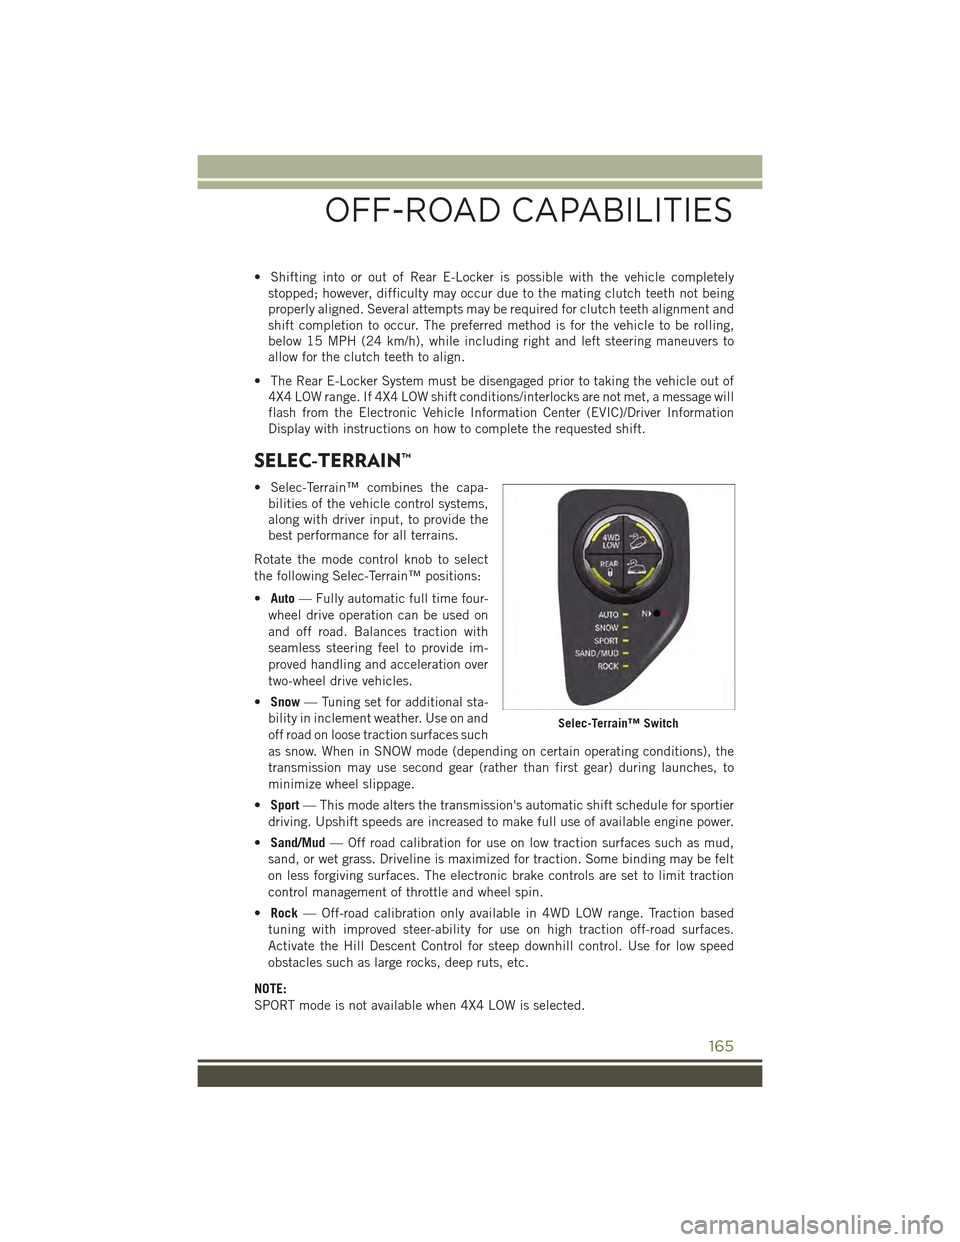
SELEC-TERRAIN™
• Selec-Terrain™ combines the capa-
bilities of the vehicle control systems,
along with driver input, to provide the
best performance for all terrains.
Rotate the mode control knob to select
the following Selec-Terrain™ positions:
•Auto— Fully automatic full time four-
wheel drive operation can be used on
and off road. Balances traction with
seamless steering feel to provide im-
proved handling and acceleration over
two-wheel drive vehicles.
•Snow— Tuning set for additional sta-
bility in inclement weather. Use on and
off road on loose traction surfaces such
as snow. When in SNOW mode (depending on certain operating conditions), the
transmission may use second gear (rather than first gear) during launches, to
minimize wheel slippage.
•Sport— This mode alters the transmission's automatic shift schedule for sportier
driving. Upshift speeds are increased to make full use of available engine power.
•Sand/Mud— Off road calibration for use on low traction surfaces such as mud,
sand, or wet grass. Driveline is maximized for traction. Some binding may be felt
on less forgiving surfaces. The electronic brake controls are set to limit traction
control management of throttle and wheel spin.
•Rock— Off-road calibration only available in 4WD LOW range. Traction based
tuning with improved steer-ability for use on high traction off-road surfaces.
Activate the Hill Descent Control for steep downhill control. Use for low speed
obstacles such as large rocks, deep ruts, etc.
NOTE:
SPORT mode is not available when 4X4 LOW is selected.
Selec-Terrain™ Switch
OFF-ROAD CAPABILITIES
165
Page 175 of 244
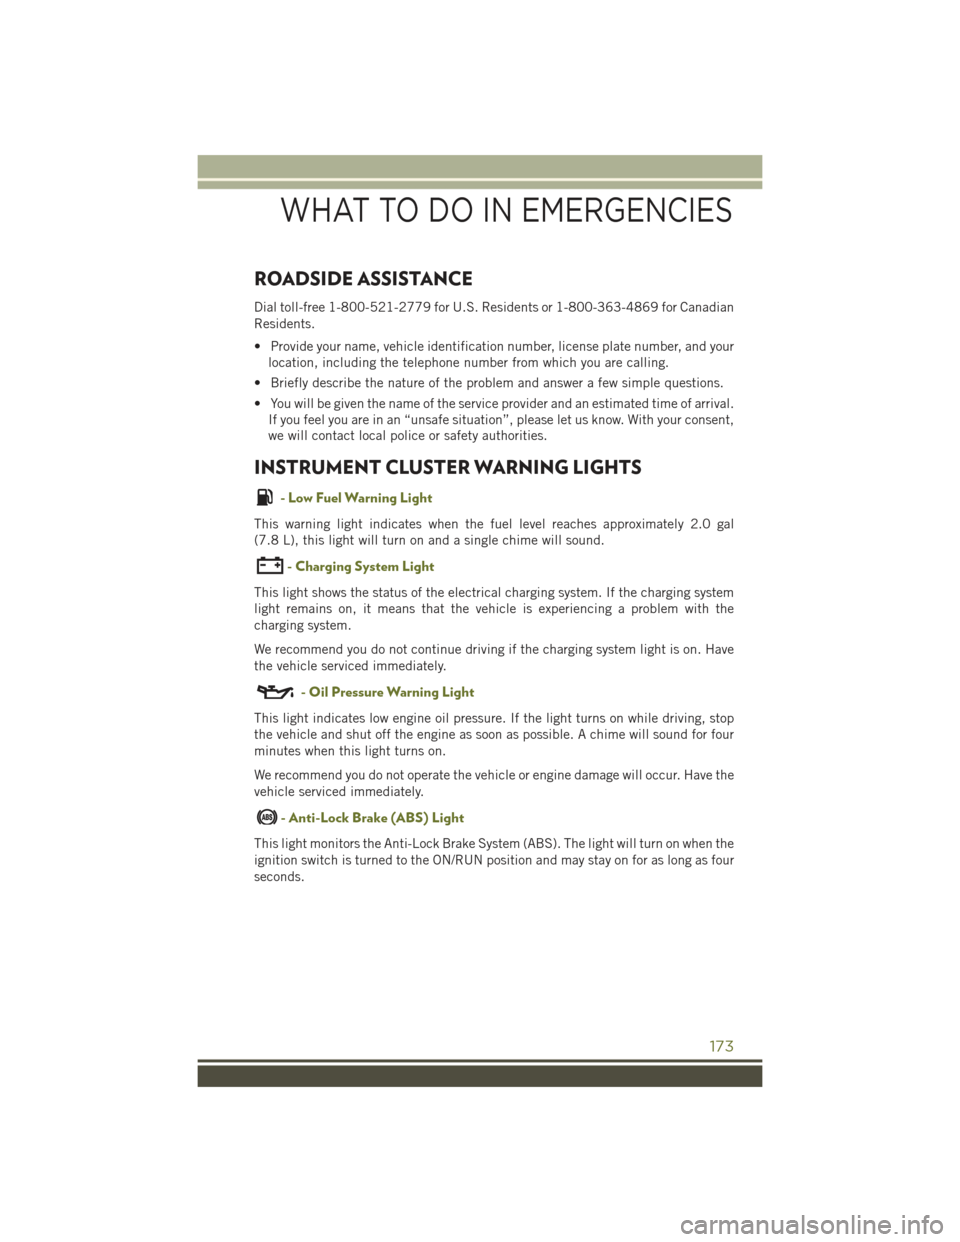
ROADSIDE ASSISTANCE
Dial toll-free 1-800-521-2779 for U.S. Residents or 1-800-363-4869 for Canadian
Residents.
• Provide your name, vehicle identification number, license plate number, and your
location, including the telephone number from which you are calling.
• Briefly describe the nature of the problem and answer a few simple questions.
• You will be given the name of the service provider and an estimated time of arrival.
If you feel you are in an “unsafe situation”, please let us know. With your consent,
we will contact local police or safety authorities.
INSTRUMENT CLUSTER WARNING LIGHTS
- Low Fuel Warning Light
This warning light indicates when the fuel level reaches approximately 2.0 gal
(7.8 L), this light will turn on and a single chime will sound.
-ChargingSystemLight
This light shows the status of the electrical charging system. If the charging system
light remains on, it means that the vehicle is experiencing a problem with the
charging system.
We recommend you do not continue driving if the charging system light is on. Have
the vehicle serviced immediately.
- Oil Pressure Warning Light
This light indicates low engine oil pressure. If the light turns on while driving, stop
the vehicle and shut off the engine as soon as possible. A chime will sound for four
minutes when this light turns on.
We recommend you do not operate the vehicle or engine damage will occur. Have the
vehicle serviced immediately.
- Anti-Lock Brake (ABS) Light
This light monitors the Anti-Lock Brake System (ABS). The light will turn on when the
ignition switch is turned to the ON/RUN position and may stay on for as long as four
seconds.
WHAT TO DO IN EMERGENCIES
173
Page 176 of 244
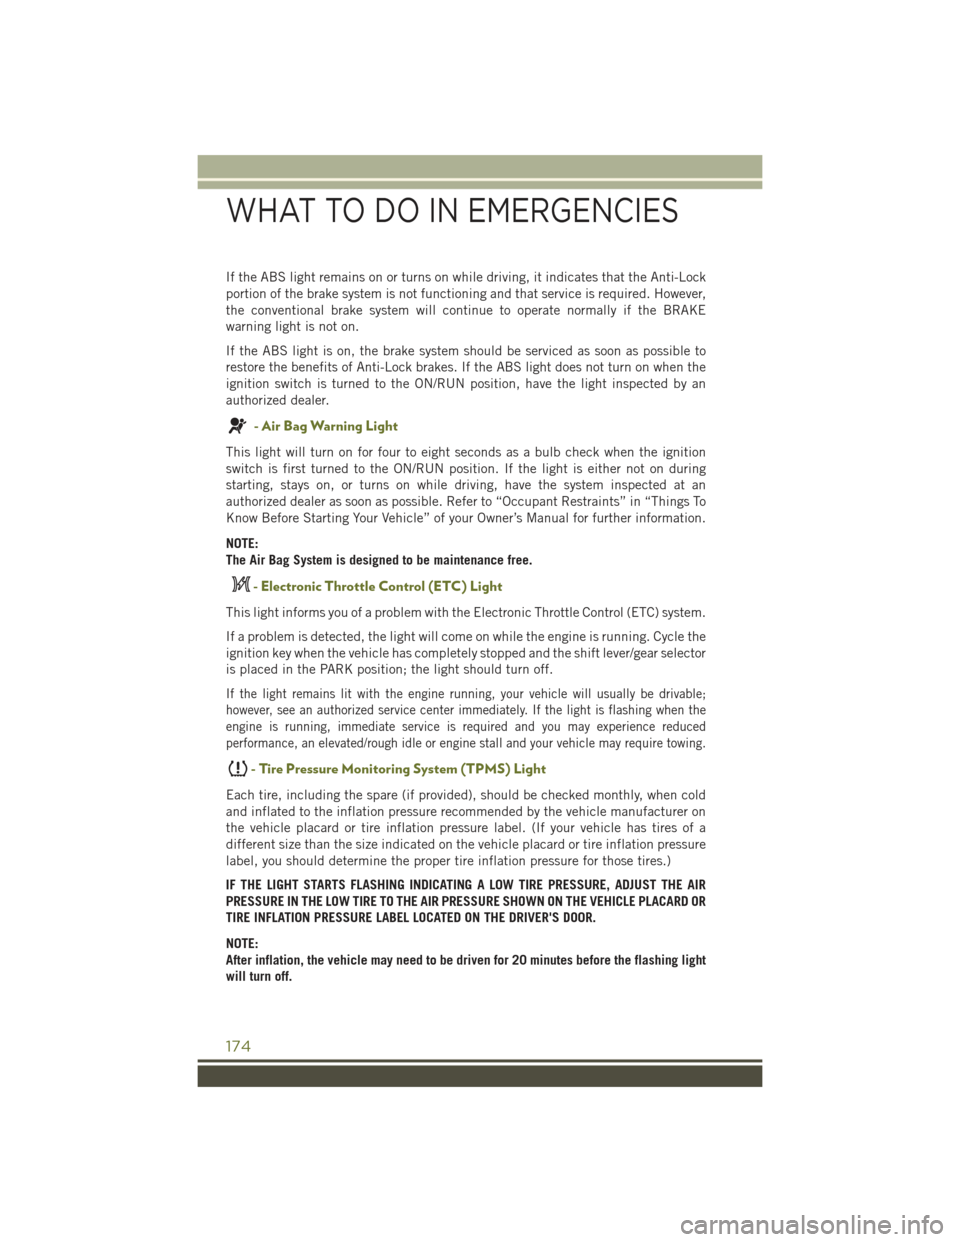
If the ABS light remains on or turns on while driving, it indicates that the Anti-Lock
portion of the brake system is not functioning and that service is required. However,
the conventional brake system will continue to operate normally if the BRAKE
warning light is not on.
If the ABS light is on, the brake system should be serviced as soon as possible to
restore the benefits of Anti-Lock brakes. If the ABS light does not turn on when the
ignition switch is turned to the ON/RUN position, have the light inspected by an
authorized dealer.
- Air Bag Warning Light
This light will turn on for four to eight seconds as a bulb check when the ignition
switch is first turned to the ON/RUN position. If the light is either not on during
starting, stays on, or turns on while driving, have the system inspected at an
authorized dealer as soon as possible. Refer to “Occupant Restraints” in “Things To
Know Before Starting Your Vehicle” of your Owner’s Manual for further information.
NOTE:
The Air Bag System is designed to be maintenance free.
- Electronic Throttle Control (ETC) Light
This light informs you of a problem with the Electronic Throttle Control (ETC) system.
If a problem is detected, the light will come on while the engine is running. Cycle the
ignition key when the vehicle has completely stopped and the shift lever/gear selector
is placed in the PARK position; the light should turn off.
If the light remains lit with the engine running, your vehicle will usually be drivable;
however, see an authorized service center immediately. If the light is flashing when the
engine is running, immediate service is required and you may experience reduced
performance, an elevated/rough idle or engine stall and your vehicle may require towing.
-TirePressureMonitoringSystem(TPMS)Light
Each tire, including the spare (if provided), should be checked monthly, when cold
and inflated to the inflation pressure recommended by the vehicle manufacturer on
the vehicle placard or tire inflation pressure label. (If your vehicle has tires of a
different size than the size indicated on the vehicle placard or tire inflation pressure
label, you should determine the proper tire inflation pressure for those tires.)
IF THE LIGHT STARTS FLASHING INDICATING A LOW TIRE PRESSURE, ADJUST THE AIR
PRESSURE IN THE LOW TIRE TO THE AIR PRESSURE SHOWN ON THE VEHICLE PLACARD OR
TIRE INFLATION PRESSURE LABEL LOCATED ON THE DRIVER'S DOOR.
NOTE:
After inflation, the vehicle may need to be driven for 20 minutes before the flashing light
will turn off.
WHAT TO DO IN EMERGENCIES
174
Page 178 of 244
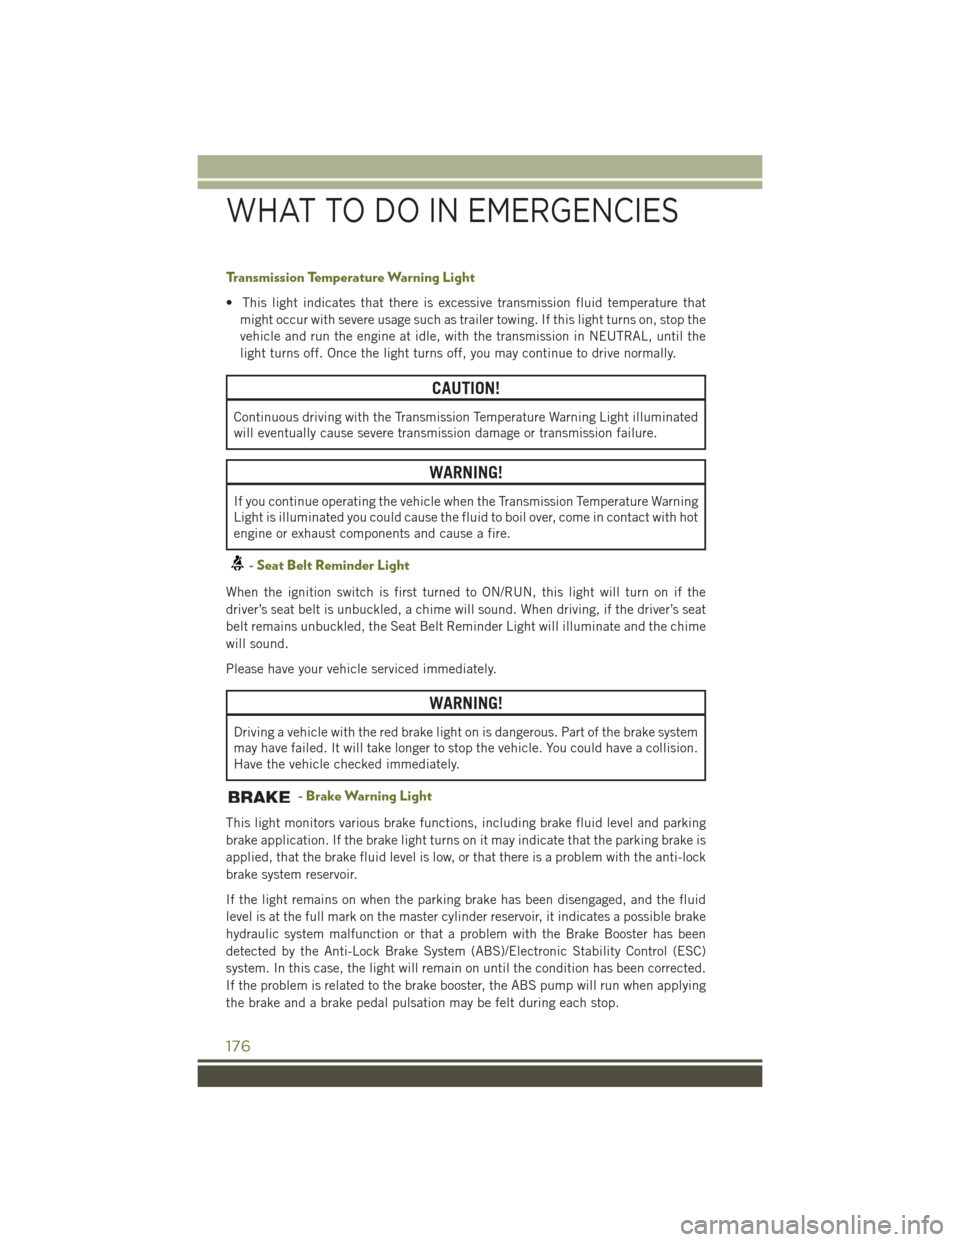
Transmission Temperature Warning Light
• This light indicates that there is excessive transmission fluid temperature that
might occur with severe usage such as trailer towing. If this light turns on, stop the
vehicle and run the engine at idle, with the transmission in NEUTRAL, until the
light turns off. Once the light turns off, you may continue to drive normally.
CAUTION!
Continuous driving with the Transmission Temperature Warning Light illuminated
will eventually cause severe transmission damage or transmission failure.
WARNING!
If you continue operating the vehicle when the Transmission Temperature Warning
Light is illuminated you could cause the fluid to boil over, come in contact with hot
engine or exhaust components and cause a fire.
- Seat Belt Reminder Light
When the ignition switch is first turned to ON/RUN, this light will turn on if the
driver’s seat belt is unbuckled, a chime will sound. When driving, if the driver’s seat
belt remains unbuckled, the Seat Belt Reminder Light will illuminate and the chime
will sound.
Please have your vehicle serviced immediately.
WARNING!
Driving a vehicle with the red brake light on is dangerous. Part of the brake system
may have failed. It will take longer to stop the vehicle. You could have a collision.
Have the vehicle checked immediately.
- Brake Warning Light
This light monitors various brake functions, including brake fluid level and parking
brake application. If the brake light turns on it may indicate that the parking brake is
applied, that the brake fluid level is low, or that there is a problem with the anti-lock
brake system reservoir.
If the light remains on when the parking brake has been disengaged, and the fluid
level is at the full mark on the master cylinder reservoir, it indicates a possible brake
hydraulic system malfunction or that a problem with the Brake Booster has been
detected by the Anti-Lock Brake System (ABS)/Electronic Stability Control (ESC)
system. In this case, the light will remain on until the condition has been corrected.
If the problem is related to the brake booster, the ABS pump will run when applying
the brake and a brake pedal pulsation may be felt during each stop.
WHAT TO DO IN EMERGENCIES
176
Page 179 of 244
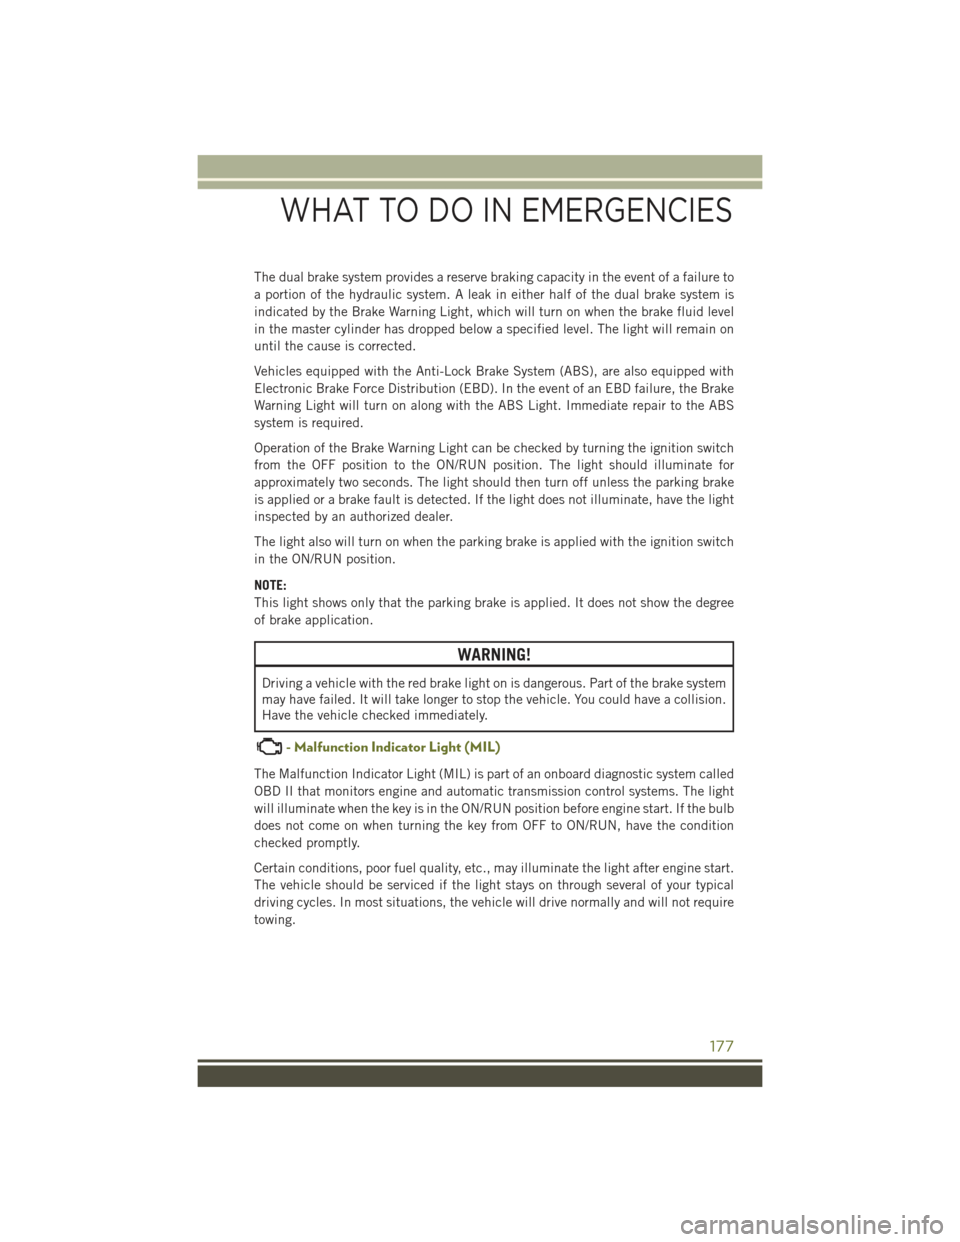
The dual brake system provides a reserve braking capacity in the event of a failure to
a portion of the hydraulic system. A leak in either half of the dual brake system is
indicated by the Brake Warning Light, which will turn on when the brake fluid level
in the master cylinder has dropped below a specified level. The light will remain on
until the cause is corrected.
Vehicles equipped with the Anti-Lock Brake System (ABS), are also equipped with
Electronic Brake Force Distribution (EBD). In the event of an EBD failure, the Brake
Warning Light will turn on along with the ABS Light. Immediate repair to the ABS
system is required.
Operation of the Brake Warning Light can be checked by turning the ignition switch
from the OFF position to the ON/RUN position. The light should illuminate for
approximately two seconds. The light should then turn off unless the parking brake
is applied or a brake fault is detected. If the light does not illuminate, have the light
inspected by an authorized dealer.
The light also will turn on when the parking brake is applied with the ignition switch
in the ON/RUN position.
NOTE:
This light shows only that the parking brake is applied. It does not show the degree
of brake application.
WARNING!
Driving a vehicle with the red brake light on is dangerous. Part of the brake system
may have failed. It will take longer to stop the vehicle. You could have a collision.
Have the vehicle checked immediately.
- Malfunction Indicator Light (MIL)
The Malfunction Indicator Light (MIL) is part of an onboard diagnostic system called
OBD II that monitors engine and automatic transmission control systems. The light
will illuminate when the key is in the ON/RUN position before engine start. If the bulb
does not come on when turning the key from OFF to ON/RUN, have the condition
checked promptly.
Certain conditions, poor fuel quality, etc., may illuminate the light after engine start.
The vehicle should be serviced if the light stays on through several of your typical
driving cycles. In most situations, the vehicle will drive normally and will not require
towing.
WHAT TO DO IN EMERGENCIES
177
Page 189 of 244
5. Remove the Speed Limit sticker from the instrument panel after the tire has been
repaired.
6. Replace the Sealant Bottle (1) and Sealant Hose (6) assembly at your authorized
dealer as soon as possible. Refer to “(F) Sealant Bottle and Hose Replacement.”
NOTE:
• If the tire becomes over-inflated, press the Deflation Button to reduce the tire
pressure to the recommended inflation pressure before continuing.
• When having the tire serviced, advise the authorized dealer or service center that
the tire has been sealed using the Tire Service Kit.
(F) Sealant Bottle And Hose Replacement:
1. Uncoil the Sealant Hose (6) (clear in color).
2. Locate the round Sealant Bottle release button in the recessed area under the
sealant bottle.
3. Press the Sealant Bottle release button. The Sealant Bottle (1) will pop up.
Remove the bottle and dispose of it accordingly.
4. Clean any remaining sealant from the Tire Service Kit housing.
5. Position the new Sealant Bottle (1) in the housing so that the Sealant Hose (6)
aligns with the hose slot in the front of the housing. Press the bottle into the
housing. An audible click will be heard indicating the bottle is locked into place.
6. Verify that the cap is installed on the fitting at the end of the Sealant Hose (6) and
return the hose to its storage area (located on the bottom of the air pump).
7. Return the Tire Service Kit to its storage location in the vehicle.
NOTE:
• The metal end fitting from Power Plug (8) may get hot after use, so it should be
handled carefully.
• Failure to reinstall the cap on the fitting at the end of the Sealant Hose (6) can
result in sealant contacting your skin, clothing, and the vehicle’s interior. It can
also result in sealant contacting internal Tire Service Kit components which may
cause permanent damage to the kit.
WHAT TO DO IN EMERGENCIES
187
Page 194 of 244
9. Position the spare wheel/tire on the vehicle and install lug bolts with the
cone-shaped end toward the wheel. Lightly tighten the bolts.
10. Lower the vehicle by turning the jack screw to the left, and remove the jack.
11. Finish tightening the lug bolts. Push down on the wrench while at the end of the
handle for increased leverage. Tighten the lug bolts in a star pattern until each
nut has been tightened twice. The correct wheel bolt tightness is 100 ft lb
(135 N·m). If in doubt about the correct tightness, have them checked with a
torque wrench by your authorized dealer or at a service station.
12. Lower the jack to it's fully closed position.
13. Secure the tire, jack, and tools in their proper locations.
14. Remove chocks from wheels.
Road Tire Installation
1. Mount the road tire on the axle.
2. Install the remaining lug bolts with the threaded end of the bolt toward the wheel.
Lightly tighten the lug bolts.
3. Lower the vehicle to the ground by turning the jack handle counterclockwise.
4. Finish tightening the lug bolts. Push down on the wrench while at the end of the
handle for increased leverage. Tighten the lug bolts in a star pattern until each
bolt has been tightened twice. The correct tightness of each lug bolt is 100 ft/lbs
(135 N·m). If in doubt about the correct tightness, have them checked with a
torque wrench by your authorized dealer or service station.
5. After 25 miles (40 km) check the lug bolt torque with a torque wrench to ensure
that all lug bolts are properly seated against the wheel.
CAUTION!
Do not attempt to raise the vehicle by jacking on locations other than those
indicated in the Jacking Instructions for this vehicle.
WHAT TO DO IN EMERGENCIES
192