radio JEEP CHEROKEE 2015 KL / 5.G Workshop Manual
[x] Cancel search | Manufacturer: JEEP, Model Year: 2015, Model line: CHEROKEE, Model: JEEP CHEROKEE 2015 KL / 5.GPages: 244, PDF Size: 30.6 MB
Page 143 of 244
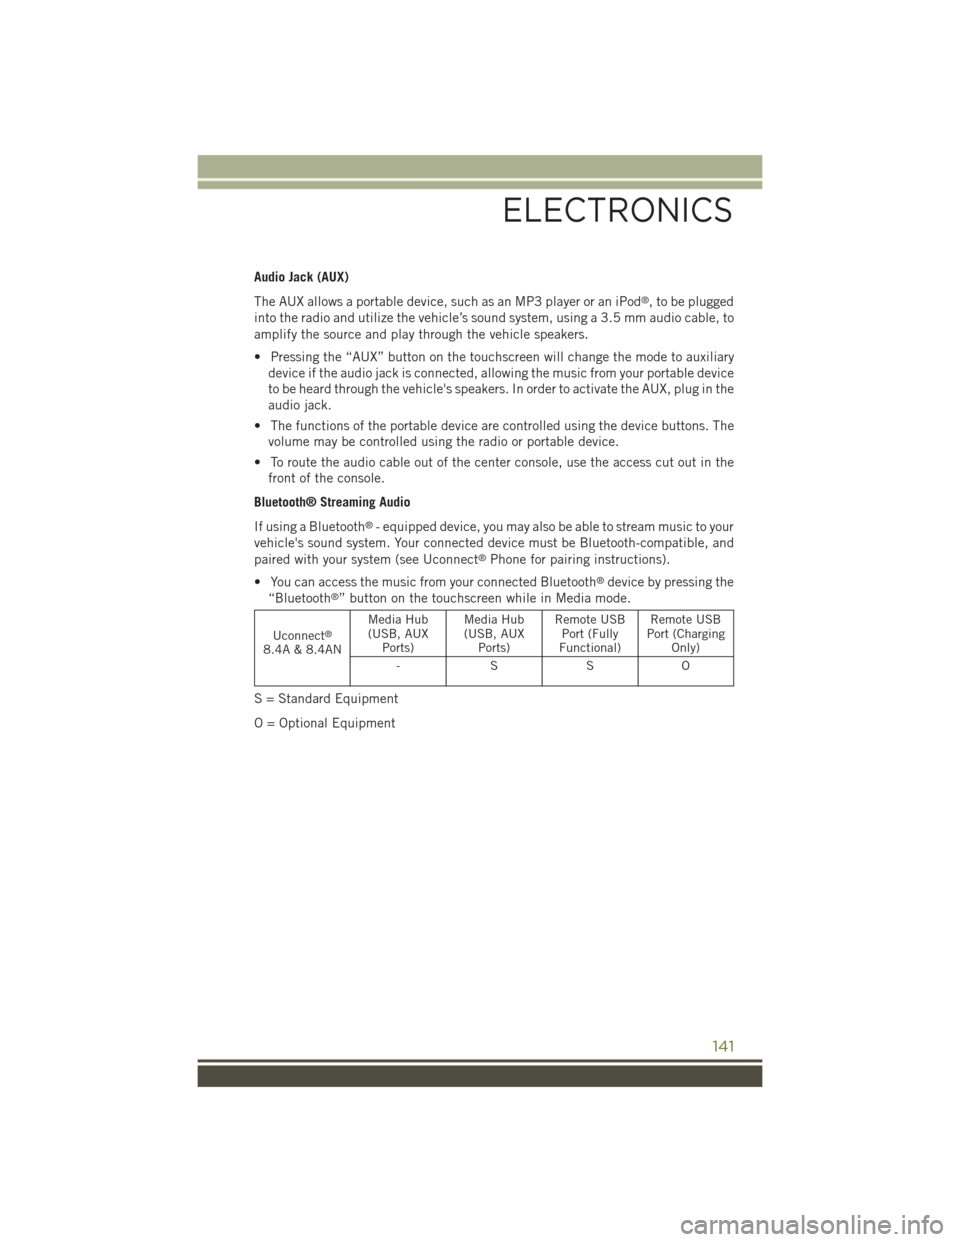
Audio Jack (AUX)
The AUX allows a portable device, such as an MP3 player or an iPod®, to be plugged
into the radio and utilize the vehicle’s sound system, using a 3.5 mm audio cable, to
amplify the source and play through the vehicle speakers.
• Pressing the “AUX” button on the touchscreen will change the mode to auxiliary
device if the audio jack is connected, allowing the music from your portable device
to be heard through the vehicle's speakers. In order to activate the AUX, plug in the
audio jack.
• The functions of the portable device are controlled using the device buttons. The
volume may be controlled using the radio or portable device.
• To route the audio cable out of the center console, use the access cut out in the
front of the console.
Bluetooth® Streaming Audio
If using a Bluetooth®- equipped device, you may also be able to stream music to your
vehicle's sound system. Your connected device must be Bluetooth-compatible, and
paired with your system (see Uconnect®Phone for pairing instructions).
• You can access the music from your connected Bluetooth®device by pressing the
“Bluetooth®” button on the touchscreen while in Media mode.
Uconnect®
8.4A & 8.4AN
Media Hub(USB, AUXPorts)
Media Hub(USB, AUXPorts)
Remote USBPort (FullyFunctional)
Remote USBPort (ChargingOnly)
-SSO
S = Standard Equipment
O = Optional Equipment
ELECTRONICS
141
Page 149 of 244
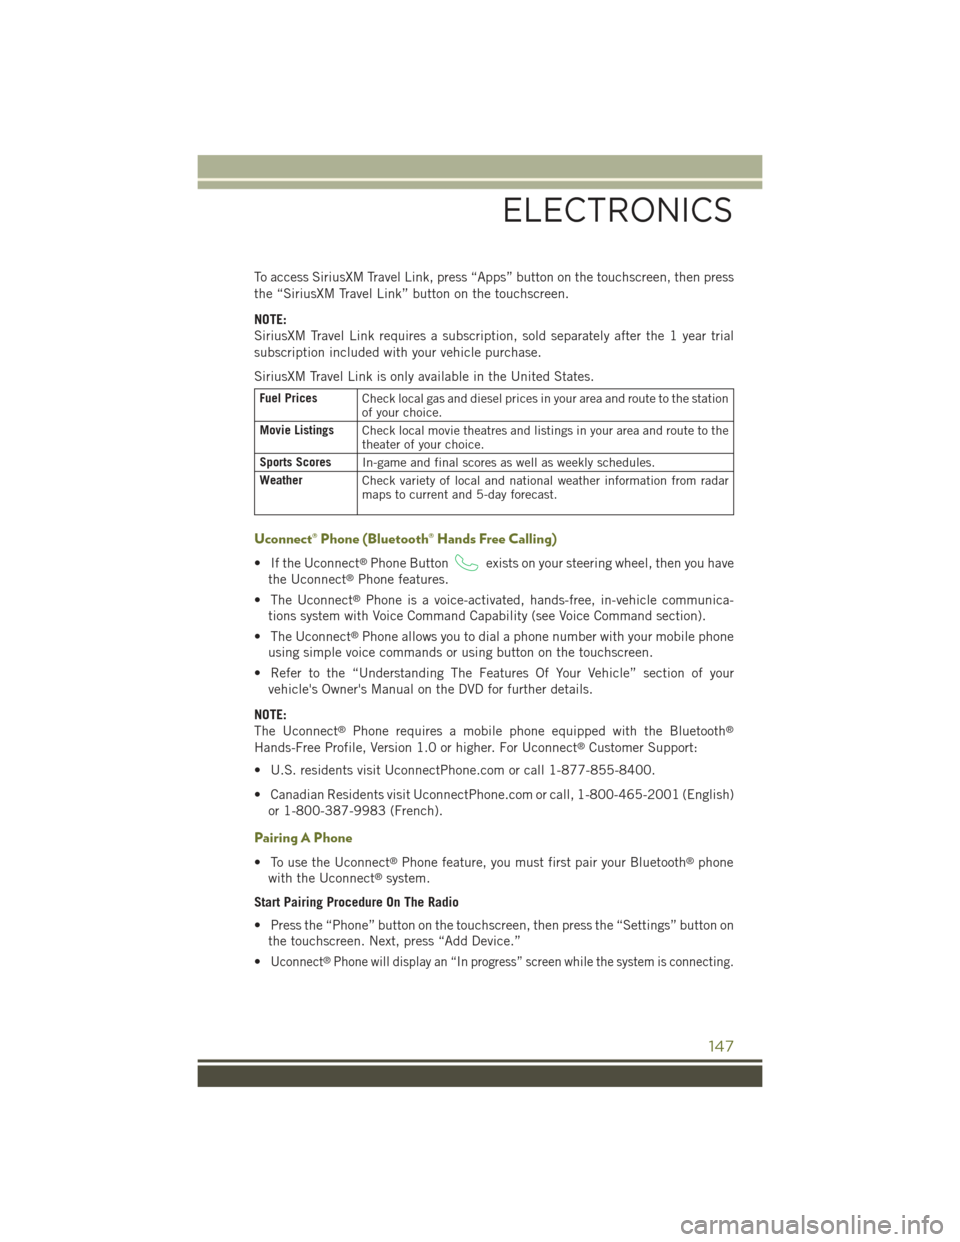
To access SiriusXM Travel Link, press “Apps” button on the touchscreen, then press
the “SiriusXM Travel Link” button on the touchscreen.
NOTE:
SiriusXM Travel Link requires a subscription, sold separately after the 1 year trial
subscription included with your vehicle purchase.
SiriusXM Travel Link is only available in the United States.
Fuel PricesCheck local gas and diesel prices in your area and route to the stationof your choice.
Movie ListingsCheck local movie theatres and listings in your area and route to thetheater of your choice.
Sports ScoresIn-game and final scores as well as weekly schedules.
WeatherCheck variety of local and national weather information from radarmaps to current and 5-day forecast.
Uconnect® Phone (Bluetooth® Hands Free Calling)
• If the Uconnect®Phone Buttonexists on your steering wheel, then you have
the Uconnect®Phone features.
• The Uconnect®Phone is a voice-activated, hands-free, in-vehicle communica-
tions system with Voice Command Capability (see Voice Command section).
• The Uconnect®Phone allows you to dial a phone number with your mobile phone
using simple voice commands or using button on the touchscreen.
• Refer to the “Understanding The Features Of Your Vehicle” section of your
vehicle's Owner's Manual on the DVD for further details.
NOTE:
The Uconnect®Phone requires a mobile phone equipped with the Bluetooth®
Hands-Free Profile, Version 1.0 or higher. For Uconnect®Customer Support:
• U.S. residents visit UconnectPhone.com or call 1-877-855-8400.
• Canadian Residents visit UconnectPhone.com or call, 1-800-465-2001 (English)
or 1-800-387-9983 (French).
Pairing A Phone
• To use the Uconnect®Phone feature, you must first pair your Bluetooth®phone
with the Uconnect®system.
Start Pairing Procedure On The Radio
• Press the “Phone” button on the touchscreen, then press the “Settings” button on
the touchscreen. Next, press “Add Device.”
•Uconnect®Phone will display an “In progress” screen while the system is connecting.
ELECTRONICS
147
Page 150 of 244
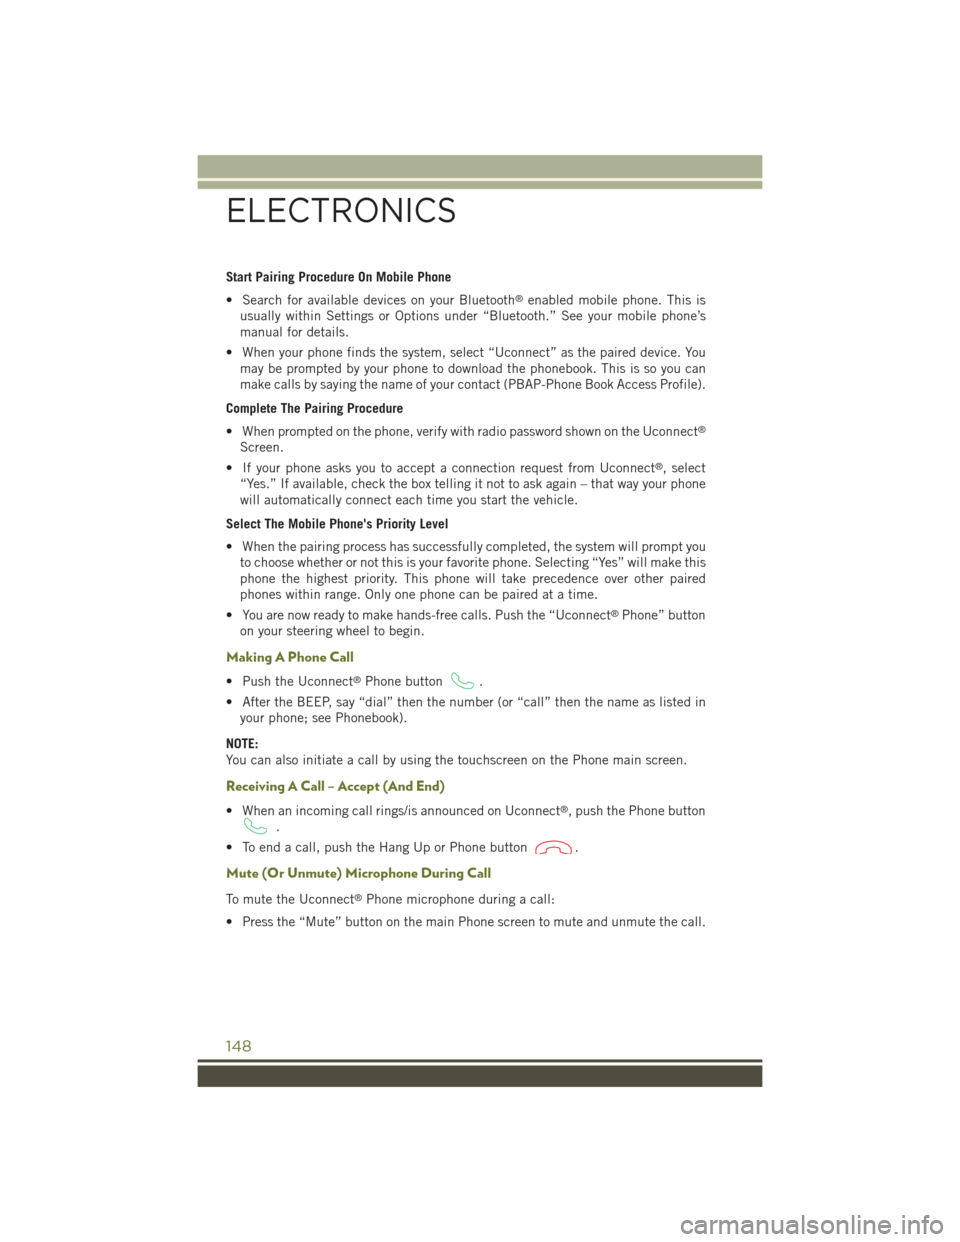
Start Pairing Procedure On Mobile Phone
• Search for available devices on your Bluetooth®enabled mobile phone. This is
usually within Settings or Options under “Bluetooth.” See your mobile phone’s
manual for details.
• When your phone finds the system, select “Uconnect” as the paired device. You
may be prompted by your phone to download the phonebook. This is so you can
make calls by saying the name of your contact (PBAP-Phone Book Access Profile).
Complete The Pairing Procedure
• When prompted on the phone, verify with radio password shown on the Uconnect®
Screen.
• If your phone asks you to accept a connection request from Uconnect®, select
“Yes.” If available, check the box telling it not to ask again – that way your phone
will automatically connect each time you start the vehicle.
Select The Mobile Phone's Priority Level
• When the pairing process has successfully completed, the system will prompt you
to choose whether or not this is your favorite phone. Selecting “Yes” will make this
phone the highest priority. This phone will take precedence over other paired
phones within range. Only one phone can be paired at a time.
• You are now ready to make hands-free calls. Push the “Uconnect®Phone” button
on your steering wheel to begin.
Making A Phone Call
• Push the Uconnect®Phone button.
• After the BEEP, say “dial” then the number (or “call” then the name as listed in
your phone; see Phonebook).
NOTE:
You can also initiate a call by using the touchscreen on the Phone main screen.
Receiving A Call – Accept (And End)
• When an incoming call rings/is announced on Uconnect®, push the Phone button
.
• To end a call, push the Hang Up or Phone button.
Mute (Or Unmute) Microphone During Call
To mute the Uconnect®Phone microphone during a call:
• Press the “Mute” button on the main Phone screen to mute and unmute the call.
ELECTRONICS
148
Page 151 of 244
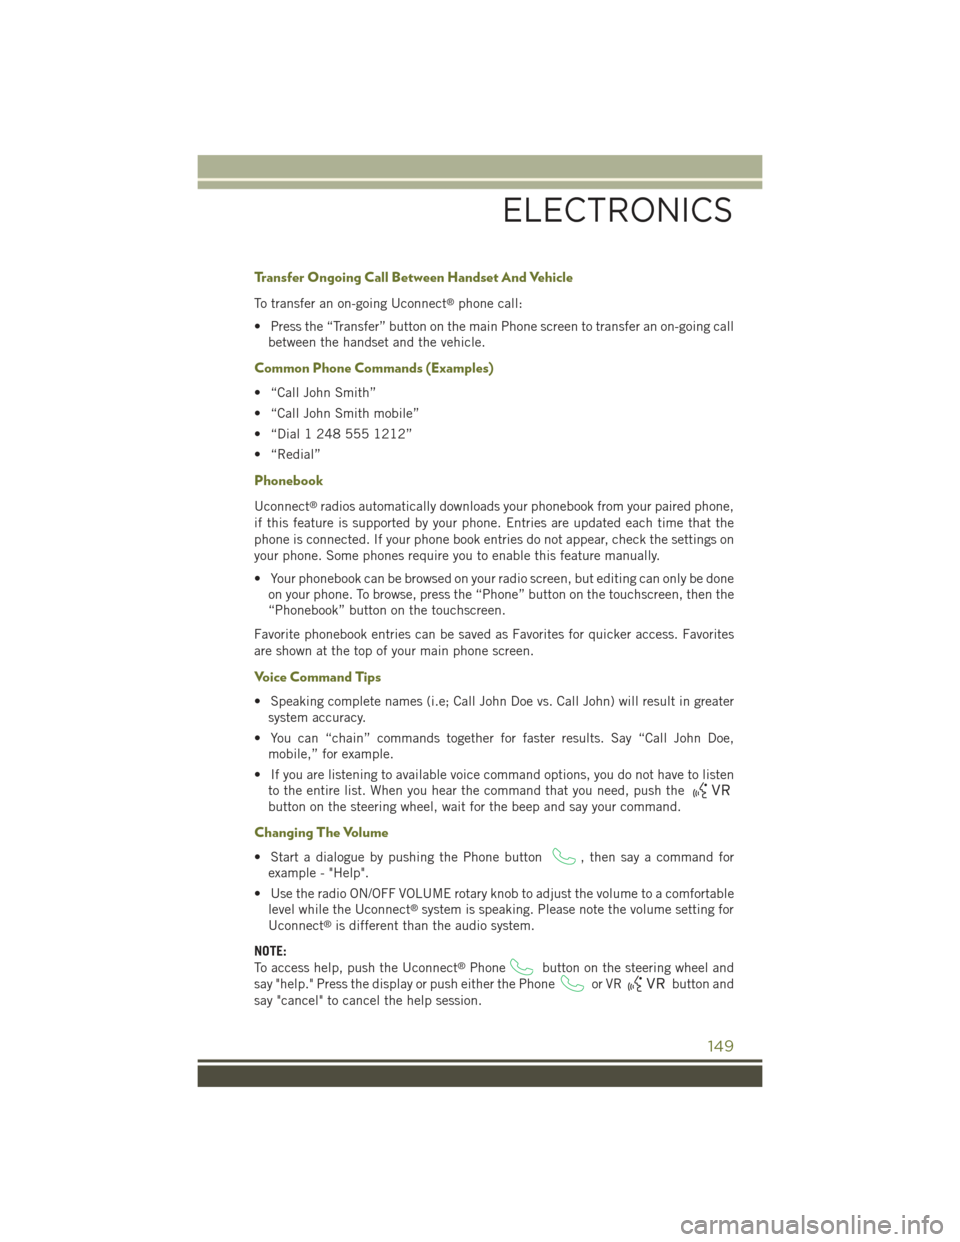
Transfer Ongoing Call Between Handset And Vehicle
To transfer an on-going Uconnect®phone call:
• Press the “Transfer” button on the main Phone screen to transfer an on-going call
between the handset and the vehicle.
Common Phone Commands (Examples)
• “Call John Smith”
• “Call John Smith mobile”
• “Dial 1 248 555 1212”
• “Redial”
Phonebook
Uconnect®radios automatically downloads your phonebook from your paired phone,
if this feature is supported by your phone. Entries are updated each time that the
phone is connected. If your phone book entries do not appear, check the settings on
your phone. Some phones require you to enable this feature manually.
• Your phonebook can be browsed on your radio screen, but editing can only be done
on your phone. To browse, press the “Phone” button on the touchscreen, then the
“Phonebook” button on the touchscreen.
Favorite phonebook entries can be saved as Favorites for quicker access. Favorites
are shown at the top of your main phone screen.
Voice Command Tips
• Speaking complete names (i.e; Call John Doe vs. Call John) will result in greater
system accuracy.
• You can “chain” commands together for faster results. Say “Call John Doe,
mobile,” for example.
• If you are listening to available voice command options, you do not have to listen
to the entire list. When you hear the command that you need, push the
button on the steering wheel, wait for the beep and say your command.
Changing The Volume
• Start a dialogue by pushing the Phone button, then say a command for
example - "Help".
• Use the radio ON/OFF VOLUME rotary knob to adjust the volume to a comfortable
level while the Uconnect®system is speaking. Please note the volume setting for
Uconnect®is different than the audio system.
NOTE:
To access help, push the Uconnect®Phonebutton on the steering wheel and
say "help." Press the display or push either the Phoneor VRbutton and
say "cancel" to cancel the help session.
ELECTRONICS
149
Page 153 of 244
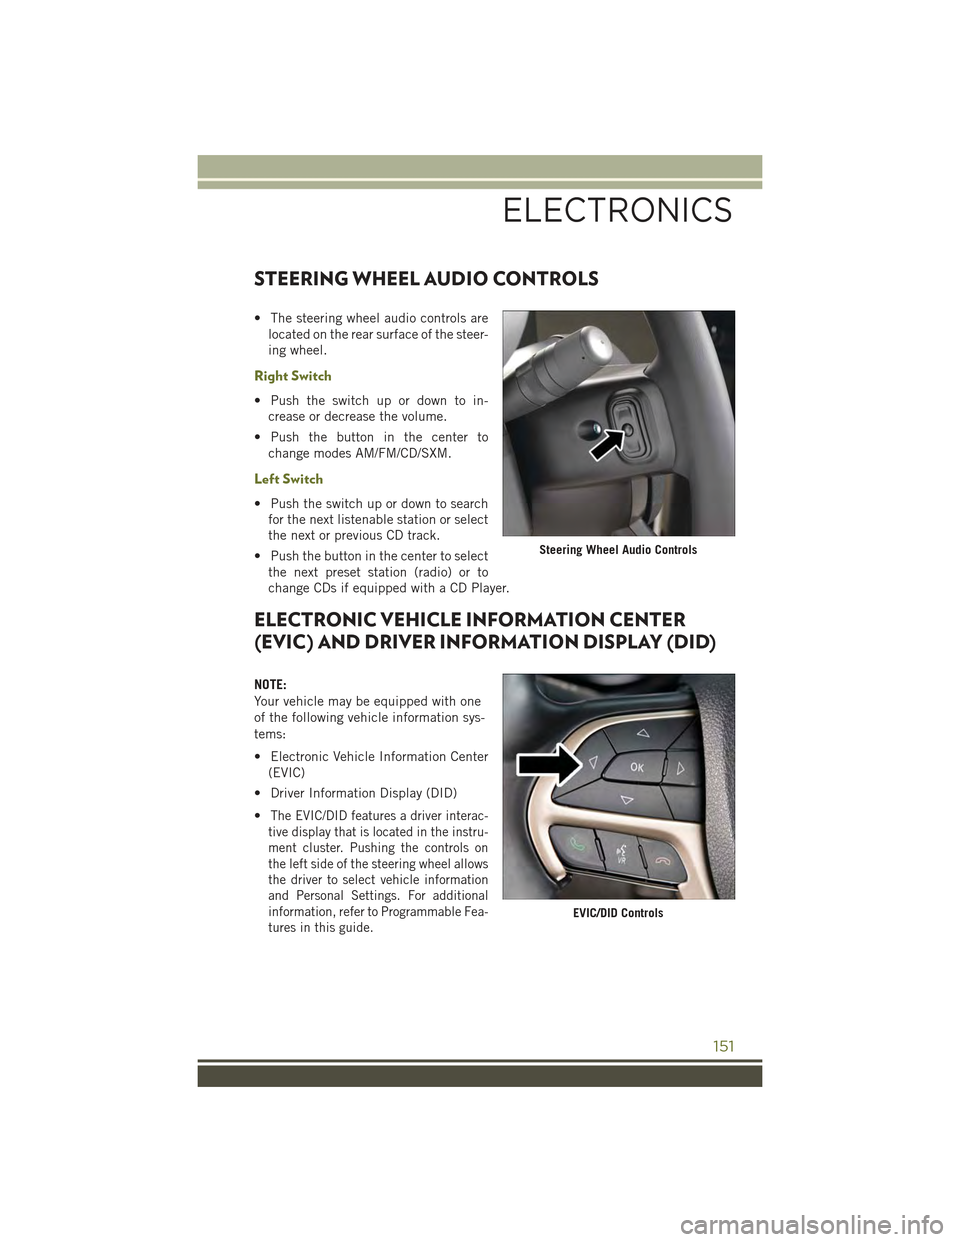
STEERING WHEEL AUDIO CONTROLS
• The steering wheel audio controls are
located on the rear surface of the steer-
ing wheel.
Right Switch
• Push the switch up or down to in-
crease or decrease the volume.
• Push the button in the center to
change modes AM/FM/CD/SXM.
Left Switch
• Push the switch up or down to search
for the next listenable station or select
the next or previous CD track.
• Push the button in the center to select
the next preset station (radio) or to
change CDs if equipped with a CD Player.
ELECTRONIC VEHICLE INFORMATION CENTER
(EVIC) AND DRIVER INFORMATION DISPLAY (DID)
NOTE:
Your vehicle may be equipped with one
of the following vehicle information sys-
tems:
• Electronic Vehicle Information Center
(EVIC)
• Driver Information Display (DID)
•The EVIC/DID features a driver interac-
tive display that is located in the instru-
ment cluster. Pushing the controls on
the left side of the steering wheel allows
the driver to select vehicle information
and Personal Settings. For additional
information, refer to Programmable Fea-
tures in this guide.
Steering Wheel Audio Controls
EVIC/DID Controls
ELECTRONICS
151
Page 156 of 244
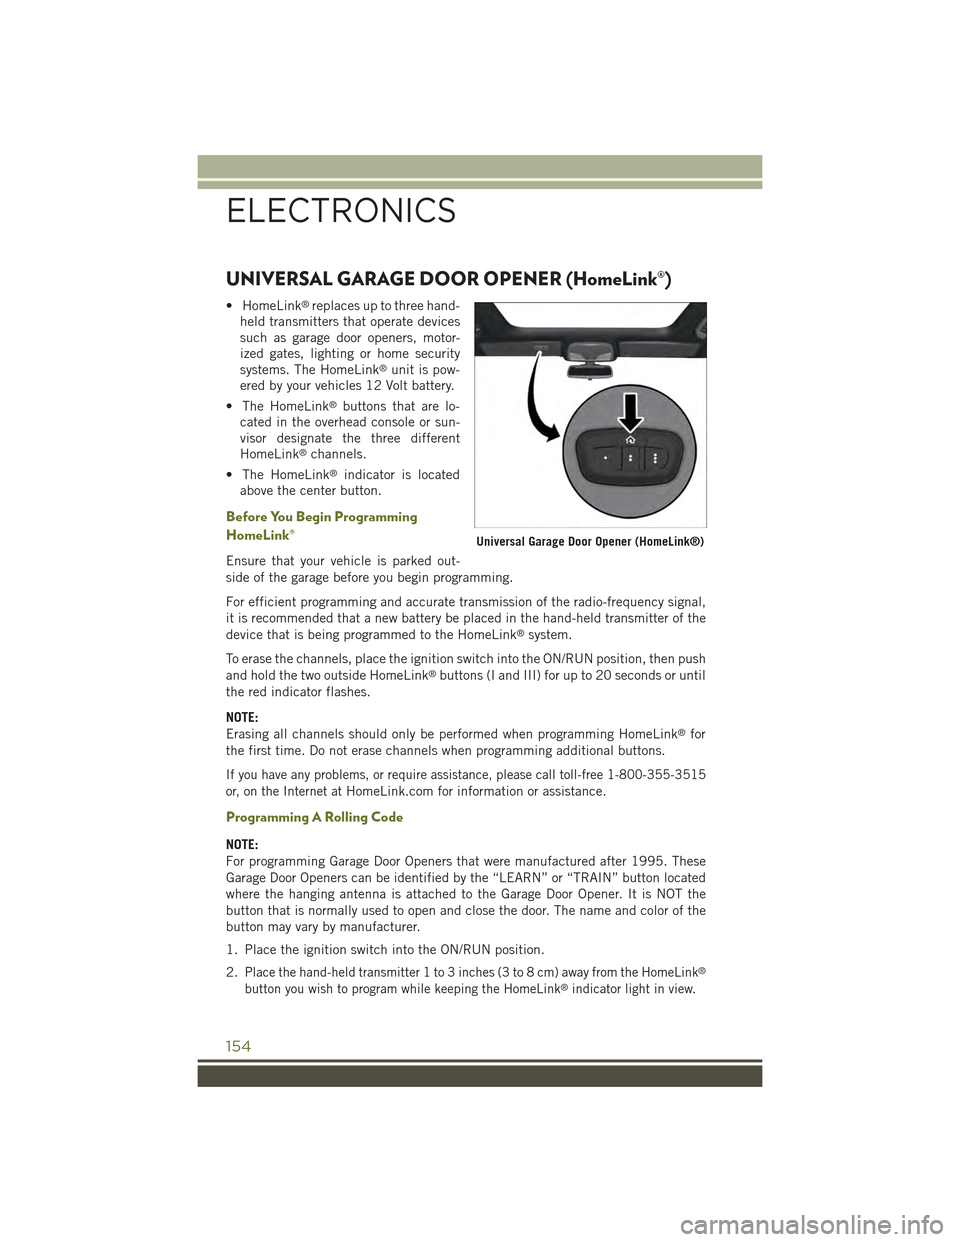
UNIVERSAL GARAGE DOOR OPENER (HomeLink®)
• HomeLink®replaces up to three hand-
held transmitters that operate devices
such as garage door openers, motor-
ized gates, lighting or home security
systems. The HomeLink®unit is pow-
ered by your vehicles 12 Volt battery.
• The HomeLink®buttons that are lo-
cated in the overhead console or sun-
visor designate the three different
HomeLink®channels.
• The HomeLink®indicator is located
above the center button.
Before You Begin Programming
HomeLink®
Ensure that your vehicle is parked out-
side of the garage before you begin programming.
For efficient programming and accurate transmission of the radio-frequency signal,
it is recommended that a new battery be placed in the hand-held transmitter of the
device that is being programmed to the HomeLink®system.
To erase the channels, place the ignition switch into the ON/RUN position, then push
and hold the two outside HomeLink®buttons (I and III) for up to 20 seconds or until
the red indicator flashes.
NOTE:
Erasing all channels should only be performed when programming HomeLink®for
the first time. Do not erase channels when programming additional buttons.
If you have any problems, or require assistance, please call toll-free 1-800-355-3515
or, on the Internet atHomeLink.com for information or assistance.
Programming A Rolling Code
NOTE:
For programming Garage Door Openers that were manufactured after 1995. These
Garage Door Openers can be identified by the “LEARN” or “TRAIN” button located
where the hanging antenna is attached to the Garage Door Opener. It is NOT the
button that is normally used to open and close the door. The name and color of the
button may vary by manufacturer.
1. Place the ignition switch into the ON/RUN position.
2.Place the hand-held transmitter 1 to 3 inches (3 to 8 cm) away from the HomeLink®
button you wish to program while keeping the HomeLink®indicator light in view.
Universal Garage Door Opener (HomeLink®)
ELECTRONICS
154
Page 196 of 244
JUMP-STARTING
• If your vehicle has a discharged battery it can be jump-started using a set of
jumper cables and a battery in another vehicle or by using a portable battery
booster pack.
• Jump-starting can be dangerous if done improperly so please follow the proce-
dures in this section carefully.
NOTE:
When using a portable battery booster pack follow the manufacturer’s operating
instructions and precautions.
CAUTION!
Do not use a portable battery booster pack or any other booster source with a
system voltage greater than 12 Volts or damage to the battery, starter motor,
alternator or electrical system may occur.
WARNING!
Do not attempt jump-starting if the battery is frozen. It could rupture or explode
and cause personal injury.
Preparations For Jump-Start
• The battery in your vehicle is located in the front of the engine compartment,
behind the left headlight assembly.
NOTE:
The positive battery post is covered with a protective cap. Lift up on the cap to gain
access to the positive battery post.
• Set the parking brake, shift the automatic transmission into PARK and turn the
ignition to OFF.
• Turn off the heater, radio, and all unnecessary electrical accessories.
• If using another vehicle to jump-start the battery, park the vehicle within the
jumper cables reach, set the parking brake and make sure the ignition is OFF.
WHAT TO DO IN EMERGENCIES
194
Page 219 of 244
CavityBlade Fuse Cartridge Fuse Description
F7620 Amp Yellow– Rear DifferentialModule (RDM) -If Equipped
F7710 Amp Red–FuelDoorRelease/Brake Pedal Switch
F7810 Amp Red–DiagnosticPort
F7910 Amp Red–IntegratedCenterStack (ICS) / HVAC/AuxSwitchBankModule (ASBM) /Instrument PanelCluster (IPC)
F8020 Amp Yellow–Radio/CD-If Equipped
F81––NotUsed
F82––NotUsed
F83–20 Amp Blue Engine ControllerModule (Gas)
F84–30 Amp Pink Electric Park Brake(EPB) - Left
F85––NotUsed
F8620 Amp Yellow–Horns-IfEquippedWith Stop/StartEngine Option
F87A20 Amp Yellow–HID Headlamp Left- If Equipped withStop/Start EngineOption
F8815 Amp Blue– Collision MitigationModule (CMM) /ElectrochromaticMirror / SmartCamera Module -If Equipped
F8910 Amp Red–Headlamp Leveling -If Equipped
F90––NotUsed
F9120 Amp Yellow– Power Outlet Rear
F92––NotUsed
F93–40 Amp Green Brake SystemModule (BSM) -Pump Motor
F94–30 Amp Pink Electric Park Brake(EPB) - Right
MAINTAINING YOUR VEHICLE
217
Page 226 of 244
PUBLICATIONS ORDERING
• If you are the first registered retail owner of your vehicle, you may obtain a
complimentary printed copy of the Owner's Manual, Navigation/Uconnect®Manu-
als or Warranty Booklet. United States customers may visit the Jeep Contact Us
page at www.jeep.com scroll to the bottom of the page and select the “Contact Us”
link, then select the “Owner’s Manual and Glove Box Material” from the left menu.
You may also obtain a complimentary copy by calling 1–877–426–5337 (U.S.) or
1–800–387–1143 (Canada).
• Replacement User Guide kits or DVDs or, if you prefer, additional printed copies
of the Owner's Manual, Warranty Booklet or Radio Manuals may be purchased
by visiting www.techauthority.com or by calling 1–877–890–4038 (U.S.) or
1–800–387–1143 (Canada). Visa, Master Card, American Express and Discover
orders are accepted. If you prefer mailing your order, please call the above
numbers for an order form.
NOTE:
• A street address is required when ordering manuals (no P.O. Boxes).
• The Owner's Manual and User Guide electronic files are also available on the
Chrysler, Jeep, Ram Truck, Dodge and SRT websites.
• Click on the “For Owners” tab, select “Owner/Service Manuals”, then select your
desired model year and vehicle from the drop down lists.
CUSTOMER ASSISTANCE
224
Page 229 of 244
FREQUENTLY ASKED QUESTIONS
GETTING STARTED
• How do I install my LATCH Equipped Child Seat? pg. 27
• How do I program my Front Seat Memory? pg. 31
ELECTRONICS
• Which radio is in my vehicle?
• Uconnect®5.0 pg. 88
• Uconnect®8.4A pg. 100
• Uconnect®8.4AN pg. 133
• How do I activate the Audio Jack?
• Uconnect®5.0 pg. 88
• Uconnect®8.4A pg. 100
• Uconnect®8.4AN pg. 133
• How do I set the clock on my radio?
• Uconnect®5.0 pg. 88
• Uconnect®8.4A pg. 100
• Uconnect®8.4AN pg. 133
• How do I use the Navigation feature?
• Uconnect®8.4A pg. 100
• Uconnect®8.4AN pg. 133
• How do I pair my cell phone via Bluetooth®with the Uconnect®Hands-Free Voice
Activation System? pg. 147
• How do I configure my Universal Garage Door Opener (HomeLink®)? pg. 154
OFF-ROAD CAPABILITIES
• How do I shift into different four-wheel drive selections? pg. 162
UTILITY
• How do I know how much I can tow with my Jeep Cherokee? pg. 167
FAQ’s
227