ECO mode JEEP CHEROKEE 2016 KL / 5.G User Guide
[x] Cancel search | Manufacturer: JEEP, Model Year: 2016, Model line: CHEROKEE, Model: JEEP CHEROKEE 2016 KL / 5.GPages: 236, PDF Size: 11.24 MB
Page 13 of 236
Locking And Unlocking The Doors/Liftgate
• Push LOCK button once to lock all the doors and the liftgate. Push UNLOCKbutton once to unlock the driver’s door only and twice within five seconds to unlock
all the doors and the liftgate.
• All doors can be programmed to unlock on the first push the UNLOCK button. Refer to “Programmable Features” in this guide.
Panic Alarm
• Push PANIC button once to turn the panic alarm on.
• Wait approximately three seconds and push button a second time to turn the panicalarm off.
WARNING!
• When leaving the vehicle, always remove the Key Fob from the ignition and lock
your vehicle.
• Never leave children alone in a vehicle, or with access to an unlocked vehicle.
Allowing children to be in a vehicle unattended is dangerous for a number of
reasons. A child or others could be seriously or fatally injured. Children should
be warned not to touch the parking brake, brake pedal or the transmission gear
selector.
• Do not leave the Key Fob in or near the vehicle (or in a location accessible to
children), and do not leave the ignition of a vehicle equipped with Keyless
Enter-N-Go in the ACC or ON/RUN mode. A child could operate power
windows, other controls, or move the vehicle.
GETTING STARTED
11
Page 30 of 236
Installing The Child Restraint Using The Vehicle Seat Belts
The seat belts in the passenger seating positions are equipped with a Switchable
Automatic Locking Retractor (ALR) that is designed to keep the lap portion of the
seat belt tight around the child restraint. Any seat belt system will loosen with time,
so check the belt occasionally, and pull it tight if necessary.
Tether Anchorage Weight Limit
Always use the tether anchor when using the seat belt to install a forward facing child
restraint, up to the recommended weight limit of the child restraint.
To Install A Child Seat Using An ALR:
1. Pull enough of the seat belt webbing from the retractor to pass it through the beltpath of the child restraint. Do not twist the belt webbing in the belt path.
2. Slide the latch plate into the buckle until you hear a “click.”
3. Pull on the webbing to make the lap portion tight against the child seat.
4. To lock the seat belt, pull down on the shoulder part of the belt until you have pulled all the seat belt webbing out of the retractor. Then, allow the webbing to
retract back into the retractor. As the webbing retracts, you will hear a clicking
sound. This means the seat belt is now in the Automatic Locking mode.
5. Try to pull the webbing out of the retractor. If it is locked, you should not be able to pull out any webbing. If the retractor is not locked, repeat the last step.
6.
Finally, pull up on any extra webbing to tighten the lap portion around the child
restraint while you push the child restraint rearward and downward into the vehicle
seat.
7. If the child restraint has a top tether strap and the seating position has a top tether anchorage, connect the tether strap to the anchorage and tighten the tether strap.
See below for directions to attach a tether anchor.
8.
Test that the child restraint is installed tightly by pulling back and forth on the child
seat at the belt path. It should not move more than 1 inch (25.4 mm) in any direction.
Installing The Top Tether Strap (With Either Lower Anchors Or Vehicle Seat Belt):
When installing a forward-facing child restraint, always secure the top tether strap,
up to the tether anchor weight limit, whether the child restraint is installed with the
lower anchors or the vehicle seat belt.
Tether Strap Installation
1. Route the tether strap to provide the most direct path for the strap between the anchor and the child seat.
2. If your vehicle is equipped with adjustable rear head restraints, raise the head restraint, and where possible, route the tether strap under the head restraint and
between the two posts. If not possible, lower the head restraint and pass the
tether strap around the outboard side of the head restraint.
GETTING STARTED
28
Page 39 of 236
HEATED/VENTILATED SEATS
Front Heated Seats
If your vehicle is equipped with front heated seats, the control buttons are located
within the Uconnect system. You can gain access to the control buttons through the
climate screen or the controls screen.
• Press the heated seat button
once to turn the HI setting ON.
• Press the heated seat button
a second time to turn the LO setting ON.
• Press the heated seat button
a third time to turn the heating elements OFF.
If the HI-level setting is selected, the system will automatically switch to LO-level
after approximately 60 minutes of continuous operation. At that time, the display will
change from HI to LO, indicating the change. The LO-level setting will turn OFF
automatically after approximately 45 minutes.
NOTE:
The engine must be running for the heated seats to operate.
Vehicles Equipped With Remote Start
On models that are equipped with remote start, the heated seats can be programed
to come on during a remote start.
This feature can be programmed through the Uconnect system. Refer to “Uconnect
Settings” in “Understanding Your Instrument Panel” in the Owner’s Manual on the
DVD for further information.
WARNING!
• Persons who are unable to feel pain to the skin because of advanced age, chronic illness, diabetes, spinal cord injury, medication, alcohol use, exhaus-
tion or other physical condition must exercise care when using the seat heater.
It may cause burns even at low temperatures, especially if used for long periods
of time.
• Do not place anything on the seat or seatback that insulates against heat, such
as a blanket or cushion. This may cause the seat heater to overheat. Sitting in
a seat that has been overheated could cause serious burns due to the increased
surface temperature of the seat.
GETTING STARTED
37
Page 40 of 236
Front Ventilated Seats
If your vehicle is equipped with ventilated seats, the seat cushion and seat back will
have fans that draw the air from the passenger compartment and move air through
fine perforations in the seat cover to help keep the driver and front passenger cooler
in higher ambient temperatures. The fans operate at two speeds, HI and LO.
The front ventilated seats control buttons are located within the Uconnect system.
You can gain access to the control buttons through the climate screen or the controls
screen.
• Press the ventilated seat button
once to choose HI.
• Press the ventilated seat button
a second time to choose LO.
• Press the ventilated seat button
a third time to turn the ventilated seat OFF.
NOTE:
The engine must be running for the ventilated seats to operate.
Vehicles Equipped With Remote Start
On models that are equipped with remote start, the ventilated seats can be
programed to come on during a remote start.
This feature can be programmed through the Uconnect system. Refer to “Uconnect
Settings” in “Understanding Your Instrument Panel” in the Owner's Manual on the DVD.
HEATED STEERING WHEEL
If your vehicle is equipped with a heated steering wheel, it contains a heating
element that will keep your hands warm in cold weather. The heated steering wheel
has only one temperature setting. Once the heated steering wheel has been turned on
it can operate for up to 120 minutes before automatically shutting off. The heated
steering wheel can shut off early or may not turn on when the steering wheel is
already warm.
The heated steering wheel control button is located within the Uconnect system. You
can gain access to the control button through the climate screen or the controls
screen.
• Press the heated steering wheel button
once to turn the heating element ON.
• Press the heated steering wheel button
a second time to turn the heating
element OFF.
NOTE:
The engine must be running for the heated steering wheel to operate.
GETTING STARTED
38
Page 42 of 236
ENGINE BREAK-IN RECOMMENDATIONS
A long break-in period is not required for the engine and drivetrain (transmission and
axle) in your vehicle.
Drive moderately during the first 300 miles (500 km). After the initial 60 miles (100 km),
speeds up to 50 or 55 mph (80 or 90 km/h) are desirable.
While cruising, brief full-throttle acceleration within the limits of local traffic laws
contributes to a good break-in. Wide-open throttle acceleration in low gear can be
detrimental and should be avoided.
The engine oil installed in the engine at the factory is a high-quality energy
conserving type lubricant. Oil changes should be consistent with anticipated climate
conditions under which vehicle operations will occur. Refer to “Maintaining Your
Vehicle,” for the recommended viscosity and quality grades.
NOTE:
A new engine may consume some oil during its first few thousand miles (kilometers)
of operation. This should be considered a normal part of the break-in and not
interpreted as an indication of an engine problem or malfunction.
CAUTION!
Never use Non-Detergent Oil or Straight Mineral Oil in the engine or damage may
result.
TURN SIGNAL/HIGH BEAM LEVER
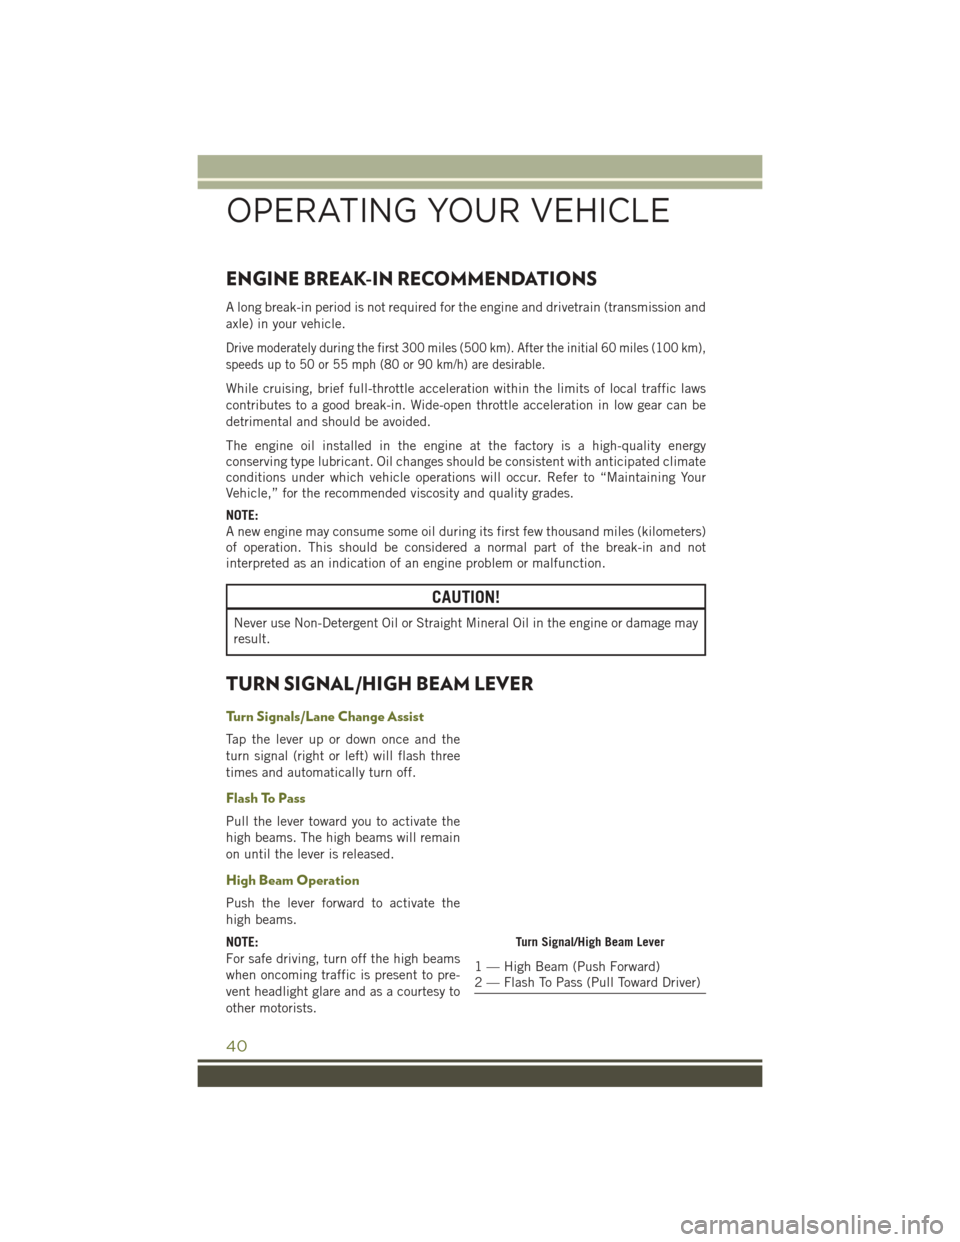
Turn Signals/Lane Change Assist
Tap the lever up or down once and the
turn signal (right or left) will flash three
times and automatically turn off.
Flash To Pass
Pull the lever toward you to activate the
high beams. The high beams will remain
on until the lever is released.
High Beam Operation
Push the lever forward to activate the
high beams.
NOTE:
For safe driving, turn off the high beams
when oncoming traffic is present to pre-
vent headlight glare and as a courtesy to
other motorists.
Turn Signal/High Beam Lever
1 — High Beam (Push Forward)
2 — Flash To Pass (Pull Toward Driver)
OPERATING YOUR VEHICLE
40
Page 48 of 236
Metric Speed (km/h)
• Pushing the SET+button once will result in a 1 km/h increase in set speed. Each
subsequent tap of the button results in an increase of 1 km/h.
•
If the button is continually pushed, the set speed will continue to increase in 10 km/h
increments until the button is released. The increase in set speed is reflected in the
EVIC/DID.
To Decrease Speed
While ACC is set, the set speed can be decreased by pushing the SET -button.
The drivers preferred units can be selected through the instrument panel settings if
equipped. Refer to “Understanding Your Instrument Panel” in the Owner’s Manual
on the DVD for more information. The speed increment shown is dependant on the
speed of U.S. (mph) or Metric (km/h) units:
U.S. Speed (mph)
• Pushing the SET -button once will result in a 1 mph decrease in set speed. Each
subsequent tap of the button results in a decrease of 1 mph.
• If the button is continually pushed, the set speed will continue to decrease in 5 mph decrements until the button is released. The decrease in set speed is
reflected in the EVIC/DID.
Metric Speed (km/h)
• Pushing the SET -button once will result in a 1 km/h decrease in set speed. Each
subsequent tap of the button results in a decrease of 1 km/h.
•
If the button is continually pushed, the set speed will continue to decrease in 10 km/h
decrements until the button is released. The decrease in set speed is reflected in the
EVIC/DID.
NOTE:
• When you override and push the SET +button or SET -buttons, the new Set Speed
will be the current speed of the vehicle.
• When you use the SET -button to decelerate, if the engine’s braking power does
not slow the vehicle sufficiently to reach the set speed, the brake system will
automatically slow the vehicle.
• The ACC system applies the brake down to a full stop when following a target vehicle. If an ACC host vehicle follows a target vehicle to a standstill, the host
vehicle will release the vehicle brakes two seconds after coming to a full stop.
• The ACC system maintains set speed when driving up hill and down hill. However, a slight speed change on moderate hills is normal. In addition, downshifting may
occur while climbing uphill or descending downhill. This is normal operation and
necessary to maintain set speed. When driving up hill and down hill, the ACC
system will cancel if the braking temperature exceeds normal range (overheated).
OPERATING YOUR VEHICLE
46
Page 49 of 236
Distance Setting (ACC Only)
The specified following distance for ACC can be set by varying the distance setting
between four bars (longest), three bars (long), two bars (medium) and one bar (short).
Using this distance setting and the vehicle speed, ACC calculates and sets the
distance to the vehicle ahead. This distance setting displays in the EVIC/DID.
• To increase the distance setting, push the Distance Setting—Increase button andrelease. Each time the button is pushed, the distance setting increases by one bar
(longer).
• To decrease the distance setting, push the Distance Setting—Decrease button and release. Each time the button is pushed, the distance setting decreases by one
bar (shorter).
ACC Operation At Stop
If the ACC system brings your vehicle to a standstill while following a target vehicle,
if the target vehicle starts moving within two seconds of your vehicle coming to a
standstill, your vehicle will resume motion without the need for any driver action.
If the target vehicle does not start moving within two seconds of your vehicle coming
to a standstill, the driver will either have to push the RES (resume) button, or apply
the accelerator pedal to reengage the ACC to the existing Set Speed.
NOTE:
After the ACC system holds your vehicle at a standstill for approximately three
consecutive minutes, the parking brake will be activated, and the ACC system will be
cancelled.
While the ACC system is holding your vehicle at a standstill, if the driver seatbelt is
unbuckled or the driver door is opened, the parking brake will be activated, and the
ACC system will be cancelled.
Changing Modes (ACC Only)
If desired, the Adaptive Cruise Control mode can be turned off and the system can be
operated as a normal (Fixed Speed) Speed Control mode. When in the normal (Fixed
Speed) Speed Control mode the distance setting feature will be disabled and the
system will maintain the speed you set.
• To change between the different cruise control modes, push the ADAPTIVECRUISE CONTROL (ACC) ON/OFF button which turns the ACC and the normal
(Fixed Speed) Speed Control OFF.
• Pushing the normal (Fixed Speed) SPEED CONTROL ON/OFF button will result in turning ON (changing to) the normal (Fixed Speed) Speed Control mode.
Refer to your Owner's Manual on the DVD for further information.
OPERATING YOUR VEHICLE
47
Page 50 of 236
WARNING!
Adaptive Cruise Control (ACC) is a convenience system. It is not a substitute for
active driving involvement. It is always the driver’s responsibility to be attentive of
road, traffic, and weather conditions, vehicle speed, distance to the vehicle ahead;
and, most importantly, brake operation to ensure safe operation of the vehicle
under all road conditions. Your complete attention is always required while driving
to maintain safe control of your vehicle. Failure to follow these warnings can result
in a collision and death or serious personal injury.
The ACC system:
• Does not react to pedestrians, oncoming vehicles, and stationary objects (e.g.,a stopped vehicle in a traffic jam or a disabled vehicle).
• Cannot take street, traffic, and weather conditions into account, and may be
limited upon adverse sight distance conditions.
• Does not always fully recognize complex driving conditions, which can result in
wrong or missing distance warnings.
• Will bring the vehicle to a complete stop while following a target vehicle and
hold the vehicle for approximately 3 minutes in the stop position. If the target
vehicle does not start moving within 3 minutes the parking brake will be
activated, and the ACC system will be cancelled.
You should switch off the ACC system:
• When driving in fog, heavy rain, heavy snow, sleet, heavy traffic, and complex
driving situations (i.e., in highway construction zones).
• When entering a turn lane or highway off ramp; when driving on roads that are
winding, icy, snow-covered, slippery, or have steep uphill or downhill slopes.
• When towing a trailer up or down steep slopes.
• When circumstances do not allow safe driving at a constant speed.
The Cruise Control system has two control modes:
• Adaptive Cruise Control mode for maintaining an appropriate distance between
vehicles.
• Normal (fixed speed) electronic speed control mode for cruising at a constant
preset speed. For additional information, refer to “Normal (Fixed Speed)
Cruise Control Mode” section in the Owners Manual on your DVD.
Normal (fixed speed) electronic speed control will not react to preceding vehicles.
Always be aware of the mode selected.
You can change the mode by using the Cruise Control buttons. The two control
modes function differently. Always confirm which mode is selected.
OPERATING YOUR VEHICLE
48
Page 60 of 236
MAX A/C
• MAX A/C sets the control for maximum cooling performance.
• Press and release to toggle between MAX A/C and the prior settings. The button onthe touchscreen illuminates when MAX A/C is ON.
• In MAX A/C, the blower level and mode position can be adjusted to desired user settings. Pressing other settings will cause the MAX A/C operation to switch to the
prior settings and the MAX A/C indicator will turn off.
Air Recirculation
• Push the Recirculation button for maximum A/C operation.
• To turn off Recirculation for window defogging, push the Recirculation button asecond time.
• If the Recirculation button is pushed while in the AUTO mode, the indicator light shall illuminate. In cold weather, use of Recirculation mode may lead to excessive
window fogging. The recirculation feature may be unavailable (button greyed out)
if conditions exist that could create fogging on the inside of the windshield.
Heated Mirrors
The mirrors are heated to melt frost or ice. This feature is activated whenever you turn
on the rear window defroster.
Windshield Wiper De-icer — If Equipped
The windshield wiper de-icer is a heating element located at the base of the windshield.
The windshield wiper de-icer operates automatically once the following conditions
are met:
• Activation By Front Defrost
The wiper de-icer activates automatically during a cold weather manual start with full
defrost, theblower speed is greater than five, and when theambient temperature is
below 40° F (4.4° C).
• Activation By Rear Defrost
The wiper de-icer activates automatically when the Rear Defrost is operating and the
ambient temperature is below 40° F (4.4° C).
• Activation By Remote Start Operation
When the Remote Start is activated and the outside ambient temperature is less than
40° F (4.4° C) the windshield wiper de-icer is activated. Upon exiting Remote Start,
the climate control functions will resume their previous operation except, if the
de-icer is active, the de-icer timer and operation will continue.
OPERATING YOUR VEHICLE
58
Page 63 of 236
• SafeHold a new feature that will automatically apply the park brake under certainconditions. The EPB monitors the status of the driver’s seat belt, driver’s door and
pedal positions to determine if the driver may have exited while the vehicle is still
capable of moving and will then automatically apply the park brake to prevent the
vehicle from rolling.
• The EPB fault lamp will illuminate if the EPB switch is held for longer than 20 seconds in either the released or applied position. The light will extinguish
upon releasing the switch.
• Refer to the Starting And Operating section of your vehicle’s Owner’s Manual on the DVD for further details.
CAUTION!
If the Brake System Warning Light remains on with the parking brake released, a
brake system malfunction is indicated. Have the brake system serviced by an
authorized dealer immediately.
WARNING!
• Never use the PARK position as a substitute for the parking brake. Always apply the parking brake fully when parked to guard against vehicle movement and
possible injury or damage.
• When leaving the vehicle, always make sure the ignition is in the OFF mode,
remove the Key Fob from the vehicle, and lock your vehicle.
• Never leave children alone in a vehicle, or with access to an unlocked vehicle.
Allowing children to be in a vehicle unattended is dangerous for a number of
reasons. A child or others could be seriously or fatally injured. Children should
be warned not to touch the parking brake, brake pedal or the transmission gear
selector.
• Do not leave the Key Fob in or near the vehicle, (or in a location accessible to
children), and do not leave the ignition in the ACC or ON/RUN mode. A child
could operate power windows, other controls, or move the vehicle.
• Be sure the parking brake is fully disengaged before driving; failure to do so can
lead to brake failure and a collision.
• Always fully apply the parking brake when leaving your vehicle, or it may roll
and cause damage or injury. Also be certain to leave the transmission in PARK.
Failure to do so may allow the vehicle to roll and cause damage or injury.
•
Driving the vehicle with the parking brake engaged, or repeated use of the parking
brake to slow the vehicle may cause serious damage to the brake system.
OPERATING YOUR VEHICLE
61