light JEEP CHEROKEE 2017 KL / 5.G User Guide
[x] Cancel search | Manufacturer: JEEP, Model Year: 2017, Model line: CHEROKEE, Model: JEEP CHEROKEE 2017 KL / 5.GPages: 615, PDF Size: 5.72 MB
Page 367 of 615
REFUELING THE VEHICLE
The gas cap is located behind the fuel filler door, on the
passenger side of the vehicle. If the gas cap is lost or
damaged, be sure the replacement cap has been designed
for use with this vehicle.
NOTE:When removing the fuel filler cap, lay the cap
tether in the hook, located on the fuel filler door reinforce-
ment.
1. Push the fuel filler door release switch (located on the driver ’s side door trim). 2. Open the fuel filler door, and remove the fuel filler cap.
NOTE:
•
In certain cold conditions, ice may prevent the fuel door
from opening. If this occurs, lightly push on the fuel
door to break the ice buildup and re-release the fuel door
using the inside release button. Do not pry on the door.
• When the fuel nozzle “clicks” or shuts off, the fuel tank
is full.
Fuel Filler Door Release Switch
Fuel Filler Cap (Gas Cap)
6
STARTING AND OPERATING 365
Page 368 of 615
•Tighten the gas cap about one quarter turn until you
hear one click. This is an indication that the cap is
properly tightened.
• If the gas cap is not tightened properly, the MIL will
come on. Be sure the gas cap is tightened every time the
vehicle is refueled.
CAUTION!
• Damage to the fuel system or emission control sys-
tem could result from using an improper fuel filler
cap. A poorly fitting cap could let impurities into the
fuel system. Also, a poorly fitting aftermarket cap
can cause the “Malfunction Indicator Light (MIL)” to
illuminate, due to fuel vapors escaping from the
system.
• A poorly fitting fuel filler cap may cause the MIL to
turn on.
• To avoid fuel spillage and overfilling, do not “top
off” the fuel tank after filling.
• If fuel is spilled on surface on the paint, clear it
immediately to avoid damage the paint.
WARNING!
• Never have any smoking materials lit in or near the
vehicle when the gas cap is removed or the tank is
being filled.
• Never add fuel when the engine is running. This is
in violation of most state and federal fire regulations
and may cause the MIL to turn on.
• A fire may result if gasoline is pumped into a
portable container that is inside of a vehicle. You
could be burned. Always place gas containers on the
ground while filling.
366 STARTING AND OPERATING
Page 374 of 615
Trailer Hitch Classification Definitions
Class Max. Trailer Hitch Industry Standards
Class I - Light Duty 2,000 lbs (907 kg)
Class II - Medium Duty 3,500 lbs (1 587 kg)
Class III - Heavy Duty 5,000 lbs (2 267 kg)
Class IV - Extra Heavy Duty 10,000 lbs (4 535 kg)
Refer to the “Trailer Towing Weights (Maximum Trailer Weight Ratings)” chart for the Maximum Gross Trailer Weight
(GTW) towable for your given drivetrain.
All trailer hitches should be professionally installed on your vehicle.
Trailer Towing Weights (Maximum Trailer Weight Ratings)
Engine/Transmission Model Frontal AreaMaximum GTW
(Gross Trailer Wt.) Maximum Tongue
Wt. (See Note)
2.4L/Automatic with or without Trailer Tow Package FWD or 4WD 32 sq ft (2.97 sq m) 2,000 lbs (907 kg) 200 lbs (90 kg)
3.2L/Automatic FWD or 4WD 32 sq ft (2.97 sq m) 2,000 lbs (907 kg) 200 lbs (90 kg)
3.2L/Automatic with Trailer Tow Package FWD or 4WD
39.44 sq ft
(3.66 sq m) 4,500 lbs (2 041 kg) 450 lbs (204 kg)
Refer to local laws for maximum trailer towing speeds.
NOTE: The trailer tongue weight must be considered as part of the combined weight of occupants and cargo, and should never exceed the weight referenced on the Tire and Loading Information placard.
372 STARTING AND OPERATING
Page 378 of 615
Towing Requirements — Trailer Lights And Wiring
Whenever you pull a trailer, regardless of the trailer size,
stoplights and turn signals on the trailer are required for
motoring safety.
The Trailer Tow Package may include a four- and seven-pin
wiring harness. Use a factory approved trailer harness and
connector.
NOTE:Do not cut or splice wiring into the vehicles wiring
harness.
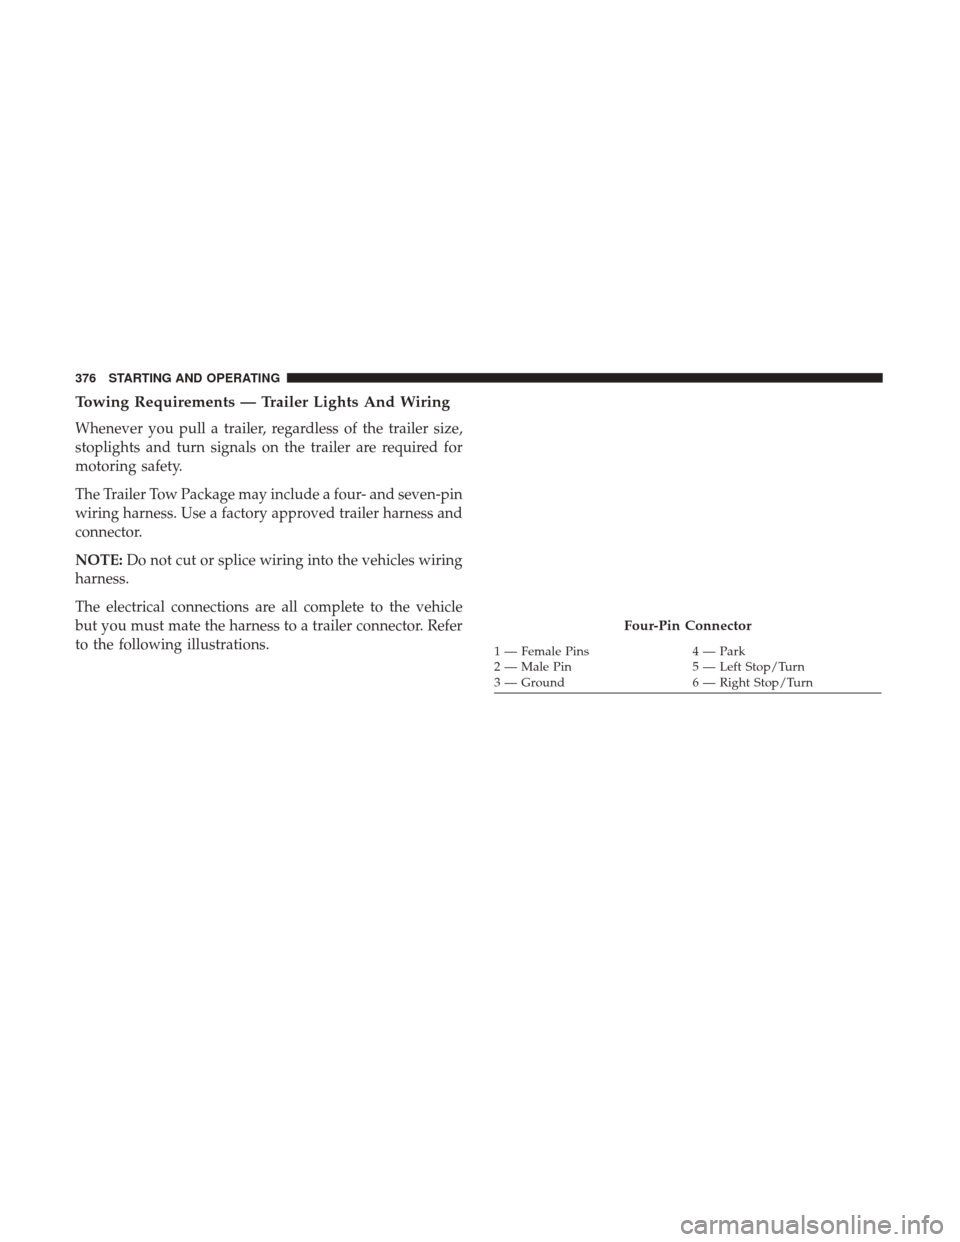
The electrical connections are all complete to the vehicle
but you must mate the harness to a trailer connector. Refer
to the following illustrations.
Four-Pin Connector
1 — Female Pins 4 — Park
2 — Male Pin 5 — Left Stop/Turn
3 — Ground 6 — Right Stop/Turn
376 STARTING AND OPERATING
Page 379 of 615
Towing Tips
Before setting out on a trip, practice turning, stopping, and
backing up the trailer in an area located away from heavy
traffic.
Automatic Transmission
The DRIVE range can be selected when towing. The
transmission controls include a drive strategy to avoid
frequent shifting when towing. However, if frequent shift-
ing does occur while in DRIVE, use the Electronic Range
Select (ERS) shift control to select a lower gear range.
NOTE:Using a lower gear range while operating the
vehicle under heavy loading conditions will improve per-
formance and extend transmission life by reducing exces-
sive shifting and heat build up. This action will also
provide better engine braking.
Electronic Speed Control — If Equipped
• Do not use in hilly terrain or with heavy loads.
• When using the speed control, if you experience speed
drops greater than 10 mph (16 km/h), disengage until
you can get back to cruising speed.
• Use speed control in flat terrain and with light loads to
maximize fuel efficiency.
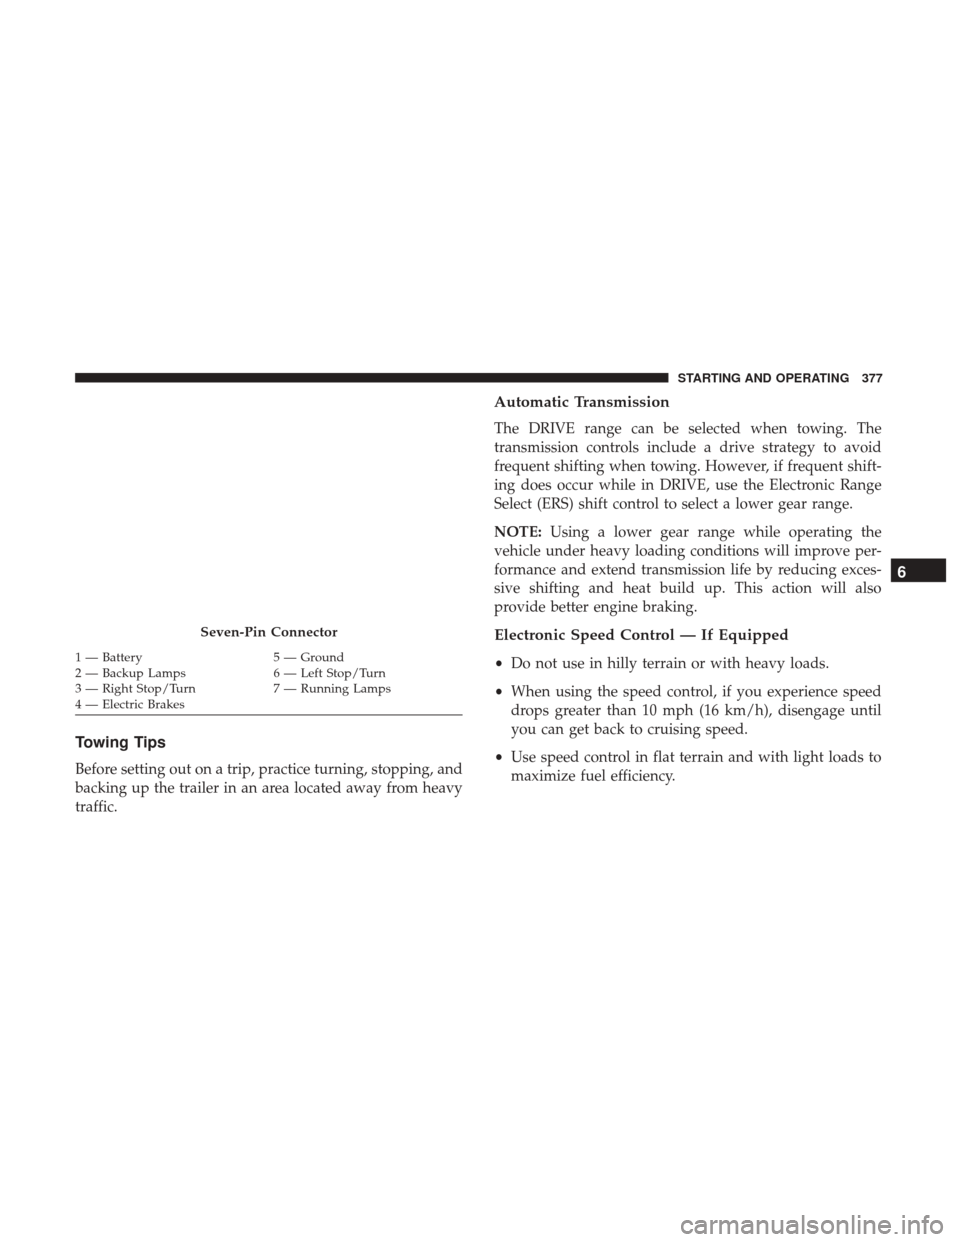
Seven-Pin Connector
1 — Battery 5 — Ground
2 — Backup Lamps 6 — Left Stop/Turn
3 — Right Stop/Turn 7 — Running Lamps
4 — Electric Brakes
6
STARTING AND OPERATING 377
Page 384 of 615
CAUTION!(Continued)
•Ensure that the Electric Park Brake is released, and
remains released, while being towed.
• Do not use a bumper-mounted clamp-on tow bar on
your vehicle. The bumper face bar will be damaged.
Shifting Into NEUTRAL (N)
WARNING!
You or others could be injured or killed if you leave the
vehicle unattended with the power transfer unit in the
NEUTRAL (N) position without first fully engaging
the parking brake. The NEUTRAL (N) position disen-
gages both the front and rear driveshafts from the
powertrain and will allow the vehicle to roll, even if
the transmission is in PARK. The parking brake
should always be applied when the driver is not in the
vehicle.
Use the following procedure to shift the 4WD system into
NEUTRAL (N).
CAUTION!
It is necessary to follow these steps to be certain that the
power transfer unit is fully in NEUTRAL (N) before
recreational towing to prevent damage to internal parts.
1. Bring the vehicle to a complete stop and shift the transmission to PARK.
2. Turn the engine OFF.
3. Turn the ignition to the ON/RUN mode, but do not start the engine.
4. Press and hold the brake pedal.
5. Shift the transmission into NEUTRAL.
6. Using a ballpoint pen or similar object, push and hold the recessed NEUTRAL (N) button (located by the
selector switch) for four seconds. The light behind the N
symbol will blink, indicating shift in progress. The light
will stop blinking (stay on solid) when the shift to
NEUTRAL (N) is complete.
382 STARTING AND OPERATING
Page 385 of 615
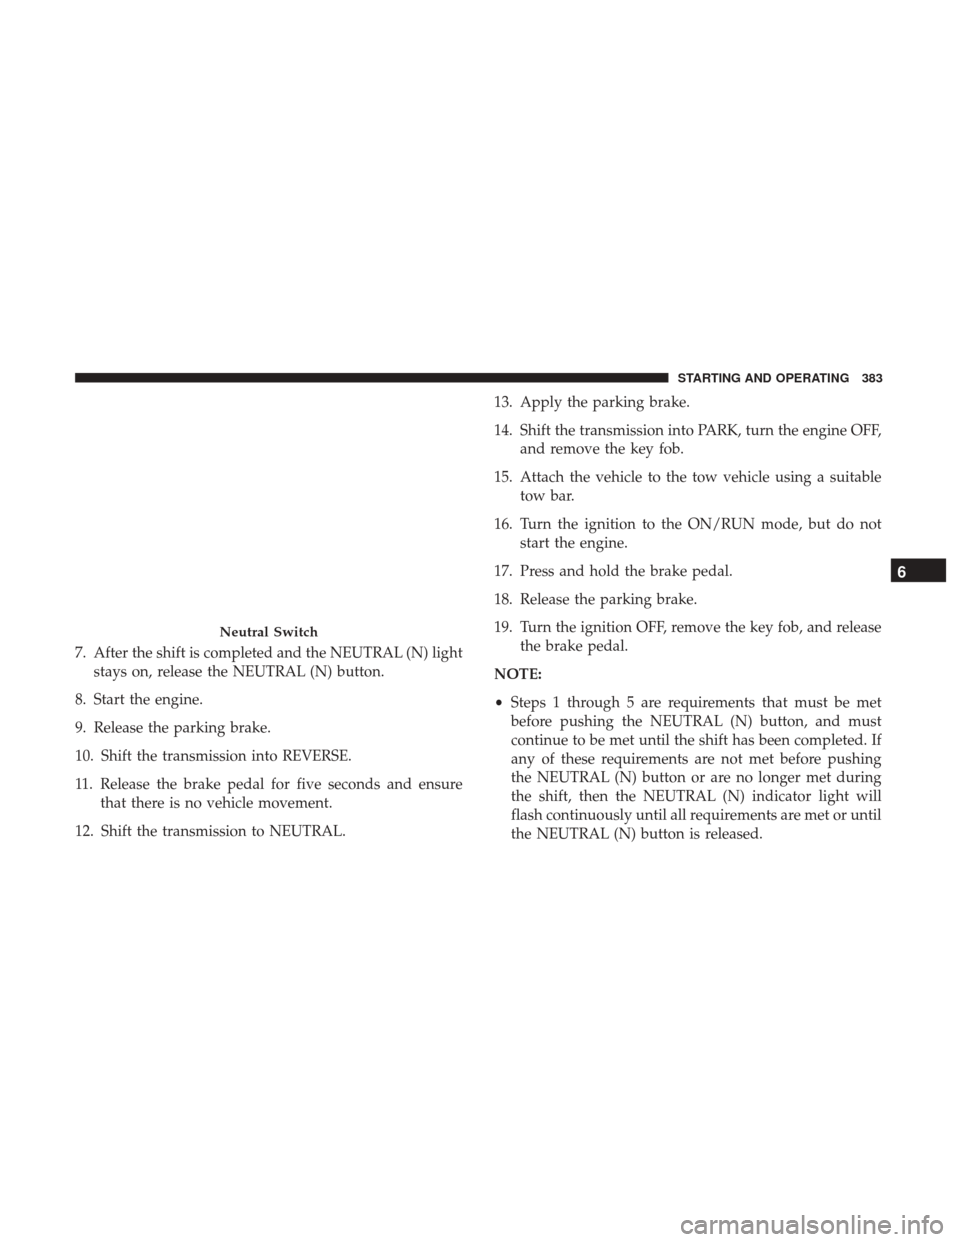
7. After the shift is completed and the NEUTRAL (N) lightstays on, release the NEUTRAL (N) button.
8. Start the engine.
9. Release the parking brake.
10. Shift the transmission into REVERSE.
11. Release the brake pedal for five seconds and ensure that there is no vehicle movement.
12. Shift the transmission to NEUTRAL. 13. Apply the parking brake.
14. Shift the transmission into PARK, turn the engine OFF,
and remove the key fob.
15. Attach the vehicle to the tow vehicle using a suitable tow bar.
16. Turn the ignition to the ON/RUN mode, but do not start the engine.
17. Press and hold the brake pedal.
18. Release the parking brake.
19. Turn the ignition OFF, remove the key fob, and release the brake pedal.
NOTE:
• Steps 1 through 5 are requirements that must be met
before pushing the NEUTRAL (N) button, and must
continue to be met until the shift has been completed. If
any of these requirements are not met before pushing
the NEUTRAL (N) button or are no longer met during
the shift, then the NEUTRAL (N) indicator light will
flash continuously until all requirements are met or until
the NEUTRAL (N) button is released.
Neutral Switch
6
STARTING AND OPERATING 383
Page 386 of 615
•The ignition must be in the ON/RUN mode for a shift to
take place and for the position indicator lights to be
operable. If the ignition is not in the ON/RUN mode, the
shift will not take place and no position indicator lights
will be on or flashing.
• A flashing NEUTRAL (N) position indicator light indi-
cates that shift requirements have not been met.
Shifting Out Of NEUTRAL (N)
Use the following procedure to prepare your vehicle for
normal usage.
1. Bring the vehicle to a complete stop, leaving it con- nected to the tow vehicle.
2. Apply the parking brake.
3. Turn the ignition to the ON/RUN mode, but do not start the engine.
4. Press and hold the brake pedal.
5. Shift the transmission into NEUTRAL.
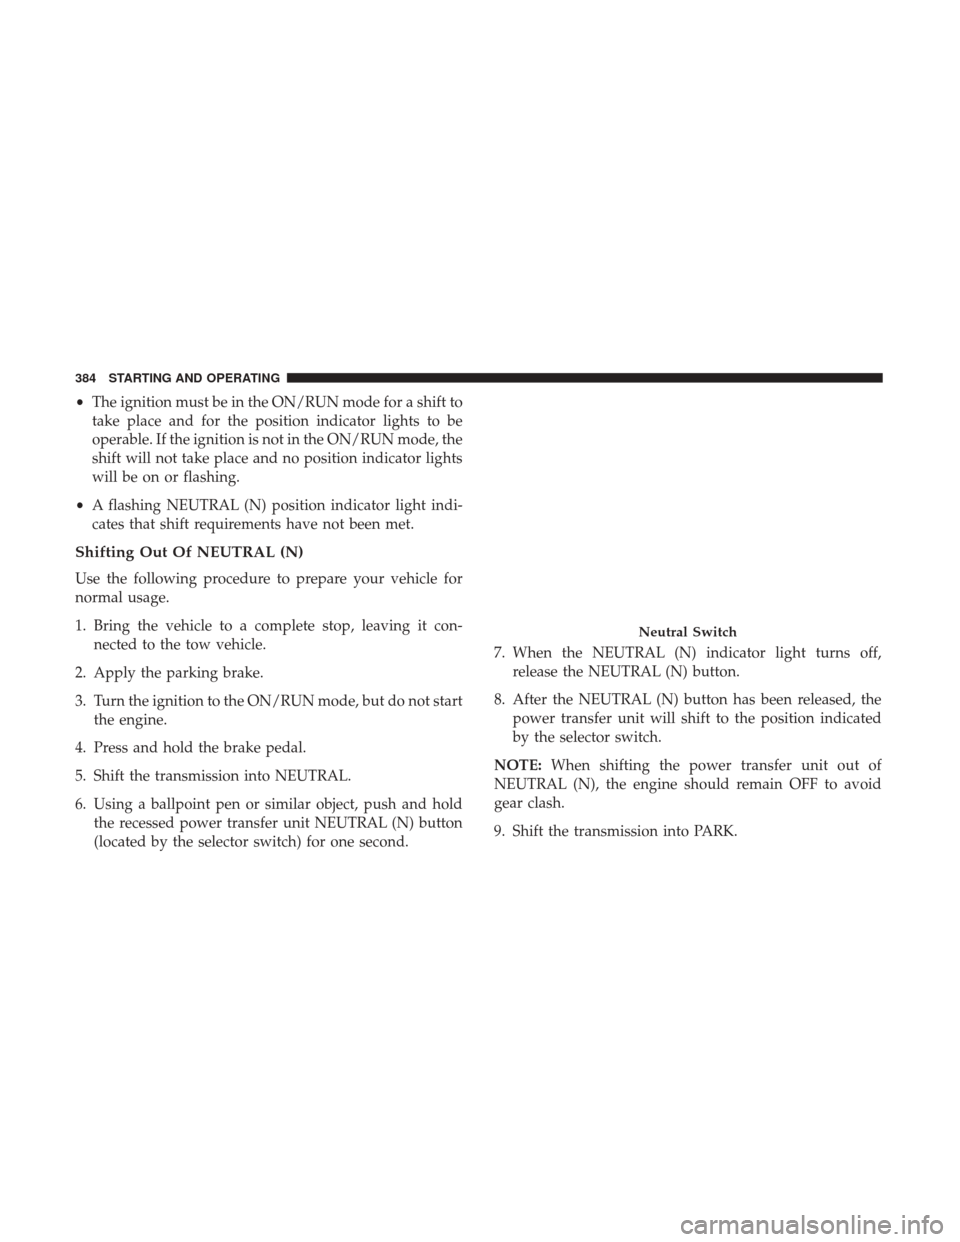
6. Using a ballpoint pen or similar object, push and hold the recessed power transfer unit NEUTRAL (N) button
(located by the selector switch) for one second. 7. When the NEUTRAL (N) indicator light turns off,
release the NEUTRAL (N) button.
8. After the NEUTRAL (N) button has been released, the power transfer unit will shift to the position indicated
by the selector switch.
NOTE: When shifting the power transfer unit out of
NEUTRAL (N), the engine should remain OFF to avoid
gear clash.
9. Shift the transmission into PARK.
Neutral Switch
384 STARTING AND OPERATING
Page 387 of 615
10. Release the brake pedal.
11. Disconnect vehicle from the tow vehicle.
12. Start the engine.
13. Press and hold the brake pedal.
14. Release the parking brake.
15. Shift the transmission into DRIVE, release the brakepedal, and check that the vehicle operates normally.
16. Re-enable the Auto Park Brake feature, if desired.
NOTE:
• Steps 1 through 5 are requirements that must be met
before pushing the NEUTRAL (N) button, and must
continue to be met until the shift has been completed. If
any of these requirements are not met before pushing
the NEUTRAL (N) button or are no longer met during
the shift, the NEUTRAL (N) indicator light will flash
continuously until all requirements are met or until the
NEUTRAL (N) button is released.
• The ignition must be in the ON/RUN mode for a shift to
take place and for the position indicator lights to be operable. If the ignition is not in the ON/RUN mode, the
shift will not take place and no position indicator lights
will be on or flashing.
• A flashing NEUTRAL (N) position indicator light indi-
cates that shift requirements have not been met.
DRIVING TIPS
On-Road Driving Tips
Utility vehicles have higher ground clearance and a nar-
rower track to make them capable of performing in a wide
variety of off-road applications. Specific design character-
istics give them a higher center of gravity than conven-
tional passenger cars.
An advantage of the higher ground clearance is a better
view of the road, allowing you to anticipate problems.
They are not designed for cornering at the same speeds as
conventional passenger cars any more than low-slung
sports cars are designed to perform satisfactorily in off-
road conditions. Avoid sharp turns or abrupt maneuvers.
As with other vehicles of this type, failure to operate this
vehicle correctly may result in loss of control or vehicle
rollover.6
STARTING AND OPERATING 385
Page 389 of 615
Driving In Snow, Mud And Sand
In heavy snow, when pulling a load, or for additional
control at slower speeds, shift the transmission to a low
gear and shift the 4WD system to the appropriate terrain
mode, using 4WD LOW if necessary. Refer to “Four-Wheel
Drive Operation” in “Starting And Operating” for further
information. Do not shift to a lower gear than necessary to
maintain headway. Over-revving the engine can spin the
wheels and traction will be lost.
Avoid abrupt downshifts on icy or slippery roads because
engine braking may cause skidding and loss of control.
Hill Climbing
NOTE:Before attempting to climb a hill, determine the
conditions at the crest and/or on the other side.
Before climbing a steep hill, shift the transmission to a
lower gear and shift the 4WD System to 4WD LOW. Use
first gear and 4WD LOW for very steep hills.
NOTE: Brakes should be applied at increased slippage, but
before coming to a stop to avoid digging into the loose
surface and rendering the operator of the vehicle stuck/
immobile. If you stall or begin to lose headway
while climbing a
steep hill, allow your vehicle to come to a stop and
immediately apply the brakes. Once stopped, shift to
REVERSE. Back slowly down the hill allowing the com-
pression braking of the engine to help regulate your speed.
If the brakes are required to control vehicle speed, apply
them lightly and avoid locking or skidding the tires.
WARNING!
If the engine stalls or you lose headway or cannot
make it to the top of a steep hill or grade, never attempt
to turn around. To do so may result in tipping and
rolling the vehicle. Always back straight down a hill in
REVERSE gear carefully. Never back down a hill in
NEUTRAL using only the brake.
NOTE: Remember, never drive diagonally across a hill -
drive straight up or down.
If the wheels start to slip as you approach the crest of a hill,
ease off the accelerator and maintain headway by turning
the front wheels slowly left and right. This may provide a
fresh “bite” into the surface and may provide traction to
complete the climb.6
STARTING AND OPERATING 387