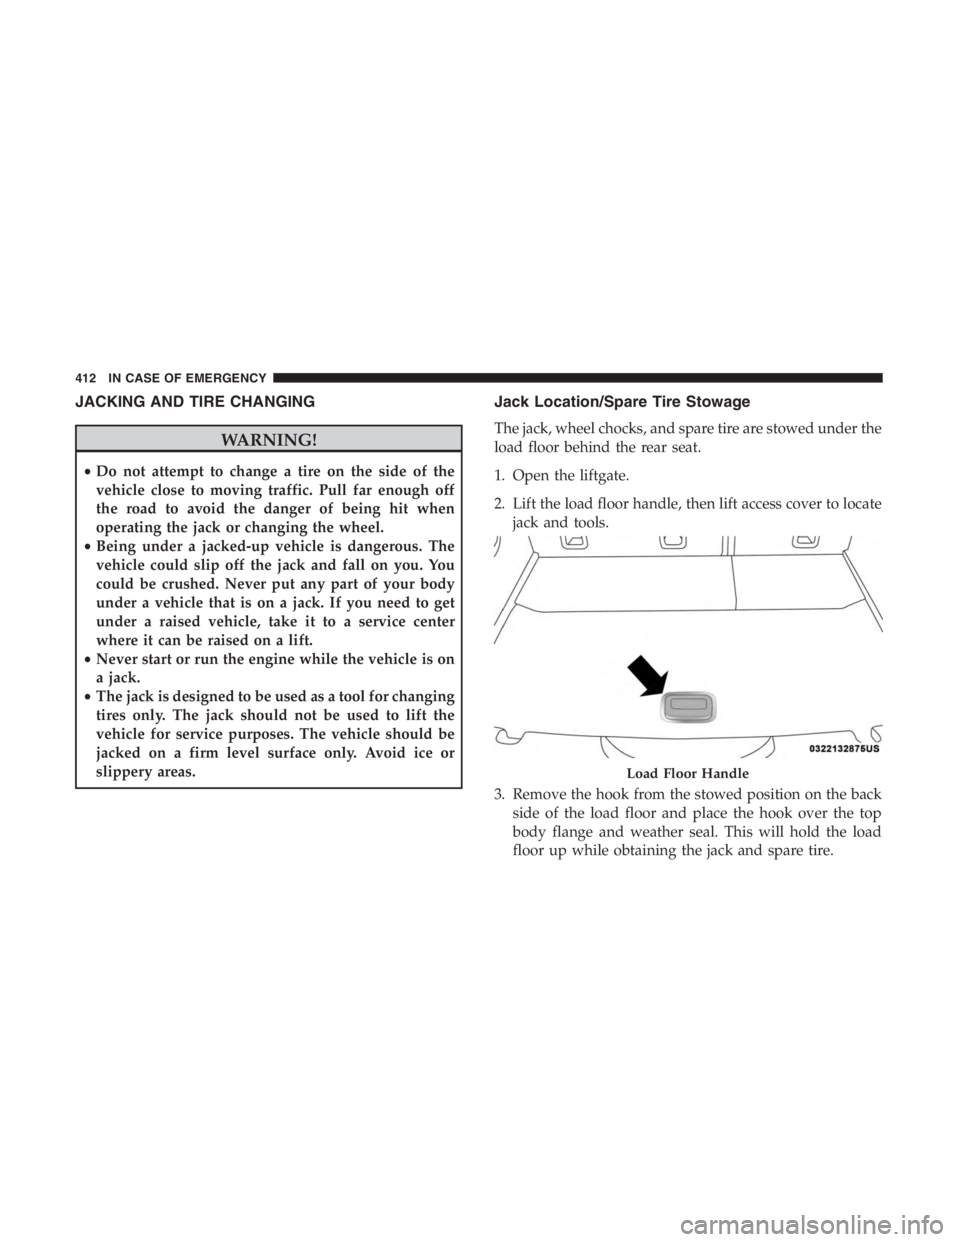
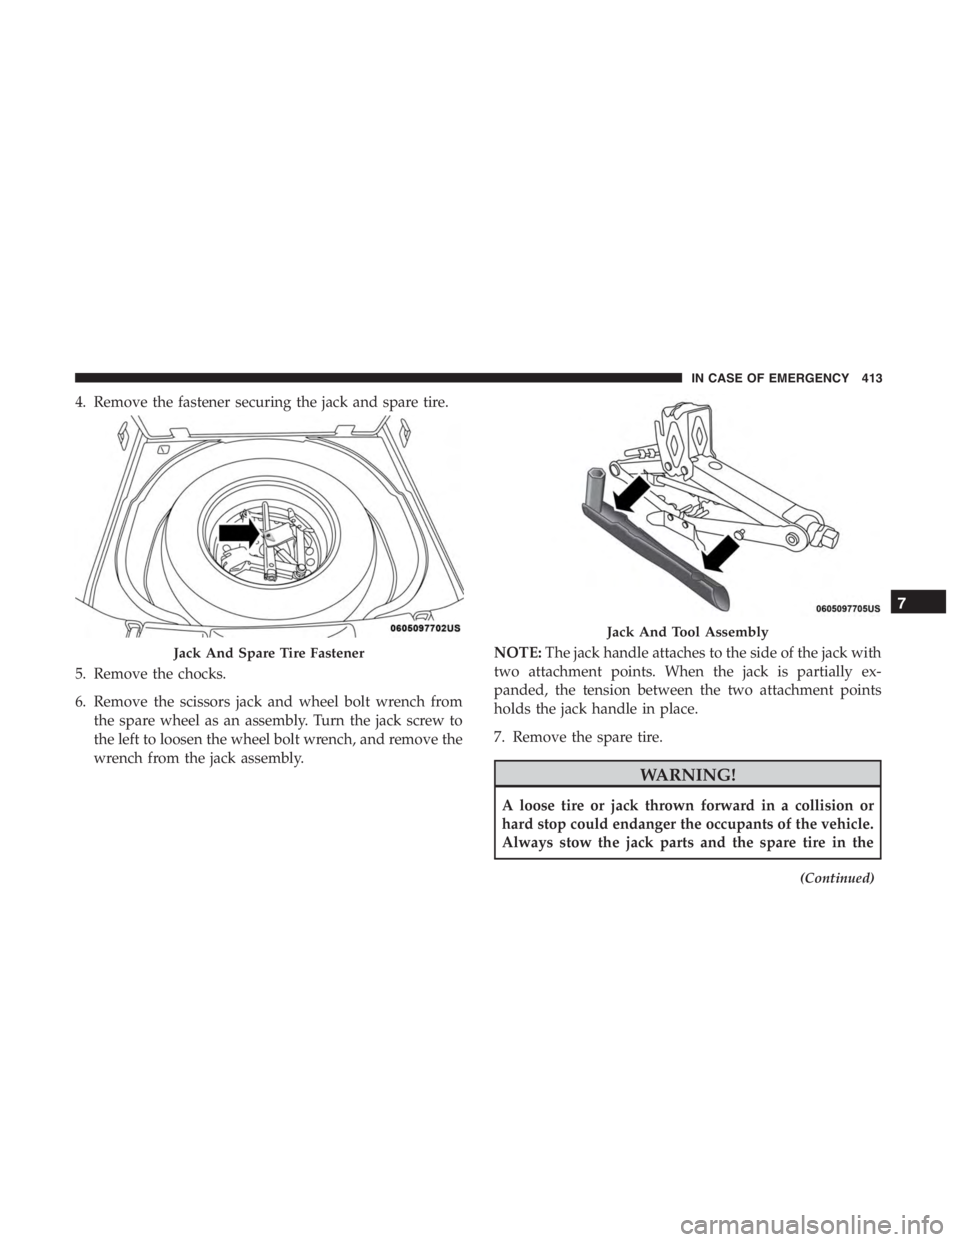
4. Remove the fastener securing the jack and spare tire.
5. Remove the chocks.
6. Remove the scissors jack and wheel bolt wrench fromthe spare wheel as an assembly. Turn the jack screw to
the left to loosen the wheel bolt wrench, and remove the
wrench from the jack assembly. NOTE:
The jack handle attaches to the side of the jack with
two attachment points. When the jack is partially ex-
panded, the tension between the two attachment points
holds the jack handle in place.
7. Remove the spare tire.
Jack And Tool Assembly
7
IN CASE OF EMERGENCY 413
WARNING!(Continued)
•Do not let anyone sit in the vehicle when it is on a
jack.
• Do not get under the vehicle when it is on a jack. If
you need to get under a raised vehicle, take it to a
service center where it can be raised on a lift.
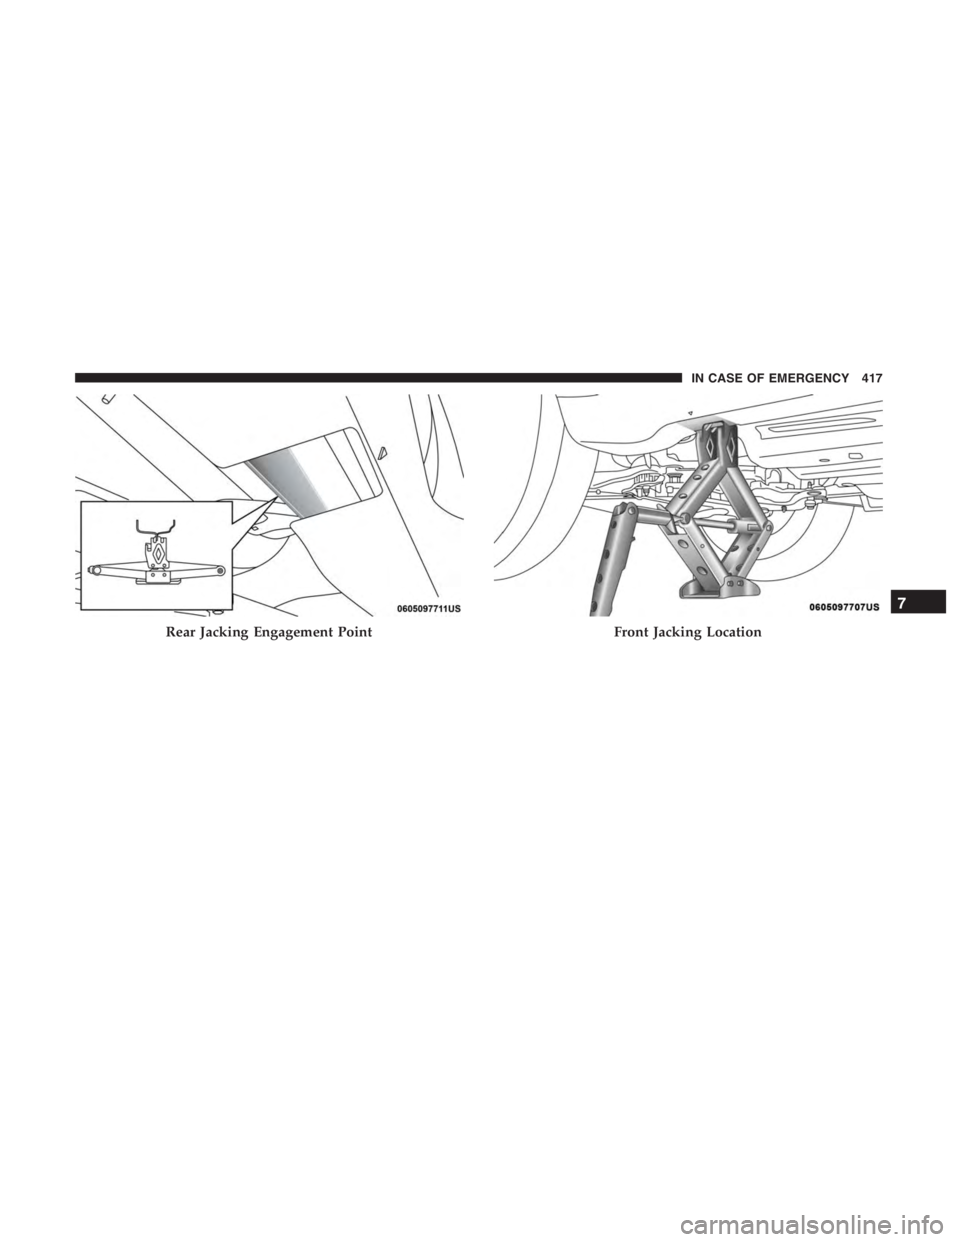
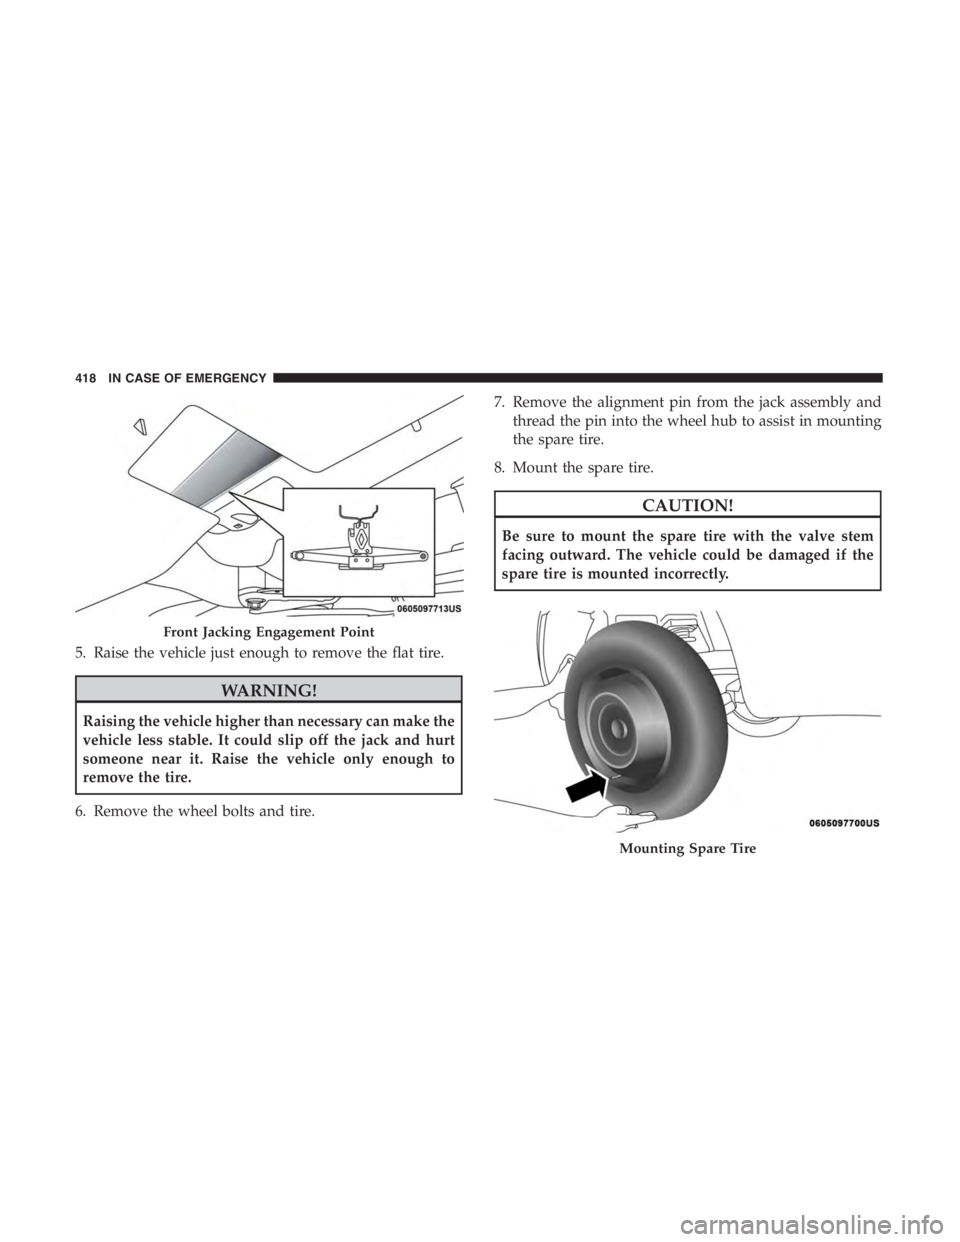
• Only use the jack in the positions indicated and for
lifting this vehicle during a tire change.
• If working on or near a roadway, be extremely
careful of motor traffic.
• To assure that spare tires, flat or inflated, are securely
stowed, spares must be stowed with the valve stem
facing the ground.
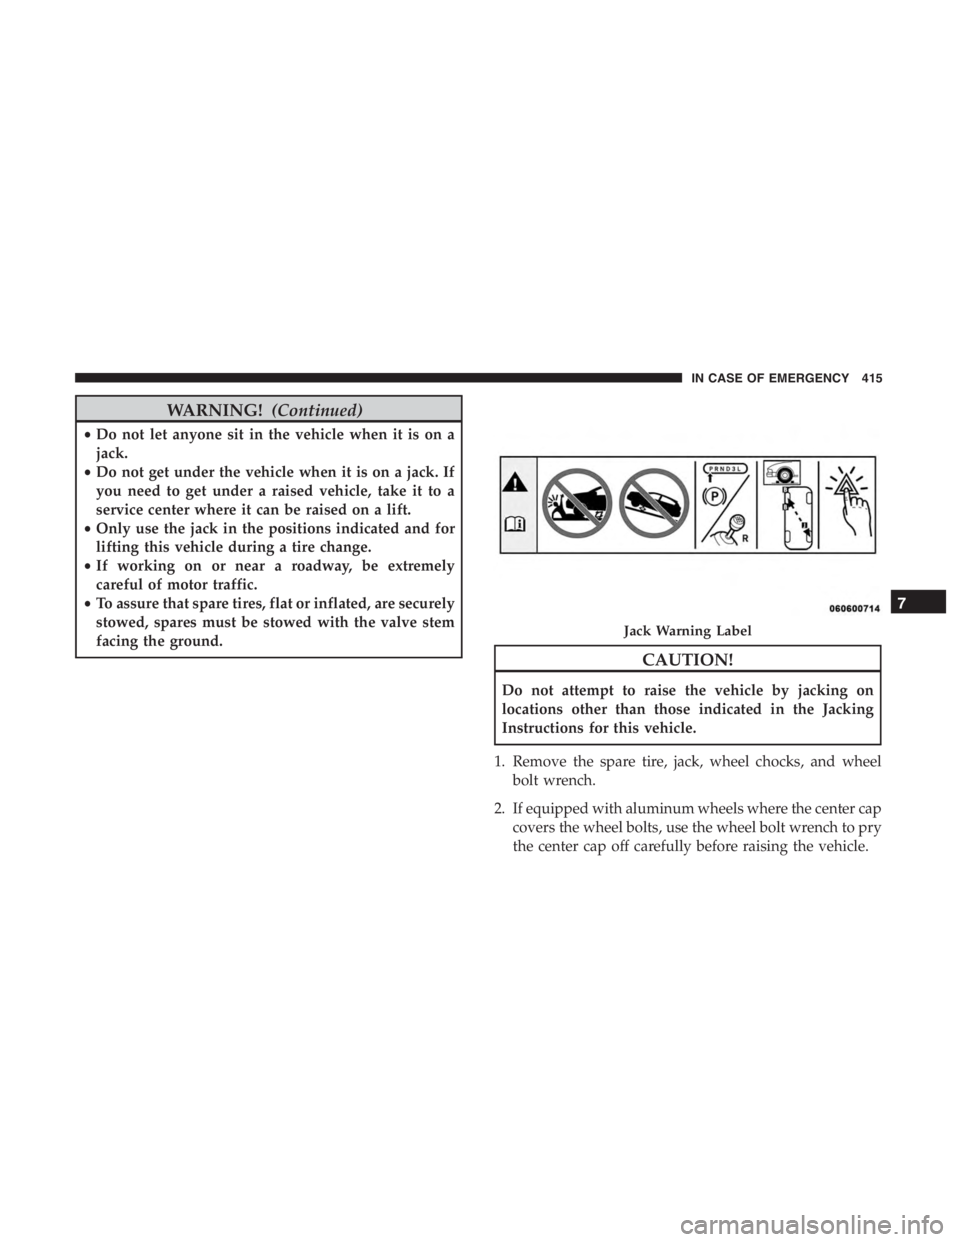
CAUTION!
Do not attempt to raise the vehicle by jacking on
locations other than those indicated in the Jacking
Instructions for this vehicle.
1. Remove the spare tire, jack, wheel chocks, and wheel bolt wrench.
2. If equipped with aluminum wheels where the center cap covers the wheel bolts, use the wheel bolt wrench to pry
the center cap off carefully before raising the vehicle.
