Brake JEEP COMPASS 2013 1.G User Guide
[x] Cancel search | Manufacturer: JEEP, Model Year: 2013, Model line: COMPASS, Model: JEEP COMPASS 2013 1.GPages: 116, PDF Size: 2.71 MB
Page 5 of 116
VEHICLES SOLD IN CANADA
With respect to any vehicles sold in Canada, the name Chrysler Group LLC shall be
deemed to be deleted and the name Chrysler Canada Inc. used in substitution.
WARNING!
• Pedals that cannot move freely can cause loss of vehicle control and increasethe risk of serious personal injury.
• Always make sure that objects cannot fall into the driver foot well while the
vehicle is moving. Objects can become trapped under the brake pedal and
accelerator pedal causing a loss of vehicle control.
•
Failure to properly follow floor mat installation or mounting can cause interference
with the brake pedal and accelerator pedal operation causing loss of control of the
vehicle.
• Never use the ‘PARK’ position as a substitute for the parking brake. Always
apply the parking brake fully when parked to guard against vehicle movement
and possible injury or damage.
• Refer to your Owner's Manual on the DVD for further details.
INTRODUCTION/WELCOME
3
Page 6 of 116
Rollover Warning
WARNING!
• Pedals that cannot move freely can cause loss of vehicle control and increasethe risk of serious personal injury.
• Always make sure that objects cannot fall into the driver foot well while the
vehicle is moving. Objects can become trapped under the brake pedal and
accelerator pedal causing a loss of vehicle control.
•
Failure to properly follow floor mat installation or mounting can cause interference
with the brake pedal and accelerator pedal operation causing loss of control of the
vehicle.
• Refer to your Owner's Manual on the DVD for further details.
• Never use the ‘PARK’ position as a substitute for the parking brake. Always
apply the parking brake fully when parked to guard against vehicle movement
and possible injury or damage.
INTRODUCTION/WELCOME
4
Page 10 of 116
INSTRUMENT CLUSTER
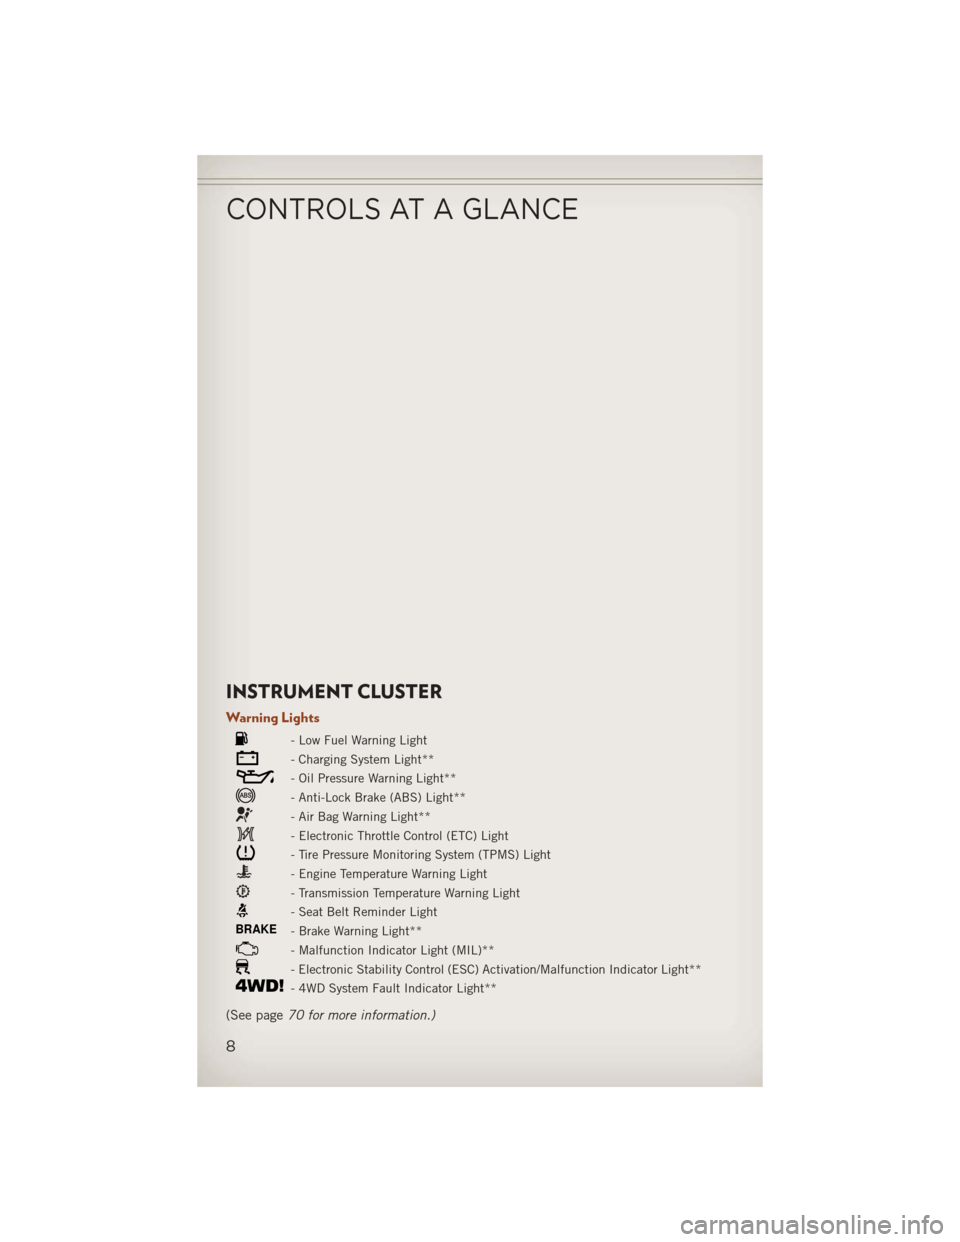
Warning Lights
- Low Fuel Warning Light
- Charging System Light**
- Oil Pressure Warning Light**
- Anti-Lock Brake (ABS) Light**
- Air Bag Warning Light**
- Electronic Throttle Control (ETC) Light
- Tire Pressure Monitoring System (TPMS) Light
- Engine Temperature Warning Light
- Transmission Temperature Warning Light
- Seat Belt Reminder Light
BRAKE- Brake Warning Light**
- Malfunction Indicator Light (MIL)**
- Electronic Stability Control (ESC) Activation/Malfunction Indicator Light**
- 4WD System Fault Indicator Light**
(See page70 for more information.)
CONTROLS AT A GLANCE
8
Page 12 of 116
KEY FOB
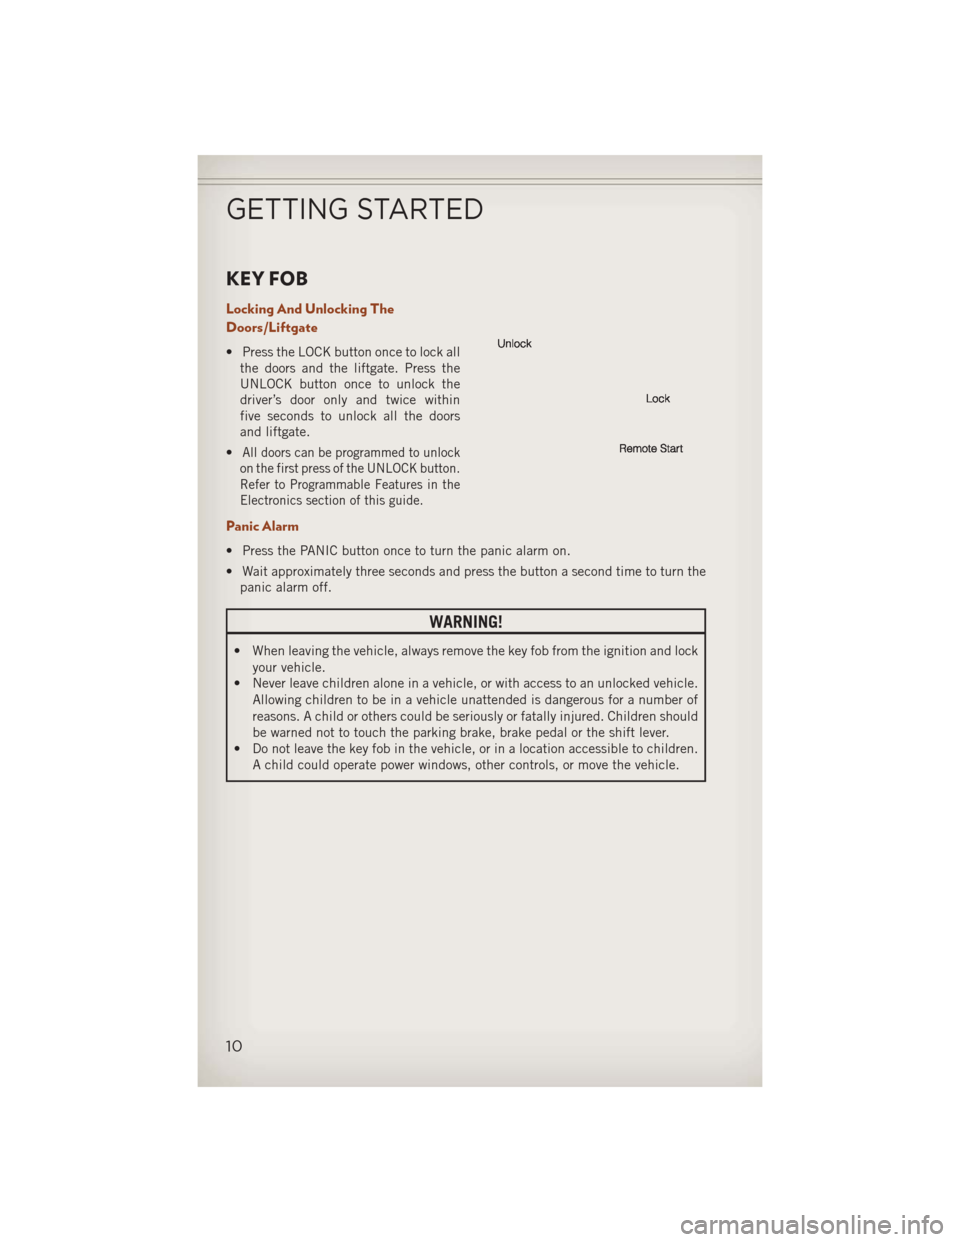
Locking And Unlocking The
Doors/Liftgate
• Press the LOCK button once to lock allthe doors and the liftgate. Press the
UNLOCK button once to unlock the
driver’s door only and twice within
five seconds to unlock all the doors
and liftgate.
•
All doors can be programmed to unlock
on the first press of the UNLOCK button.
Refer to Programmable Features in the
Electronics section of this guide.
Panic Alarm
• Press the PANIC button once to turn the panic alarm on.
• Wait approximately three seconds and press the button a second time to turn the panic alarm off.
WARNING!
• When leaving the vehicle, always remove the key fob from the ignition and lock
your vehicle.
• Never leave children alone in a vehicle, or with access to an unlocked vehicle.
Allowing children to be in a vehicle unattended is dangerous for a number of
reasons. A child or others could be seriously or fatally injured. Children should
be warned not to touch the parking brake, brake pedal or the shift lever.
• Do not leave the key fob in the vehicle, or in a location accessible to children.
A child could operate power windows, other controls, or move the vehicle.
GETTING STARTED
10
Page 25 of 116
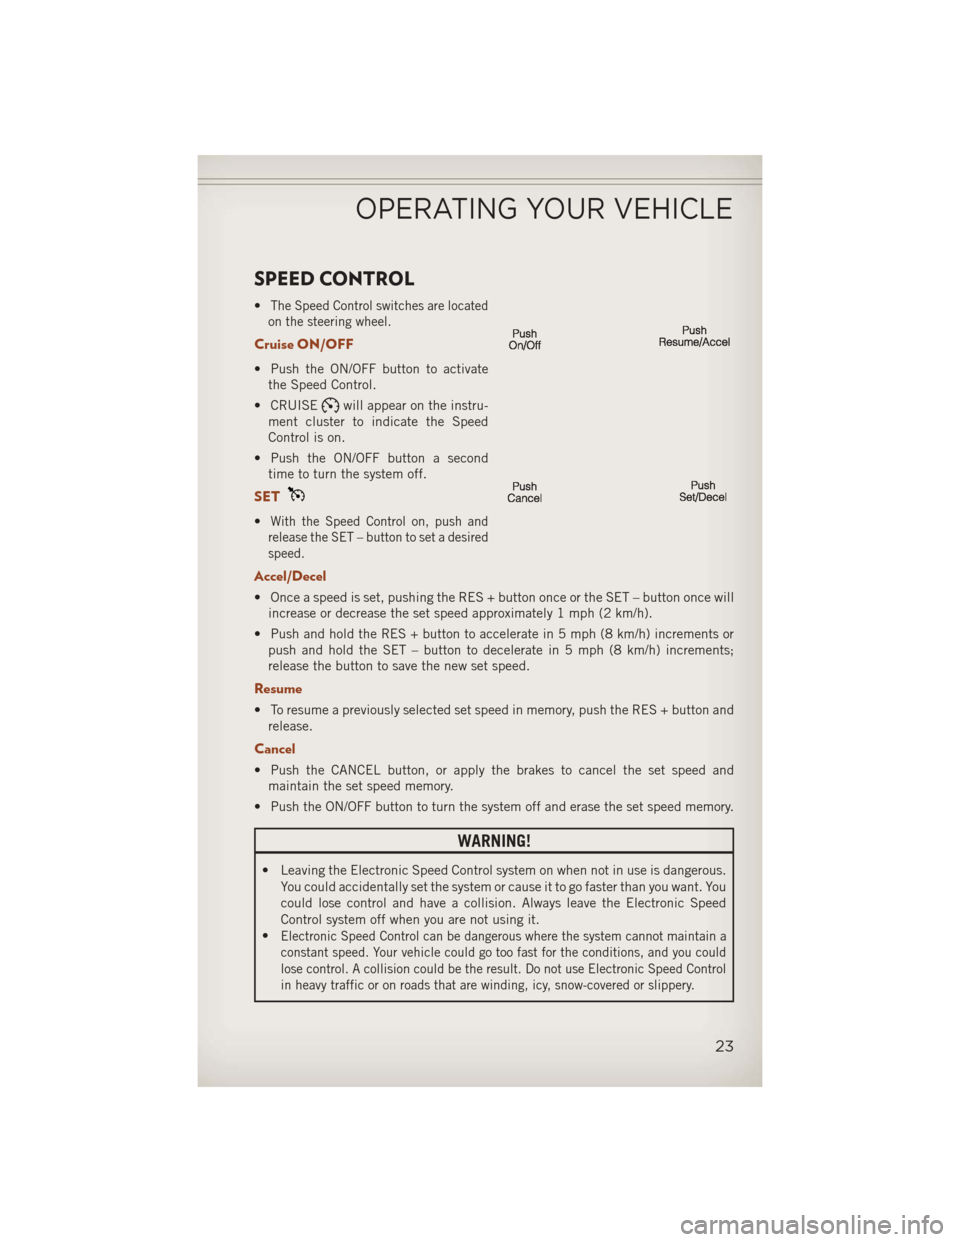
SPEED CONTROL
•The Speed Control switches are located
on the steering wheel.
Cruise ON/OFF
• Push the ON/OFF button to activate the Speed Control.
• CRUISE
will appear on the instru-
ment cluster to indicate the Speed
Control is on.
• Push the ON/OFF button a second time to turn the system off.
SET
•With the Speed Control on, push and
release the SET – button to set a desired
speed.
Accel/Decel
• Once a speed is set, pushing the RES + button once or the SET – button once will increase or decrease the set speed approximately 1 mph (2 km/h).
• Push and hold the RES + button to accelerate in 5 mph (8 km/h) increments or push and hold the SET – button to decelerate in 5 mph (8 km/h) increments;
release the button to save the new set speed.
Resume
• To resume a previously selected set speed in memory, push the RES + button andrelease.
Cancel
• Push the CANCEL button, or apply the brakes to cancel the set speed andmaintain the set speed memory.
• Push the ON/OFF button to turn the system off and erase the set speed memory.
WARNING!
• Leaving the Electronic Speed Control system on when not in use is dangerous. You could accidentally set the system or cause it to go faster than you want. You
could lose control and have a collision. Always leave the Electronic Speed
Control system off when you are not using it.
•
Electronic Speed Control can be dangerous where the system cannot maintain a
constant speed. Your vehicle could go too fast for the conditions, and you could
lose control. A collision could be the result. Do not use Electronic Speed Control
in heavy traffic or on roads that are winding, icy, snow-covered or slippery.
OPERATING YOUR VEHICLE
23
Page 70 of 116
• To activate, pull the T-handle, located in between the front driver and passengerseats, up once and release. The “4WD Indicator Light” will come on in the cluster.
• This can be done on the fly, at any vehicle speed. To deactivate, simply pull on the T-handle one more time. The “4WD Indicator Light” will then turn off.
Trail Rated
®Freedom-Drive II™Four Wheel Drive System (IF EQUIPPED) • This system offers all the benefits of Freedom Drive I™ plusthe rugged capability of true Trail-Rated off road performance
with three additional features:
• Off-Road Mode
• Pulling up on the T-handle while the gear shift lever is in the Low position activates the Off-Road mode.
• This feature allows power to be sent to all four wheels when additional traction is required while also delivering enhanced off-road capability for water fording,
moving on steep grades and rock crawling.
• Brake Lock Differential
• This feature helps keep the vehicle moving forward when one wheel loses traction by directing power from the wheel that slips to the wheel with more grip on the
same axle providing more traction in off-road situations.
• Hill Descent Control/Hill Start Assist
• The Hill Descent Control System maintains vehicle speed while descending hills during off-road driving situations and is available in both low and reverse gears.
• This allows a smooth and controlled hill descent on rough or slippery terrain without the driver needing to touch the brake pedal.
• The Hill Start Assist system assists the driver when starting a vehicle from a stop on a hill.
OFF-ROAD CAPABILITIES
68
Page 74 of 116
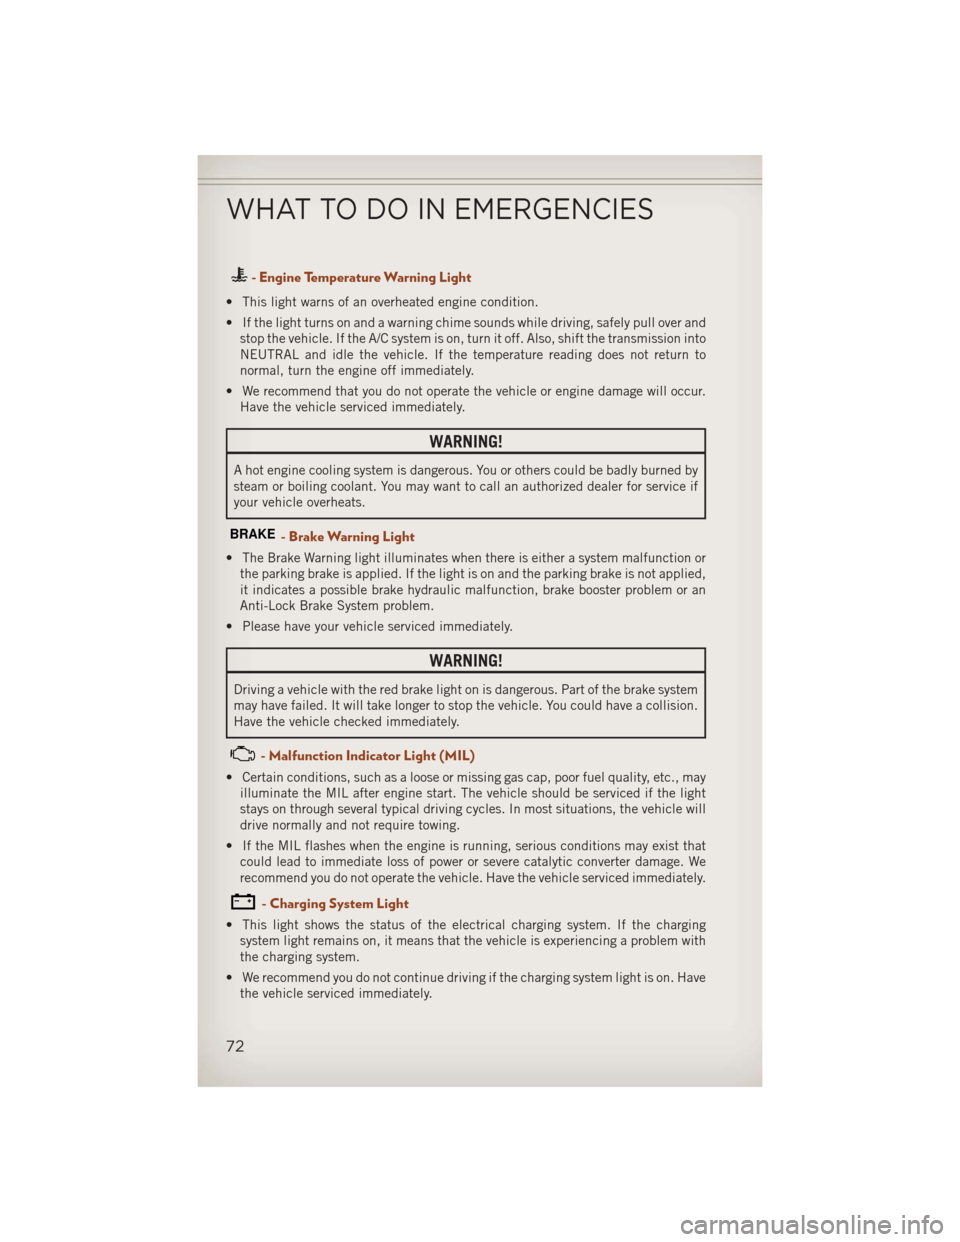
- Engine Temperature Warning Light
• This light warns of an overheated engine condition.
• If the light turns on and a warning chime sounds while driving, safely pull over andstop the vehicle. If the A/C system is on, turn it off. Also, shift the transmission into
NEUTRAL and idle the vehicle. If the temperature reading does not return to
normal, turn the engine off immediately.
• We recommend that you do not operate the vehicle or engine damage will occur. Have the vehicle serviced immediately.
WARNING!
A hot engine cooling system is dangerous. You or others could be badly burned by
steam or boiling coolant. You may want to call an authorized dealer for service if
your vehicle overheats.
BRAKE- Brake Warning Light
• The Brake Warning light illuminates when there is either a system malfunction orthe parking brake is applied. If the light is on and the parking brake is not applied,
it indicates a possible brake hydraulic malfunction, brake booster problem or an
Anti-Lock Brake System problem.
• Please have your vehicle serviced immediately.
WARNING!
Driving a vehicle with the red brake light on is dangerous. Part of the brake system
may have failed. It will take longer to stop the vehicle. You could have a collision.
Have the vehicle checked immediately.
- Malfunction Indicator Light (MIL)
• Certain conditions, such as a loose or missing gas cap, poor fuel quality, etc., may illuminate the MIL after engine start. The vehicle should be serviced if the light
stays on through several typical driving cycles. In most situations, the vehicle will
drive normally and not require towing.
• If the MIL flashes when the engine is running, serious conditions may exist that could lead to immediate loss of power or severe catalytic converter damage. We
recommend you do not operate the vehicle. Have the vehicle serviced immediately.
- Charging System Light
• This light shows the status of the electrical charging system. If the chargingsystem light remains on, it means that the vehicle is experiencing a problem with
the charging system.
• We recommend you do not continue driving if the charging system light is on. Have the vehicle serviced immediately.
WHAT TO DO IN EMERGENCIES
72
Page 75 of 116
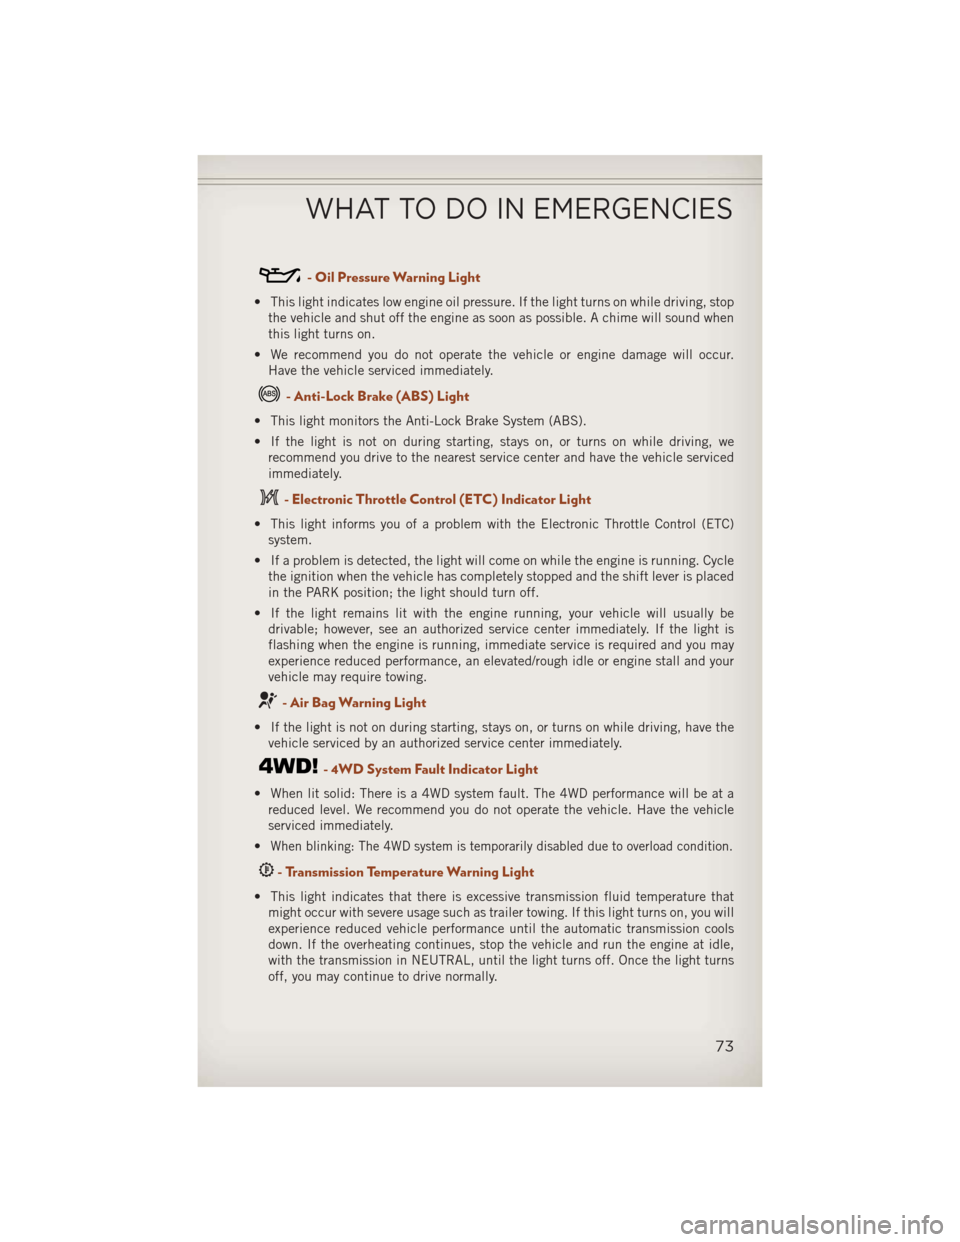
- Oil Pressure Warning Light
• This light indicates low engine oil pressure. If the light turns on while driving, stopthe vehicle and shut off the engine as soon as possible. A chime will sound when
this light turns on.
• We recommend you do not operate the vehicle or engine damage will occur. Have the vehicle serviced immediately.
- Anti-Lock Brake (ABS) Light
• This light monitors the Anti-Lock Brake System (ABS).
• If the light is not on during starting, stays on, or turns on while driving, werecommend you drive to the nearest service center and have the vehicle serviced
immediately.
- Electronic Throttle Control (ETC) Indicator Light
• This light informs you of a problem with the Electronic Throttle Control (ETC)system.
• If a problem is detected, the light will come on while the engine is running. Cycle the ignition when the vehicle has completely stopped and the shift lever is placed
in the PARK position; the light should turn off.
• If the light remains lit with the engine running, your vehicle will usually be drivable; however, see an authorized service center immediately. If the light is
flashing when the engine is running, immediate service is required and you may
experience reduced performance, an elevated/rough idle or engine stall and your
vehicle may require towing.
- Air Bag Warning Light
• If the light is not on during starting, stays on, or turns on while driving, have thevehicle serviced by an authorized service center immediately.
- 4WD System Fault Indicator Light
• When lit solid: There is a 4WD system fault. The 4WD performance will be at areduced level. We recommend you do not operate the vehicle. Have the vehicle
serviced immediately.
•
When blinking: The 4WD system is temporarily disabled due to overload condition.
- Transmission Temperature Warning Light
• This light indicates that there is excessive transmission fluid temperature that might occur with severe usage such as trailer towing. If this light turns on, you will
experience reduced vehicle performance until the automatic transmission cools
down. If the overheating continues, stop the vehicle and run the engine at idle,
with the transmission in NEUTRAL, until the light turns off. Once the light turns
off, you may continue to drive normally.
WHAT TO DO IN EMERGENCIES
73
Page 78 of 116
Preparations For Jacking
1.Park the vehicle on a firm level surface, avoiding ice or slippery areas.
2. Turn on the Hazard Warning flasher.
3. Set the parking brake.
4. Place the shift lever in PARK (automatic transmission) or REVERSE (manualtransmission).
5. Turn OFF the ignition.
Block both the front and rear of the wheel
diagonally opposite the jacking position.
For example, if changing the right front
tire, block the left rear wheel.
NOTE:
Passengers should not remain in the
vehicle while the vehicle is being jacked.
Jacking Instructions
NOTE:
Refer to “Tires — General Information” in
“Starting And Operating” in the Owner's
Manual on the DVD for further informa-
tion about the spare tire, it's use, and
operation.
1.
Remove the scissors jack and lug
wrench from the spare wheel as an as-
sembly. Turn the jack screw to the left to
loosen the lug wrench and remove the
wrench from the jack assembly.
2. Loosen, but do not remove, the wheel nuts by turning them to the left one turn while the wheel is still on the ground.
WHAT TO DO IN EMERGENCIES
76
Page 82 of 116
WARNING!
• Being under a jacked-up vehicle is dangerous. The vehicle could slip off thejack and fall on you. You could be crushed. Never put any part of your body
under a vehicle that is on a jack. If you need to get under a raised vehicle, take
it to a service center where it can be raised on a lift.
• Never start or run the engine while the vehicle is on a jack.
• The jack is designed to be used as a tool for changing tires only. The jack
should not be used to lift the vehicle for service purposes. The vehicle should
be jacked on a firm level surface only. Avoid ice or slippery areas.
• Do not attempt to change a tire on the side of the vehicle close to moving
traffic, pull far enough off the road to avoid the danger of being hit when
operating the jack or changing the wheel.
• Carefully follow these tire changing warnings to help prevent personal injury or
damage to your vehicle:
• Always park on a firm, level surface as far from the edge of the roadwayas possible before raising the vehicle.
• Turn on the Hazard Warning flasher.
• Block the wheel diagonally opposite the wheel to be raised.
• Set the parking brake firmly and set an automatic transmission in PARK;
a manual transmission in REVERSE.
• Do not let anyone sit in the vehicle when it is on a jack.
• Do not get under the vehicle when it is on a jack.
• Only use the jack in the positions indicated and for lifting this vehicle during
a tire change.
• If working on or near a roadway, be extremely careful of motor traffic.
• To assure that spare tires, flat or inflated, are securely stowed, spares must be
stowed with the valve stem facing the ground.
• Raising the vehicle higher than necessary can make the vehicle less stable.
It could slip off the jack and hurt someone near it. Raise the vehicle only
enough to remove the tire.
• To avoid possible personal injury, handle the wheel covers with care to avoid
contact with any sharp edges.
• A loose tire or jack thrown forward in a collision or hard stop could injure the
occupants in the vehicle. Have the deflated (flat) tire repaired or replaced
immediately.
• To avoid the risk of forcing the vehicle off the jack, do not tighten the lug nuts
fully until the vehicle is lowered to the ground. Failure to follow this warning
may result in personal injury.
WHAT TO DO IN EMERGENCIES
80