buttons JEEP COMPASS 2013 1.G User Guide
[x] Cancel search | Manufacturer: JEEP, Model Year: 2013, Model line: COMPASS, Model: JEEP COMPASS 2013 1.GPages: 116, PDF Size: 2.71 MB
Page 33 of 116
Radio Operation
Seek Up/Down Buttons
• Press to seek through radio stations in AM or FM bands.
• Hold either button to bypass stations without stopping.
Store Radio Presets
• Press the “SET/RND” button once and SET 1 will show in the display. Then selectbutton (1–6).
• A second station may be added to each push button. Press the “SET/RND” button twice and SET 2 will show in the display. Then select button (1–6).
CD/DISC Operation
Seek Up/Down Buttons
• Press to seek through CD tracks.
• Hold either button to bypass tracks without stopping.
SET/RND Button (Random Play)
• Press this button while the CD is playing to activate Random Play.
•
This feature plays the selections on the CD in random order to provide an interesting
change of pace.
Audio Jack Operation
• The AUX/Audio Jack provides a means to connect a portable audio device, such as an MP3 player, or an iPod®, to the vehicles sound system. This requires the use of
a 3.5 mm stereo audio patch cable.
• Pressing the AUX button will change the mode to auxiliary device if the Audio Jack is connected, allowing the music from your portable device to play through the
vehicle's speakers.
• The functions of the portable device are controlled using the device buttons, not the buttons on the radio. However, the volume may be controlled using the radio or
portable device.
ELECTRONICS
31
Page 35 of 116
Radio Operation
Seek Up/Down Buttons
• Press to seek through radio stations in AM, FM, or SAT bands.
• Hold either button to bypass stations without stopping.
Store Radio Presets
• Press the “SET/RND” button once and SET 1 will show in the display. Then selectbutton (1–6).
• A second station may be added to each push button. Press the “SET/RND” button twice and SET 2 will show in the display. Then select button (1–6).
Music Type
• Press the “MUSIC TYPE” button to activate this mode. Press the “MUSIC TYPE” button again or turn the “TUNE/SCROLL” control knob to select the desired music
type (Adult Hits, Country, Jazz, Oldies, Rock, etc.).
• Once a music type is chosen and the icon is displayed, press either “SEEK” button and the radio will only search for stations with the selected music type.
NOTE:
The Music Type function only operates when in FM mode.
SETUP Button
• Pressing the “SETUP” button allows you to select between items that are available in that particular mode.
• Turn the “TUNE/SCROLL” control knob to scroll through the entries. Push the “AUDIO/SELECT” button to select an entry and make changes.
SiriusXM Satellite Radio
•SiriusXM Satellite Radio gives you over 130 channels, including 100% commercial-free
music from nearly every genre, plus all your favorite sports, news, talk and entertainment
channels–all with crystal clear, coast-to-coast coverage, all in one place and all at your
fingertips.
• To access SiriusXM Satellite Radio, press the “SAT” hard-key.
ELECTRONICS
33
Page 36 of 116
CD/DISC Operation
Seek Up/Down Buttons
• Press to seek through CD tracks.
• Hold either button to bypass tracks without stopping.
SET/RND Button (Random Play)
• Press this button while the CD is playing to activate Random Play.
•
This feature plays the selections on the CD in random order to provide an interesting
change of pace.
LIST Button
• Press the “LIST” button to bring up a list of all folders on the CD. Scroll up or down the list by turning the “TUNE/SCROLL” control knob.
• To select a folder from the list, press the “TUNE/SCROLL” control knob and the radio will begin playing the files contained in that folder.
Audio Jack Operation
• The AUX/Audio Jack provides a means to connect a portable audio device, such asan MP3 player, or an iPod®, to the vehicles sound system. This requires the use of
a 3.5 mm stereo audio patch cable.
• Pressing the AUX button will change the mode to auxiliary device if the Audio Jack is connected, allowing the music from your portable device to play through the
vehicle's speakers.
• The functions of the portable device are controlled using the device buttons, not the buttons on the radio. However, the volume may be controlled using the radio or
portable device.
ELECTRONICS
34
Page 38 of 116
Radio Operation
Seek Up/Down Buttons
• Press to seek through radio stations in AM, FM, or SAT bands.
• Hold either button to bypass stations without stopping.
Store Radio Presets
• Press the “SET” button once and SET 1 will show in the display. Then selectbutton (1–6).
• A second station may be added to each push button. Press the “SET” button twice and SET 2 will show in the display. Then select button (1–6).
Music Type
• Press the “MUSIC TYPE” button to activate this mode. Press the “MUSIC TYPE” button again or turn the “TUNE/SCROLL” control knob to select the desired music
type (Adult Hits, Country, Jazz, Oldies, Rock, etc.).
• Once a music type is chosen and the icon is displayed, press the SEEK button and the radio will only search for stations with the selected music type.
NOTE:
The Music Type function only operates when in FM mode.
SETUP Button
•
Pressing the “SETUP” button allows you to select between items that are available in
that particular mode.
• Turn the “TUNE/SCROLL” control knob to scroll through the entries. Push the “AUDIO/SELECT” button to select an entry and make changes.
SiriusXM Satellite Radio
•SiriusXM Satellite Radio gives you over 130 channels, including 100% commercial-free
music from nearly every genre, plus all your favorite sports, news, talk and entertainment
channels–all with crystal clear, coast-to-coast coverage, all in one place and all at your
fingertips.
• To access SiriusXM Satellite Radio, press the “SAT” hard-key.
ELECTRONICS
36
Page 39 of 116
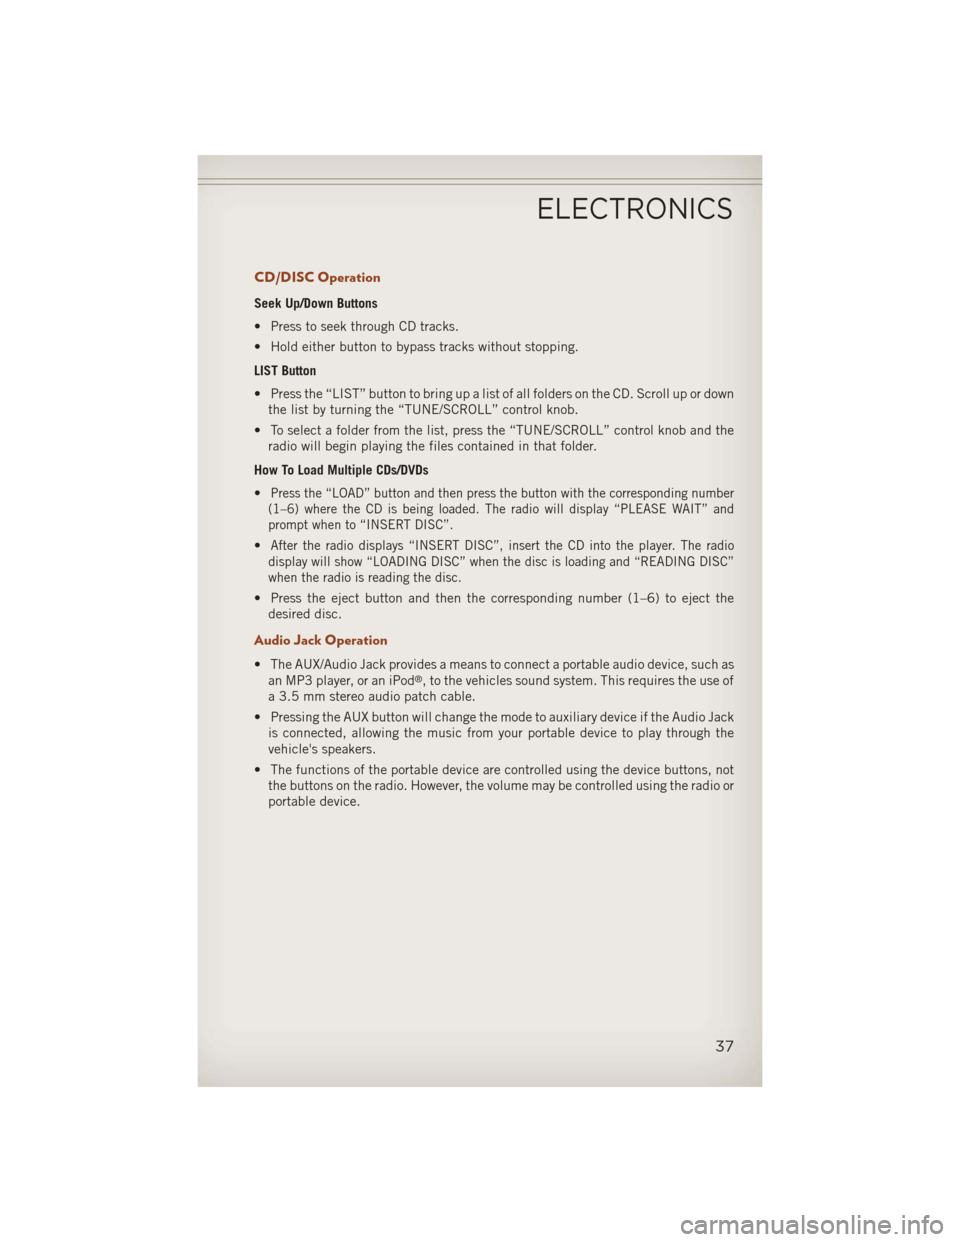
CD/DISC Operation
Seek Up/Down Buttons
• Press to seek through CD tracks.
• Hold either button to bypass tracks without stopping.
LIST Button
• Press the “LIST” button to bring up a list of all folders on the CD. Scroll up or downthe list by turning the “TUNE/SCROLL” control knob.
• To select a folder from the list, press the “TUNE/SCROLL” control knob and the radio will begin playing the files contained in that folder.
How To Load Multiple CDs/DVDs
•
Press the “LOAD” button and then press the button with the corresponding number
(1–6) where the CD is being loaded. The radio will display “PLEASE WAIT” and
prompt when to “INSERT DISC”.
•After the radio displays “INSERT DISC”, insert the CD into the player. The radio
display will show “LOADING DISC” when the disc is loading and “READING DISC”
when the radio is reading the disc.
• Press the eject button and then the corresponding number (1–6) to eject the desired disc.
Audio Jack Operation
• The AUX/Audio Jack provides a means to connect a portable audio device, such asan MP3 player, or an iPod®, to the vehicles sound system. This requires the use of
a 3.5 mm stereo audio patch cable.
• Pressing the AUX button will change the mode to auxiliary device if the Audio Jack is connected, allowing the music from your portable device to play through the
vehicle's speakers.
• The functions of the portable device are controlled using the device buttons, not the buttons on the radio. However, the volume may be controlled using the radio or
portable device.
ELECTRONICS
37
Page 44 of 116
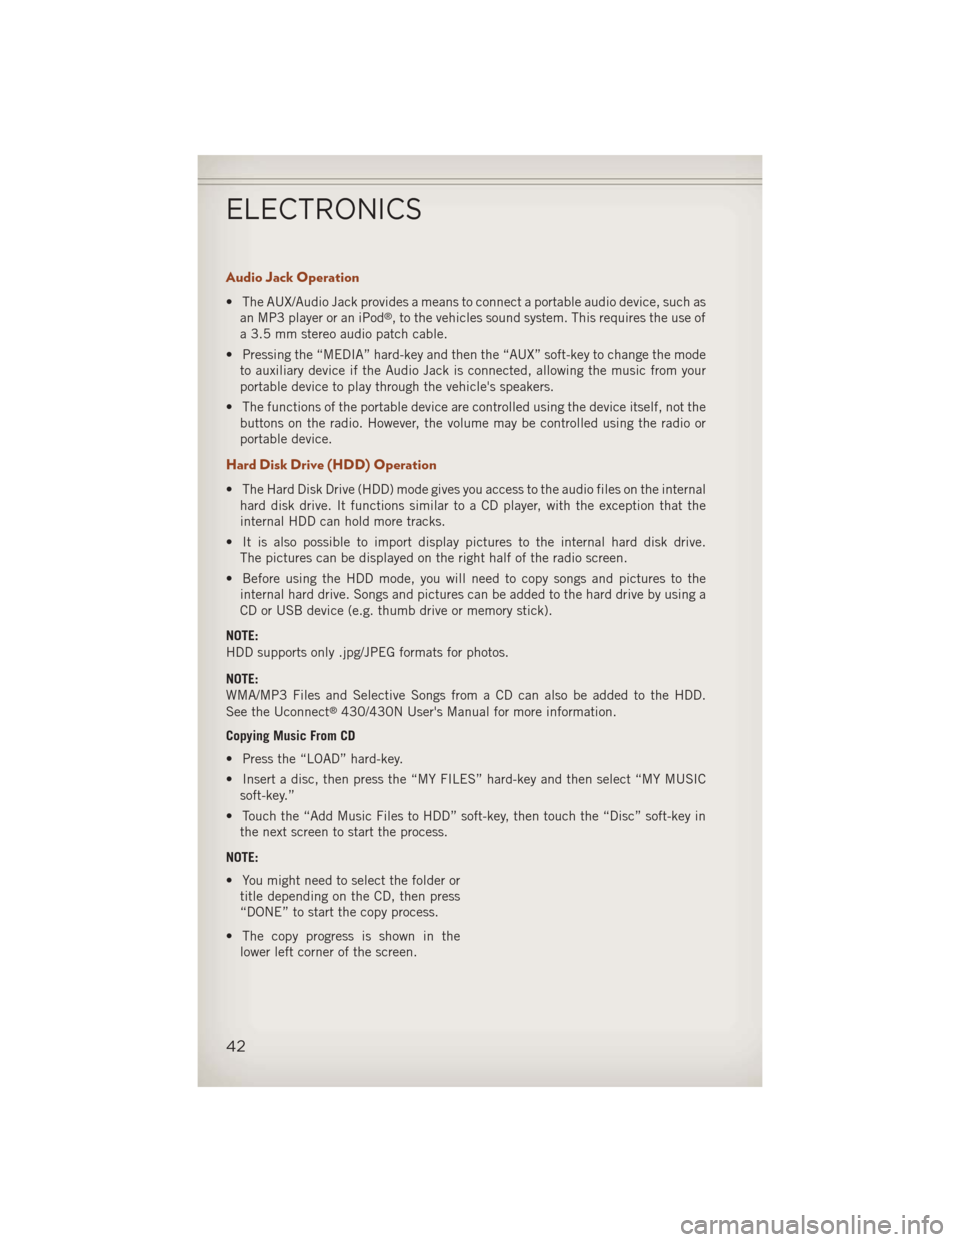
Audio Jack Operation
• The AUX/Audio Jack provides a means to connect a portable audio device, such asan MP3 player or an iPod®, to the vehicles sound system. This requires the use of
a 3.5 mm stereo audio patch cable.
• Pressing the “MEDIA” hard-key and then the “AUX” soft-key to change the mode to auxiliary device if the Audio Jack is connected, allowing the music from your
portable device to play through the vehicle's speakers.
• The functions of the portable device are controlled using the device itself, not the buttons on the radio. However, the volume may be controlled using the radio or
portable device.
Hard Disk Drive (HDD) Operation
• The Hard Disk Drive (HDD) mode gives you access to the audio files on the internalhard disk drive. It functions similar to a CD player, with the exception that the
internal HDD can hold more tracks.
• It is also possible to import display pictures to the internal hard disk drive. The pictures can be displayed on the right half of the radio screen.
• Before using the HDD mode, you will need to copy songs and pictures to the internal hard drive. Songs and pictures can be added to the hard drive by using a
CD or USB device (e.g. thumb drive or memory stick).
NOTE:
HDD supports only .jpg/JPEG formats for photos.
NOTE:
WMA/MP3 Files and Selective Songs from a CD can also be added to the HDD.
See the Uconnect
®430/430N User's Manual for more information.
Copying Music From CD
• Press the “LOAD” hard-key.
• Insert a disc, then press the “MY FILES” hard-key and then select “MY MUSIC soft-key.”
• Touch the “Add Music Files to HDD” soft-key, then touch the “Disc” soft-key in the next screen to start the process.
NOTE:
• You might need to select the folder or title depending on the CD, then press
“DONE” to start the copy process.
• The copy progress is shown in the lower left corner of the screen.
ELECTRONICS
42
Page 54 of 116
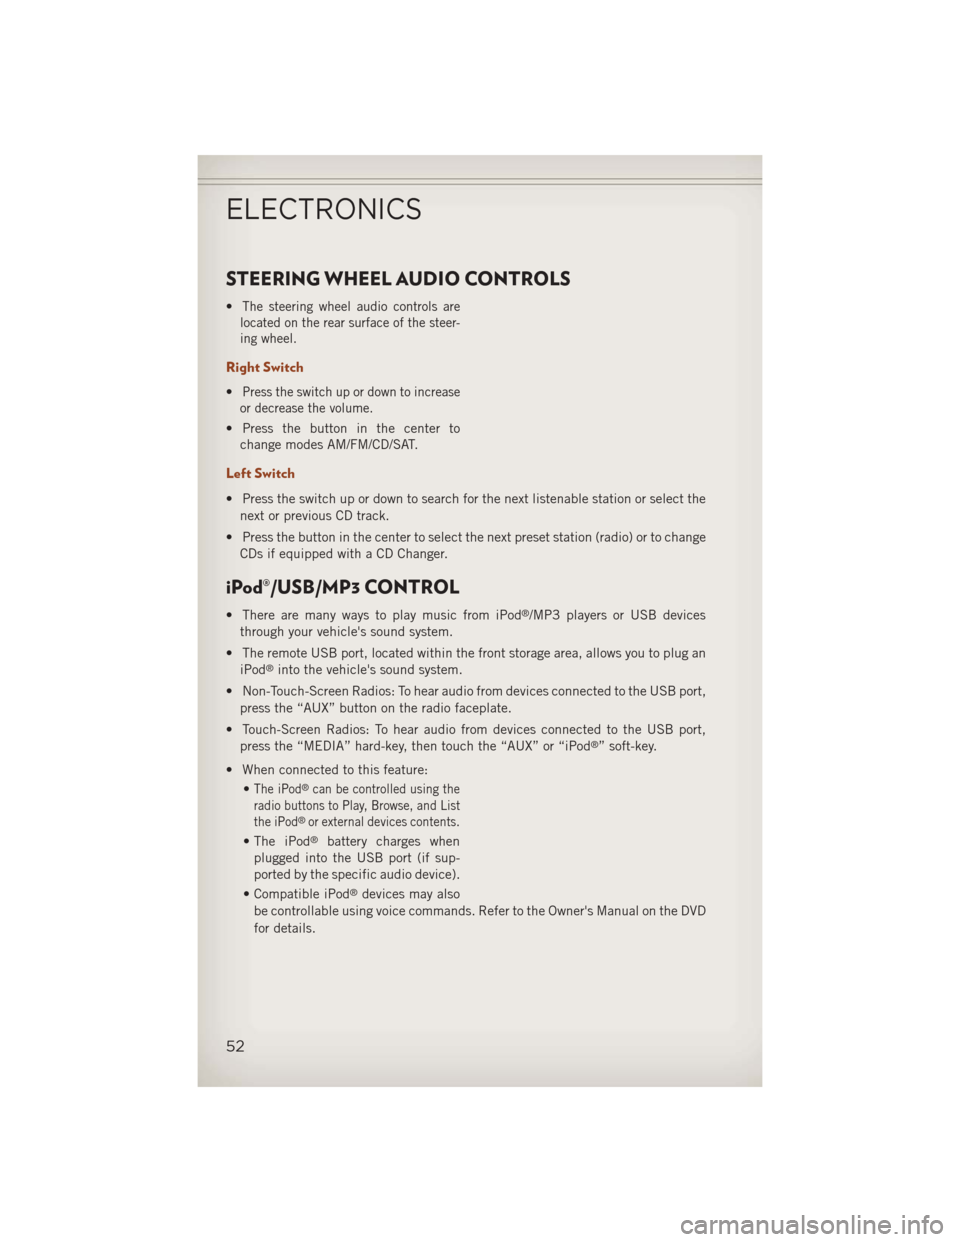
STEERING WHEEL AUDIO CONTROLS
•The steering wheel audio controls are
located on the rear surface of the steer-
ing wheel.
Right Switch
•Press the switch up or down to increase
or decrease the volume.
• Press the button in the center to change modes AM/FM/CD/SAT.
Left Switch
• Press the switch up or down to search for the next listenable station or select the
next or previous CD track.
• Press the button in the center to select the next preset station (radio) or to change CDs if equipped with a CD Changer.
iPod®/USB/MP3 CONTROL
• There are many ways to play music from iPod®/MP3 players or USB devices
through your vehicle's sound system.
• The remote USB port, located within the front storage area, allows you to plug an iPod
®into the vehicle's sound system.
• Non-Touch-Screen Radios: To hear audio from devices connected to the USB port, press the “AUX” button on the radio faceplate.
• Touch-Screen Radios: To hear audio from devices connected to the USB port, press the “MEDIA” hard-key, then touch the “AUX” or “iPod
®” soft-key.
• When connected to this feature: •
The iPod®can be controlled using the
radio buttons to Play, Browse, and List
the iPod
®or external devices contents.
• The iPod®battery charges when
plugged into the USB port (if sup-
ported by the specific audio device).
• Compatible iPod
®devices may also
be controllable using voice commands. Refer to the Owner's Manual on the DVD
for details.
ELECTRONICS
52
Page 63 of 116
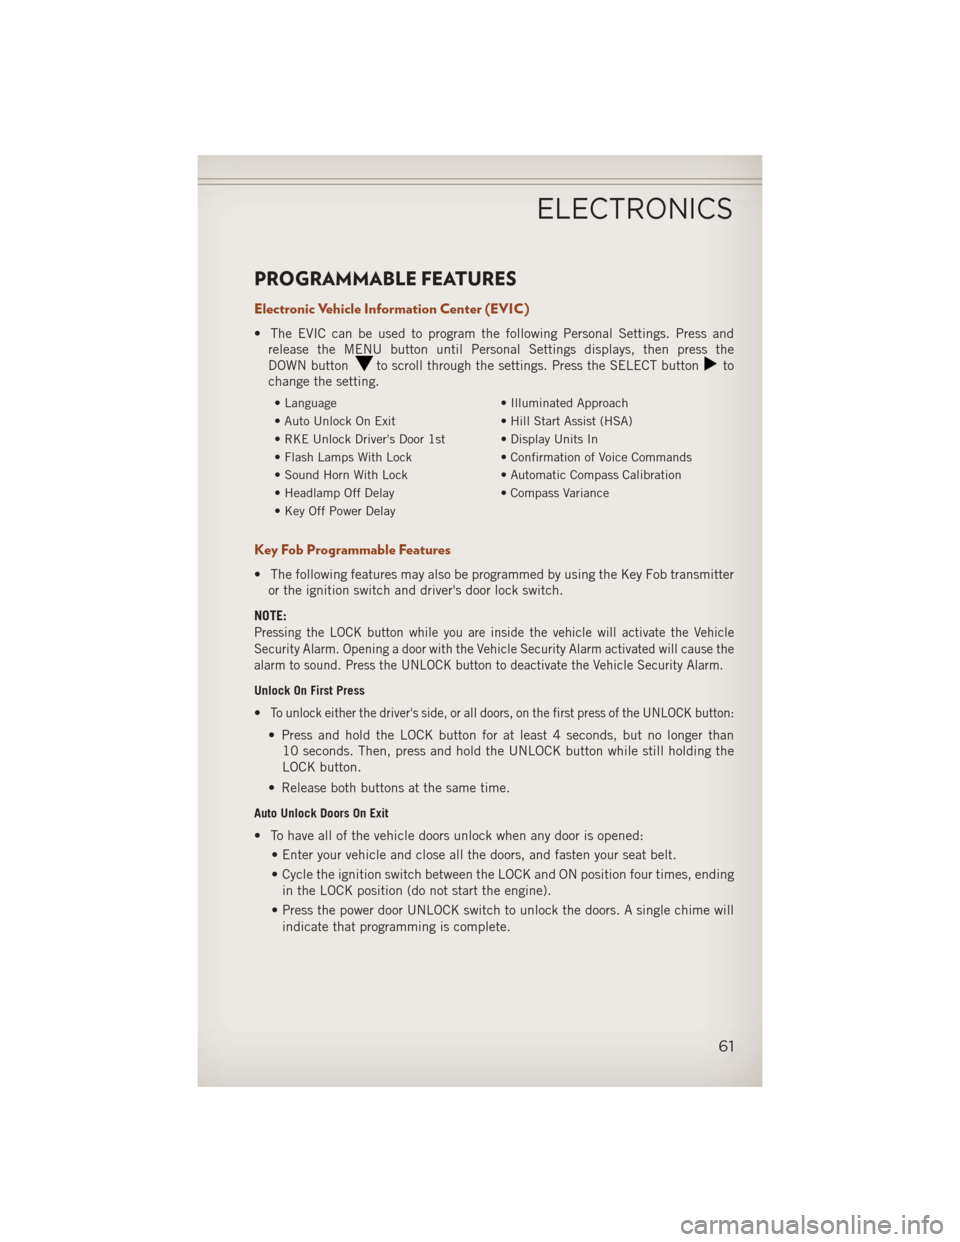
PROGRAMMABLE FEATURES
Electronic Vehicle Information Center (EVIC)
• The EVIC can be used to program the following Personal Settings. Press andrelease the MENU button until Personal Settings displays, then press the
DOWN button
to scroll through the settings. Press the SELECT buttonto
change the setting.
• Language • Illuminated Approach
• Auto Unlock On Exit • Hill Start Assist (HSA)
• RKE Unlock Driver's Door 1st • Display Units In
• Flash Lamps With Lock • Confirmation of Voice Commands
• Sound Horn With Lock • Automatic Compass Calibration
• Headlamp Off Delay • Compass Variance
• Key Off Power Delay
Key Fob Programmable Features
• The following features may also be programmed by using the Key Fob transmitter or the ignition switch and driver's door lock switch.
NOTE:
Pressing the LOCK button while you are inside the vehicle will activate the Vehicle
Security Alarm. Opening a door with the Vehicle Security Alarm activated will cause the
alarm to sound. Press the UNLOCK button to deactivate the Vehicle Security Alarm.
Unlock On First Press
•To unlock either the driver's side, or all doors, on the first press of the UNLOCK button:
• Press and hold the LOCK button for at least 4 seconds, but no longer than 10 seconds. Then, press and hold the UNLOCK button while still holding the
LOCK button.
• Release both buttons at the same time.
Auto Unlock Doors On Exit
• To have all of the vehicle doors unlock when any door is opened: • Enter your vehicle and close all the doors, and fasten your seat belt.
• Cycle the ignition switch between the LOCK and ON position four times, endingin the LOCK position (do not start the engine).
• Press the power door UNLOCK switch to unlock the doors. A single chime will indicate that programming is complete.
ELECTRONICS
61
Page 64 of 116
Auto Door Lock
• To have the doors lock automatically when the vehicle’s speed exceeds 15 mph(24 km/h):
• Enter your vehicle and close all the doors.
• Cycle the ignition switch between LOCK and ON and then back to LOCK fourtimes, ending up in the LOCK position (do not start the engine).
• Press the power door LOCK switch to lock the doors. A single chime will indicate that programming is complete.
Sound Horn With Lock
• To turn the horn chirp on or off when the doors are locked: • Press the LOCK button for at least 4 seconds, but no longer than 10 seconds.
Then, press the PANIC button while still holding the LOCK button.
• Release both buttons at the same time.
Flashing Lights With Lock
• The turn signal lights flashing, when the doors are locked or unlocked, feature can be turned on or off. To turn this feature on or off:• Press and hold the UNLOCK button for at least 4 seconds, but no longer than
10 seconds. Then, press and hold the LOCK button while still holding the
UNLOCK button.
• Release both buttons at the same time.
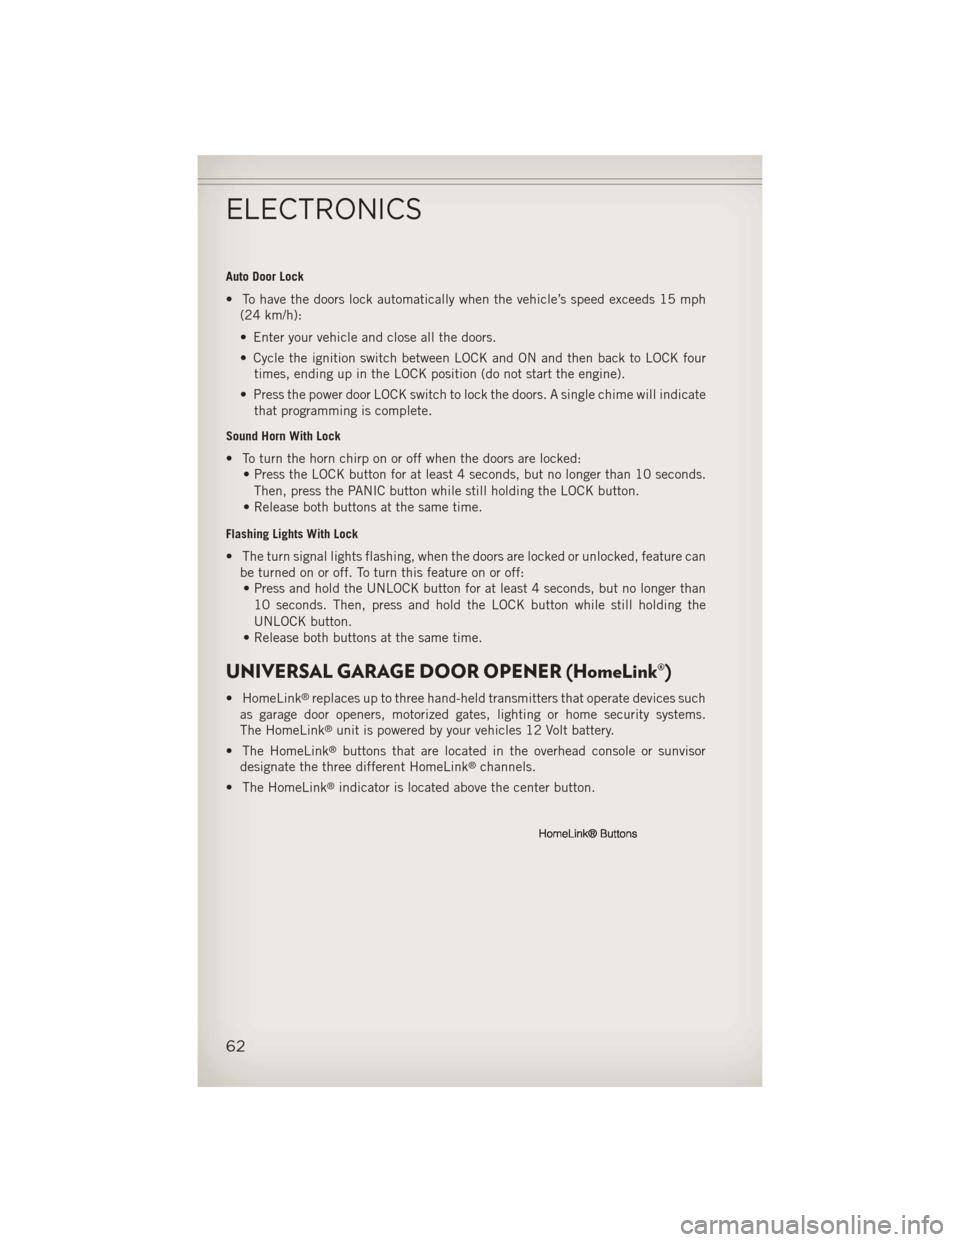
UNIVERSAL GARAGE DOOR OPENER (HomeLink®)
• HomeLink®replaces up to three hand-held transmitters that operate devices such
as garage door openers, motorized gates, lighting or home security systems.
The HomeLink
®unit is powered by your vehicles 12 Volt battery.
• The HomeLink
®buttons that are located in the overhead console or sunvisor
designate the three different HomeLink®channels.
• The HomeLink
®indicator is located above the center button.
ELECTRONICS
62
Page 65 of 116
Before You Begin Programming HomeLink®
•Ensure that your vehicle is parked outside of the garage before you begin program-
ming.
•For efficient programming and accurate transmission of the radio-frequency signal,
it is recommended that a new battery be placed in the hand-held transmitter of the
device that is being programmed to the HomeLink
®system.
• Erase all channels before you begin programming. To erase the channels, place the ignition switch into the ON/RUN position, then press and hold the two outside
HomeLink
®buttons (I and III) for up 20 seconds or until the red indicator flashes.
NOTE:
Erasing all channels should only be performed when programming HomeLink
®for
the first time. Do not erase channels when programming additional buttons.
•
If you have any problems, or require assistance, please call toll-free 1–800–355–3515
or, on the Internet at www.HomeLink.com for information or assistance.
Programming A Rolling Code
• For programming Garage Door Openers that were manufactured after 1995. These Garage Door Openers can be identified by the “LEARN” or “TRAIN” button
located where the hanging antenna is attached to the Garage Door Opener. It is
NOT the button that is normally used to open and close the door. The name and
color of the button may vary by manufacturer.
• Place the ignition switch into the ON/RUN position.
• Place the hand-held transmitter 1 to 3 in (3 to 8 cm) away from the HomeLink
®
button you wish to program while keeping the HomeLink®indicator light in view.
• Simultaneously press and hold both the HomeLink
®button you want to program
and the hand-held transmitter button.
• Continue to hold both buttons and observe the indicator light. The HomeLink
®
indicator will flash slowly and then rapidly after HomeLink®has received the
frequency signal from the hand-held transmitter. Release both buttons after the
indicator light changes from slow to rapid.
•
At the garage door opener motor (in the garage), locate the “LEARN” or “TRAINING”
button. This can usually be found where the hanging antenna wire is attached to the
garage door opener motor. Firmly press and release the “LEARN” or “TRAINING”
button.
NOTE:
You have 30 seconds in which to initiate the next step after the LEARN button has
been pressed.
• Return to the vehicle and press the programmed HomeLink
®button twice
(holding the button for two seconds each time). If the device is plugged in and
activates, programming is complete.
ELECTRONICS
63