lock JEEP COMPASS 2014 1.G Owner's Manual
[x] Cancel search | Manufacturer: JEEP, Model Year: 2014, Model line: COMPASS, Model: JEEP COMPASS 2014 1.GPages: 124, PDF Size: 2.64 MB
Page 73 of 124
Auto Door Lock
To have the doors lock automatically when the vehicle’s speed exceeds 15 mph
(24 km/h):
• Enter your vehicle and close all the doors.
• Cycle the ignition switch between LOCK and ON and then back to LOCK fourtimes, ending up in the LOCK position (do not start the engine).
• Push the power door LOCK switch to lock the doors. A single chime will indicate that programming is complete.
Sound Horn With Lock
To turn the horn chirp on or off when the doors are locked:
• Push the LOCK button and PANIC button at the same time for at least fourseconds, but no longer than 10 seconds.
• Release both buttons at the same time.
Flashing Lights With Lock
The turn signal lights flash when the doors are locked, which can be turned on or off.
To turn this feature on or off:
• Push and hold the UNLOCK button and the LOCK button at the same time for at least four seconds, but no longer than 10 seconds.
• Release both buttons at the same time.
UNIVERSAL GARAGE DOOR OPENER (HomeLink®)
• HomeLink®replaces up to three hand-held transmitters that operate devices such
as garage door openers, motorized gates, lighting or home security systems.
The HomeLink
®unit is powered by your vehicles 12 Volt battery.
• The HomeLink
®buttons that are located in the overhead console or sunvisor
designate the three different HomeLink®channels.
• The HomeLink
®indicator is located above the center button.
ELECTRONICS
71
Page 75 of 124
NOTE:
You have 30 seconds in which to initiate the next step after the LEARN button has
been pressed.
6. Return to the vehicle and press the programmed HomeLink
®button twice
(holding the button for two seconds each time). If the device is plugged in and
activates, programming is complete.
NOTE:
If the device does not activate, press the button a third time (for two seconds) to
complete the training.
7. To program the remaining two HomeLink
®buttons, repeat each step for each
remaining button. DO NOT erase the channels.
Programming A Non-Rolling Code
NOTE:
For programming Garage Door Openers manufactured before 1995.
1. Turn the ignition switch to the ON/RUN position.
2. Place the hand-held transmitter 1 to 3 inches (3 to 8 cm) away from the HomeLink
®button you wish to program while keeping the HomeLink®indicator
light in view.
3. Simultaneously press and hold both the HomeLink
®button you want to program
and the hand-held transmitter button.
4. Continue to hold both buttons and observe the indicator light. The HomeLink
®
indicator will flash slowly and then rapidly after HomeLink®has received the
frequency signal from the hand-held transmitter. Release both buttons after the
indicator light changes from slow to rapid.
5. Press and hold the programmed HomeLink
®button and observe the indicator
light. If the indicator light stays on constantly, programming is complete and the
garage door (or device) should activate when the HomeLink
®button is pressed.
6. To program the two remaining HomeLink
®buttons, repeat each step for each
remaining button. DO NOT erase the channels.
Using HomeLink®
To operate, push and release the programmed HomeLink®button. Activation will now
occur for the programmed device (e.g., garage door opener, gate operator, security
system, entry door lock, home/office lighting, etc.,). The hand-held transmitter of the
device may also be used at any time.
ELECTRONICS
73
Page 78 of 124
FOUR-WHEEL DRIVE OPERATION
This vehicle has two full time, on-demand, four-wheel-drive (4WD) systems avail-
able, Freedom Drive I™ and Freedom-Drive II™. They provide for all-weather,
all-terrain capability for added driving security in less-than-ideal road conditions.
Freedom-Drive I™ Four Wheel Drive System
• The vehicle will constantly monitor wheel slippage and transfer power to the axlethat can use it the most.
• For additional traction in sand, deep snow or loose traction surfaces, the “4WD Lock” sends equal amounts of the torque to the front and rear axles at low speeds.
• To activate, pull the T-handle, located in between the front driver and passenger seats, up once and release. The “4WD Indicator Light” will come on in the cluster.
Freedom-Drive I™ Components
1 — Rear Differential
2 — Electronically Controlled Coupling
3 — Driveshaft
4 — Power Transfer Unit
OFF-ROAD CAPABILITIES
76
Page 79 of 124
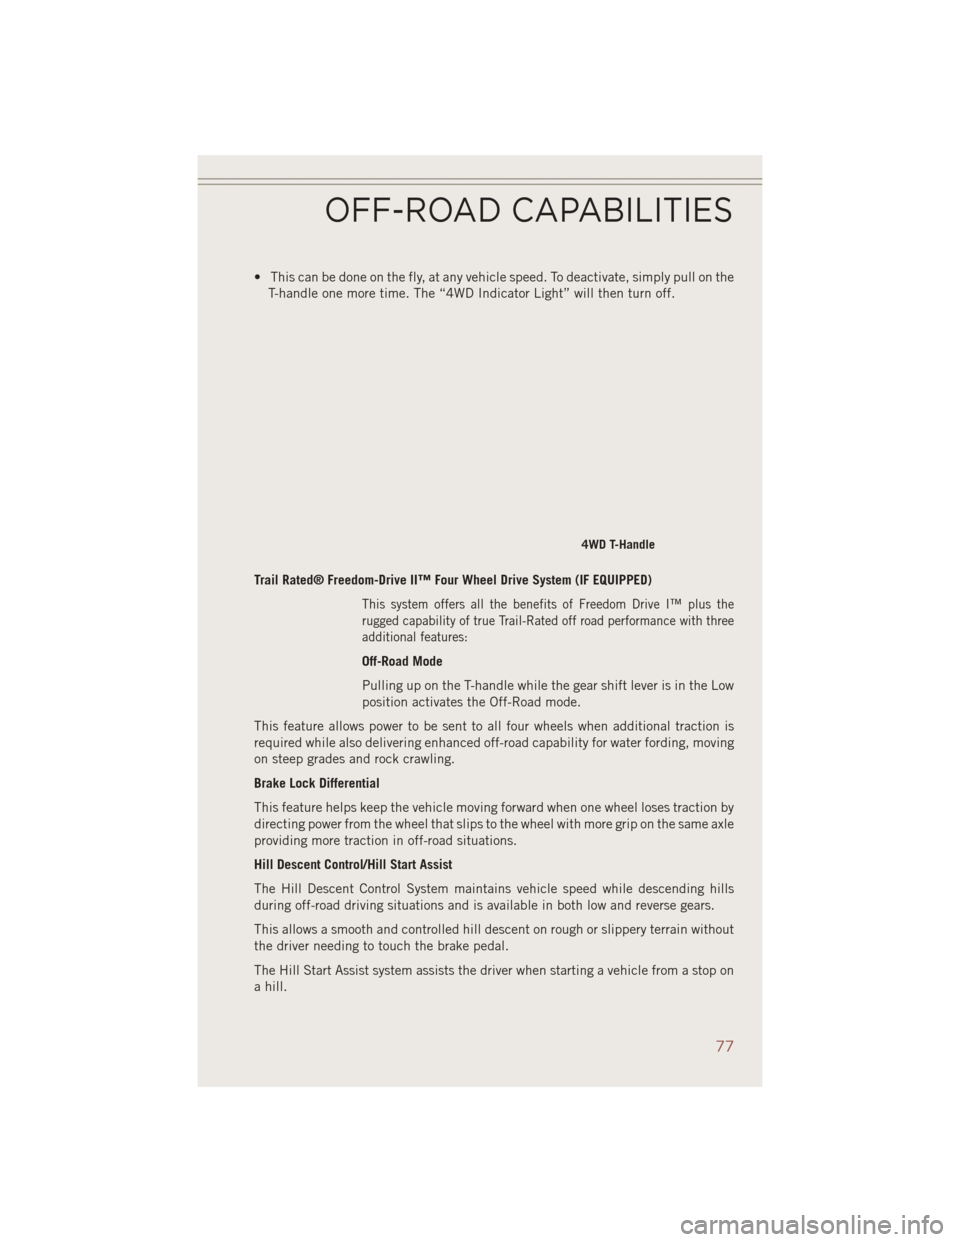
• This can be done on the fly, at any vehicle speed. To deactivate, simply pull on theT-handle one more time. The “4WD Indicator Light” will then turn off.
Trail Rated® Freedom-Drive II™ Four Wheel Drive System (IF EQUIPPED)
This system offers all the benefits of Freedom Drive I™ plus the
rugged capability of true Trail-Rated off road performance with three
additional features:
Off-Road Mode
Pulling up on the T-handle while the gear shift lever is in the Low
position activates the Off-Road mode.
This feature allows power to be sent to all four wheels when additional traction is
required while also delivering enhanced off-road capability for water fording, moving
on steep grades and rock crawling.
Brake Lock Differential
This feature helps keep the vehicle moving forward when one wheel loses traction by
directing power from the wheel that slips to the wheel with more grip on the same axle
providing more traction in off-road situations.
Hill Descent Control/Hill Start Assist
The Hill Descent Control System maintains vehicle speed while descending hills
during off-road driving situations and is available in both low and reverse gears.
This allows a smooth and controlled hill descent on rough or slippery terrain without
the driver needing to touch the brake pedal.
The Hill Start Assist system assists the driver when starting a vehicle from a stop on
a hill.
4WD T-Handle
OFF-ROAD CAPABILITIES
77
Page 84 of 124
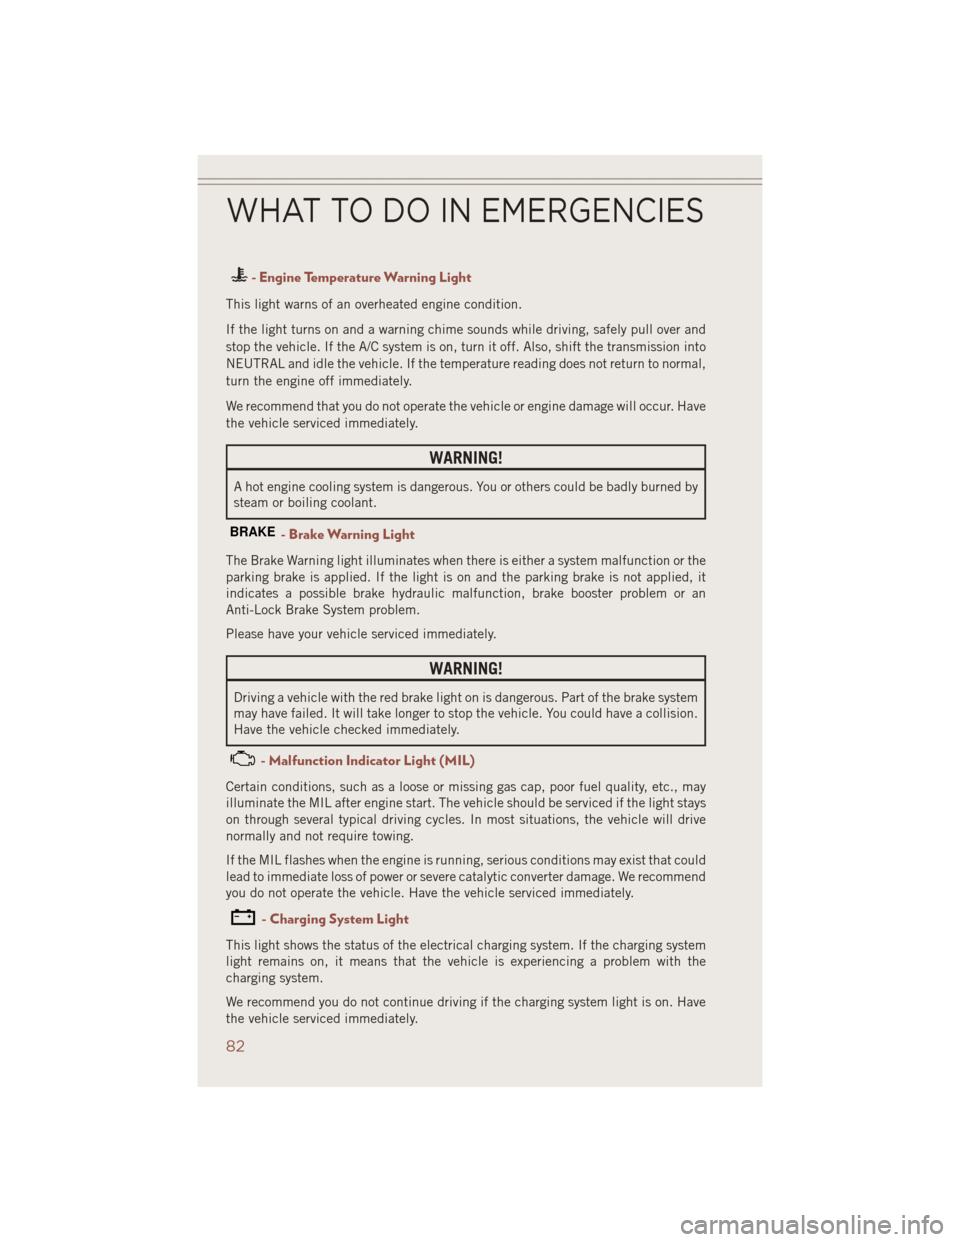
- Engine Temperature Warning Light
This light warns of an overheated engine condition.
If the light turns on and a warning chime sounds while driving, safely pull over and
stop the vehicle. If the A/C system is on, turn it off. Also, shift the transmission into
NEUTRAL and idle the vehicle. If the temperature reading does not return to normal,
turn the engine off immediately.
We recommend that you do not operate the vehicle or engine damage will occur. Have
the vehicle serviced immediately.
WARNING!
A hot engine cooling system is dangerous. You or others could be badly burned by
steam or boiling coolant.
BRAKE- Brake Warning Light
The Brake Warning light illuminates when there is either a system malfunction or the
parking brake is applied. If the light is on and the parking brake is not applied, it
indicates a possible brake hydraulic malfunction, brake booster problem or an
Anti-Lock Brake System problem.
Please have your vehicle serviced immediately.
WARNING!
Driving a vehicle with the red brake light on is dangerous. Part of the brake system
may have failed. It will take longer to stop the vehicle. You could have a collision.
Have the vehicle checked immediately.
- Malfunction Indicator Light (MIL)
Certain conditions, such as a loose or missing gas cap, poor fuel quality, etc., may
illuminate the MIL after engine start. The vehicle should be serviced if the light stays
on through several typical driving cycles. In most situations, the vehicle will drive
normally and not require towing.
If the MIL flashes when the engine is running, serious conditions may exist that could
lead to immediate loss of power or severe catalytic converter damage. We recommend
you do not operate the vehicle. Have the vehicle serviced immediately.
- Charging System Light
This light shows the status of the electrical charging system. If the charging system
light remains on, it means that the vehicle is experiencing a problem with the
charging system.
We recommend you do not continue driving if the charging system light is on. Have
the vehicle serviced immediately.
WHAT TO DO IN EMERGENCIES
82
Page 85 of 124
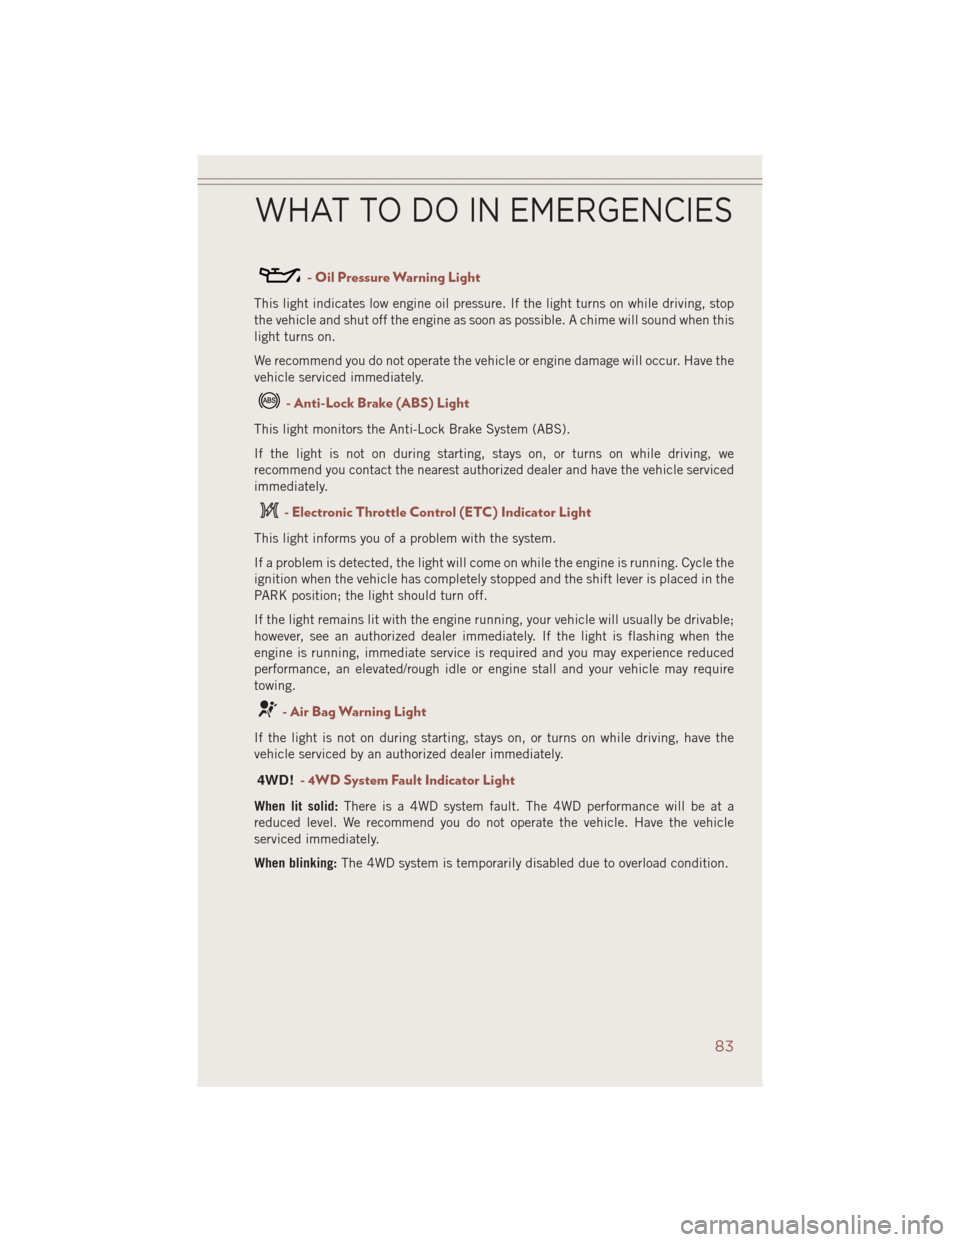
- Oil Pressure Warning Light
This light indicates low engine oil pressure. If the light turns on while driving, stop
the vehicle and shut off the engine as soon as possible. A chime will sound when this
light turns on.
We recommend you do not operate the vehicle or engine damage will occur. Have the
vehicle serviced immediately.
- Anti-Lock Brake (ABS) Light
This light monitors the Anti-Lock Brake System (ABS).
If the light is not on during starting, stays on, or turns on while driving, we
recommend you contact the nearest authorized dealer and have the vehicle serviced
immediately.
- Electronic Throttle Control (ETC) Indicator Light
This light informs you of a problem with the system.
If a problem is detected, the light will come on while the engine is running. Cycle the
ignition when the vehicle has completely stopped and the shift lever is placed in the
PARK position; the light should turn off.
If the light remains lit with the engine running, your vehicle will usually be drivable;
however, see an authorized dealer immediately. If the light is flashing when the
engine is running, immediate service is required and you may experience reduced
performance, an elevated/rough idle or engine stall and your vehicle may require
towing.
- Air Bag Warning Light
If the light is not on during starting, stays on, or turns on while driving, have the
vehicle serviced by an authorized dealer immediately.
4WD!- 4WD System Fault Indicator Light
When lit solid:There is a 4WD system fault. The 4WD performance will be at a
reduced level. We recommend you do not operate the vehicle. Have the vehicle
serviced immediately.
When blinking: The 4WD system is temporarily disabled due to overload condition.
WHAT TO DO IN EMERGENCIES
83
Page 86 of 124
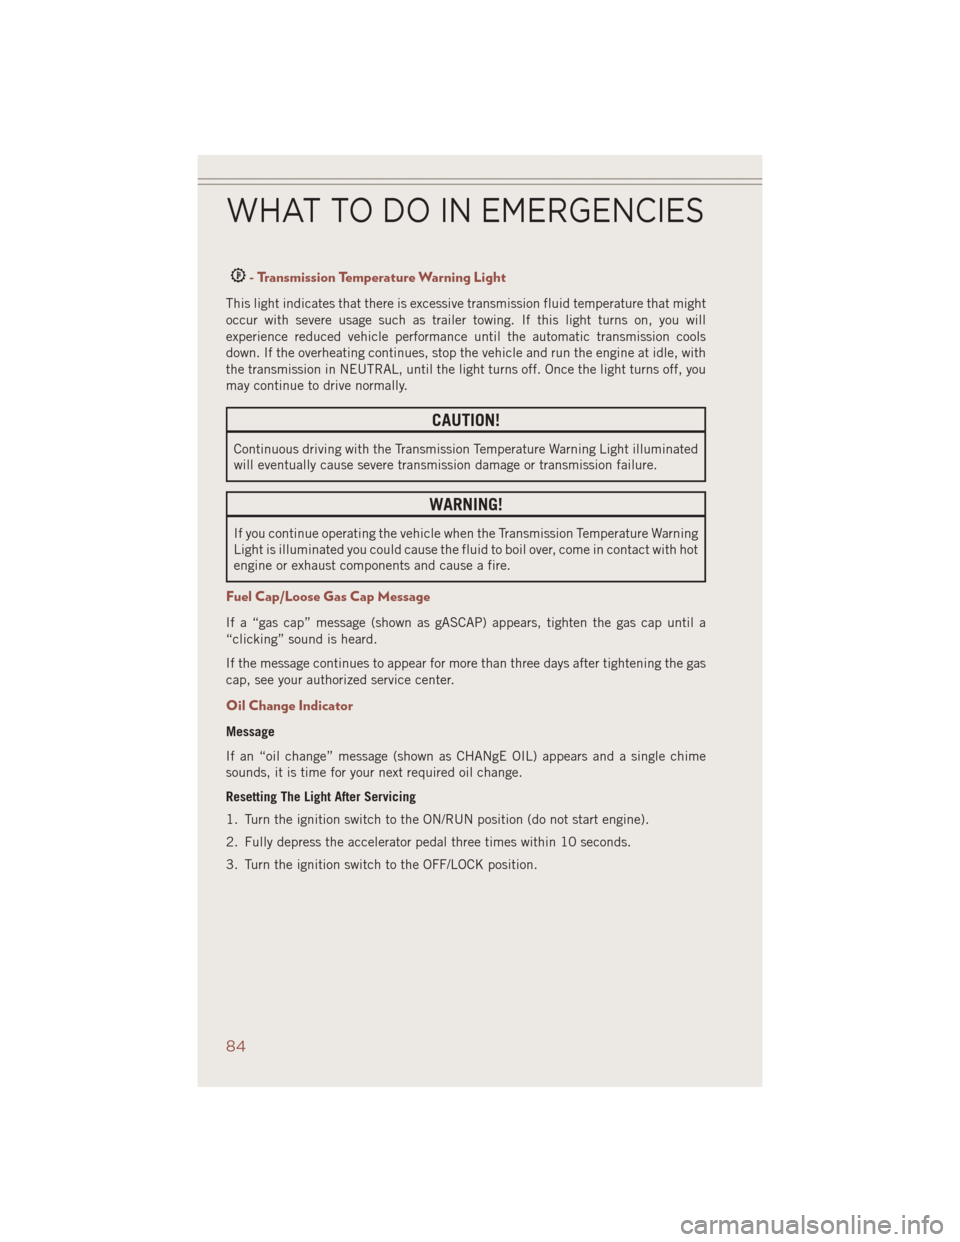
- Transmission Temperature Warning Light
This light indicates that there is excessive transmission fluid temperature that might
occur with severe usage such as trailer towing. If this light turns on, you will
experience reduced vehicle performance until the automatic transmission cools
down. If the overheating continues, stop the vehicle and run the engine at idle, with
the transmission in NEUTRAL, until the light turns off. Once the light turns off, you
may continue to drive normally.
CAUTION!
Continuous driving with the Transmission Temperature Warning Light illuminated
will eventually cause severe transmission damage or transmission failure.
WARNING!
If you continue operating the vehicle when the Transmission Temperature Warning
Light is illuminated you could cause the fluid to boil over, come in contact with hot
engine or exhaust components and cause a fire.
Fuel Cap/Loose Gas Cap Message
If a “gas cap” message (shown as gASCAP) appears, tighten the gas cap until a
“clicking” sound is heard.
If the message continues to appear for more than three days after tightening the gas
cap, see your authorized service center.
Oil Change Indicator
Message
If an “oil change” message (shown as CHANgE OIL) appears and a single chime
sounds, it is time for your next required oil change.
Resetting The Light After Servicing
1. Turn the ignition switch to the ON/RUN position (do not start engine).
2. Fully depress the accelerator pedal three times within 10 seconds.
3. Turn the ignition switch to the OFF/LOCK position.
WHAT TO DO IN EMERGENCIES
84
Page 88 of 124
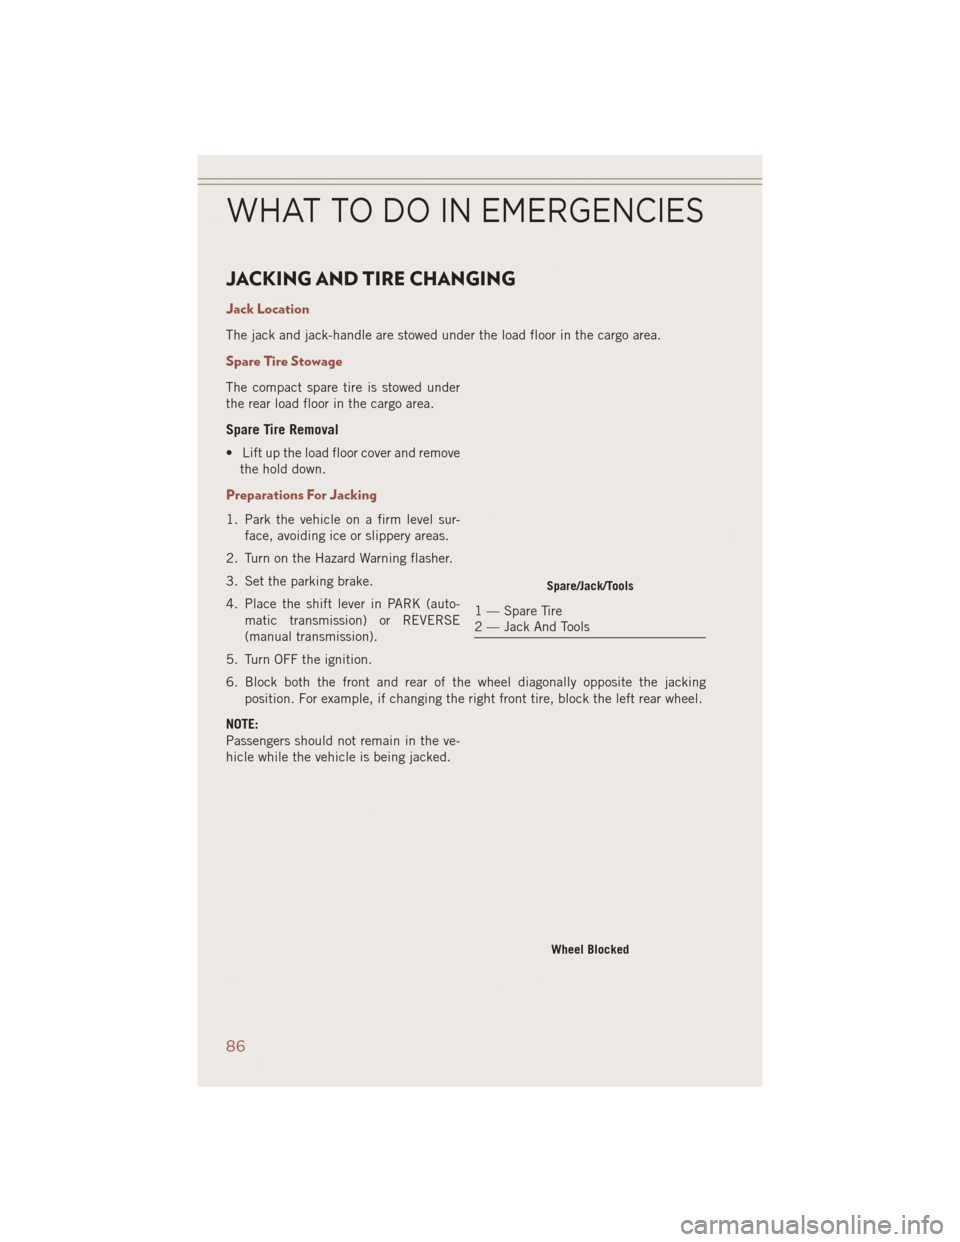
JACKING AND TIRE CHANGING
Jack Location
The jack and jack-handle are stowed under the load floor in the cargo area.
Spare Tire Stowage
The compact spare tire is stowed under
the rear load floor in the cargo area.
Spare Tire Removal
• Lift up the load floor cover and removethe hold down.
Preparations For Jacking
1. Park the vehicle on a firm level sur-
face, avoiding ice or slippery areas.
2. Turn on the Hazard Warning flasher.
3. Set the parking brake.
4. Place the shift lever in PARK (auto- matic transmission) or REVERSE
(manual transmission).
5. Turn OFF the ignition.
6. Block both the front and rear of the wheel diagonally opposite the jacking position. For example, if changing the right front tire, block the left rear wheel.
NOTE:
Passengers should not remain in the ve-
hicle while the vehicle is being jacked.
Spare/Jack/Tools
1 — Spare Tire
2 — Jack And Tools
Wheel Blocked
WHAT TO DO IN EMERGENCIES
86
Page 90 of 124
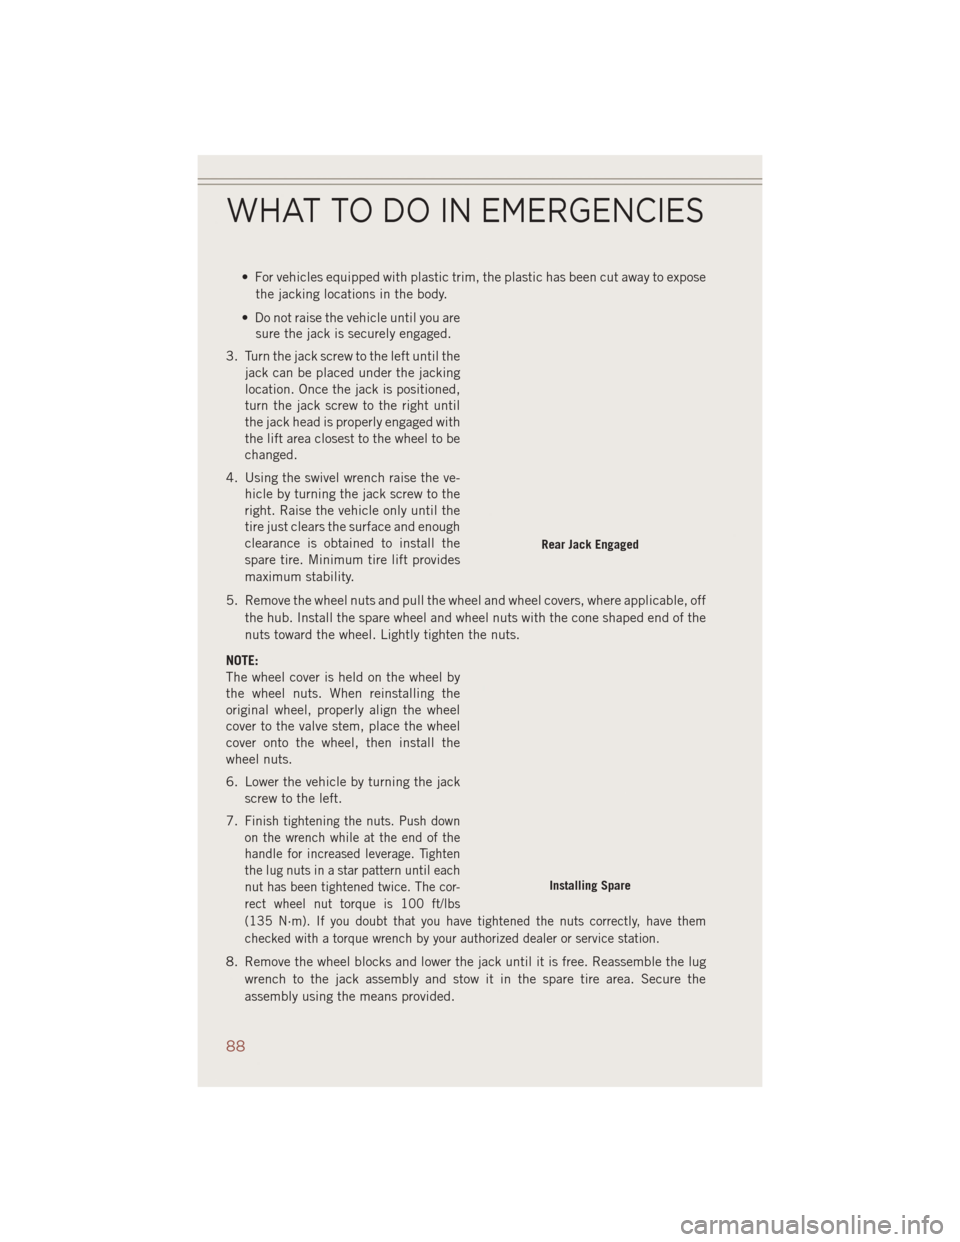
• For vehicles equipped with plastic trim, the plastic has been cut away to exposethe jacking locations in the body.
• Do not raise the vehicle until you are sure the jack is securely engaged.
3. Turn the jack screw to the left until the jack can be placed under the jacking
location. Once the jack is positioned,
turn the jack screw to the right until
the jack head is properly engaged with
the lift area closest to the wheel to be
changed.
4. Using the swivel wrench raise the ve- hicle by turning the jack screw to the
right. Raise the vehicle only until the
tire just clears the surface and enough
clearance is obtained to install the
spare tire. Minimum tire lift provides
maximum stability.
5. Remove the wheel nuts and pull the wheel and wheel covers, where applicable, off the hub. Install the spare wheel and wheel nuts with the cone shaped end of the
nuts toward the wheel. Lightly tighten the nuts.
NOTE:
The wheel cover is held on the wheel by
the wheel nuts. When reinstalling the
original wheel, properly align the wheel
cover to the valve stem, place the wheel
cover onto the wheel, then install the
wheel nuts.
6. Lower the vehicle by turning the jack screw to the left.
7.
Finish tightening the nuts. Push down
on the wrench while at the end of the
handle for increased leverage. Tighten
the lug nuts in a star pattern until each
nut has been tightened twice. The cor-
rect wheel nut torque is 100 ft/lbs
(135 N·m). If you doubt that you have tightened the nuts correctly, have them
checked with a torque wrench by your authorized dealer or service station.
8. Remove the wheel blocks and lower the jack until it is free. Reassemble the lug wrench to the jack assembly and stow it in the spare tire area. Secure the
assembly using the means provided.
Rear Jack Engaged
Installing Spare
WHAT TO DO IN EMERGENCIES
88
Page 91 of 124
9. Place the deflated (flat) tire in the cargo area,have the tire repaired or replaced as
soon as possible.
10. Check the spare tire pressure as soon as possible. Correct the tire pressure as required.
Road Tire Installation
Vehicles Equipped With Wheel Covers
1. Mount the road tire on the axle.
2. To ease the installation process for steel wheels with wheel covers, install two lugnuts on the mounting studs which are on each side of the valve stem. Install the
lug nuts with the cone shaped end of the nut toward the wheel. Lightly tighten the
lug nuts.
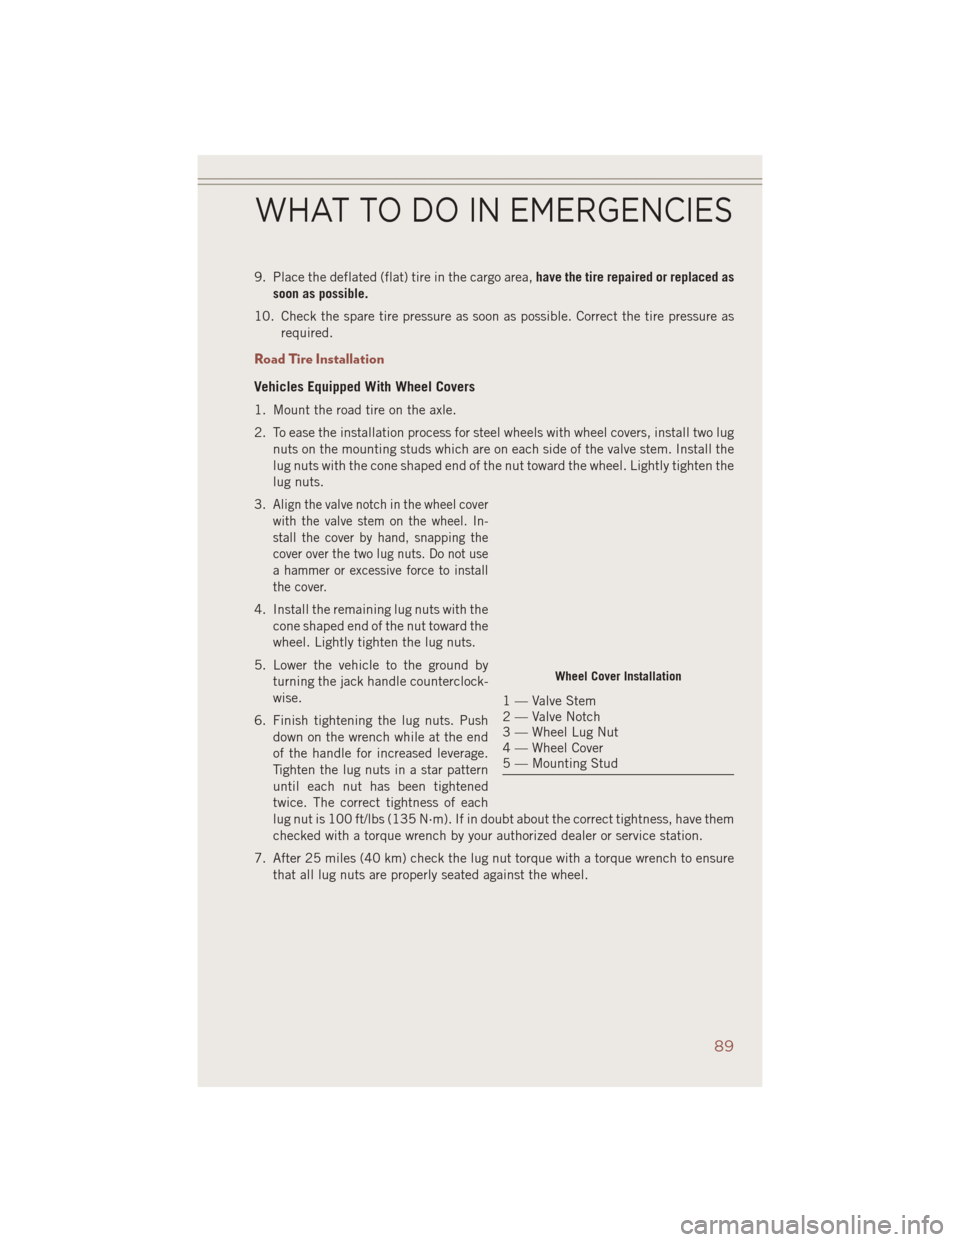
3.
Align the valve notch in the wheel cover
with the valve stem on the wheel. In-
stall the cover by hand, snapping the
cover over the two lug nuts. Do not use
a hammer or excessive force to install
the cover.
4. Install the remaining lug nuts with the cone shaped end of the nut toward the
wheel. Lightly tighten the lug nuts.
5. Lower the vehicle to the ground by turning the jack handle counterclock-
wise.
6. Finish tightening the lug nuts. Push down on the wrench while at the end
of the handle for increased leverage.
Tighten the lug nuts in a star pattern
until each nut has been tightened
twice. The correct tightness of each
lug nut is 100 ft/lbs (135 N·m). If in doubt about the correct tightness, have them
checked with a torque wrench by your authorized dealer or service station.
7. After 25 miles (40 km) check the lug nut torque with a torque wrench to ensure that all lug nuts are properly seated against the wheel.
Wheel Cover Installation
1 — Valve Stem
2 — Valve Notch
3 — Wheel Lug Nut
4 — Wheel Cover
5 — Mounting Stud
WHAT TO DO IN EMERGENCIES
89