transmission oil JEEP COMPASS 2015 1.G Owners Manual
[x] Cancel search | Manufacturer: JEEP, Model Year: 2015, Model line: COMPASS, Model: JEEP COMPASS 2015 1.GPages: 560, PDF Size: 11.51 MB
Page 99 of 560
WARNING!
•An incorrectly anchored tether strap could lead to
increased head motion and possible injury to the
child. Use only the anchorage position directly
behind the child seat to secure a child restraint top
tether strap.
•If your vehicle is equipped with a split rear seat,
make sure the tether strap does not slip into the
opening between the seatbacks as you remove
slack in the strap.
Transporting Pets
Air Bags deploying in the front seat could harm your pet.
An unrestrained pet will be thrown about and possibly
injured, or injure a passenger during panic braking or in
a collision.
Pets should be restrained in the rear seat in pet harnesses
or pet carriers that are secured by seat belts.
ENGINE BREAK-IN RECOMMENDATIONS
A long break-in period is not required for the engine and
drivetrain (transmission and axle) in your vehicle.
Drive moderately during the first 300 miles (500 km).
After the initial 60 miles (100 km), speeds up to 50 or
55 mph (80 or 90 km/h) are desirable.
While cruising, brief full-throttle acceleration within the
limits of local traffic laws contributes to a good break-in.
Wide-open throttle acceleration in low gear can be detri-
mental and should be avoided.
The engine oil installed in the engine at the factory is a
high-quality energy conserving type lubricant. Oil changes
should be consistent with anticipated climate conditions
under which vehicle operations will occur. For the recom-
mended viscosity and quality grades, refer to “Mainte-
nance Procedures” in “Maintaining Your Vehicle”.
2
THINGS TO KNOW BEFORE STARTING YOUR VEHICLE 97
Page 221 of 560
The light also will turn on when the parking brake is
applied with the ignition switch in the ON/RUN position.
NOTE:This light shows only that the parking brake is
applied. It does not show the degree of brake application.
15. Transmission Temperature Warning Light
This light indicates that the transmission fluid
temperature is running hot. This may occur
with severe usage, such as trailer towing. If this
light turns on, safely pull over and stop them
vehicle. Then, shift the transmission into NEUTRAL and
run the engine at idle or faster until the light turns off.
CAUTION!
Continuous driving with the Transmission Tempera-
ture Warning Light illuminated will eventually cause
severe transmission damage or transmission failure.
WARNING!
If you continue operating the vehicle when the
Transmission Temperature Warning Light is illumi-
nated you could cause the fluid to boil over, come in
contact with hot engine or exhaust components and
cause a fire.
16. Vehicle Security Light — If Equipped
This light will flash at a fast rate for approxi-
mately 16 seconds, when the vehicle security
alarm is arming, and then will flash slowly
until the vehicle is disarmed.
17. Temperature Gauge
The temperature gauge shows engine coolant tempera-
ture. Any reading within the normal range indicates that
the engine cooling system is operating satisfactorily.
4
UNDERSTANDING YOUR INSTRUMENT PANEL 219
Page 339 of 560
During sustained high speed driving or trailer
towing up long grades on hot days, the auto-
matic transmission oil may become too hot. If
this happens, the transmission overheat indica-
tor light will come on, and the vehicle will slow slightly
until the transmission cools down enough to allow a
return to the requested speed. This is done to prevent
transmission damage due to overheating. If the high
speed is maintained, the overheating may reoccur, as
before, in a cyclic fashion.
LOW (L) — If Equipped
Use this range for engine braking when descending very
steep grades. In this range, the transmission will down-
shift for maximum engine braking, and upshifts will
occur only to prevent engine overspeed.
AUTOSTICK® (SIX-SPEED AUTOMATIC
TRANSMISSION)
AutoStick® is a driver-interactive transmission feature
providing manual shift control, giving you more control
of the vehicle. AutoStick® allows you to maximize en-
gine braking, eliminate undesirable upshifts and down-
shifts, and improve overall vehicle performance. This
system can also provide you with more control during
passing, city driving, cold slippery conditions, mountain
driving, trailer towing, and many other situations.
Operation
When the shift lever is in the DRIVE position, the
transmission will operate automatically, shifting between
the six available gears. To engage AutoStick®, simply tap
the shift lever to the right or left (+/-) while in the DRIVE
position. Tapping (-) to enter AutoStick® mode will
5
STARTING AND OPERATING 337
Page 449 of 560
on the ground. This will provide the best positioning
of the kit when injecting the sealant into the deflated
tire and running the air pump. Move the vehicle as
necessary to place the valve stem in this position
before proceeding.
3. Place the transmission in PARK (auto transmission) or
in Gear (manual transmission) and turn Off the igni-
tion.
4. Set the parking brake.
(B) Setting Up To Use Tire Service Kit:
1. Push in the Mode Select Knob (5) and turn to the
Sealant Mode position.
2. Uncoil the Sealant Hose (6) and then remove the cap
from the fitting at the end of the hose.
3. Place the Tire Service Kit flat on the ground next to the
deflated tire.
4. Remove the cap from the valve stem and then screw
the fitting at the end of the Sealant Hose (6) onto the
valve stem.
5. Uncoil the Power Plug (8) and insert the plug into the
vehicle’s 12 Volt power outlet.
NOTE:Do not remove foreign objects (e.g., screws or
nails) from the tire.
(C) Injecting Tire Service Kit Sealant Into The
Deflated Tire:
•Always start the engine before turning ON the Tire
Service Kit.
NOTE:Manual transmission vehicles must have the
parking brake engaged and the shift lever in NEUTRAL.
•After pressing the Power Button (4), the sealant (white
fluid) will flow from the Sealant Bottle (1) through the
Sealant Hose (6) and into the tire.
6
WHAT TO DO IN EMERGENCIES 447
Page 475 of 560
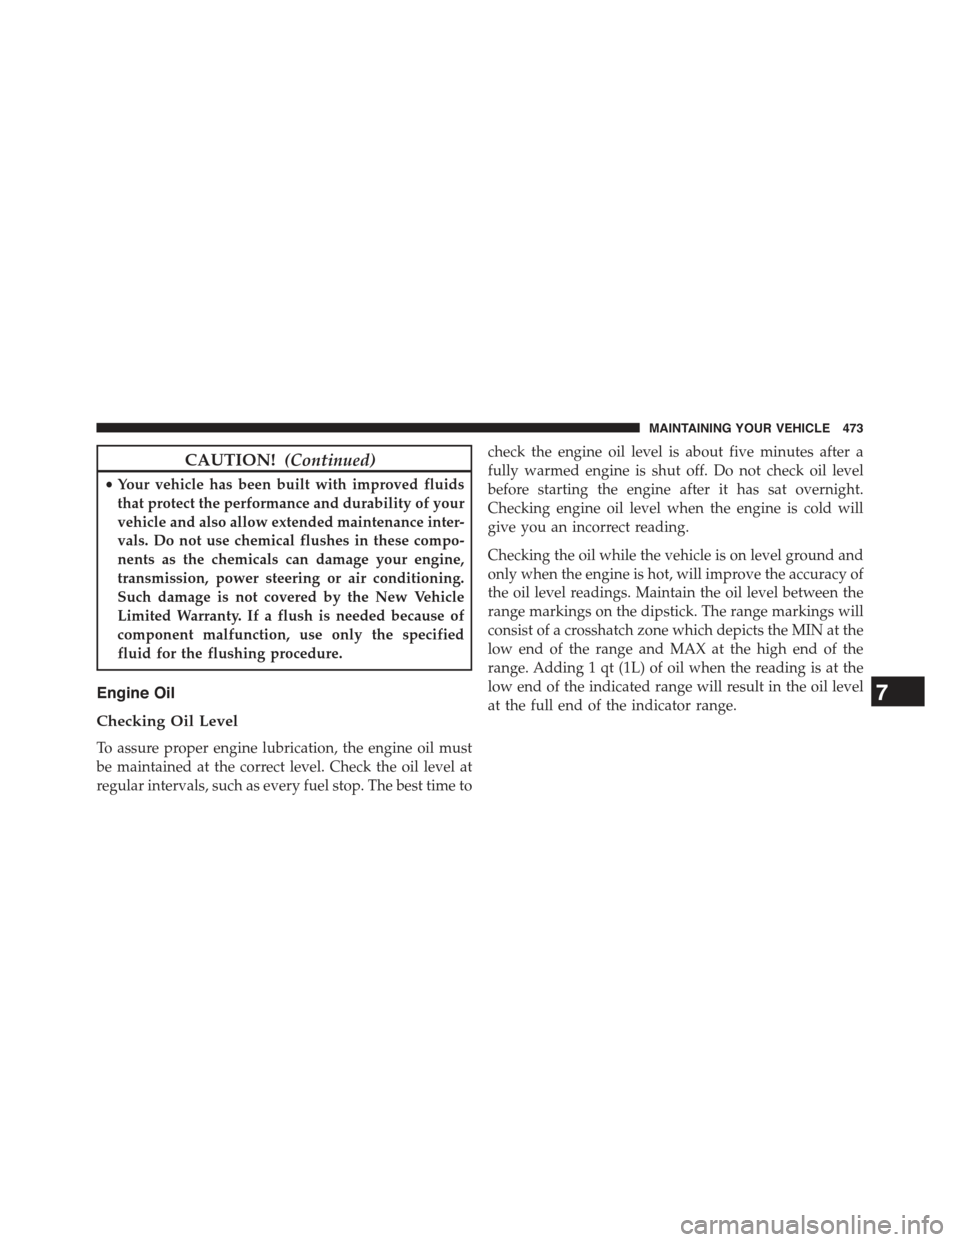
CAUTION!(Continued)
•Your vehicle has been built with improved fluids
that protect the performance and durability of your
vehicle and also allow extended maintenance inter-
vals. Do not use chemical flushes in these compo-
nents as the chemicals can damage your engine,
transmission, power steering or air conditioning.
Such damage is not covered by the New Vehicle
Limited Warranty. If a flush is needed because of
component malfunction, use only the specified
fluid for the flushing procedure.
Engine Oil
Checking Oil Level
To assure proper engine lubrication, the engine oil must
be maintained at the correct level. Check the oil level at
regular intervals, such as every fuel stop. The best time to
check the engine oil level is about five minutes after a
fully warmed engine is shut off. Do not check oil level
before starting the engine after it has sat overnight.
Checking engine oil level when the engine is cold will
give you an incorrect reading.
Checking the oil while the vehicle is on level ground and
only when the engine is hot, will improve the accuracy of
the oil level readings. Maintain the oil level between the
range markings on the dipstick. The range markings will
consist of a crosshatch zone which depicts the MIN at the
low end of the range and MAX at the high end of the
range. Adding 1 qt (1L) of oil when the reading is at the
low end of the indicated range will result in the oil level
at the full end of the indicator range.7
MAINTAINING YOUR VEHICLE 473
Page 500 of 560
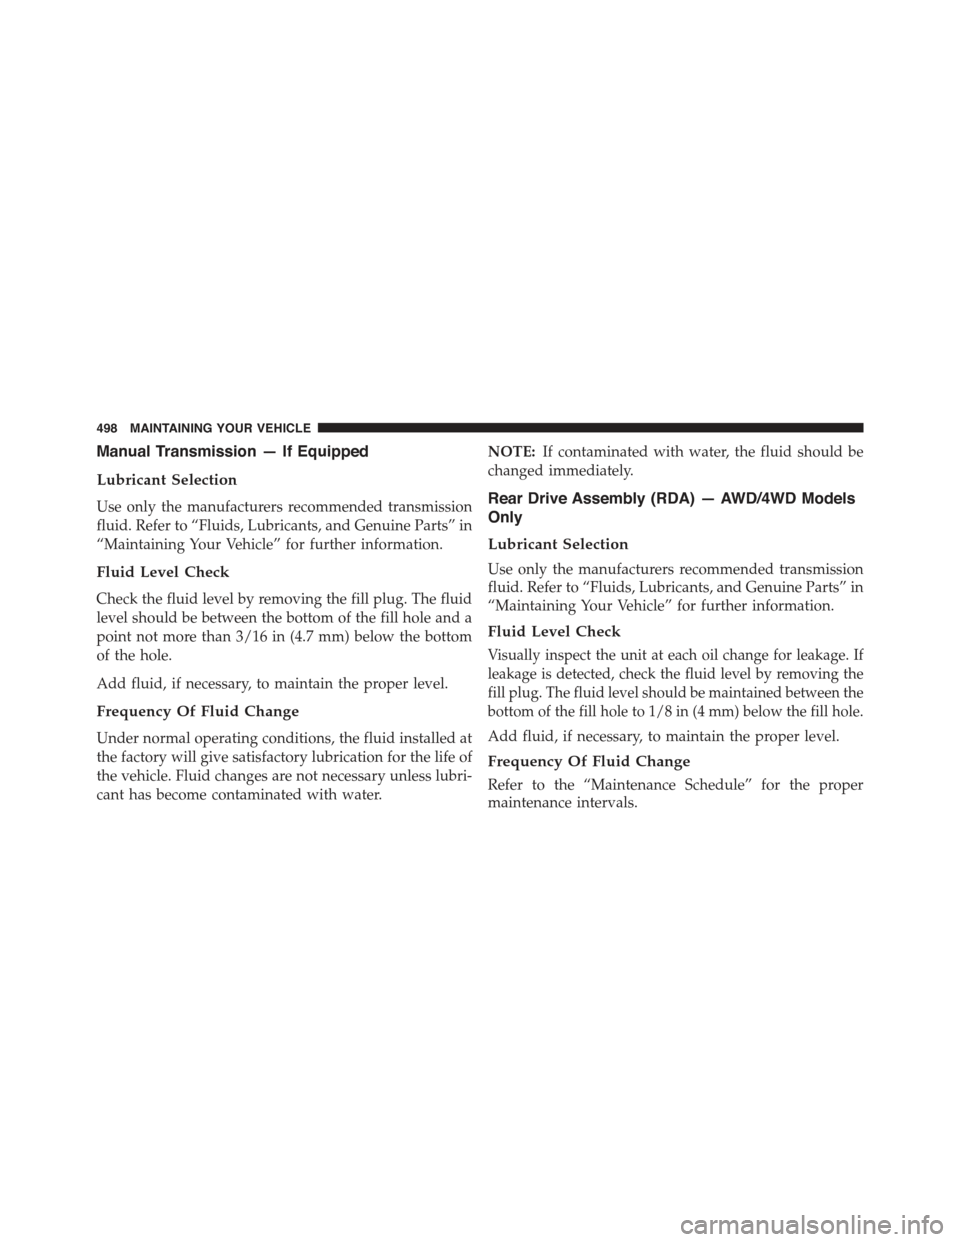
Manual Transmission — If Equipped
Lubricant Selection
Use only the manufacturers recommended transmission
fluid. Refer to “Fluids, Lubricants, and Genuine Parts” in
“Maintaining Your Vehicle” for further information.
Fluid Level Check
Check the fluid level by removing the fill plug. The fluid
level should be between the bottom of the fill hole and a
point not more than 3/16 in (4.7 mm) below the bottom
of the hole.
Add fluid, if necessary, to maintain the proper level.
Frequency Of Fluid Change
Under normal operating conditions, the fluid installed at
the factory will give satisfactory lubrication for the life of
the vehicle. Fluid changes are not necessary unless lubri-
cant has become contaminated with water.
NOTE:If contaminated with water, the fluid should be
changed immediately.
Rear Drive Assembly (RDA) — AWD/4WD Models
Only
Lubricant Selection
Use only the manufacturers recommended transmission
fluid. Refer to “Fluids, Lubricants, and Genuine Parts” in
“Maintaining Your Vehicle” for further information.
Fluid Level Check
Visually inspect the unit at each oil change for leakage. If
leakage is detected, check the fluid level by removing the
fill plug. The fluid level should be maintained between the
bottom of the fill hole to 1/8 in (4 mm) below the fill hole.
Add fluid, if necessary, to maintain the proper level.
Frequency Of Fluid Change
Refer to the “Maintenance Schedule” for the proper
maintenance intervals.
498 MAINTAINING YOUR VEHICLE
Page 555 of 560
Starting................................316
Automatic Transmission..................317
Cold Weather..........................318
Engine Fails to Start.....................318
Manual Transmission....................316
Remote...............................26
Starting Procedures........................316
Steering
Power...............................351
Tilt Column...........................171
Steering Wheel Audio Controls...............294
Steering Wheel Mounted Sound System Controls . . .294
Storage.................................511
Storage Bin..............................197
Storage, Vehicle...........................307
Stuck, Freeing............................457
Sun Roof...............................188
Sun Visor Extension........................111
Supplemental Restraint System - Airbag..........61
Synthetic Engine Oil.......................475
System, Remote Starting.....................26
Tachometer..............................217
Temperature Control, Automatic (ATC)..........301
Temperature Gauge, Engine Coolant............219
Tie Down Hooks, Cargo....................202
Tilt Steering Column.......................171
Tire and Loading Information Placard...........375
Tire Markings............................369
Ti re s . . . . . . . . . . . . . . . . . . . . . . . . . . . . . . . . ..102
Aging (Life of Tires).....................389
Air Pressure...........................380
Chains...............................391
Changing.............................432
Compact Spare.........................386
General Information.....................380
High Speed...........................382
Inflation Pressures.......................38110
INDEX 553