charging JEEP COMPASS 2016 1.G User Guide
[x] Cancel search | Manufacturer: JEEP, Model Year: 2016, Model line: COMPASS, Model: JEEP COMPASS 2016 1.GPages: 148, PDF Size: 8.42 MB
Page 89 of 148

ROADSIDE ASSISTANCE
Dial toll-free 1-800-521-2779 for U.S. Residents or 1-800-363-4869 for Canadian
Residents.
• Provide your name, vehicle identification number, license plate number, and yourlocation, including the telephone number from which you are calling.
• Briefly describe the nature of the problem and answer a few simple questions.
• You will be given the name of the service provider and an estimated time of arrival. If you feel you are in an “unsafe situation”, please let us know. With your consent,
we will contact local police or safety authorities.
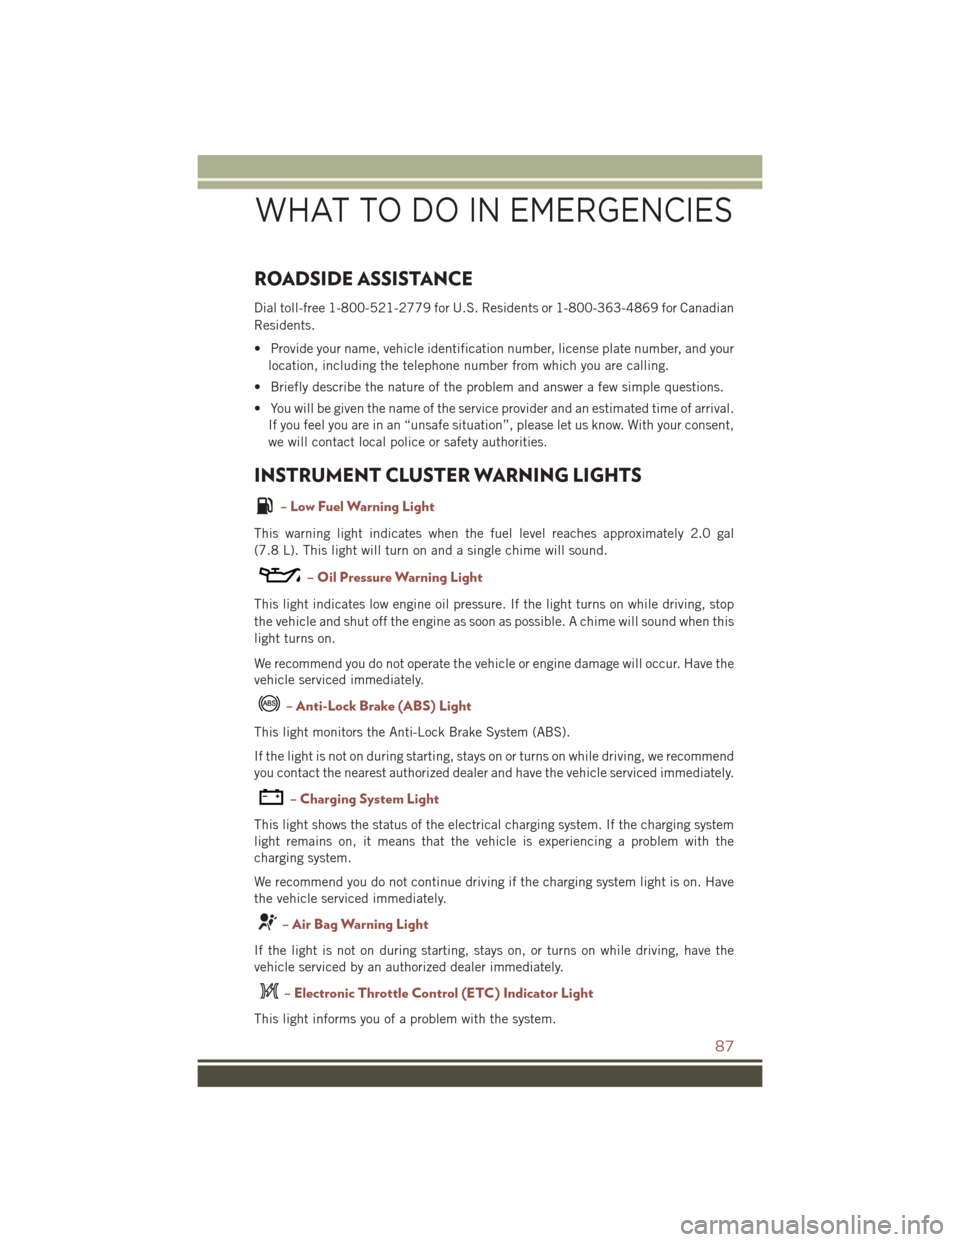
INSTRUMENT CLUSTER WARNING LIGHTS
– Low Fuel Warning Light
This warning light indicates when the fuel level reaches approximately 2.0 gal
(7.8 L). This light will turn on and a single chime will sound.
– Oil Pressure Warning Light
This light indicates low engine oil pressure. If the light turns on while driving, stop
the vehicle and shut off the engine as soon as possible. A chime will sound when this
light turns on.
We recommend you do not operate the vehicle or engine damage will occur. Have the
vehicle serviced immediately.
– Anti-Lock Brake (ABS) Light
This light monitors the Anti-Lock Brake System (ABS).
If the light is not on during starting, stays on or turns on while driving, we recommend
you contact the nearest authorized dealer and have the vehicle serviced immediately.
– Charging System Light
This light shows the status of the electrical charging system. If the charging system
light remains on, it means that the vehicle is experiencing a problem with the
charging system.
We recommend you do not continue driving if the charging system light is on. Have
the vehicle serviced immediately.
– Air Bag Warning Light
If the light is not on during starting, stays on, or turns on while driving, have the
vehicle serviced by an authorized dealer immediately.
– Electronic Throttle Control (ETC) Indicator Light
This light informs you of a problem with the system.
WHAT TO DO IN EMERGENCIES
87
Page 106 of 148

WARNING!
• Take care to avoid the radiator cooling fan whenever the hood is raised. It canstart anytime the ignition switch is ON. You can be injured by moving fan
blades.
• Remove any metal jewelry such as rings, watch bands and bracelets that could
make an inadvertent electrical contact. You could be seriously injured.
• Batteries contain sulfuric acid that can burn your skin or eyes and generate
hydrogen gas which is flammable and explosive. Keep open flames or sparks
away from the battery.
1. Set the parking brake, shift the automatic transmission into PARK (manual transmission to NEUTRAL) and turn the ignition to LOCK.
2. Turn off the heater, radio, and all unnecessary electrical accessories.
3. If using another vehicle to jump-start the battery, park the vehicle within the jumper cables reach, set the parking brake and make sure the ignition is OFF.
WARNING!
Do not allow vehicles to touch each other as this could establish a ground
connection and personal injury could result.
Jump-Starting Procedure
WARNING!
Failure to follow this jump-starting procedure could result in personal injury or
property damage due to battery explosion.
CAUTION!
Failure to follow these procedures could result in damage to the charging system
of the booster vehicle or the discharged vehicle.
NOTE:
Remove Air Intake before proceeding with this Jump-Starting procedure.
Connecting The Jumper Cables
1. Connect the positive (+)end of the jumper cable to the positive (+)post of the
discharged vehicle.
2. Connect the opposite end of the positive (+)jumper cable to the positive (+)post
of the booster battery.
3. Connect the negative end (-)of the jumper cable to the negative (-)post of the
booster battery.
WHAT TO DO IN EMERGENCIES
104
Page 107 of 148

4. Connect the opposite end of the negative(-)jumper cable to a good engine ground
(exposed metal part of the discharged vehicle’s engine) away from the battery and
the fuel injection system.
WARNING!
Do not connect the jumper cable to the negative (-)post of the discharged battery.
The resulting electrical spark could cause the battery to explode and could result
in personal injury. Only use the specific ground point, do not use any other exposed
metal parts.
5. Start the engine in the vehicle that has the booster battery, let the engine idle a few minutes, and then start the engine in the vehicle with the discharged battery.
6. Once the engine is started, remove the jumper cables in the reverse sequence:
Disconnecting The Jumper Cables
1. Disconnect the negative (-)end of the jumper cable from the engine ground of the
vehicle with the discharged battery.
2. Disconnect the opposite end of the negative (-)jumper cable from the negative (-)
post of the booster battery.
3. Disconnect the positive (+)end of the jumper cable from the positive (+)post of
the booster battery.
4. Disconnect the opposite end of the positive (+)jumper cable from the positive (+)
post of the vehicle with the discharged battery.
5. Reinstall the air intake duct.
If frequent jump-starting is required to start your vehicle you should have the battery
and charging system inspected at your authorized dealer.
CAUTION!
Accessories plugged into the vehicle power outlets draw power from the vehicle’s
battery, even when not in use (i.e., cellular devices, etc.). Eventually, if plugged in
long enough without engine operation, the vehicle’s battery will discharge suffi-
ciently to degrade battery life and/or prevent the engine from starting.
SHIFT LEVER OVERRIDE
If a malfunction occurs and the shift lever cannot be moved out of the PARK position,
you can use the following procedure to temporarily move the shift lever:
1. Turn the engine OFF.
2. Firmly apply the parking brake.
3. Using a small screwdriver or similar tool, remove the shift lever override access cover (located on the right side of the shift lever housing).
WHAT TO DO IN EMERGENCIES
105
Page 134 of 148

Adding Engine Coolant(Antifreeze) .............116
Adding Washer Fluid .........116
Adjust Down .................24
Forward ...............24
Rearward ..............24
Up ..................24
Air Bag AdvancedFrontAirBag ......14
AdvanceFrontAirBag ......14
AirBagComponents ........14
AirBags ...............14
AirBagWarningLight.....14,17
Enhanced Accident
Response ...........16,108
Event Data Recorder (EDR). .17, 108
FrontAirBag ............14
Rollover ...............14
SideAirBags ............15
SideImpacts ............14
AirBagLight............17,87
Air Cleaner, Engine (Engine Air Cleaner Filter) ...........116
Air Conditioner Maintenance ....116
Air Conditioning ............39
Air Conditioning Refrigerant .....116
Air Conditioning System .......116
Air Recirculation ..........38,39
Alarm Arm The System ..........12
Disarm The System ........12
Vehicle Security Alarm ......12
Alarm, Panic ..............10
Alarm (Security Alarm) ......12,92
Antifreeze (Engine Coolant) . .114, 116 Capacities ............114
Disposal ..............116
Anti-Lock Warning Light ........87
Appearance Care ...........116
Assistance Towing ...........87
Audio Jack ........45,48,51,57
Audio Settings ........45,47,50
Audio Systems (Radio) .........44
Automatic Temperature Control (ATC).................39
Automatic Transmission ........38
FluidType ............115 Overheating
............93
AxleFluid...............115
Back-Up Camera ............37
Battery .................116
Bluetooth Connecting To A Particular Mobile
Phone Or Audio Device After
Pairing ................70
Body Mechanism Lubrication ....116
BrakeFluid ..............115
Brakes.................116
Brake System .............116
Master Cylinder .........116
Warning Light ...........89
Break-In Recommendations, New Vehicle ................29
Bulb Replacement ..........126
Bulbs,Light..............126
Calibration, Compass .........76
Canada.................128
Capacities, Antifreeze (Engine Coolant) ..............114
Capacities, Fluid ...........114
Caps, Filler Oil (Engine) ............116
CarWashes ..............116
CD (Compact Disc) Player .........45,48,51,56
Change Oil Indicator ..........92
ChangingAFlatTire..........94
Charging System Light .........87
Child Restraint .............18
Child Restraints ............18
Lower Anchors And Tethers For
Children ..............18
Child Seat Installation .........18
Cleaning Wheels ..............116
Windshield Wiper Blades ....116
Climate
Control .............38
Clock Setting .......44,47,50,53
Cluster Warning/Indicator Lights Anti-Lock Brake (ABS) Light . . .87
Brake Warning Light ........89
Charging System Light ......87
INDEX
132