manual radio set JEEP COMPASS 2016 1.G User Guide
[x] Cancel search | Manufacturer: JEEP, Model Year: 2016, Model line: COMPASS, Model: JEEP COMPASS 2016 1.GPages: 148, PDF Size: 8.42 MB
Page 39 of 148
WARNING!
Electronic Speed Control can be dangerous where the system cannot maintain a
constant speed. Your vehicle could go too fast for the conditions, and you could
lose control and have an accident. Do not use Electronic Speed Control in heavy
traffic or on roads that are winding, icy, snow-covered or slippery.
PARKVIEW REAR BACK-UP CAMERA
You can see an on-screen image of the rear of your vehicle whenever the shift lever is
put into REVERSE. The ParkView Rear Back-Up Camera image will be displayed on
the radio display screen, located on the center stack of the instrument panel.
If the radio display screen appears foggy, clean the camera lens located on the
liftgate.
Refer to your Owner's Manual on the DVD for further details.
WARNING!
Drivers must be careful when backing up even when using the ParkView Rear Back
Up Camera. Always check carefully behind your vehicle, and be sure to check for
pedestrians, animals, other vehicles, obstructions, or blind spots before backing
up. You are responsible for the safety of your surroundings and must continue to
pay attention while backing up. Failure to do so can result in serious injury or
death.
CONTINUOUSLY VARIABLE AUTOMATIC
TRANSMISSION (CVT)
While conventional automatic transmissions typically have 4, 5 or 6 speeds, the
Continuously Variable Transmission (CVT) has an infinite number of speeds. This
allows it to adjust to exactly the right ratio to optimize performance and fuel
economy.
Under hard acceleration, you may hear more engine noise than with a conventional
transmission. The CVT may also occasionally feel like it is “slipping”. These
characteristics are perfectly normal and contribute to the CVT's efficiency.
The transmission shift lever has PARK, REVERSE, NEUTRAL, and DRIVE shift
positions. Some models include a LOW position (the LOW position manually
downshifts the transmission to a lower available ratio based on vehicle speed); in
others, manual shifts are made using the AutoStick shift control. Moving the shift
lever to the left or right (-/+) while in the DRIVE position (if equipped with AutoStick)
will manually select from a set of predefined transmission gear ratios, and will display
the current gear in the instrument cluster as 1, 2, 3, etc.
OPERATING YOUR VEHICLE
37
Page 47 of 148
5. Push the TUNE/SCROLL control knob to save the changes.
6. Push any button/knob or wait five seconds to exit.
Equalizer, Balance And Fade
1. Push the TUNE/SCROLL control knob and “BASS” will display.
2. Rotate the TUNE/SCROLL control knob to select the desired setting.
3. Continue pushing the TUNE/SCROLL control knob to display and set “MIDRANGE,” “TREBLE,” “BALANCE” and “FADE.”
Radio Operation
Seek Up/Down Buttons
•
Push the seek up or down button to seek through radio stations in AM or FM bands.
• Hold either button to bypass stations without stopping.
Store Radio Presets Manually
• Tune to the desired station.
• Push the SET/RND or SET (depending on the radio) button once and SET 1 willshow in the display. Then select a preset button (1–6).
• A second station may be added to each push button. Push the SET/RND or SET (depending on the radio) button twice and SET 2 will show in the display. Then
select a preset button (1–6).
CD/DISC Operation
Seek Up/Down Buttons
• Push to seek through CD tracks.
• Hold either button to bypass tracks without stopping.
SET/RND Or RND (Depending On Radio) Button (Random Play)
• Push this button while the CD is playing to activate Random Play.
• This feature plays the selections on the CD in random order to provide aninteresting change of pace.
Audio Jack Operation
The AUX/Audio Jack provides a means to connect a portable audio device, such as an
MP3 player or an iPod, to the vehicle’s sound system. This requires the use of a
3.5 mm stereo audio patch cable.
• Pushing the AUX button will change the mode to auxiliary device if the Audio Jackis connected, allowing the music from your portable device to play through the
vehicle's speakers.
The functions of the portable device are controlled using the device buttons, not the
buttons on the radio. However, the volume may be controlled using the radio or
portable device.
ELECTRONICS
45
Page 49 of 148
Clock Setting
1. Push and hold the TIME button until the hours blink.
2. Turn the TUNE/SCROLL control knob to set the hours.
3. Push the TUNE/SCROLL control knob until the minutes begin to blink.
4. Turn the TUNE/SCROLL control knob to set the minutes.
5. Push the TUNE/SCROLL control knob to save the changes.
6. Push any button/knob or wait five seconds to exit.
Equalizer, Balance And Fade
1. Push the TUNE/SCROLL control knob and “BASS” will display.
2. Rotate the TUNE/SCROLL control knob to select the desired setting.
3. Continue pushing the TUNE/SCROLL control knob to display and set “MIDRANGE,” “TREBLE,” “BALANCE” and “FADE.”
Radio Operation
Seek Up/Down Buttons
• Push the seek up or down button to seek through radio stations in AM, FM, or SATbands.
• Hold either button to bypass stations without stopping.
Store Radio Presets Manually
• Tune to the desired station.
• Push the SET/RND or SET (depending on the radio) button once and SET 1 will show in the display. Then select a preset button (1–6).
• A second station may be added to each push button. Push the SET/RND or SET (depending on the radio) button twice and SET 2 will show in the display. Then
select a preset button (1–6).
Music Type
NOTE:
The Music Type function only operates when in FM mode.
• Push the MUSIC TYPE button to activate this mode. Push the MUSIC TYPE button again or turn the TUNE/SCROLL control knob to select the desired music type
(Adult Hits, Country, Jazz, Oldies, Rock, etc.).
• When a music type is chosen and the Music type is displayed, Push either SEEK button and the radio will only search for stations with the selected music type.
SETUP Button
• Pushing the SETUP button allows you to select between items that are available in that particular mode.
• Turn the TUNE/SCROLL control knob to scroll through the entries. Push the AUDIO/SELECT button to select an entry and make changes.
ELECTRONICS
47
Page 52 of 148
Clock Setting
1. Push and hold the TIME button until the hours blink.
2. Turn the TUNE/SCROLL control knob to set the hours.
3. Push the TUNE/SCROLL control knob until the minutes begin to blink.
4. Turn the TUNE/SCROLL control knob to set the minutes.
5. Push the TUNE/SCROLL control knob to save the changes.
6. Push any button/knob or wait five seconds to exit.
Equalizer, Balance And Fade
1. Push the TUNE/SCROLL control knob and “BASS” will display.
2. Rotate the TUNE/SCROLL control knob to select the desired setting.
3. Continue pushing the TUNE/SCROLL control knob to display and set “MIDRANGE,” “TREBLE,” “BALANCE” and “FADE.”
Radio Operation
Seek Up/Down Buttons
• Push the seek up or down button to seek through radio stations in AM, FM, or SATbands.
• Hold either button to bypass stations without stopping.
Store Radio Presets Manually
• Tune to the desired station
• Push the SET button once and SET 1 will show in the display. Then select button (1–6).
• A second station may be added to each push button. Push the SET button twice and SET 2 will show in the display. Then select button (1–6).
Music Type
NOTE:
The Music Type function only operates when in FM mode.
• Push the MUSIC TYPE button to activate this mode. Push the MUSIC TYPE button again or turn the TUNE/SCROLL control knob to select the desired music type
(Adult Hits, Country, Jazz, Oldies, Rock, etc.).
• Once a music type is chosen and the music type is displayed, push the SEEK button and the radio will only search for stations with the selected music type.
SETUP Button
• Pushing the SETUP button allows you to select between items that are available in that particular mode.
• Turn the TUNE/SCROLL control knob to scroll through the entries. Push the AUDIO/SELECT button to select an entry and make changes.
ELECTRONICS
50
Page 56 of 148
Equalizer, Balance And Fade
Audio Control Menu
• Push the AUDIO button on the face-plate on the right side of the radio.
• Use either the “arrow” buttons on the touchscreen or the cross-hair on the
screen to change Balance and Fade.
The “CENTER” button on the touch-
screen resets the settings.
• Press the “Equalizer” button on the touchscreen and use either the arrow
buttons on the touchscreen or the slid-
ers on the screen to adjust BASS, MID, and/or TREBLE.
Display Settings
• Push the MENU button on the face- plate and press the “Display Settings”
button on the touchscreen to access
the Display Settings menu.
• Select the “Daytime Colors” button on the touchscreen to switch to manual
daytime mode and to adjust the bright-
ness of the display using daytime col-
ors.
• Select the “Nighttime Colors” button on the touchscreen to switch to manual nighttime mode and to adjust the
brightness of the display using nighttime colors.
• Select the “Auto Color Mode” button on the touchscreen to switch to automatic daytime/nighttime mode and to control the brightness of the display using the
dimmer switch of the vehicle.
• Press the “EXIT” button on the touchscreen to save your settings.
Audio Control Menu
Display Settings
ELECTRONICS
54
Page 57 of 148
Radio Operation
•To access Radio Mode, push the RADIO button on the left side of the faceplate, then
press the “AM,” “FM” or “SAT” button at the top of the screen to select the band.
Seek Up/Seek Down
• Press the “Seek Up” or “Seek Down” buttons on the touchscreen to seek through radio stations in AM, FM, or SAT bands. Hold either Seek to bypass stations
without stopping.
Store Radio Presets Manually
• Select the radio band by pressing either the “AM,” “FM,” or “SAT” button on the touchscreen.
• Find the station to store by either pressing the “Seek Up” or “Seek Down” buttons on the touchscreen, pressing the “SCAN” button on the touchscreen, or by using
the “DIRECT TUNE” button on the touchscreen.
Radio Operation
1 — Radio Tuner Tabs
2 — Individual Presets
3 — Search/Browse
4 — Radio Station/Track Info
5 — Sort Presets6 — Station Scan
7 — Seek Down
8 — Direct Tune
9 — Seek Up
ELECTRONICS
55
Page 72 of 148
UCONNECT PHONE
The Uconnect Phone is a voice-activated, hands-free, in-vehicle communications
system with Voice Command Capability (see Voice Command section).
• To determine if your vehicle is equipped with Uconnect Phone, push the UconnectPhone button
located on the radio faceplate. If your vehicle has this feature,
you will hear a voice prompt. If not, you will see a message on the radio stating
“Uconnect phone not available.”
NOTE:
To access the tutorial, push the Uconnect Phone button
and after the BEEP, say
“tutorial.” Push any button on the faceplate or press any button on the touchscreen
to cancel the “tutorial.”
• The Uconnect Phone allows you to dial a phone number with your mobile phone using simple voice commands.
Refer to your vehicle Owner's Manual on the DVD for further details.
NOTE:
The Uconnect Phone requires a mobile phone equipped with the Bluetooth Hands-
Free Profile Version 1.0 or higher. For Uconnect Customer Support: U.S. residents -
visit UconnectPhone.com or call 1-877-855-8400. Canadian Residents - call
1-800-465-2001 (English) or 1-800-387-9983 (French). This site will provide
specific instructions based on the type of mobile phone being paired.
Phone Pairing
NOTE:
Pairing is a one-time initial setup before using the phone. Prior to starting the pairing
procedure ensure all additional phones within the vehicle have their Bluetooth disabled.
• Activate Bluetooth on the mobile phone you are pairing.
• Push the “Phone”
button.
• Wait for the “ready” prompt and BEEP.
• After the BEEP, say ”setup” or “Uconnect device setup.”
• After the BEEP, say “device pairing.”
• After the BEEP, say “pair a device.”
• Follow the audible prompts.
• You will be asked to say a four-digit Personal Identification Number (PIN),
which you will later need to enter into
your mobile phone. You can say any
four-digit PIN. You will not need to
remember this PIN after the initial
pairing process.
Phone Pairing
ELECTRONICS
70
Page 106 of 148
WARNING!
• Take care to avoid the radiator cooling fan whenever the hood is raised. It canstart anytime the ignition switch is ON. You can be injured by moving fan
blades.
• Remove any metal jewelry such as rings, watch bands and bracelets that could
make an inadvertent electrical contact. You could be seriously injured.
• Batteries contain sulfuric acid that can burn your skin or eyes and generate
hydrogen gas which is flammable and explosive. Keep open flames or sparks
away from the battery.
1. Set the parking brake, shift the automatic transmission into PARK (manual transmission to NEUTRAL) and turn the ignition to LOCK.
2. Turn off the heater, radio, and all unnecessary electrical accessories.
3. If using another vehicle to jump-start the battery, park the vehicle within the jumper cables reach, set the parking brake and make sure the ignition is OFF.
WARNING!
Do not allow vehicles to touch each other as this could establish a ground
connection and personal injury could result.
Jump-Starting Procedure
WARNING!
Failure to follow this jump-starting procedure could result in personal injury or
property damage due to battery explosion.
CAUTION!
Failure to follow these procedures could result in damage to the charging system
of the booster vehicle or the discharged vehicle.
NOTE:
Remove Air Intake before proceeding with this Jump-Starting procedure.
Connecting The Jumper Cables
1. Connect the positive (+)end of the jumper cable to the positive (+)post of the
discharged vehicle.
2. Connect the opposite end of the positive (+)jumper cable to the positive (+)post
of the booster battery.
3. Connect the negative end (-)of the jumper cable to the negative (-)post of the
booster battery.
WHAT TO DO IN EMERGENCIES
104
Page 137 of 148
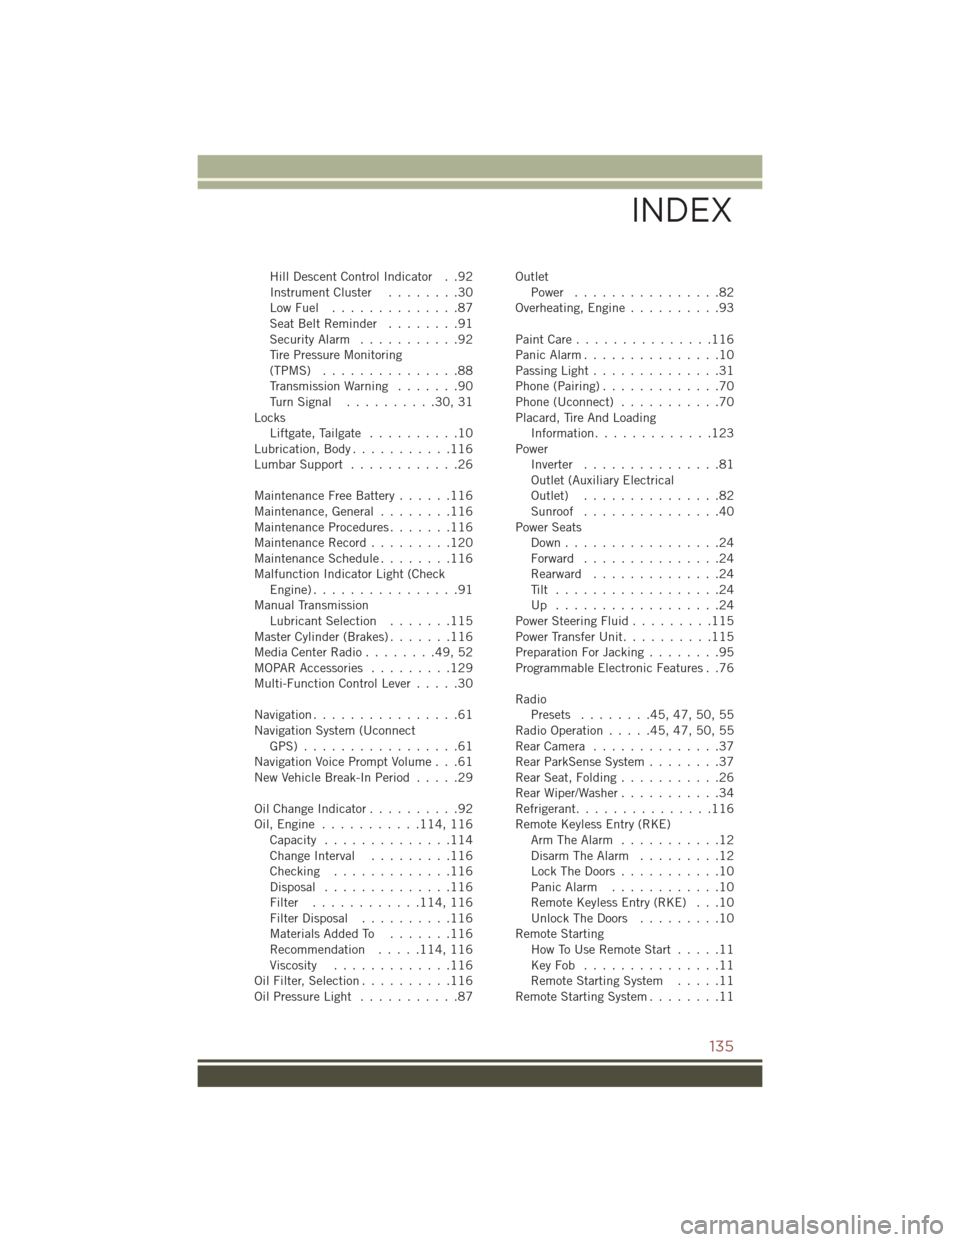
Hill Descent Control Indicator . .92
InstrumentCluster ........30
LowFuel ..............87
SeatBeltReminder ........91
Security Alarm...........92
Tire Pressure Monitoring
(TPMS) ...............88
Transmission Warning .......90
TurnSignal ..........30,31
Locks Liftgate, Tailgate ..........10
Lubrication, Body ...........116
Lumbar Support ............26
Maintenance Free Battery ......116
Maintenance,General ........116
MaintenanceProcedures.......116
Maintenance Record .........120
MaintenanceSchedule........116
Malfunction Indicator Light (Check Engine)................91
Manual Transmission Lubricant Selection .......115
Master Cylinder (Brakes) .......116
MediaCenterRadio........49,52
MOPAR Accessories .........129
Multi-Function Control Lever .....30
Navigation ................61
Navigation System (Uconnect GPS) .................61
Navigation Voice Prompt Volume . . .61
New Vehicle Break-In Period .....29
OilChangeIndicator..........92
Oil,Engine ........... 114, 116
Capacity ..............114
Change Interval .........116
Checking .............116
Disposal ..............116
Filter ............ 114, 116
Filter Disposal ..........116
Materials Added To .......116
Recommendation .....114, 116
Viscosity .............116
Oil Filter, Selection ..........116
Oil Pressure Light ...........87 Outlet
Power ................82
Overheating, Engine ..........93
PaintCare...............116
Panic Alarm ...............10
Passing Light ..............31
Phone (Pairing) .............70
Phone (Uconnect) ...........70
Placard, Tire And Loading Information .............123
Power Inverter ...............81
Outlet (Auxiliary Electrical
Outlet) ...............82
Sunroof ...............40
Power Seats Down.................24
Forward ...............24
Rearward ..............24
Tilt ..................24
Up ..................24
Power Steering Fluid .........115
Power Transfer Unit ..........115
Preparation For Jacking ........95
Programmable Electronic Features . .76
Radio Presets ........45,47,50,55
RadioOperation.....45,47,50,55
R
earCamera ..............37
Rear ParkSense System ........37
Rear Seat, Folding ...........26
Rear Wiper/Washer ...........34
Refrigerant ...............116
Remote Keyless Entry (RKE) Arm The Alarm ...........12
Disarm The Alarm .........12
Lock The Doors ...........10
Panic Alarm ............10
Remote Keyless Entry (RKE) . . .10
Unlock The Doors .........10
Remote Starting How To Use Remote Start .....11
KeyFob ...............11
Remote Starting System .....11
Remote Starting System ........11
INDEX
135